As the first whispers of autumn swirl around us, it’s time to conjure up some culinary magic that brings a playful twist to your Halloween gatherings. Enter my Spooky Cheesy Breadstick Bones, a delightful homemade appetizer that’s soft, cheesy, and utterly irresistible. Perfect for dipping in marinara sauce to create a “bloody” effect, they quickly become the star of any festive spread. Not only are they a whimsical addition to your Halloween feast, but they are also quick to whip up, making them a no-stress option for busy home chefs. Whether you're hosting a Halloween party or simply looking to add some frightful fun to dinner, these breadstick bones are a crowd-pleaser that both kids and adults will adore. Ready to embrace the spooky spirit in your kitchen? Let’s dive into this fun recipe!
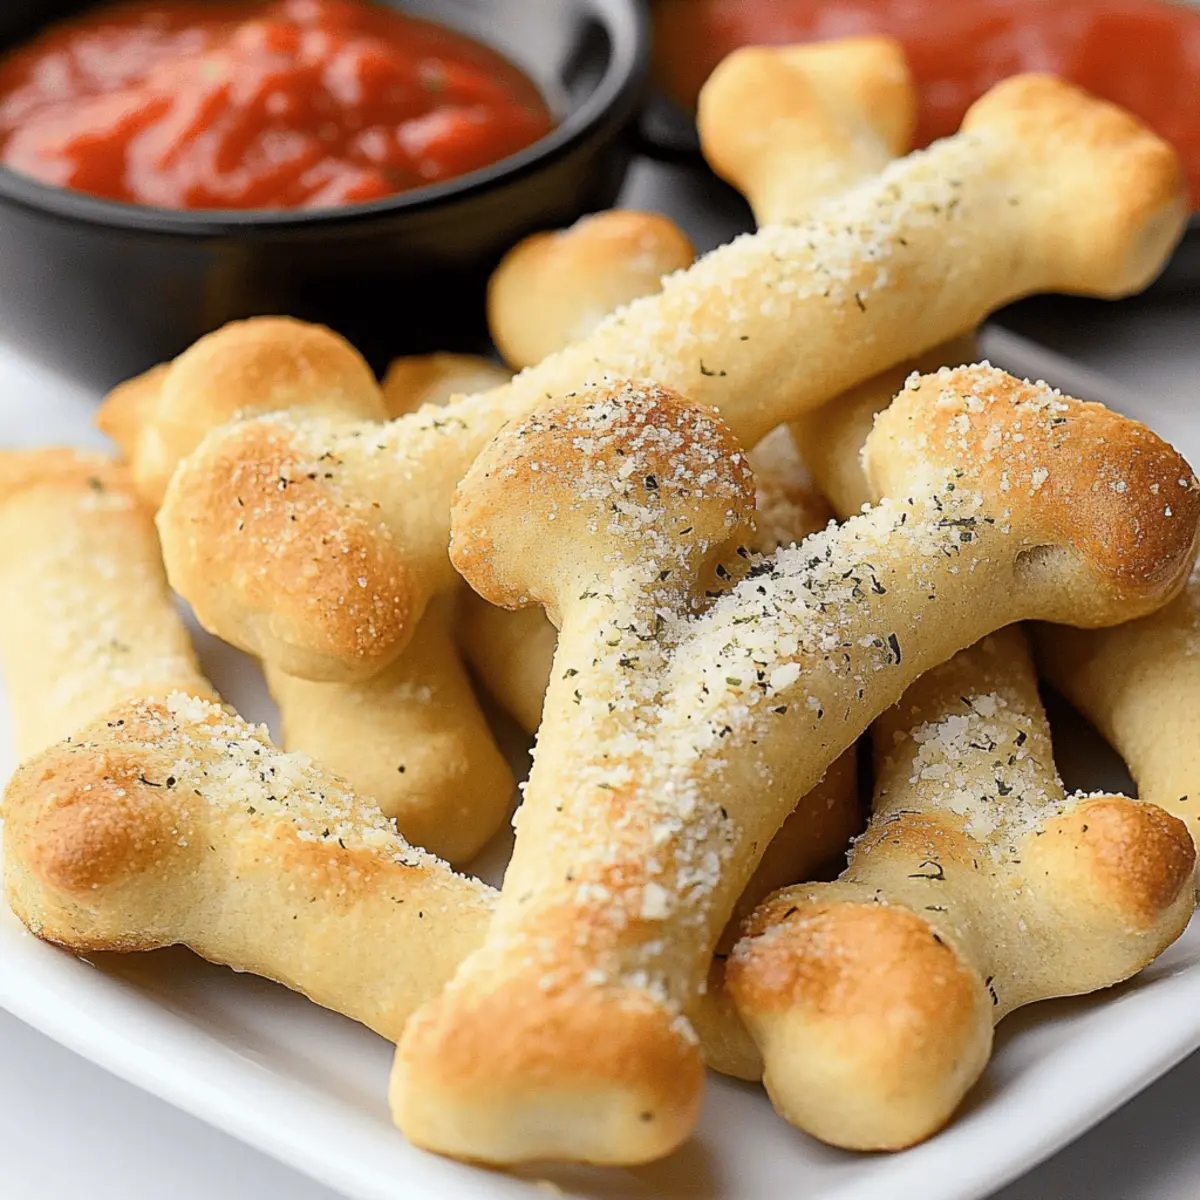
Why Are These Breadstick Bones a Must-Try?
Simplicity at its best: These breadstick bones require just basic skills, allowing anyone to create a spooky centerpiece for their Halloween feast.
Flavorful and cheesy: The combination of garlic salt and parmesan adds a savory twist that complements the soft texture beautifully.
Versatile for any occasion: While perfect for Halloween, these breadsticks can be shaped for any holiday or celebration, keeping your creativity flowing!
Quick to prepare: With minimal rising time and straightforward instructions, you’ll have a fun appetizer ready in no time, making it an excellent option for last-minute gatherings.
Crowd-pleasing appeal: They are sure to delight guests of all ages, making your party memorable and delicious. Serve them warm with your favorite marinara sauce for added excitement and watch them disappear!
Breadstick Bones Ingredients
For the Dough
- Warm Water – Hydration is key; use lukewarm water (100°F max) to encourage yeast growth.
- Active Dry Yeast – Fresh yeast is essential; it provides the perfect leavening for your breadstick bones.
- Sugar – This little sweetener feeds the yeast; feel free to substitute with honey if desired.
- Salt – Don’t skimp on this; it enhances flavor and controls yeast activity for perfectly risen breadsticks.
- Canola Oil – Adds moisture; you can swap it with vegetable oil or melted butter for variation.
- Flour (3-3¼ cups) – The backbone of your breadsticks; all-purpose flour is ideal, or use a gluten-free blend.
- Butter – A brush of melted butter gives richness and flavor; olive oil is a great substitute.
- Garlic Salt – Infuses flavor; fresh minced garlic works wonderfully if you're feeling adventurous.
For the Topping
- Grated Parmesan Cheese – This delectable topping adds umami flavor; feel free to switch it with hard cheeses like pecorino.
For Serving
- Marinara Sauce – Essential for that "bloody" dip; any tomato-based sauce will do just fine.
Step‑by‑Step Instructions for Cheesy Breadstick Bones
Step 1: Prepare Yeast Mixture
In a medium bowl, combine 1 packet of active dry yeast and 1 tablespoon of sugar with 1 cup of lukewarm water (around 100°F). Stir gently and let it sit for about 5-10 minutes until it becomes frothy, indicating that the yeast is active. This yeast mixture is critical for achieving the perfect rise in your breadstick bones.
Step 2: Mix Dough
Once the yeast is frothy, add 1 teaspoon of salt and 2 tablespoons of canola oil to the bowl. Gradually mix in 2 cups of all-purpose flour until the ingredients come together. Continue to add flour, a little at a time, until a soft, slightly tacky dough forms. This mixture will serve as the foundation for your delicious cheesy breadstick bones.
Step 3: Knead
Turn the dough out onto a lightly floured surface and knead for about 5-7 minutes, or until the dough is smooth and elastic. It should be soft but not overly sticky; if needed, sprinkle a little more flour as you knead. Once ready, place the dough in a greased bowl, cover it with a damp cloth, and let it rise in a warm spot for 1 hour or until it has doubled in size.
Step 4: Shape Bones
After the dough has risen, punch it down to release the air. Divide it into 16 equal pieces, rolling each piece into a rope about 12 inches long. To create the bone shape, cut slits into the ends of each rope, shaping them as you go. Lay the shaped breadstick bones on a parchment-lined baking sheet, ensuring they have space to expand during the second rise.
Step 5: Second Rise
Cover the shaped dough with a clean kitchen towel and let it rise for another 45 minutes in a warm location, allowing them to puff up slightly. During this time, preheat your oven to 425°F so it's ready when the dough finishes its rise. This second rise is key for achieving soft and fluffy breadstick bones.
Step 6: Bake
Once the breadstick bones have completed their second rise, place the baking sheet in the preheated oven. Bake for 12-14 minutes, or until they are golden brown and sound hollow when tapped. The heavenly aroma of the baking breadsticks will fill your kitchen—an indication that your spooky cheesy breadstick bones are almost ready!
Step 7: Finish
After baking, remove the breadsticks from the oven. Brush them with melted butter, then sprinkle with garlic salt and grated Parmesan cheese while they are still warm. This finishing touch enhances flavor and gives your breadstick bones an irresistible appeal. Serve immediately with marinara sauce for dipping and enjoy the festive playfulness!
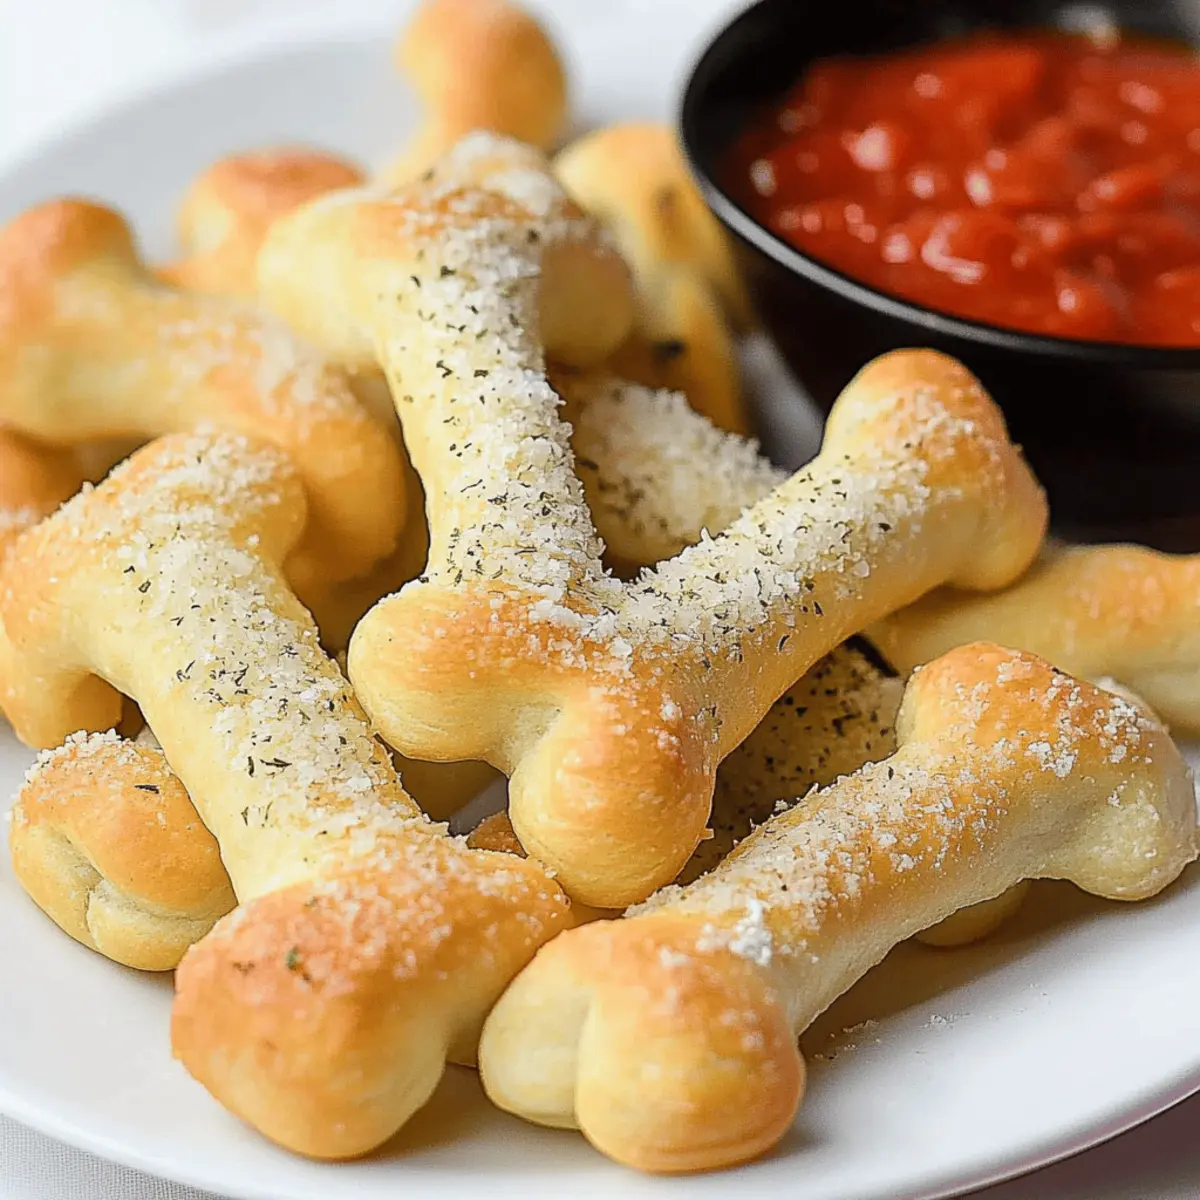
Storage Tips for Breadstick Bones
- Room Temperature: Store baked breadstick bones in an airtight container for up to 4-5 days to maintain their softness and flavor. Keep them in a cool, dry place for best results.
- Freezer: For long-term storage, place cooled breadsticks in a freezer-safe bag or container; they can be frozen for up to 2 months. To enjoy, thaw and reheat directly from frozen.
- Reheating: To revive the softness, reheat breadsticks in the oven at 350°F for about 5-7 minutes. This will ensure they are warm and slightly crispy again, ready to pair with marinara sauce!
- Dough Preparation: If you want to make ahead, freeze pre-shaped, unbaked dough on a baking sheet first, then transfer to a Ziploc once solid. Bake directly from frozen for a quick treat!
What to Serve with Spooky Cheesy Breadstick Bones
As you prepare these delightful breadstick bones, think of complementary dishes that will enhance your Halloween feast's theme and flavor.
-
Pumpkin Chili: The rich flavors of this chunky chili offer a warm contrast to the cheesy breadstick bones, creating a hearty meal. A scoop of this hearty dish can balance the festive fun of the breadsticks perfectly.
-
Mummy Hot Dogs: These playful pastries bring a whimsical touch alongside the spooky breadsticks. Their savory taste and flaky texture are sure to excite little ghouls and goblins at the table!
-
Crispy Sweet Potato Fries: Crunchy, lightly spiced fries bring an excellent texture contrast to the soft breadsticks. They also add a vibrant color to your spread—a feast for the eyes!
-
Witch’s Brew Salad: A fresh mix of greens topped with Halloween-themed toppings, like jack-o’-lantern tomatoes and bat-shaped croutons, will brighten your meal. This salad offers a fresh and zesty balance, making every bite enjoyable.
-
Eyeball Caprese Skewers: Cherry tomatoes and mozzarella balls make fun and spooky eye-shaped snacks. Their creamy, tangy flavor contrasts beautifully with the cheesy breadstick bones, creating a delicious medley.
-
Apple Cider: A warm mug of apple cider spices up your gathering with cozy fall flavors. Perfectly complements the cheesy goodness of the breadsticks while enhancing that Halloween spirit within every sip.
-
Brownie Bites: End your meal on a sweet note with these fudgy bites. Their richness beautifully balances the savory flavors of the appetizer, making them an ideal festive treat.
Think of these pairings to create an enchanting and delightful Halloween spread that everyone will rave about!
Make Ahead Options
These Spooky Cheesy Breadstick Bones are perfect for meal prep, allowing you to enjoy stress-free entertaining! You can prepare the dough and shape it into bones up to 24 hours in advance. Simply follow the mixing and kneading instructions, then shape the bones and place them on a baking sheet. Cover and refrigerate overnight. When you're ready to bake, allow them to come to room temperature while you preheat your oven to 425°F. Bake for 12-14 minutes until golden brown, brushing with butter and topping with garlic salt and Parmesan as usual. This way, you'll have delicious homemade breadsticks with minimal last-minute fuss!
Expert Tips for Breadstick Bones
-
Perfect Yeast Activation: Always ensure your yeast is fresh and the water temperature is just right (around 100°F) for optimal dough rise.
-
Kneading Matters: Knead the dough until it’s smooth and slightly tacky, avoiding excess flour that can lead to dry breadsticks.
-
Shaping Tips: When cutting slits to create bone shapes, use kitchen scissors for precision, ensuring a fun appearance while maintaining structure.
-
Warm Rising Spot: Let your dough rise in a warm, draft-free environment. If your house is cool, place it near a warm oven or on top of a bowl of warm water.
-
Baking Insight: Keep an eye on the breadsticks in the oven; it’s easy to overbake them. They should be golden brown and sound hollow when tapped.
-
Storage Solutions: Baked breadstick bones can last 4-5 days at room temperature or be frozen for up to 2 months, perfect for quick snacking!
Breadstick Bones Variations & Substitutions
Feel free to get creative and customize your breadstick bones to match your family's taste and dietary needs!
-
Herb-Infused: Add dried Italian herbs to the dough for a savory twist, elevating the overall flavor profile.
-
Cheese-Loaded: Incorporate shredded mozzarella or cheddar directly into the dough for extra cheesiness and gooeyness. The melted cheese pulls will be a real crowd-pleaser!
-
Gluten-Free: For a gluten-free version, swap regular flour with a 1:1 gluten-free baking blend, allowing everyone to join in on the fun.
-
Spicy Kick: Mix in a pinch of red pepper flakes for a subtle heat, giving these breadsticks a delightful zing that pairs well with marinara.
-
Sweet Variation: For a fun dessert twist, add a pinch of cinnamon and a sprinkle of sugar before baking. Serve with warm chocolate sauce for dipping!
-
Toppings Mix: Instead of just garlic salt and parmesan, try topping with everything bagel seasoning or a dash of smoked paprika for a unique flavor.
-
Alternative Dips: Serve with pesto, ranch dressing, or even a caramel sauce for an unexpected taste adventure. Each option creates a unique experience!
-
Shape Flexibility: Play around with different shapes—for instance, twist them into spirals or make them into simple sticks for variation; they’ll still be delicious and fun!
For serving ideas, consider pairing your spooky breadstick bones with some of your favorite favorite Halloween dishes, like themed pizzas or pumpkin chili, for a festive feast!
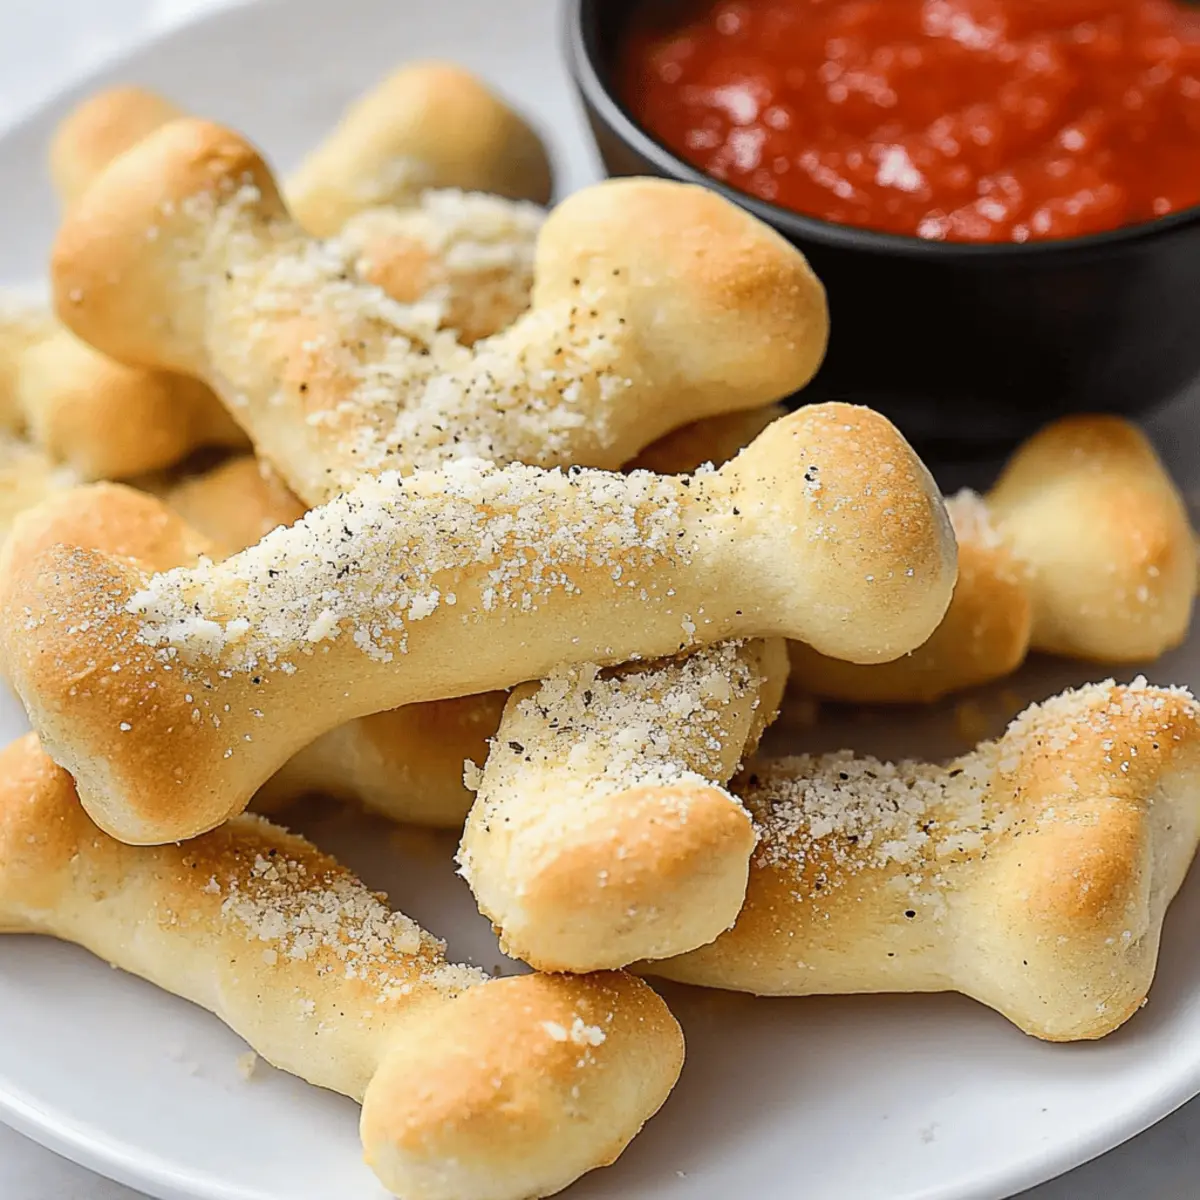
Breadstick Bones Recipe FAQs
How do I choose the right ingredients for my breadstick bones?
Absolutely! For the best results, ensure your active dry yeast is fresh; check the expiration date before using. Use lukewarm water (about 100°F) to activate the yeast effectively. For flour, all-purpose is ideal, but if you’re gluten-free, a 1:1 flour blend works beautifully too. When selecting cheese, grated Parmesan adds a lovely umami flavor, but feel free to let your creativity shine with alternatives like pecorino.
What’s the best way to store leftover breadstick bones?
Very good question! Store any baked breadstick bones in an airtight container at room temperature for up to 4-5 days. If you want to keep them longer, freezing is the way to go! Simply place them in a freezer bag or container, and they can last for up to 2 months. When you’re ready to enjoy them, just thaw and reheat in a preheated oven at 350°F for 5-7 minutes for that warm, soft texture again!
Can I freeze the dough for breadstick bones before baking?
Yes, you can! To freeze the unbaked dough, first shape the bones and place them on a lined baking sheet. Freeze them until solid, then transfer to a Ziploc bag for easy storage. When you're ready to bake, pop them in the oven straight from the freezer—just add a few extra minutes to the baking time. This is a great way to make ahead for those busy days!
Why didn't my breadstick bones rise properly?
Sometimes this happens, but don’t worry, it’s fixable! Ensure your yeast is active; if it doesn't foam after mixing with warm water and sugar, it may be old or the water temperature was off. Also, make sure your dough is kneaded enough—it should be smooth and slightly tacky but not overly sticky. If your dough is too dry, adding a tiny bit of water during kneading can help; aim for a soft, elastic consistency.
Are these breadstick bones suitable for special dietary needs?
Definitely! This recipe is quite versatile. For gluten-free options, you can use a 1:1 gluten-free flour blend. If you're avoiding dairy, try using a non-dairy butter as a substitute and skip the cheese topping for your breadstick bones. Always check labels for any allergies, especially when serving to guests with dietary restrictions. Enjoy the festivities without worry!
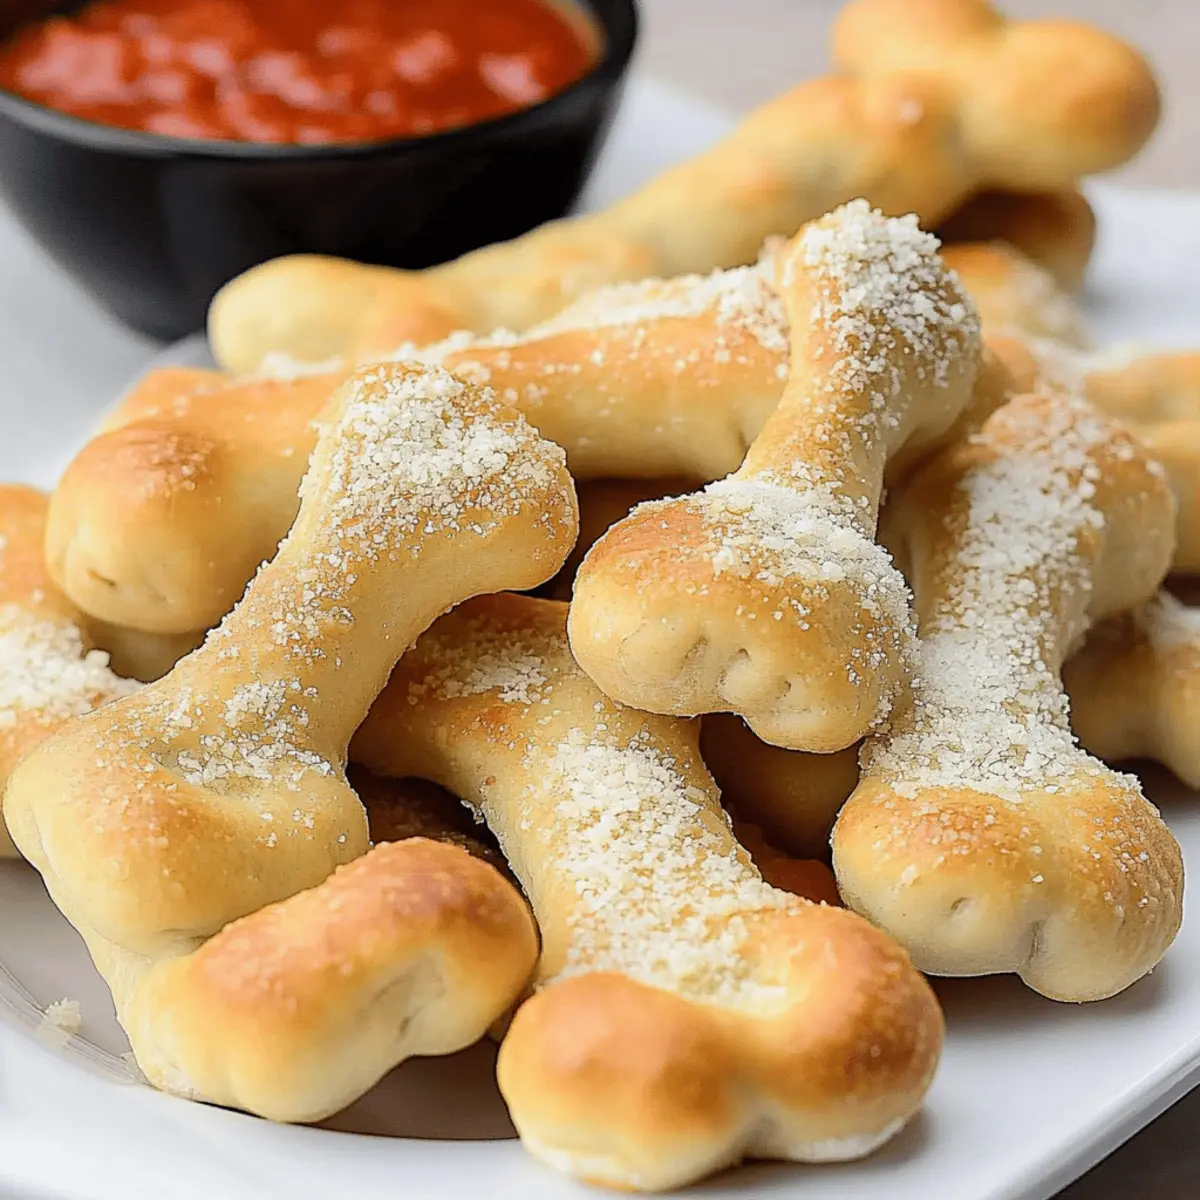
Deliciously Soft Breadstick Bones for a Spooky Halloween Treat
Ingredients
Equipment
Method
- In a medium bowl, combine 1 packet of active dry yeast and 1 tablespoon of sugar with 1 cup of lukewarm water (around 100°F). Stir gently and let it sit for about 5-10 minutes until it becomes frothy.
- Once the yeast is frothy, add 1 teaspoon of salt and 2 tablespoons of canola oil. Gradually mix in 2 cups of all-purpose flour until the dough comes together.
- Turn the dough onto a floured surface and knead for 5-7 minutes until smooth. Place in a greased bowl, cover, and let rise for 1 hour.
- Punch down the dough, divide into 16 pieces, and roll each into a 12-inch rope. Cut slits into the ends to shape them like bones.
- Cover the shaped dough and let rise for another 45 minutes. Preheat the oven to 425°F while they rise.
- Bake the breadsticks for 12-14 minutes until golden brown. They should sound hollow when tapped.
- Brush the warm breadsticks with melted butter, sprinkle with garlic salt and Parmesan cheese. Serve with marinara sauce.


Leave a Reply