
“Did you hear about the goulash?” The intrigued whisper caught my attention as I was rearranging spices on my kitchen shelf. This Cheesy Baked Goulash turned heads at my last family gathering, becoming an instant crowd-pleaser. With a delightful blend of seasoned ground beef, tender macaroni, and a melty cheese topping, it's comfort food that transforms everyday ingredients into something extraordinary. What I love most about this recipe is its quick prep time, allowing you to get dinner on the table without stress. Plus, the leftovers (if there are any!) make for fantastic next-day lunches. So, if you’re ready to embrace hearty, homemade goodness, let’s dive into this recipe and discover why Cheesy Baked Goulash is about to become your new kitchen favorite! What secret ingredient will you add to make it your own?
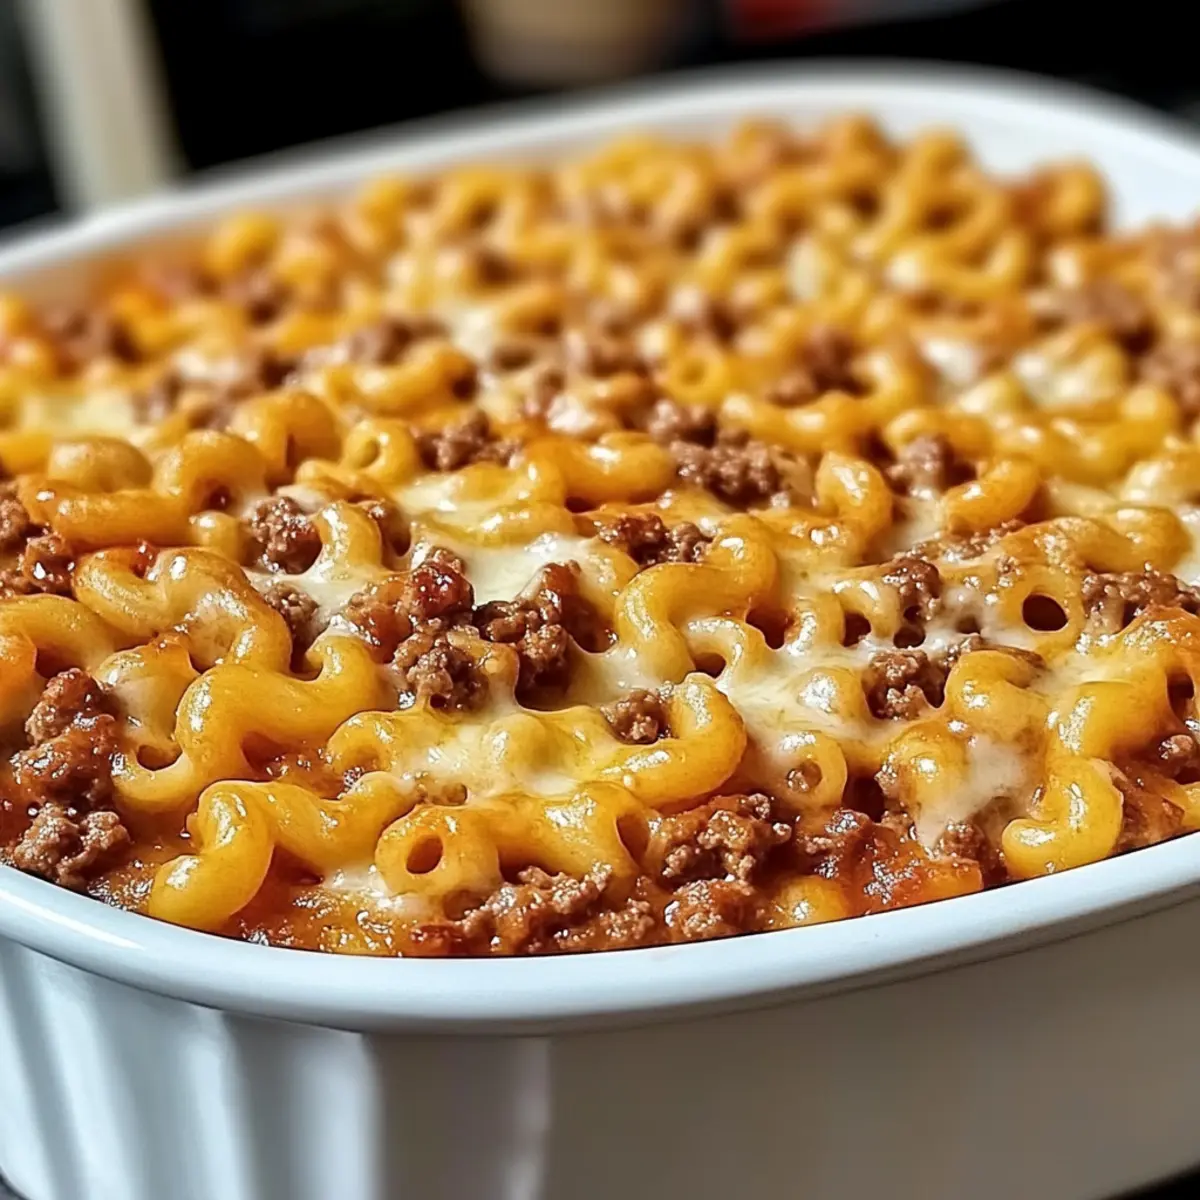
Why is Cheesy Baked Goulash a Must-Try?
Comforting Flavors: This dish combines seasoned ground beef and tender macaroni, creating a hearty embrace for your taste buds.
Quick Prep: Spend less time cooking and more time enjoying with this easy-to-follow recipe—perfect for busy evenings!
Cheesy Indulgence: A golden topping of melted cheese adds that gooey goodness that makes every bite irresistible.
Customizable Goodness: Whether you’re adding veggies like bell peppers or switching beef for turkey, the possibilities are endless! If you’re a fan of cheesy dishes, don’t miss out on pairing it with Cheesy Zucchini Bake or Cheesy Garlic Bread for a truly indulgent meal.
Leftover Perfection: Expect tasty leftovers that reheat beautifully, ready to delight your taste buds the next day!
Cheesy Baked Goulash Ingredients
For the Goulash
- Ground Beef – provides protein and a rich, savory flavor; lean beef is a healthier option.
- Macaroni – acts as the base and provides structure; cook until al dente to avoid mushiness.
- Cheddar Cheese – adds a sharp, tangy flavor; substitute with a mild cheese for less intensity.
- Mozzarella Cheese – contributes to the melty, stretchy topping; can be swapped with provolone for a different taste.
- Spices (Garlic Powder, Onion Powder, Italian Seasoning, etc.) – enhance the overall flavor profile; adjust amounts to taste for an aromatic experience.
- Salt & Pepper – essential for seasoning; adjust for a well-balanced dish.
Optional Add-ins
- Bell Peppers or Olives – introduce more flavor and nutrition; add alongside the beef for even cooking.
Dive into these ingredients and prepare to create a deliciously cheesy goulash that embodies the warmth of comfort food!
Step‑by‑Step Instructions for Cheesy Baked Goulash
Step 1: Preheat the Oven
Begin by preheating your oven to 375°F (190°C). This important first step ensures that your Cheesy Baked Goulash will bake evenly, resulting in a golden and bubbly top. While the oven warms up, you can prepare the other components of the dish to keep the process efficient.
Step 2: Cook the Ground Beef
In a large skillet, heat a splash of oil over medium heat and add the ground beef. Cook it for about 7-10 minutes, stirring occasionally, until it’s browned and fully cooked, breaking it up as you go. Add garlic powder, onion powder, and Italian seasoning while it cooks, allowing the spices to bloom and create a fragrant base for the goulash.
Step 3: Boil the Macaroni
While the beef is cooking, bring a pot of salted water to a boil. Add the macaroni and cook according to package instructions until al dente, usually about 6-8 minutes. Drain the pasta in a colander and set it aside. Properly cooked macaroni is key to a perfect goulash that won’t turn mushy after baking.
Step 4: Combine the Ingredients
In a large mixing bowl, combine the cooked ground beef and drained macaroni. Add half of the cheddar and mozzarella cheese, stirring thoroughly to ensure all ingredients are well combined. Your mixture should be hearty and colorful, showcasing the savory meat alongside the tender pasta.
Step 5: Transfer to Baking Dish
Grease a 9x13 inch baking dish with a touch of oil or butter to prevent sticking. Pour the goulash mixture into the dish, spreading it out evenly. This step sets the stage for baking your Cheesy Baked Goulash, allowing it to meld together and develop delicious flavors.
Step 6: Top with Cheese
Sprinkle the remaining cheddar and mozzarella cheese generously over the top of the goulash mixture. This final layer of cheese creates a delightful, gooey topping that will melt beautifully during baking, giving your dish that signature cheesy appeal.
Step 7: Bake to Perfection
Place the baking dish in the preheated oven and bake for 25-30 minutes. Keep an eye on it; you're looking for the cheese to become golden and bubbly, creating that irresistible crust on top. The enticing aroma will fill your kitchen as the goulash cooks!
Step 8: Cool and Serve
Once baked, carefully remove the Cheesy Baked Goulash from the oven, and let it cool for about 5-10 minutes before serving. This brief cooling period helps the layers set, making it easier to serve generous portions. Scoop it out, and enjoy the warmth and comfort of this delicious dish!
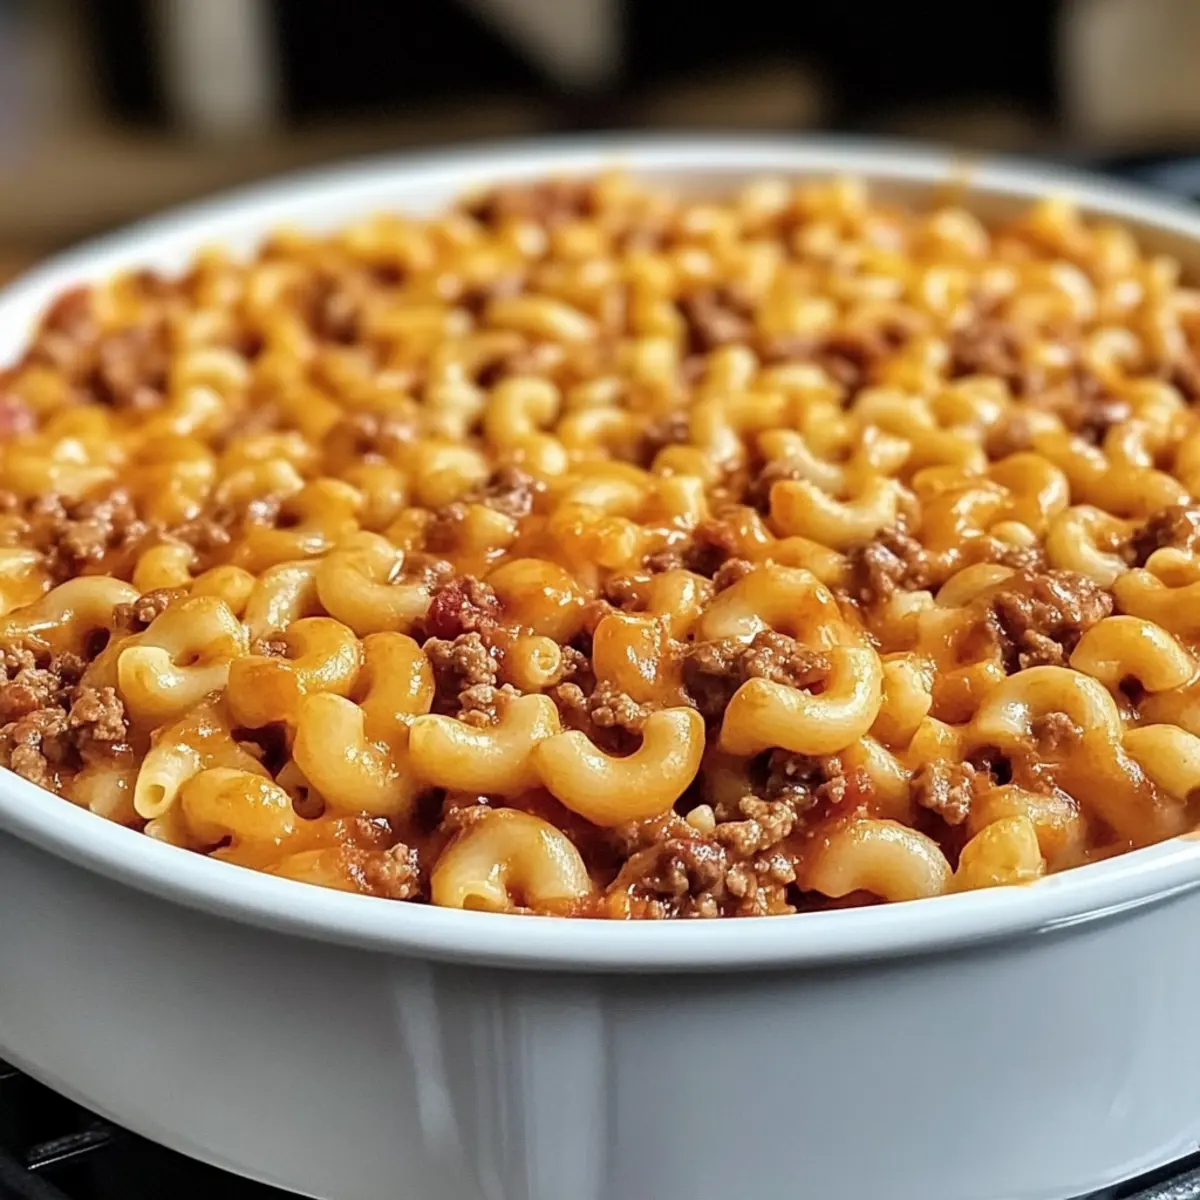
Expert Tips for Cheesy Baked Goulash
- Beef Brilliance: Ensure to brown the ground beef thoroughly for deep, rich flavors—don’t rush this significant step.
- Cheese Mastery: Feel free to mix different cheese types; blending sharp cheddar and creamy mozzarella gives the best cheesy flavor.
- Pasta Perfection: Cook macaroni al dente to maintain texture; overcooking will lead to a mushy goulash when baked.
- Flavor Boost: Don’t skip adding spices; they enhance the overall profile of your Cheesy Baked Goulash. Adjust seasoning based on your taste preferences.
- Make-Ahead Magic: Prepare components in advance and assemble the dish to save time on busy evenings. Store it in the fridge until you're ready to bake!
Make Ahead Options
Preparing Cheesy Baked Goulash ahead of time is a fantastic way to save time on busy weeknights! You can cook the ground beef and boil the macaroni up to 24 hours in advance; simply store them in the refrigerator in separate airtight containers. Mix these components with the cheeses and spices just before baking, ensuring everything is well-combined for optimal flavor. If you prefer, you can assemble the entire goulash in the baking dish and refrigerate it before baking; it will stay fresh for up to 3 days. When ready to serve, just pop it in the oven and bake as directed—this method ensures your dish remains just as delicious and cheesy without any additional fuss!
What to Serve with Cheesy Baked Goulash
Create a perfect meal that complements the comforting flavors of this cheesy casserole while tantalizing your taste buds!
- Garlic Bread: Crispy, buttery, and aromatic, this classic pairing is perfect for scooping up goulash.
- Mixed Green Salad: A vibrant, refreshing side adds crunch and balances the richness of the goulash. Toss it with a light vinaigrette for extra zing.
- Steamed Broccoli: Tender, bright green florets offer a healthy contrast to the cheesy dish, making each bite feel lighter.
- Roasted Vegetables: Root vegetables like carrots and zucchini roasted to caramelized perfection bring a hearty, wholesome aspect to the meal.
- Italian Bruschetta: Topped with fresh tomatoes and basil, these bites add a refreshing burst of flavor. They bring an Italian flair to your dinner table.
- Fruit Salad: A sweet, juicy blend dispels heaviness and offers a delightful contrast to the cheesy richness, refreshing your palate with each bite.
- Wine Pairing: A glass of Merlot or Chianti complements the savory notes of the goulash beautifully, enriching the entire dining experience.
- Apple Crisp: End your meal with a warm dessert featuring spiced apples and a buttery crumble, creating a cozy finish that echoes home-cooked love.
Cheesy Baked Goulash Variations
Feel free to unleash your creativity and make this comforting goulash uniquely yours in delightful ways!
-
Dairy-Free: Substitute cashew cream and nutritional yeast for cheese, creating a rich, creamy texture without dairy.
-
Gluten-Free: Use gluten-free pasta to enjoy this goulash while adhering to dietary needs. You'll never miss the regular noodles!
-
Vegetable Boost: Fold in sautéed vegetables like bell peppers, zucchini, or spinach for extra nutrition and vibrant flavors. These add-ins contribute a lovely pop of color!
-
Spice Up the Heat: Add a pinch of red pepper flakes for a gentle kick, or toss in some diced jalapeños to amp up the spice level for those who love heat.
-
Meat Swap: Change ground beef for turkey or chicken for a lighter option that's just as satisfying. The flavor profile remains deliciously intact.
-
Italian Flair: Mix in marinara sauce and Italian sausage for an aromatic twist that elevates the dish from good to unforgettable.
-
Smoky Flavor: Incorporate smoked paprika or a dash of liquid smoke to infuse a smoky undertone that adds depth. It'll remind you of a cozy campfire meal.
For an extra cheesy experience, try pairing this dish with Cheesy Corn Fritters or serve it alongside some Cheesy Garlic Bread. Enjoy your customized creation!
How to Store and Freeze Cheesy Baked Goulash
Refrigerator: Store leftovers in an airtight container for up to 3 days. This keeps your Cheesy Baked Goulash fresh and ready for those quick meal moments.
Freezer: Seal the goulash in a freezer-safe container or wrap tightly with freezer wrap for up to 2 months. This method preserves its cheesy goodness until you’re ready to enjoy it!
Reheating: When you're ready to enjoy your frozen goulash, thaw it overnight in the fridge. Reheat in the oven at 350°F (175°C) for about 20-25 minutes, or until heated through and the cheese is bubbly again.
Single Servings: For easy meals, consider portioning it into individual servings before freezing. This makes it simple to grab a dish whenever you're craving comfort food!
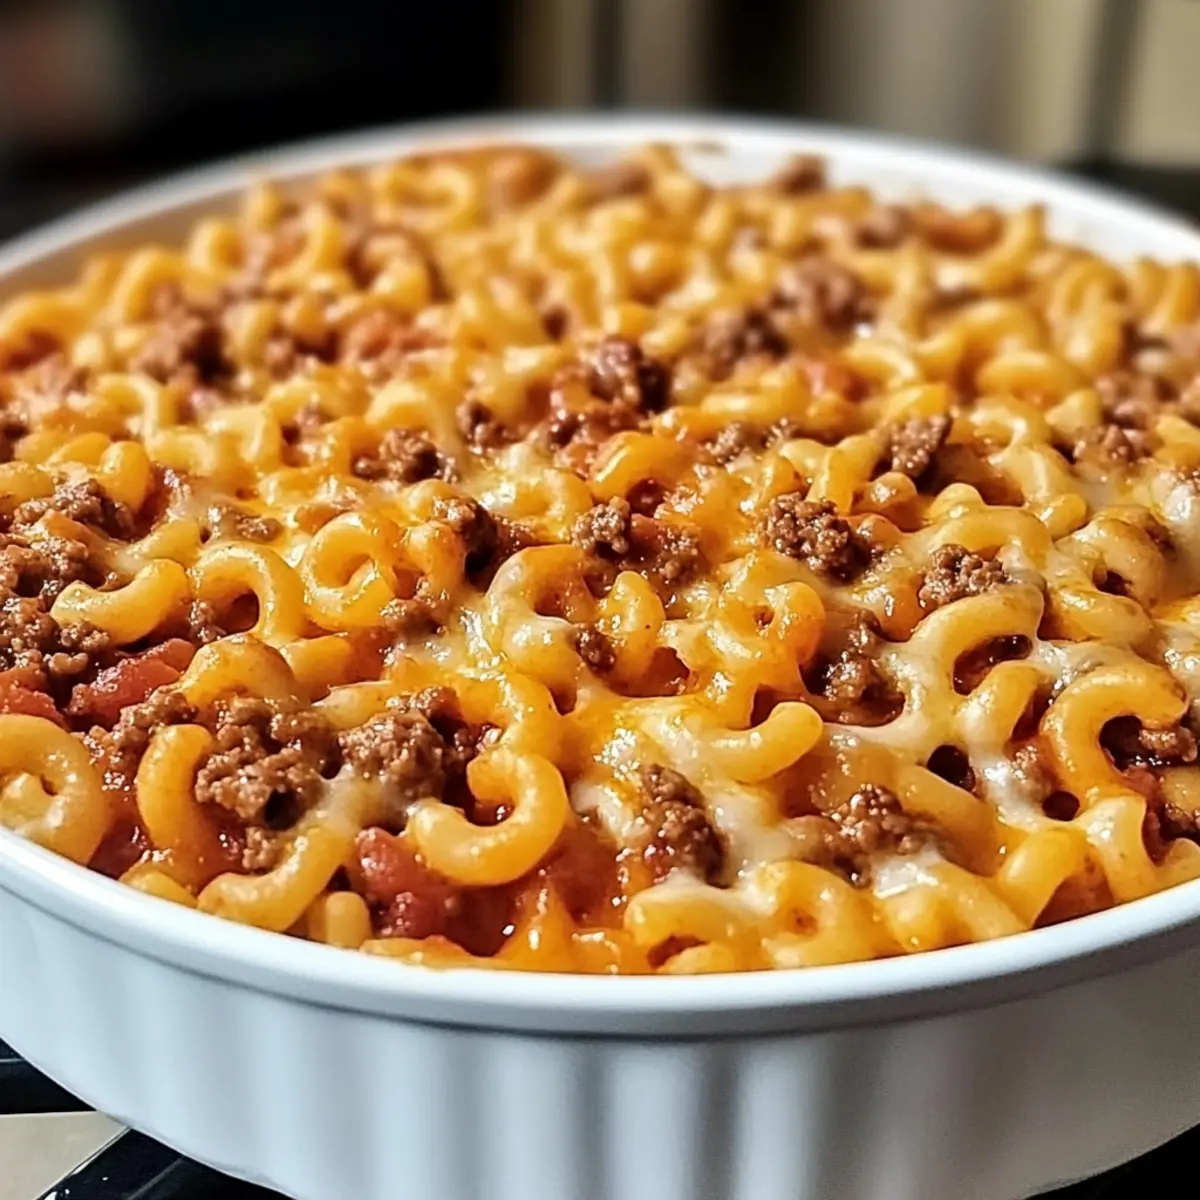
Cheesy Baked Goulash Recipe FAQs
What type of ground beef should I use for Cheesy Baked Goulash?
I recommend using lean ground beef; it provides that rich, savory flavor without too much grease. Just be sure to brown it thoroughly for the best flavor!
How should I store leftover Cheesy Baked Goulash?
Store your leftovers in an airtight container in the refrigerator for up to 3 days. It’s easy to simply scoop and heat up for a quick meal later in the week!
Can I freeze Cheesy Baked Goulash?
Absolutely! To freeze, let it cool completely and then transfer it to a freezer-safe container. Wrap it tightly or use heavy-duty foil. It can be frozen for up to 2 months. For best results, label your container with the date so you can keep track!
How do I reheat frozen Cheesy Baked Goulash?
Thaw the goulash overnight in the refrigerator for the best texture. Preheat your oven to 350°F (175°C), place the goulash in a baking dish, and cover it with foil. Bake for about 20-25 minutes or until heated through and bubbly. If you want an extra crispy top, remove the foil for the last 5 minutes of baking!
What if I have allergies or dietary concerns?
If you're concerned about gluten, you can use gluten-free pasta. For a healthier option, swap out ground beef for turkey or chicken. Additionally, always check cheese labels for any lactose concerns and opt for dairy-free alternatives when needed. Always tailor the recipe to fit your dietary needs!
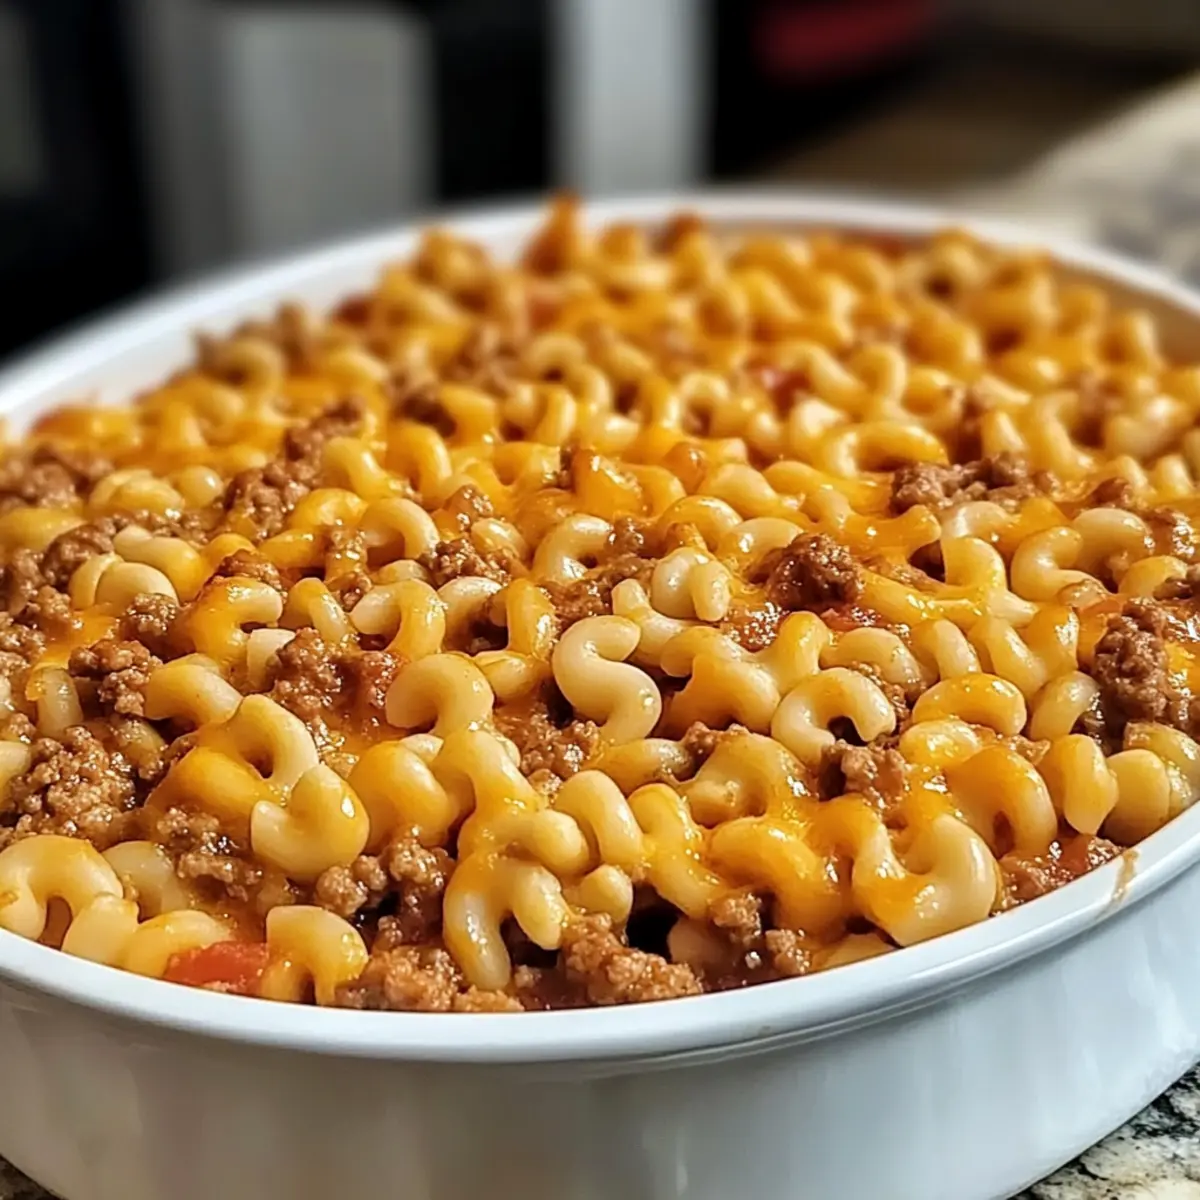
Cheesy Baked Goulash: Your New Family Comfort Food Hero
Ingredients
Equipment
Method
- Preheat your oven to 375°F (190°C).
- In a large skillet, heat a splash of oil over medium heat and add the ground beef. Cook for about 7-10 minutes until browned, adding garlic powder, onion powder, and Italian seasoning.
- In a pot of salted water, bring to a boil and cook the macaroni until al dente (6-8 minutes). Drain and set aside.
- In a large mixing bowl, combine cooked ground beef and drained macaroni. Add half of the cheddar and mozzarella cheese, stirring to combine.
- Grease a 9x13 inch baking dish. Pour the goulash mixture into the dish and spread evenly.
- Sprinkle remaining cheddar and mozzarella cheese over the top.
- Bake for 25-30 minutes until cheese is golden and bubbly.
- Allow to cool for 5-10 minutes before serving.


Leave a Reply