
As I uncovered a gem of a recipe in my kitchen the other day, the allure of Tex-Mex aromas filled the air, whisking me back to carefree taco nights with friends. Enter the Walking Taco Casserole—a genius solution for those craving tacos without the fuss of assembly. This delightful dish blends hearty ground beef, crunchy chips, and gooey melted cheese, making it a comforting meal that's perfect for busy weeknights or game day festivities. One of the best parts? It’s completely customizable, inviting you to explore vegetarian, low-carb, or even breakfast variations to suit your crew's tastes. Plus, with its quick prep time, you’ll have more moments to savor and less time slaving away in the kitchen. Curious how to whip up this mouthwatering casserole? Let’s dive in!
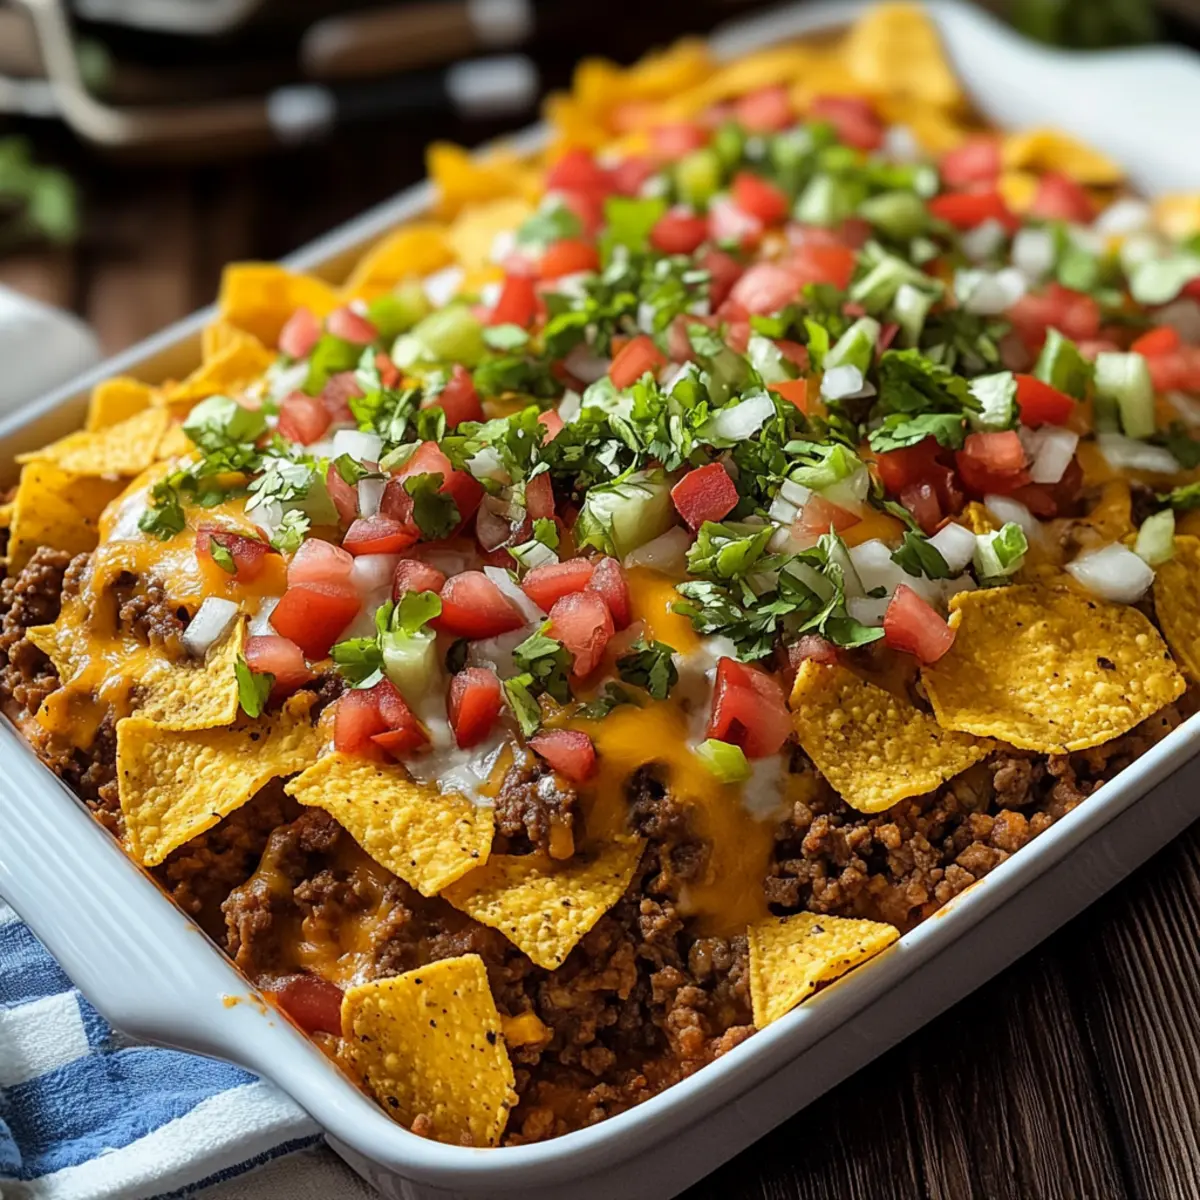
Why is Walking Taco Casserole a Must-Try?
Convenience is key! This recipe comes together quickly, making it your go-to for busy weeknights. Flexibility shines through with options like vegetarian or low-carb adaptations, catering to everyone’s dietary needs. Flavor-packed with savory taco spices, each bite is a fiesta of taste! Crowd-pleasing and visually appealing, it’s bound to impress at gatherings. Pair it with a side of fresh guacamole or a crisp salad for the ultimate meal experience.
Walking Taco Casserole Ingredients
Looking to whip up a delicious Walking Taco Casserole? Check out these essential ingredients!
For the Casserole
• Ground Beef – Main protein source; feel free to substitute with ground turkey or chicken for a leaner dish.
• Onion – Adds flavor and aroma; yellow or white onion works well, or try shallots for a milder taste.
• Taco Seasoning – Provides essential spices for flavor; consider using homemade seasoning for an extra flavor boost!
• Water – Helps cook the seasoning and meat mixture; no substitutes needed here.
• Chili Beans – Adds texture and protein; swap in black beans for a vegetarian option if desired.
• Rotel (Diced Tomatoes with Green Chilies) – Introduces moisture and a spicy kick; canned diced tomatoes or enchilada sauce can also be used for a twist.
• Shredded Cheddar Cheese – Melts beautifully, adding creaminess; Monterey Jack or a Mexican blend are perfect substitutes.
• Crushed Doritos or Corn Chips (Fritos) – Creates that delightful crunchy base; any sturdy tortilla chip works well if you prefer a different flavor.
Optional Toppings
• Sour Cream – Adds a creamy, tangy note; perfect for balancing spiciness!
• Shredded Lettuce – Provides a fresh crunch; layer it on right before serving for best texture.
• Diced Tomatoes – Brightens the dish and adds juiciness; choose fresh or canned!
• Green Onions – Offers a mild onion flavor; slice them up for a burst of color and taste.
• Cilantro – Adds a refreshing herbaceous touch; sprinkle it on top for added flair.
Step‑by‑Step Instructions for Walking Taco Casserole
Step 1: Preheat the Oven
Begin by preheating your oven to 350°F (175°C). While it's heating up, take a moment to grease a 9x13-inch baking dish to prevent the casserole from sticking later. Once preheated, your kitchen will be filled with delightful Tex-Mex aromas, setting the stage for your Walking Taco Casserole.
Step 2: Cook the Meat
In a large skillet over medium heat, add your ground beef along with the diced onion. Cook for about 5-7 minutes, or until the meat is browned and the onions are translucent. Make sure to break up the beef as it cooks. Once ready, drain any excess grease to keep your casserole from becoming oily.
Step 3: Add Flavor
Stir in your taco seasoning along with the recommended amount of water, letting the mixture simmer for 2–3 minutes. This will allow the spices to bloom and infuse your beef with rich flavor. Keep an eye on the skillet as the mixture thickens, making sure everything is evenly coated and deliciously fragrant.
Step 4: Mix in Beans and Rotel
Next, add the chili beans and Rotel to the beef mixture. Continue to simmer for an additional 2–3 minutes to let all the flavors meld together. You’ll want the mixture to be heated through and slightly saucy, which will create a hearty base for your Walking Taco Casserole.
Step 5: Layer the Casserole
Now, spread half of the crushed chips evenly across the bottom of your greased baking dish. Carefully pour the beef mixture over the chips, allowing it to create an even layer. Then, sprinkle a generous amount of shredded cheese on top, ensuring that it covers the entire surface for cheesy goodness.
Step 6: Bake
Place the assembled casserole in your preheated oven and bake uncovered for 15–20 minutes. Look for the cheese to melt beautifully and start bubbling, signaling that your Walking Taco Casserole is nearly ready. The enticing aroma will have everyone gathered in the kitchen!
Step 7: Top and Serve
Once the cheese is bubbly and golden, carefully remove the casserole from the oven. Before serving, top it with the remaining crushed chips and any desired toppings like sour cream, lettuce, or diced tomatoes. This adds a fresh and colorful touch to your Walking Taco Casserole, making it a feast for the eyes and the palate.
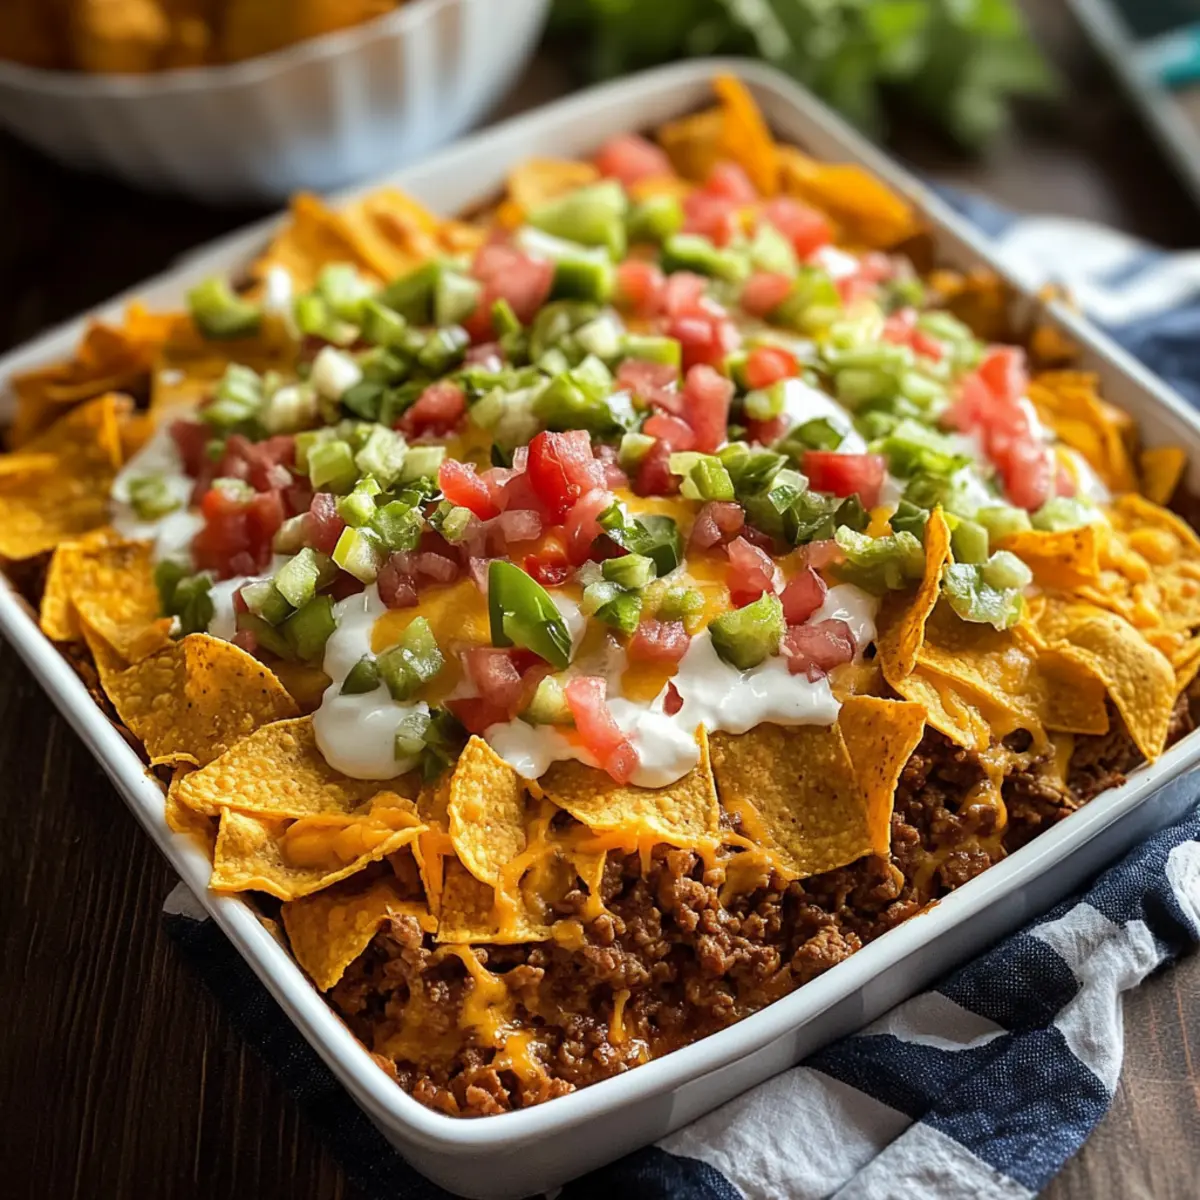
What to Serve with Walking Taco Casserole?
This delicious casserole transforms your dinner table into a festive feast, inviting vibrant flavors and heartwarming aromas into your home.
- Crispy Side Salad: Refreshing greens tossed with a zesty vinaigrette provide a bright contrast to the richness of the casserole. It’s a lovely palette cleanser!
- Homemade Guacamole: Creamy and rich, this dip brings a delightful creaminess that complements the crunchy chips beautifully. Scoop it generously on top or on the side!
- Mexican Street Corn: BBQ-flavored corn on the cob drizzled with lime and chili powder adds a sweet, smoky element that balances the spiciness of the casserole.
- Pico de Gallo: Fresh, diced tomatoes, onions, and cilantro add a burst of flavor and color, enhancing the Tex-Mex theme while keeping things light.
- Cheesy Nachos: Why not double the fun? Serve warm nachos alongside for an indulgent munching experience, allowing guests to snack while they savor every bite of their casserole.
- Frozen Margaritas: To wash it all down, serve up refreshing margaritas on the rocks. The icy blend of lime and tequila will elevate the meal, making it a true fiesta evening.
With these delightful pairings, your Walking Taco Casserole night promises to be a memorable culinary celebration!
Expert Tips for Walking Taco Casserole
• Grease-Free Cooking: Ensure to drain excess grease from the meat after browning; this keeps your casserole creamy without being overly greasy.
• Spice Customization: Adjust spice levels by using mild or spicy taco seasoning based on your family’s taste preference; experiment with additional chili powders if you like heat.
• Fresh Toppings: For the best texture and flavor contrast, add fresh toppings like lettuce and diced tomatoes just before serving, enhancing the Walking Taco Casserole experience.
• Make-Ahead Meal: Assemble your casserole a day in advance and store it in the refrigerator. This saves time on busy nights and allows flavors to meld wonderfully!
• Crispy Chips: To maintain the crunch of the chips, reserve some to sprinkle on top right before serving instead of mixing them in directly before baking.
Walking Taco Casserole Variations
Feel free to explore unique twists and substitutions to make this Walking Taco Casserole your own creation!
-
Vegetarian: Swap ground beef for black beans, lentils, or a plant-based meat alternative. This keeps all the flavors but adds a fresh, healthy vibe.
-
Low-Carb: Skip the chips and serve the casserole over a bed of refreshing shredded lettuce instead. It’s a light, crunchy base that satisfies!
-
Breakfast Style: Mix in scrambled eggs and breakfast sausage for a delightful morning take on the dish. It’s a savory way to start your day!
-
Cheesy Deluxe: Add a layer of cream cheese or queso alongside the shredded cheese for a rich, creamy texture that’ll enhance every bite.
-
Spicy Kick: Incorporate diced jalapeños or spicy salsa into the beef mixture for those who love an extra heat level. Every forkful becomes an exciting adventure!
-
Corny Addition: Draining a can of sweet corn and folding it into the casserole adds a delightful, sweet crunch to counterbalance the savory components. It’s a unique twist!
-
Baked Nacho Style: Top with additional cheese and bake the casserole for a few extra minutes. The golden, crispy layer on top turns every bite into a crunchy fiesta!
-
Creamy Avocado: Cut up ripe avocados and toss them on right before serving. This adds a creamy, luscious touch that perfectly complements the spices.
If you enjoy flexibility in your meals, you might also like my creamy Cornbread Breakfast Casserole or the flavorful Spicy Miso Casserole. Give these variations a try, and let your kitchen creativity shine!
Make Ahead Options
These Walking Taco Casserole is a fantastic choice for meal prep enthusiasts looking to save time during busy weeknights! You can assemble the entire casserole up to 24 hours in advance by following the layering instructions and refrigerating it before baking. To maintain the casserole's quality, cover it tightly with plastic wrap or aluminum foil to prevent drying out. When ready to serve, simply preheat your oven and bake the casserole for 20-25 minutes, until the cheese is melted and bubbly. This way, you can enjoy a delightful, homemade meal with minimal effort on the day you need it!
How to Store and Freeze Walking Taco Casserole
- Room Temperature: Leftovers can sit out for no more than 2 hours; beyond that, they should be refrigerated to ensure food safety.
- Fridge: Store your Walking Taco Casserole in an airtight container for up to 4 days. Reheat in the oven or microwave until warmed through.
- Freezer: For longer storage, freeze before baking for up to 2 months. Wrap tightly with plastic wrap and foil to prevent freezer burn.
- Reheating: Thaw overnight in the fridge before baking. To reheat, place in a 350°F oven for about 20 minutes until heated thoroughly.
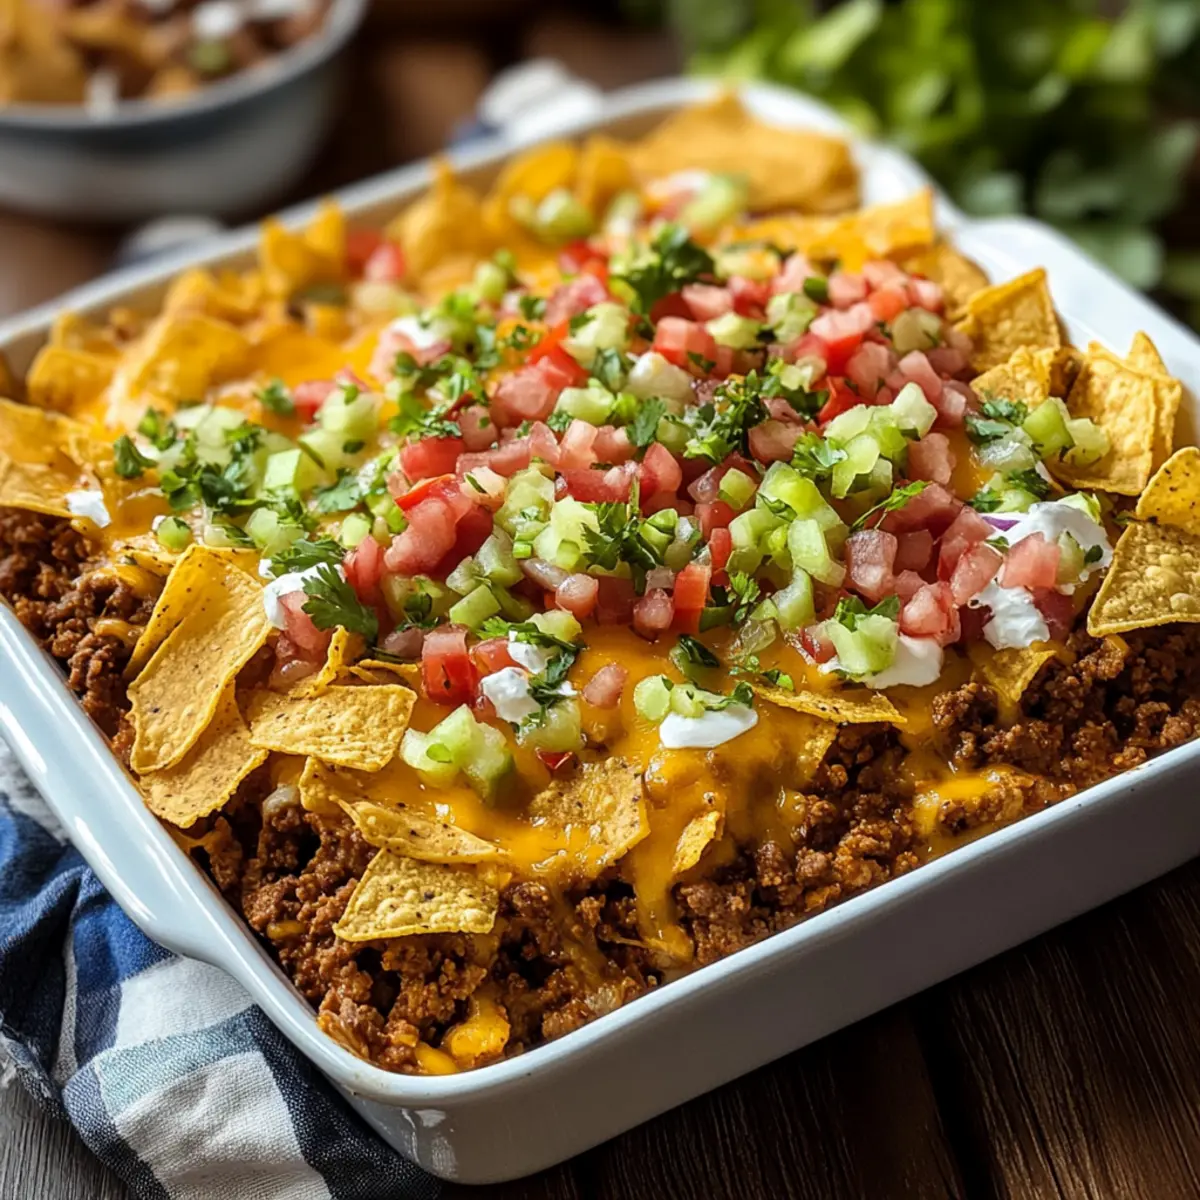
Walking Taco Casserole Recipe FAQs
How do I choose the best ground beef for this casserole?
Absolutely! When selecting ground beef, look for meat with around 80% lean content for the perfect balance of flavor and juiciness. Avoid overly fatty options as they can make the casserole greasy. You might also consider ground turkey or chicken as lighter alternatives that work well in this dish.
What’s the best way to store leftover Walking Taco Casserole?
After enjoying your casserole, cool it down and transfer any leftovers to an airtight container. Stored in the refrigerator, your Walking Taco Casserole will last for up to 4 days. For optimal taste, reheat it either in the oven or microwave until it's warmed through—delicious!
Can I freeze Walking Taco Casserole?
Yes, you can! For freezing, prepare the casserole but do not bake it. Instead, cover it tightly with plastic wrap and then with aluminum foil to avoid freezer burn. It can remain in the freezer for up to 2 months. When you’re ready to enjoy it, simply thaw overnight in the refrigerator, then bake at 350°F (175°C) for about 30-35 minutes until bubbly and hot.
What can I do if my casserole is too dry?
If your casserole turns out dry, there are a few things to consider. First, ensure you’re using enough sauce (like Rotel or diced tomatoes) in the meat mixture. You can also add a splash more water while cooking the meat to keep it moist. If it’s already baked, try adding a dollop of sour cream or a drizzle of salsa when serving to enhance moisture.
Are there any dietary considerations for the Walking Taco Casserole?
Very! For a vegetarian option, simply swap the ground beef for black beans or a meat substitute like lentils. If gluten is a concern, check that your tortilla chips are gluten-free, or use corn chips. Always consider your guests' dietary needs, and don't hesitate to customize with fresh toppings, keeping any allergens in mind!
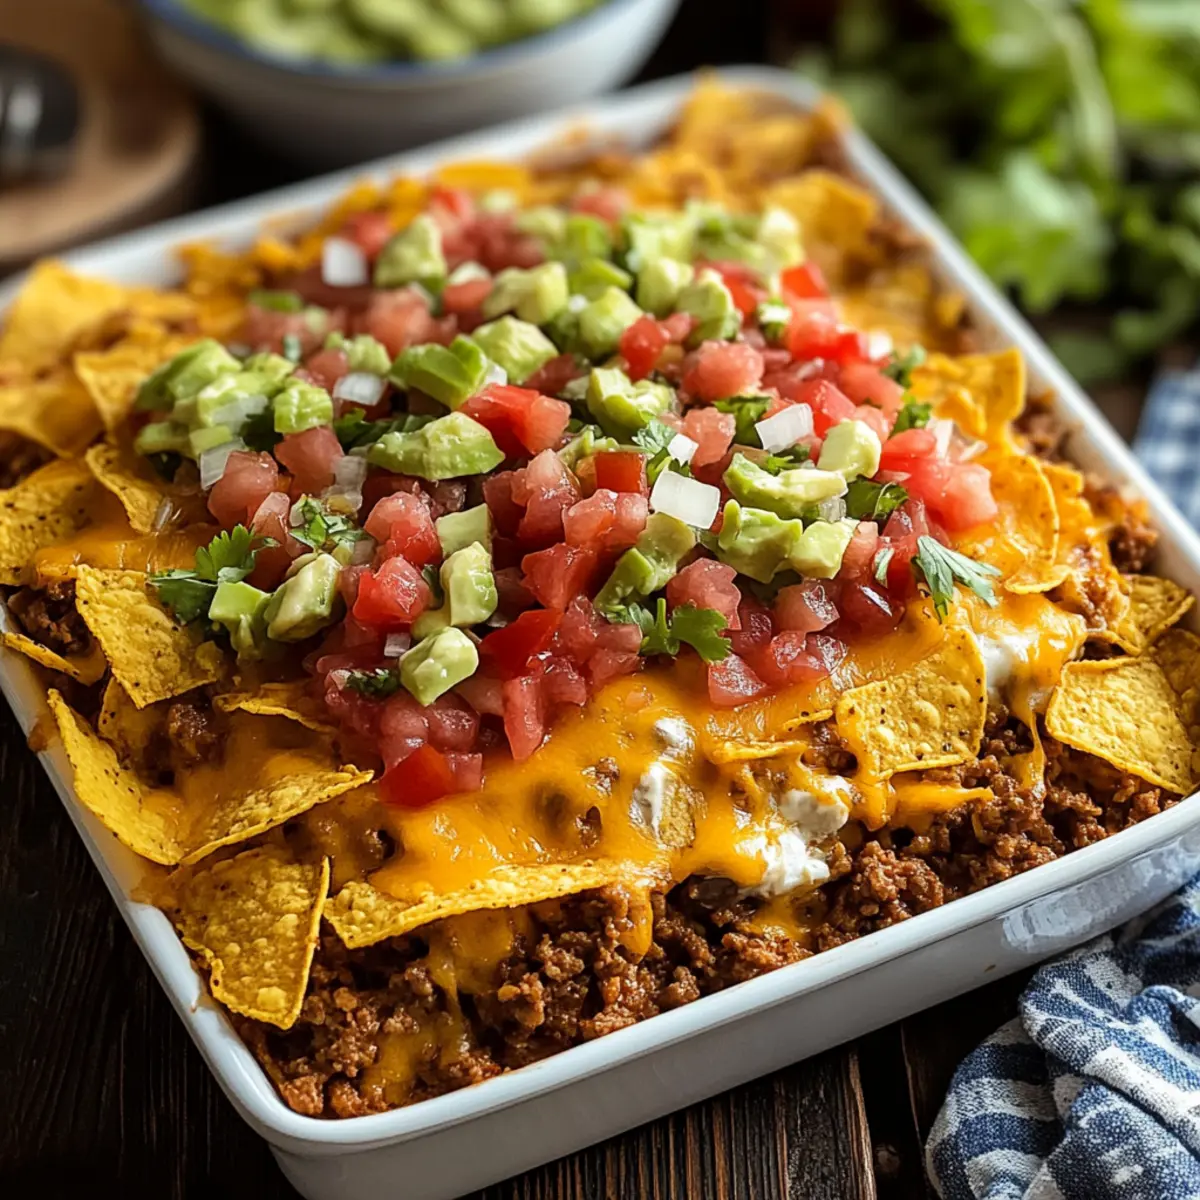
Delicious Walking Taco Casserole Perfect for Any Night
Ingredients
Equipment
Method
- Preheat your oven to 350°F (175°C) and grease a 9x13-inch baking dish.
- In a large skillet over medium heat, add ground beef and diced onion; cook until browned and onions are translucent.
- Stir in taco seasoning and water, letting the mixture simmer for 2-3 minutes.
- Add chili beans and Rotel to the beef mixture, and simmer for another 2-3 minutes.
- Spread half of the crushed chips in the baking dish, pour the beef mixture over it, then top with the remaining cheese.
- Bake uncovered for 15-20 minutes until cheese is melted and bubbly.
- Top with remaining crushed chips and desired toppings before serving.


Leave a Reply