
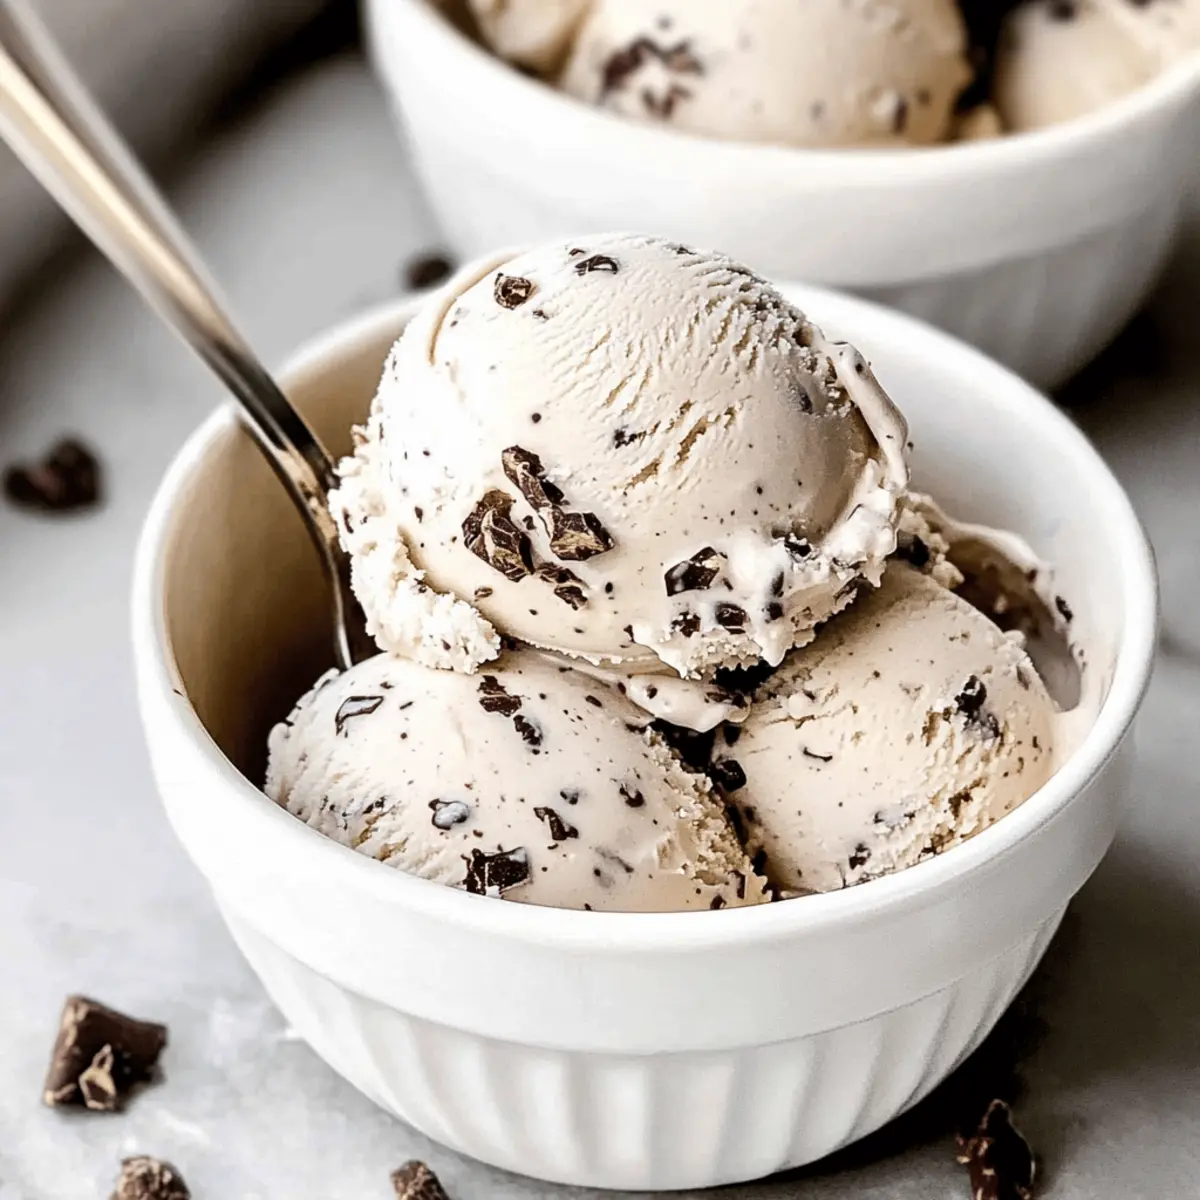
As I stood in my kitchen, the sun streaming through the window, I was struck by a simple thought: why not indulge in a homemade treat that’s both kind and creamy? This sparked my journey to create a delightful Vegan Cacao Nib Ice Cream. Not only is this dessert a luscious escape from the ordinary, but it also comes together in no time, making it perfect for those spontaneous warm days. The combination of cashews and coconut milk brings a richness you might not expect from a dairy-free option, while the cacao nibs provide intriguing crunch and depth. Ready to satisfy your sweet tooth without the guilt? Let’s dive into this easy, vegan ice cream adventure together!
Why Is This Ice Cream So Special?
Deliciously Creamy: The blend of raw cashews and coconut milk creates a rich, velvety texture that rivals traditional ice cream.
Wholesome Ingredients: With natural sweeteners like maple syrup and nutritious fats from coconut, you can indulge without the guilt.
Unique Flavor Profile: Crunchy cacao nibs add not just texture but a delightful contrast that elevates the overall taste. Consider trying this ice cream alongside a bowl of Furikake Fried Rice for the perfect meal combo!
Quick and Easy: No complex techniques here! It’s simple enough for any home chef to whip up in no time.
Crowd-Pleasing Deserves: Perfect for gatherings, this vegan treat is bound to impress family and friends, offering a kinder alternative to classic ice cream.
Creative Variations: Feel free to customize with mix-ins or toppings, creating a new flavor every time. Why not experiment with flavors like espresso or fruit?
Ingredients for Vegan Cacao Nib Ice Cream
For the Base
- Raw cashews – Provides creaminess and richness to the ice cream base; soak overnight for best texture.
- Full-fat coconut milk – Acts as the primary dairy substitute, adding richness and smoothness.
- Coconut oil – Enhances the creamy texture and helps with the ice cream's structure when frozen.
- Maple syrup – A natural sweetener that complements the coconut flavors; substitute with agave syrup for a similar effect.
- Vanilla extract – Adds aromatic flavor depth; use pure vanilla for better quality.
- Sea salt – Balances sweetness and enhances overall flavor; do not omit.
For the Mix-In
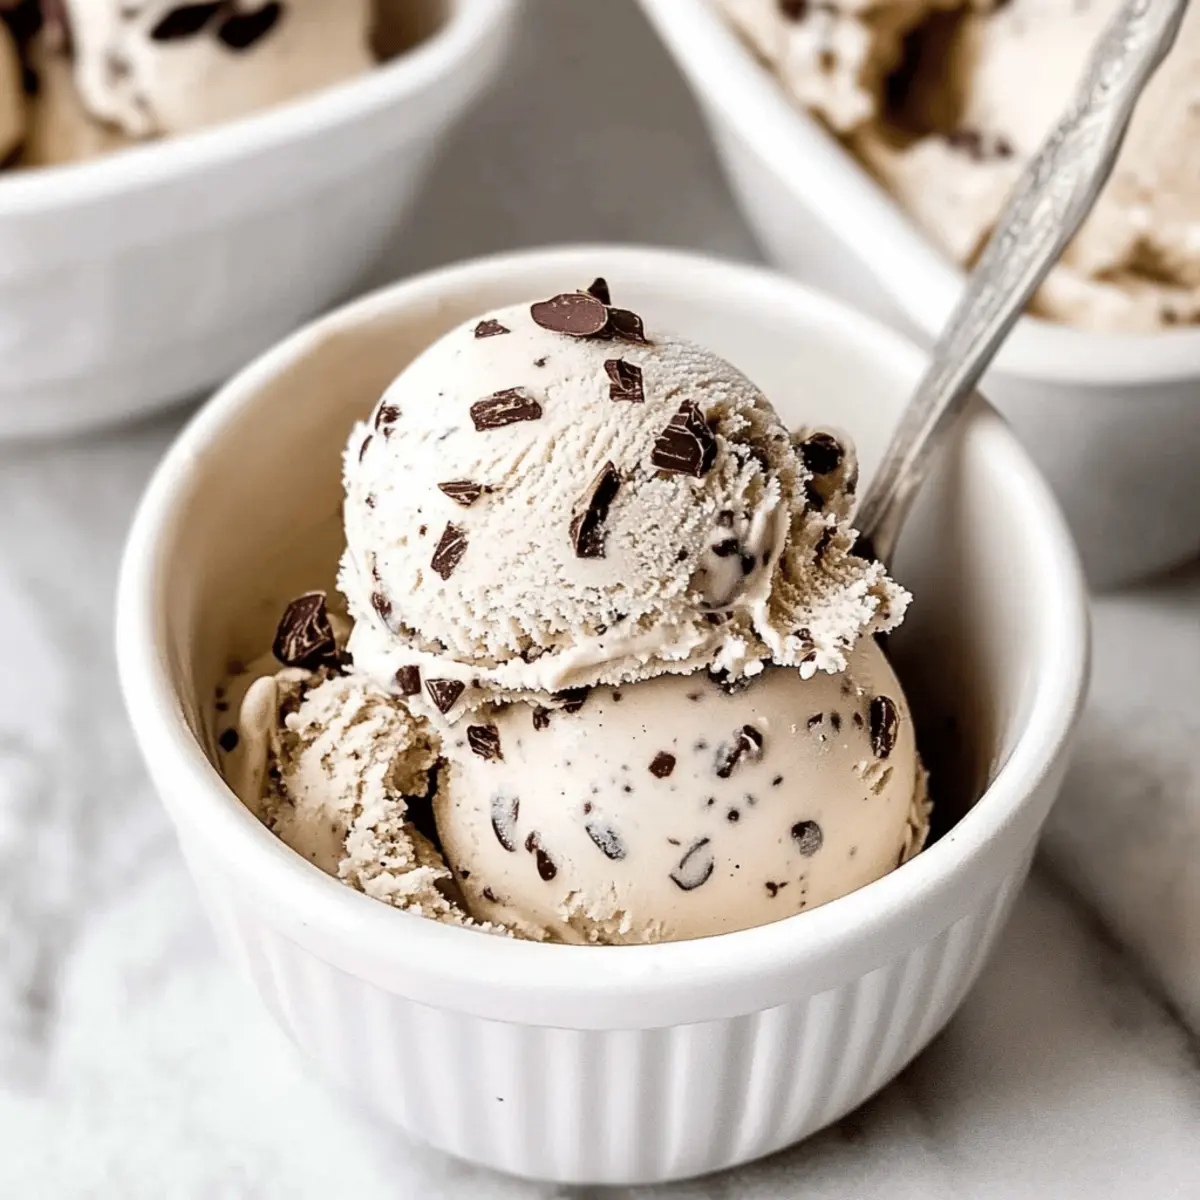
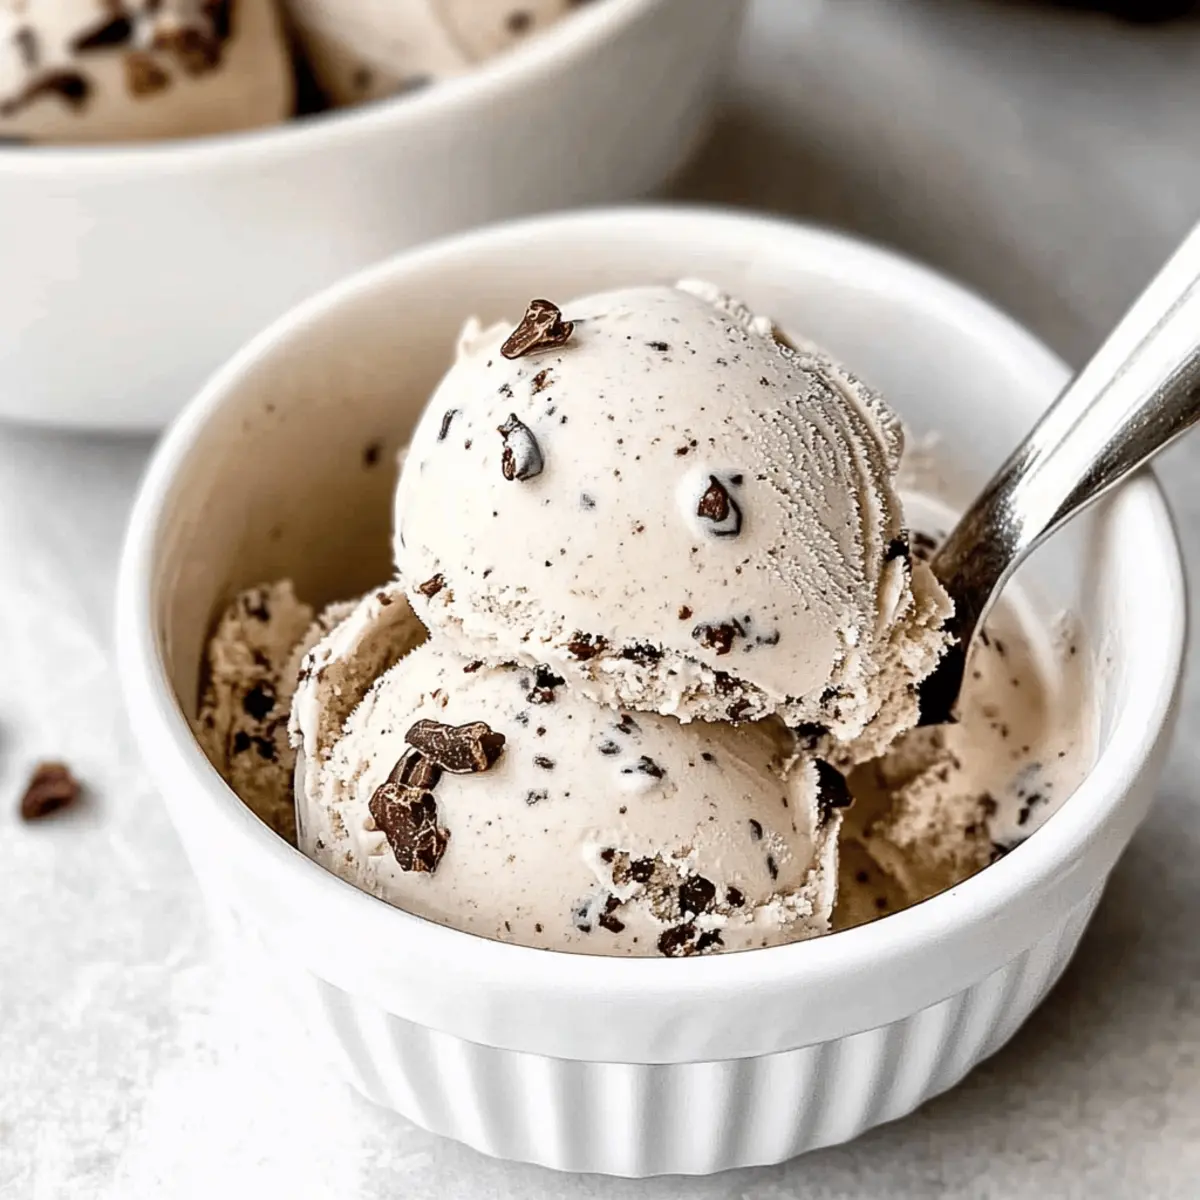
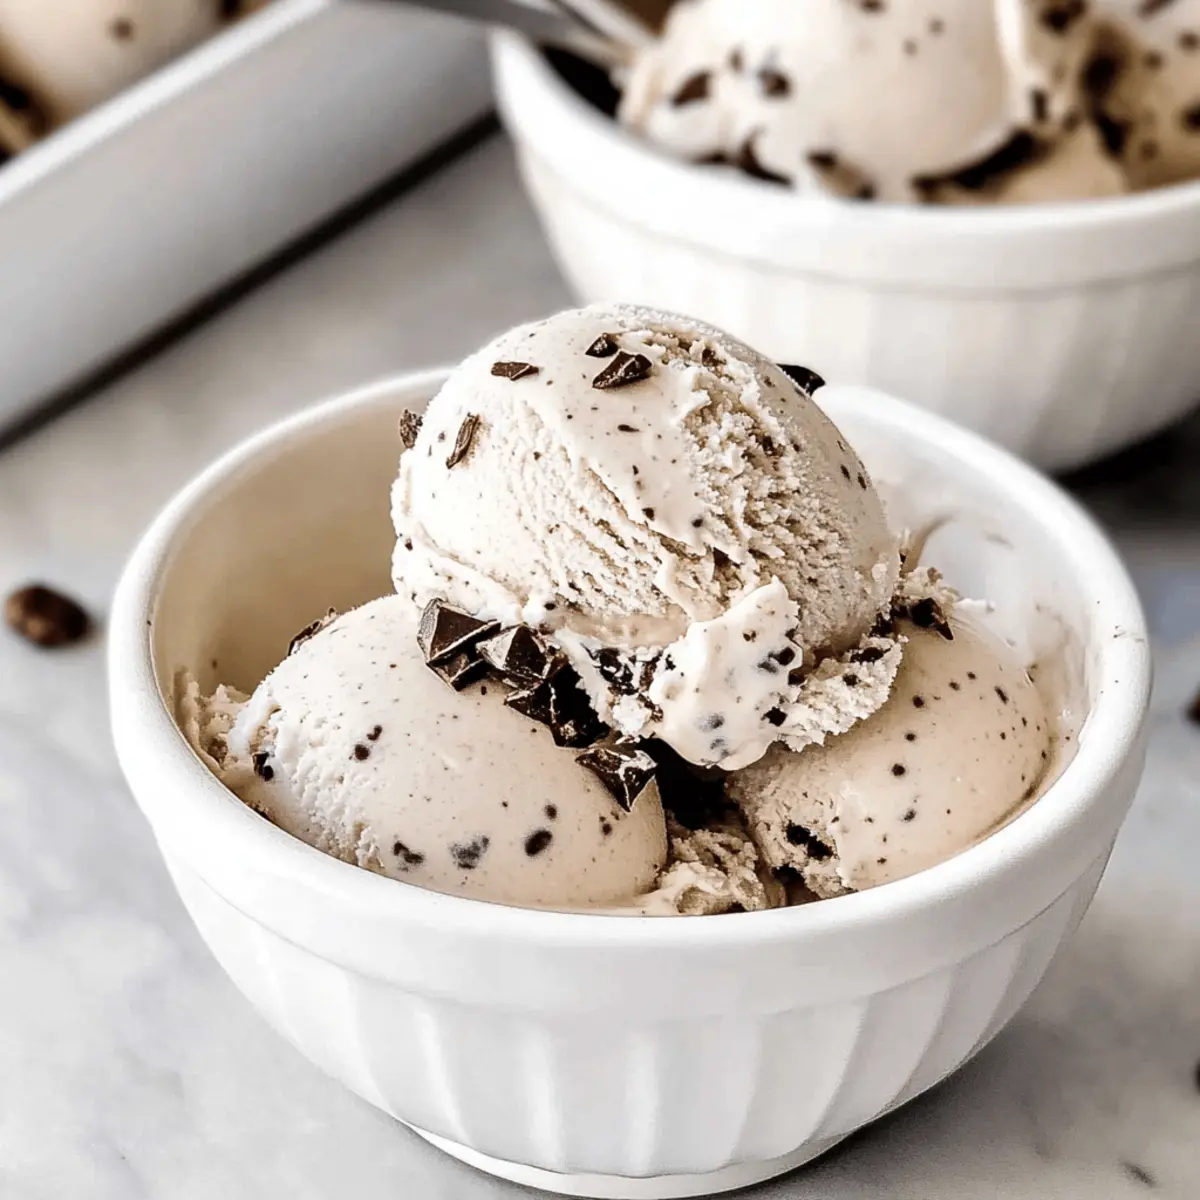
- Cacao nibs – Adds a crunchy texture and dark chocolate flavor; replace with dark chocolate chips for a different taste.
Step‑by‑Step Instructions for Vegan Cacao Nib Ice Cream
Step 1: Create the Base
In a high-powered blender, combine soaked raw cashews, full-fat coconut milk, melted coconut oil, maple syrup, vanilla extract, and a pinch of sea salt. Blend these ingredients on high until the mixture becomes ultra-smooth and creamy, typically about 1-2 minutes. The result should be a luscious, rich base that will serve as the foundation for your Vegan Cacao Nib Ice Cream.
Step 2: Chill the Mixture
Transfer the creamy ice cream base into a covered bowl and refrigerate for at least 4 hours. This step is crucial as it allows the flavors to meld beautifully while chilling the mixture until it’s cold enough for ice cream making. Keep an eye on the time, as a properly chilled base will churn more effectively and yield a creamier texture.
Step 3: Make the Ice Cream
Once thoroughly chilled, pour the ice cream base into your ice cream maker. Churn according to the manufacturer's instructions, which usually takes about 20-25 minutes. Just before the churning process is complete, add in the cacao nibs, allowing them to blend in evenly. The mixture should thicken to a soft-serve consistency, rich with the delightful crunch of nibs.
Step 4: Freeze
After churning, transfer the ice cream into a loaf pan and spread it evenly. Cover the pan tightly with a lid or plastic wrap and place it in the freezer for at least 3-4 hours. This final freezing step will firm up the Vegan Cacao Nib Ice Cream, making it perfect for scooping and serving later.
Step 5: Serve
When you're ready to enjoy your delicious creation, remove the ice cream from the freezer. Allow it to sit at room temperature for about 10 minutes to soften slightly, which will make scooping easier. Serve the Vegan Cacao Nib Ice Cream in bowls, perhaps topped with extra cacao nibs or a drizzle of your favorite syrup, for a delightful treat that everyone will love.
What to Serve with Creamy Vegan Cacao Nib Ice Cream
Nothing complements the rich flavors of this ice cream quite like a carefully selected side.
-
Fresh Berries: The natural tartness of strawberries or raspberries adds a refreshing contrast to the sweet and creamy ice cream. Their vibrant colors make for a beautiful presentation!
-
Chocolate Drizzle: A warm, flowing chocolate syrup will enhance the decadent taste of the cacao nibs, offering a luxurious finish to every scoop.
-
Coconut Macaroons: These chewy, toasty delights mirror the coconut flavor in the ice cream, creating a delightful harmony of textures and tastes for a well-rounded dessert experience.
-
Flaky Sea Salt: A sprinkle of flaky sea salt on top elevates the sweetness and amplifies those chocolatey notes, igniting your taste buds with every bite.
-
Nutty Granola: The crunch from granola adds an interesting texture that contrasts beautifully with the creaminess of the ice cream, making for a fun treat.
-
Iced Coffee: A refreshing cup of iced coffee complements the ice cream’s rich flavors splendidly, creating a perfect pairing for warm afternoons.
-
Peanut Butter Fudge Sauce: Drizzling a homemade peanut butter fudge over the ice cream not only enhances its indulgence but will also mesmerize peanut butter lovers.
-
Dairy-Free Whipped Cream: Top with a dollop of whipped coconut cream for an extra layer of richness and a delightful touch of creaminess.
-
Fruit Sorbet: A light and fruity sorbet on the side offers a contrasting flavor that awakens your palate, balancing the richness of the ice cream.
How to Store and Freeze Vegan Cacao Nib Ice Cream
Fridge: Store in the refrigerator for up to 3 days if you plan to enjoy it soon, but for best texture, keep it in the freezer.
Freezer: Keeps well in an airtight container in the freezer for up to 3 months. Press plastic wrap against the surface to prevent ice crystals.
Reheating: Let the vegan cacao nib ice cream sit at room temperature for about 10 minutes before scooping to ease serving and achieve that creamy texture.
Serving Tips: Always ensure your container is tightly sealed to maintain flavor and freshness when storing.
Make Ahead Options
These creamy Vegan Cacao Nib Ice Cream delights are perfect for meal prep, saving you time on busy days! You can blend the ice cream base up to 24 hours in advance and store it in the refrigerator, allowing the flavors to develop beautifully. Additionally, the mixture can be refrigerated overnight before you churn it, ensuring a creamy texture upon serving. When you’re ready to indulge, simply churn the chilled base in your ice cream maker, add cacao nibs, and freeze for at least 3-4 hours until firm. For the best quality, remember to store the finished ice cream in an airtight container with plastic wrap pressed onto the surface to minimize ice crystals. Just like that, you’ll have a deliciously refreshing dessert ready to enjoy whenever the craving strikes!
Vegan Cacao Nib Ice Cream Variations
Feel free to have a little fun customizing this vegan ice cream to suit your tastes and dietary needs!
-
Nut-Free: Use sunflower seeds instead of cashews for a creamy base without the nuts. This twist will ensure everyone can enjoy it.
-
Flavored Coconut Milk: Try using flavored coconut milk, like vanilla or chocolate, to amplify the sweetness and deliciousness of the ice cream.
-
Fruit Swirl: Fold in some blended fruits like strawberries or raspberries right before freezing. The fruity swirl will create a delightful surprise with every scoop.
-
Spiced Delight: Add a pinch of cinnamon or nutmeg to the base for a warm, spicy twist that contrasts beautifully with the richness of the coconut.
-
Extra Crunch: Mix in different textures by adding chopped nuts, crumbled cookies, or granola as an additional layer of crunch before freezing. Elevate that delightful experience!
-
Dairy-Free Chocolate Chips: Swap cacao nibs for dairy-free chocolate chips for a smoother texture and a hint of sweet chocolate in every bite. It’s an easy swap that could become your new favorite!
-
Minty Fresh: Add a few drops of peppermint extract for a refreshing mint flavor that pairs wonderfully with the chocolatey notes.
-
Rich Mocha: Incorporate a shot of espresso or a couple of teaspoons of instant coffee for a mocha-inspired treat. It brings a whole new level of richness!
For those curious about more vibrant pairings, consider enjoying these variations alongside a bowl of Furikake Fried Rice for a meal that balances savory and sweet perfectly!
Expert Tips for Vegan Cacao Nib Ice Cream
Smooth Base: Use soaked cashews: Soaking the cashews overnight enhances creaminess. Don’t skip this step for the best texture!
Chill Properly: Allow enough chill time: Refrigerate the blended base for at least 4 hours to ensure optimal freezing and texture when churning.
Don’t Rush Churning: Follow your machine instructions: Each ice cream maker works differently, so patience is key to achieving that perfect soft-serve consistency.
Cacao Nibs Addition: Timing matters: Add cacao nibs right before finishing in the ice cream maker to distribute their crunch without over-processing.
Storage Insight: Minimize ice crystals: Press plastic wrap directly onto the surface of the ice cream before sealing it in an airtight container to keep it fresh.
Scoop with Care: Allow softening time: Let the Vegan Cacao Nib Ice Cream sit out for about 10 minutes before serving for easy scooping.
Vegan Cacao Nib Ice Cream Recipe FAQs
How do I choose ripe ingredients for the ice cream?
Absolutely! When selecting your raw cashews, I recommend picking those that look plump and free of dark spots or blemishes. For coconut milk, choose a brand that’s whole and rich; the creamier, the better for that delicious texture. Fresh, high-quality vanilla extract is key, so look for pure extract rather than imitation for the best flavor.
How should I store leftover vegan cacao nib ice cream?
You can store your Homemade Vegan Cacao Nib Ice Cream in an airtight container in the freezer for up to 3 months. Be sure to press plastic wrap directly onto the surface before sealing the lid to prevent ice crystals from forming. This keeps your ice cream smooth and creamy, ready to indulge anytime!
Can I freeze vegan cacao nib ice cream? If so, how?
Sure thing! Once you've churned your ice cream, pour it into a loaf pan or an airtight container. Spread the ice cream evenly across the container, ensuring it’s well-packed. Cover it tightly with the lid or plastic wrap, and freeze for at least 3-4 hours. For the best texture, let it sit out at room temperature for about 10 minutes before scooping.
What should I do if my ice cream is too hard to scoop?
Very! If your vegan cacao nib ice cream is too hard after freezing, simply let it sit out at room temperature for about 10 minutes. This softening time allows the ice cream to reach that perfect scooping consistency, making it easier to serve. Don’t forget to use a warm scoop for even smoother servings!
Are there any dietary considerations I should keep in mind?
Absolutely! This recipe is vegan and dairy-free, making it suitable for most dietary restrictions. However, it's essential to check for any nut allergies, as it contains cashews. For those with additional dietary concerns, you can easily substitute ingredients, like replacing maple syrup with agave syrup, ensuring everyone can enjoy this creamy treat.
Can I use a different sweetener or mix-ins in the ice cream?
Very! If you prefer an alternative sweetener, you can use agave syrup instead of maple syrup. Feel free to also swap out cacao nibs for dark chocolate chips or explore other delicious mix-ins like crushed nuts or fruit. The more the merrier; personalizing this ice cream is part of the fun!
Delicious Vegan Cacao Nib Ice Cream That's Easy to Make!
Ingredients
Equipment
Method
- In a high-powered blender, combine soaked raw cashews, full-fat coconut milk, melted coconut oil, maple syrup, vanilla extract, and a pinch of sea salt. Blend until smooth and creamy.
- Transfer the mixture into a covered bowl and refrigerate for at least 4 hours.
- Pour the chilled base into your ice cream maker and churn according to the manufacturer's instructions, adding cacao nibs before finishing.
- Transfer the ice cream to a loaf pan and freeze for at least 3-4 hours.
- Allow the ice cream to soften for about 10 minutes before serving.


Leave a Reply