
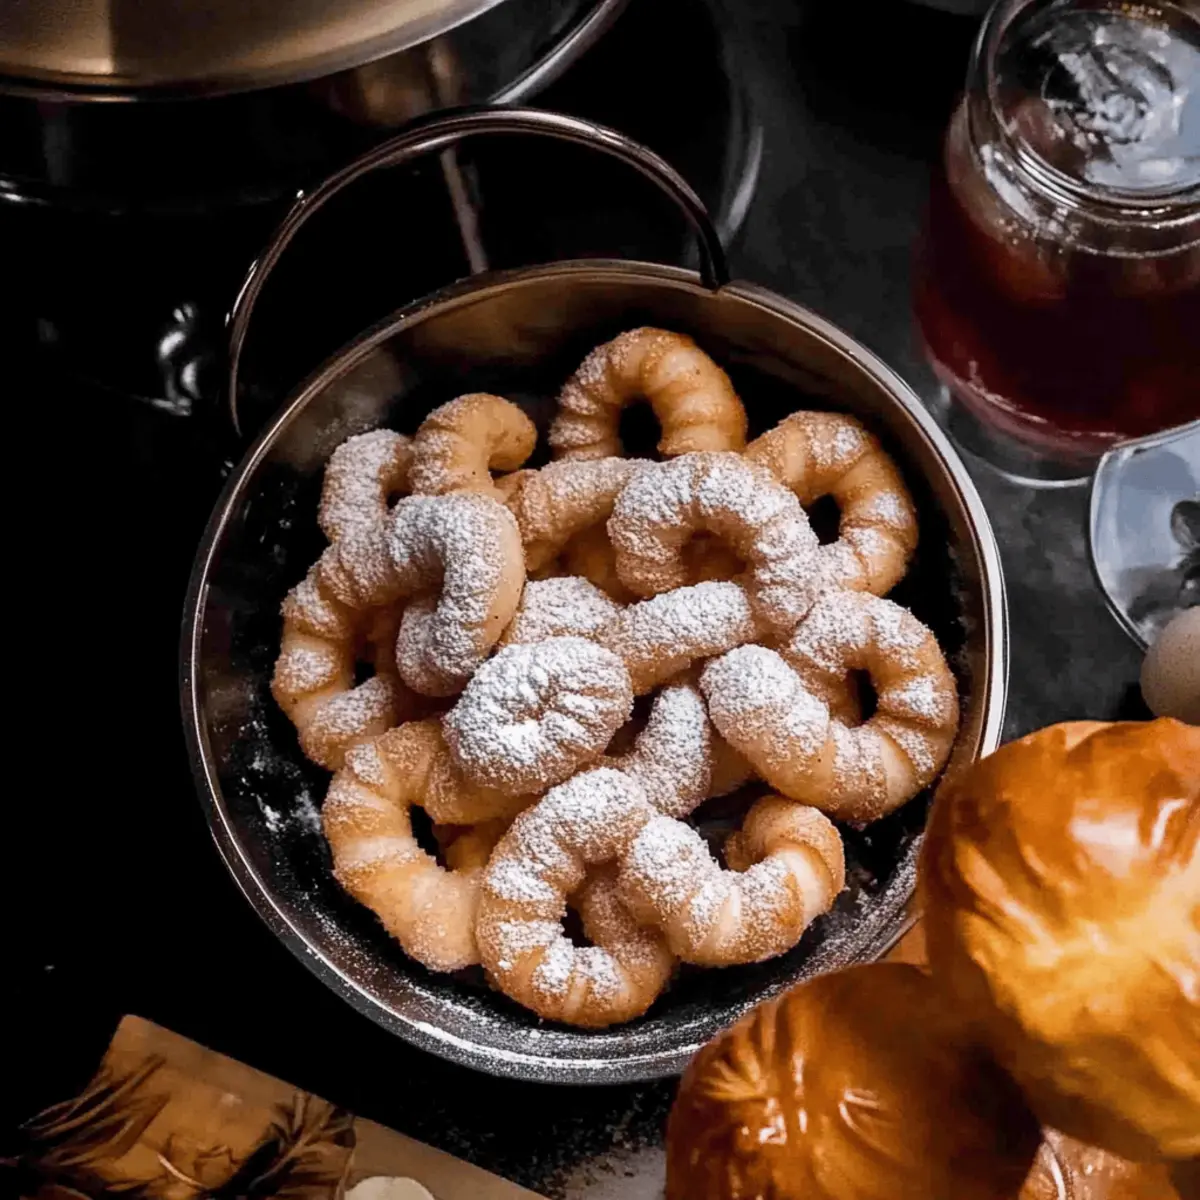
As I stood in my kitchen, the aroma of warm, crispy pastries filled the air, pulling me back to cherished memories of family gatherings and celebrations. Today, I’m thrilled to share my recipe for Sleepy Hollow Crullers, inspired by the enchanting stories of Washington Irving. These delightful corkscrew-shaped treats strike the perfect balance between a light, airy texture and a satisfyingly crisp exterior—the ultimate comfort food that delights both young and old. With a straightforward method that invites playful creativity, these crullers are not just a sweet indulgence; they’re a delightful way to connect with history and make lasting memories in your own kitchen. Ready to twist your way to a scrumptious batch?
Why are Sleepy Hollow Crullers so irresistible?
Nostalgic flavors transport you back to joyful gatherings, evoking fond memories and warm feelings. Crispy, airy texture ensures each bite melts delightfully in your mouth, offering a perfect balance of crunch and fluff. Easy to make, these crullers invite you to unleash your creativity—twist them into corkscrew shapes and even experiment with flavors like cinnamon. Perfect for sharing, they make an ideal treat for family, friends, or cozy moments with tea or coffee. Plus, enjoy the historical essence—these pastries connect you to the rich tradition of Dutch-American baking, making your baking adventure feel that much more special!
Sleepy Hollow Cruller Ingredients
• Discover the essential components for these delightful pastries!
For the Dough
- Butter – Adds richness and flavor; feel free to substitute with margarine for a dairy-free option.
- Large Egg – Acts as a binder and adds moisture; make sure it’s at room temperature for the best results.
- Flour – The main structural component; use all-purpose flour, or swap for a gluten-free blend if needed.
- Cream (optional) – Enhances moisture and richness; omit if you prefer a stiffer dough.
For Frying
- Oil – Essential for frying; choose a neutral oil like canola or vegetable for the best results.
For Dusting
- Icing Sugar – Provides a sweet finish; adjust the amount based on your sweetness preference for these Sleepy Hollow Crullers.
Step‑by‑Step Instructions for Sleepy Hollow Cruller
Step 1: Prepare the Dough
Begin by creaming 1/2 cup of butter in a large mixing bowl using a hand mixer until it’s light and fluffy, about 2-3 minutes. Add a room temperature large egg and mix until fully combined. Gradually sift in 2 cups of all-purpose flour until the dough is soft and smooth, incorporating a few tablespoons of cream if the mixture feels too stiff.
Step 2: Shape the Crullers
Once your dough is ready, lightly flour a clean surface and roll it out to approximately 1/6 inch thick. Cut the rolled dough into strips around 3/4 inch wide, ensuring even sizes for uniform cooking. Take each strip and gently twist it around the handle of a wooden spoon to create the classic corkscrew shape, making sure they hold their form well.
Step 3: Fry the Crullers
Heat a deep pan with about 2 inches of neutral oil, bringing it to a temperature of 350°F (175°C). Once the oil is hot, carefully slide the twisted dough curls into the oil, ensuring not to overcrowd the pan. Fry them for 2-3 minutes on each side until they turn a beautiful golden brown, turning occasionally for even cooking and a delightful crisp texture.
Step 4: Drain and Dust
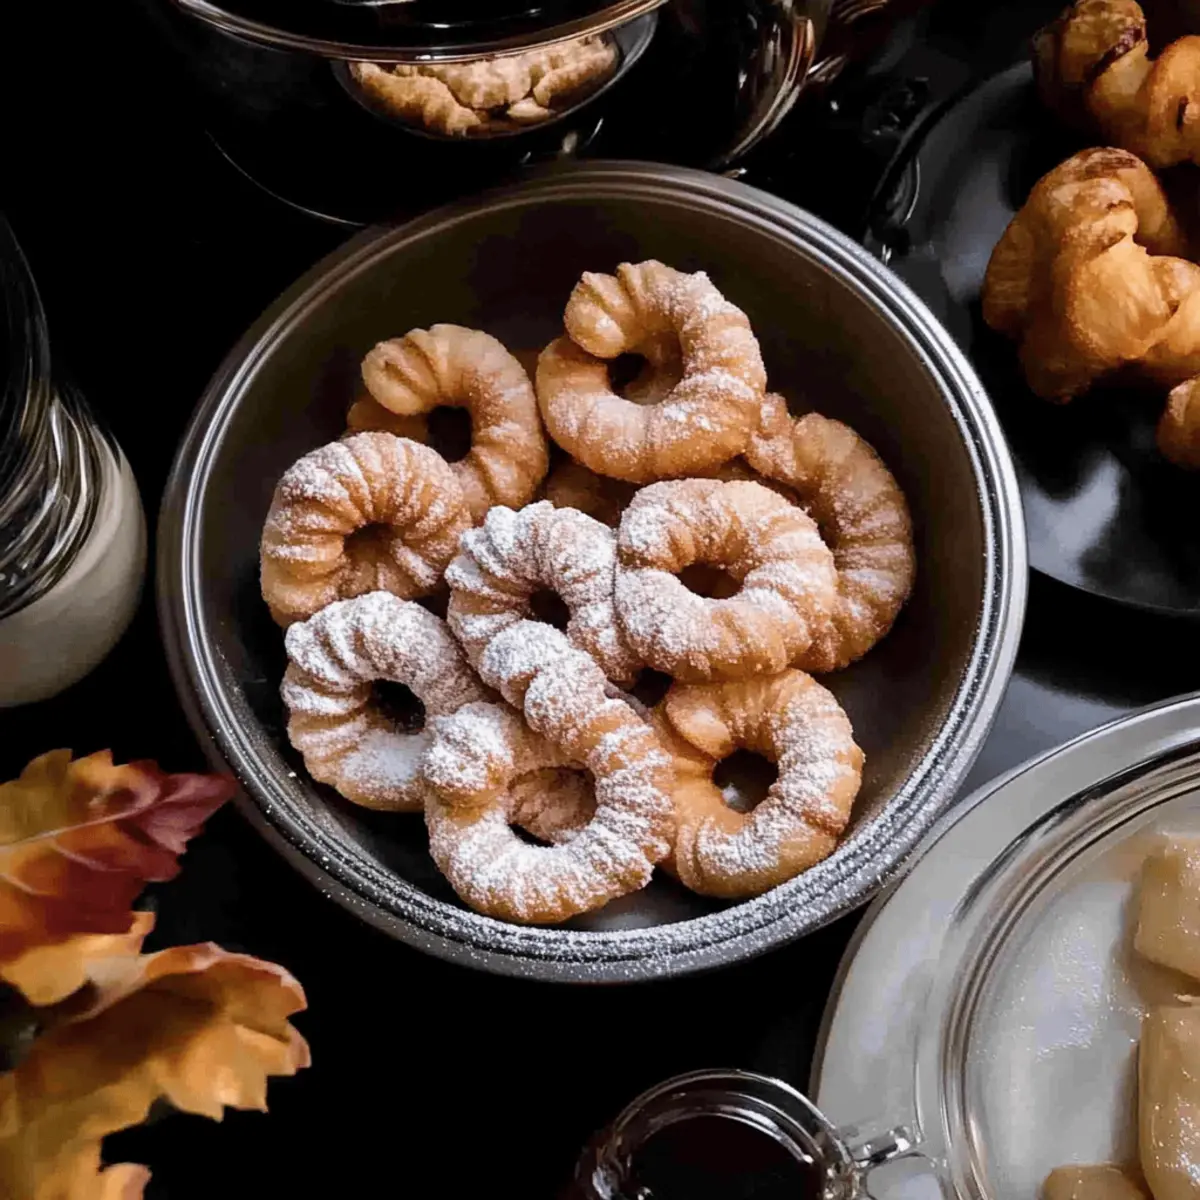
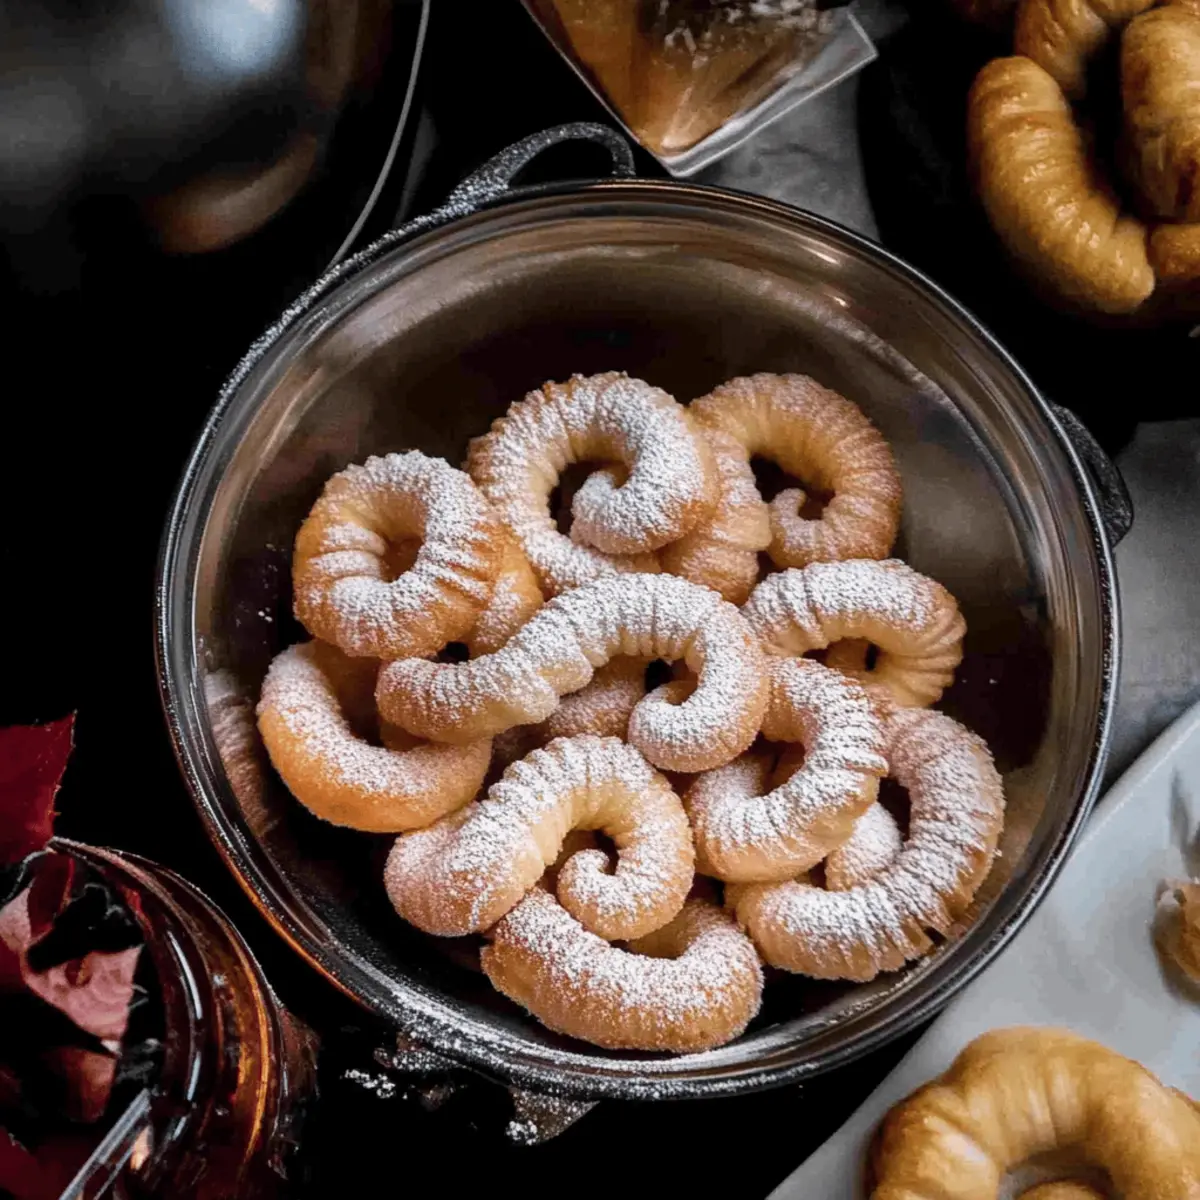
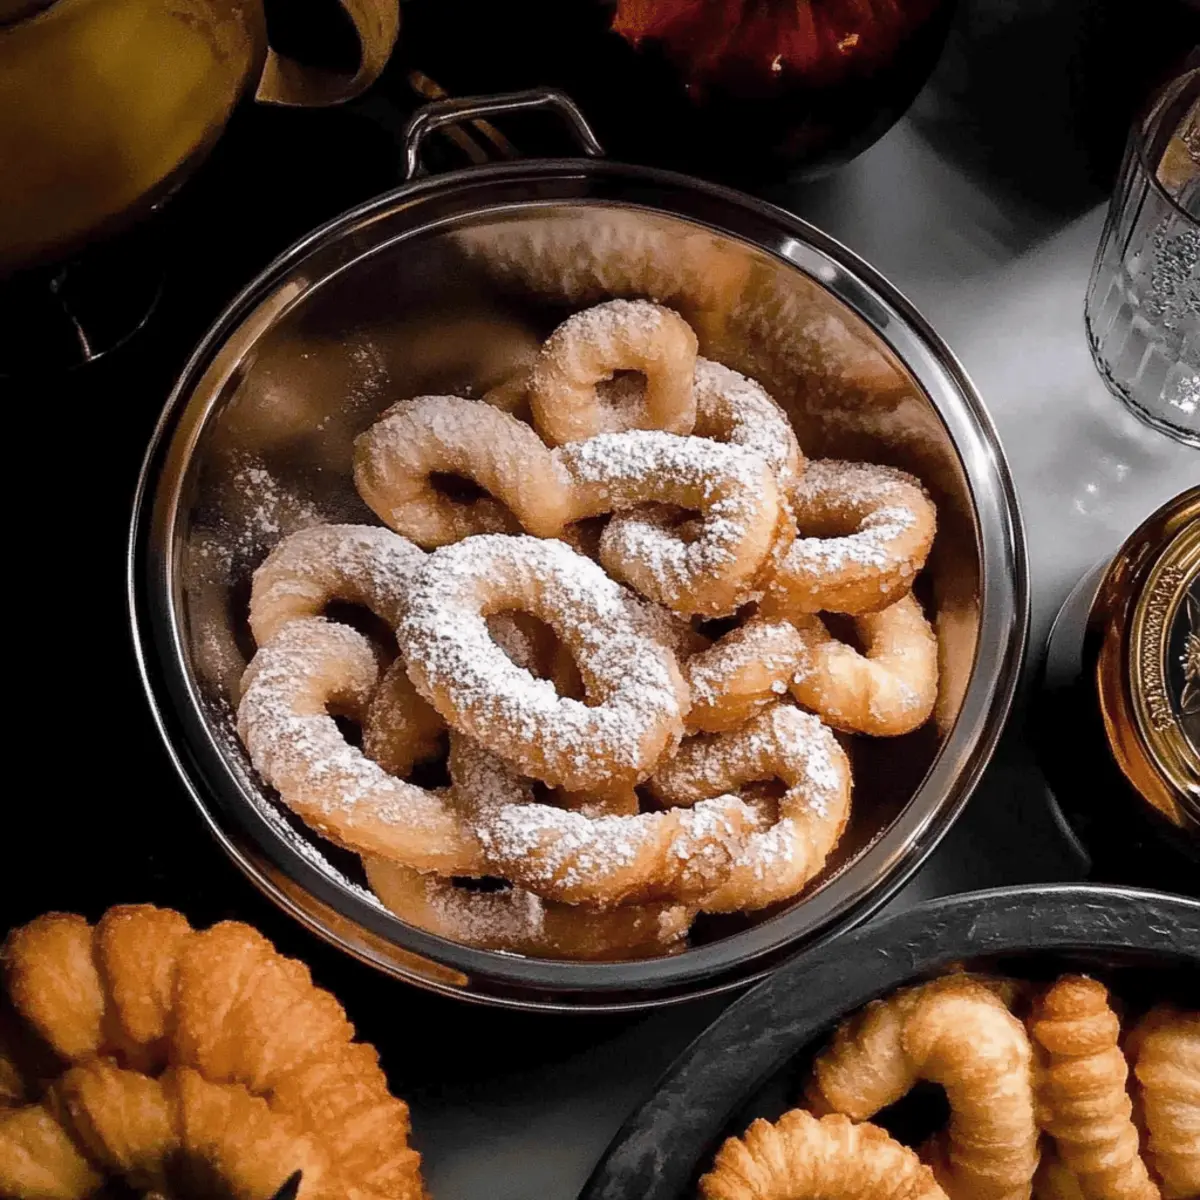
After frying, use a slotted spoon to remove the golden crullers from the oil and place them on paper towels to drain excess oil for about 1-2 minutes. For a sweet finishing touch, dust the Sleepy Hollow Crullers generously with icing sugar while they are still warm, allowing it to adhere beautifully to their crispy surfaces.
Sleepy Hollow Cruller Variations & Substitutions
Get ready to embrace your inner chef by customizing your Sleepy Hollow Crullers for a unique twist!
-
Spice it Up: Add a teaspoon of ground cinnamon or nutmeg to the dough for a warm, cozy flavor.
-
Dairy-Free Delight: Swap butter for coconut oil or margarine to create a lovely, rich dairy-free version that everyone can enjoy.
-
Gluten-Free Option: Use a 1:1 gluten-free flour blend to craft these crullers without gluten, making them accessible for those with dietary restrictions.
-
Sweetness Level: Adjust the amount of icing sugar dusting based on your taste preferences—less for a subtle sweetness and more for that delightful sugar rush.
-
Chocolate Dipped: Melt chocolate and dip half of each cruller for an indulgent treat that absolutely delights chocolate lovers.
-
Citrus Zing: Incorporate the zest of an orange or lemon into your dough for a refreshing, bright flavor that adds a delicious twist.
-
Rosemary Infusion: For a savory touch, finely chop fresh rosemary and blend it into the dough; these crullers work beautifully as a unique appetizer.
-
Nutty Texture: Fold in crushed nuts, such as hazelnuts or almonds, for a delightful crunch that adds another layer of flavor and texture to your crullers.
With these variations, your kitchen can transform into a haven of mouthwatering creations that celebrate both tradition and innovation. Happy baking!
How to Store and Freeze Sleepy Hollow Crullers
Room Temperature: Store crullers in an airtight container at room temperature for up to 2 days to maintain their crispy texture.
Fridge: For slightly longer storage, you can place the crullers in the fridge for up to 3 days. However, note that they may lose some crispiness.
Freezer: To freeze, wrap individual crullers tightly in plastic wrap and then place them in a freezer-safe bag or container. They can be frozen for up to 2 months.
Reheating: To enjoy frozen Sleepy Hollow Crullers, simply reheat them in an oven at 350°F (175°C) for about 5–7 minutes until warm and crispy again.
What to Serve with Sleepy Hollow Crullers?
Imagine a welcoming gathering where everyone savors these delicious pastries while enjoying the warmth of good company and delightful aromas.
- Freshly Brewed Coffee: The rich, bold flavors of coffee beautifully contrast the sweet, crispy crullers, making each bite more enjoyable.
- Earl Grey Tea: The subtle floral notes of this tea enhance the pastries’ sweetness, creating a charming afternoon treat that delights the senses.
- Fruit Salad: A refreshing, vibrant mix of seasonal fruits provides a juicy burst that contrasts wonderfully with the crullers' crispy texture.
- Cinnamon Sugar Dusting: Elevate the flavor profile by combining sugar and fragrant cinnamon to sprinkle over crullers, adding warmth and sweetness.
- Homemade Chocolate Dip: An indulgent chocolate dipping sauce lends a decadent twist, perfect for those with a serious sweet tooth craving extra richness.
- Vanilla Ice Cream: A scoop of creamy vanilla ice cream beside the warm crullers brings together temperatures and textures for a comforting dessert experience.
- Maple Syrup Drizzle: A light drizzle of maple syrup offers a pleasant sweetness that pairs harmoniously with the crispy crullers, inviting everyone to dig in.
- Caramel Sauce: A luscious caramel sauce added on the side adds a touch of luxury that complements the crullers' delicate crunch and airy feel.
Make Ahead Options
These Sleepy Hollow Crullers are perfect for busy home cooks looking to save time! You can prepare the dough up to 24 hours ahead; simply make the dough, wrap it tightly in plastic wrap, and refrigerate to keep it fresh and prevent drying out. Additionally, you can shape the crullers and place them on a baking sheet lined with parchment paper, then cover and refrigerate for up to 3 days. When you're ready to fry, just heat your oil and slip those curled beauties into the hot oil directly from the fridge! This method not only ensures that your crullers are just as delicious as freshly made but also seamlessly fits into your busy weeknight plans!
Expert Tips for Sleepy Hollow Crullers
- Dough Consistency: Ensure your dough is not too sticky. If it sticks to your fingers, add a little more flour until it’s easier to handle for those perfect corkscrew shapes.
- Room Temperature Ingredients: Using room temperature butter and eggs can help create a smoother dough, making it easier to blend and ensuring optimal texture in your Sleepy Hollow Crullers.
- Oil Temperature Check: Always check your oil temperature with a small piece of dough; if it bubbles and sizzles immediately, you're ready to fry! This ensures even golden browning.
- Fry in Batches: To avoid overcrowding and uneven frying, fry only a few crullers at a time. This keeps the oil temperature consistent, leading to a crisper finish.
- Dusting Sugar Tips: For an extra touch, dust the crullers with icing sugar while they're hot, so it melts slightly into their crispy surface for that sweet surprise in every bite.
Sleepy Hollow Crullers Recipe FAQs
What’s the best way to choose ripe ingredients for my Sleepy Hollow Crullers?
Absolutely! For these crullers, focus mainly on using fresh ingredients. Look for butter that’s creamy and smooth, as this enhances the flavor. Ensure the egg is at room temperature for optimal mixing and texture. For flour, an all-purpose variety is ideal, and make sure it’s fresh, with no lumps or off-smells. If using cream, it should be fresh and not past its expiration date for the best results.
How should I store my Sleepy Hollow Crullers for optimal freshness?
I recommend storing the crullers in an airtight container at room temperature for up to 2 days. This way, they maintain their delightful crispiness. If you want to keep them longer, they can be stored in the refrigerator for up to 3 days, but be aware that refrigeration might make them lose some crunch.
Can I freeze my Sleepy Hollow Crullers? If so, how?
Absolutely! To freeze your crullers, start by waiting until they're completely cool. Then, wrap each one tightly in plastic wrap, ensuring no air can get in. Place the wrapped crullers in a freezer-safe bag or container, and they can be frozen for up to 2 months. Once you’re ready to enjoy, reheat them in an oven at 350°F (175°C) for about 5–7 minutes until they’re warm and crispy again.
What should I do if my cruller dough is too sticky or tough?
If your dough feels too sticky while handling, try adding a tablespoon of flour at a time until it’s manageable. It should be soft but not tacky. Conversely, if the dough seems too tough, you can mix in a little more cream to achieve the desired softness. Remember, the key to nice crullers is a consistent dough texture that allows for easy shaping.
Are there any dietary considerations I should be aware of with Sleepy Hollow Crullers?
Very much so! If you or your guests have dietary restrictions, these crullers can easily be adjusted. Substitute the butter with margarine for a dairy-free alternative, and use a gluten-free flour blend to make them suitable for gluten-sensitive eaters. Always double-check labels for any allergens, especially if you're serving these to guests with allergies.
Can I add flavors or toppings to my Sleepy Hollow Crullers?
Yes, indeed! I often infuse the dough with spices like cinnamon or nutmeg for a twist on flavor. After frying, you can drizzle a chocolate glaze on top or add flavored icing sugar to give your crullers a unique flair. The more the merrier; let your creativity shine while making these delicious treats!
Sleepy Hollow Cruller: Light, Crispy Delights Await
Ingredients
Equipment
Method
- Begin by creaming butter in a large mixing bowl using a hand mixer until light and fluffy, about 2-3 minutes. Add a room temperature egg and mix until fully combined. Gradually sift in flour until the dough is soft and smooth, incorporating cream if the mixture feels too stiff.
- Lightly flour a clean surface and roll the dough out to approximately 1/6 inch thick. Cut into strips about 3/4 inch wide. Twist each strip around the handle of a wooden spoon to create the corkscrew shape.
- Heat a deep pan with about 2 inches of oil to 350°F (175°C). Gently slide the twisted dough into the oil, frying for 2-3 minutes on each side until golden brown.
- Use a slotted spoon to remove crullers from the oil and drain on paper towels for about 1-2 minutes. Dust generously with icing sugar while still warm.


Leave a Reply