
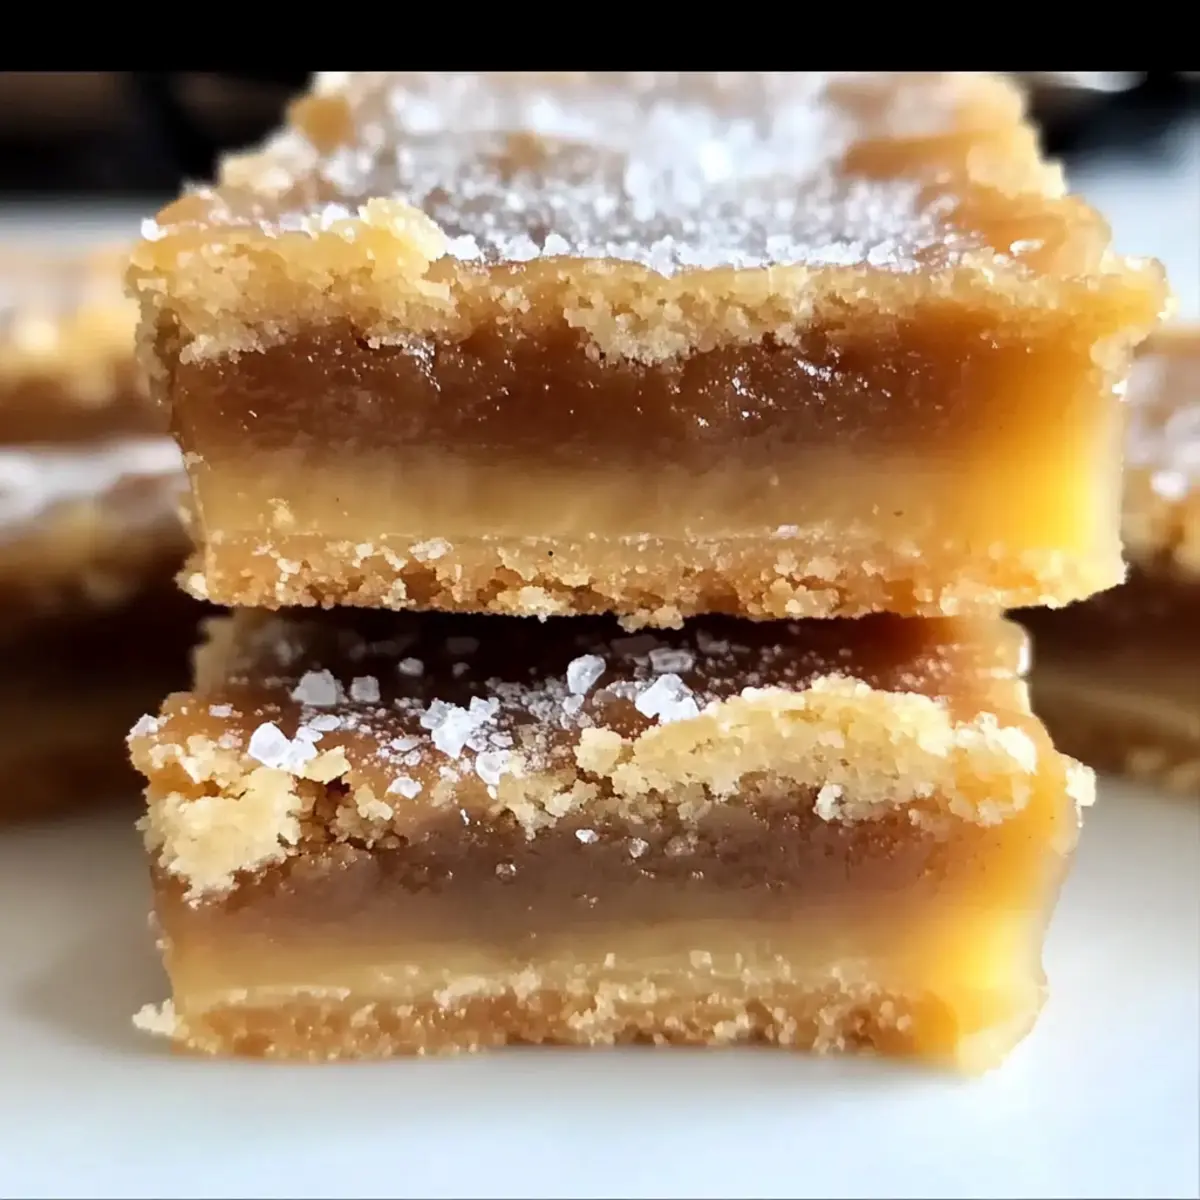
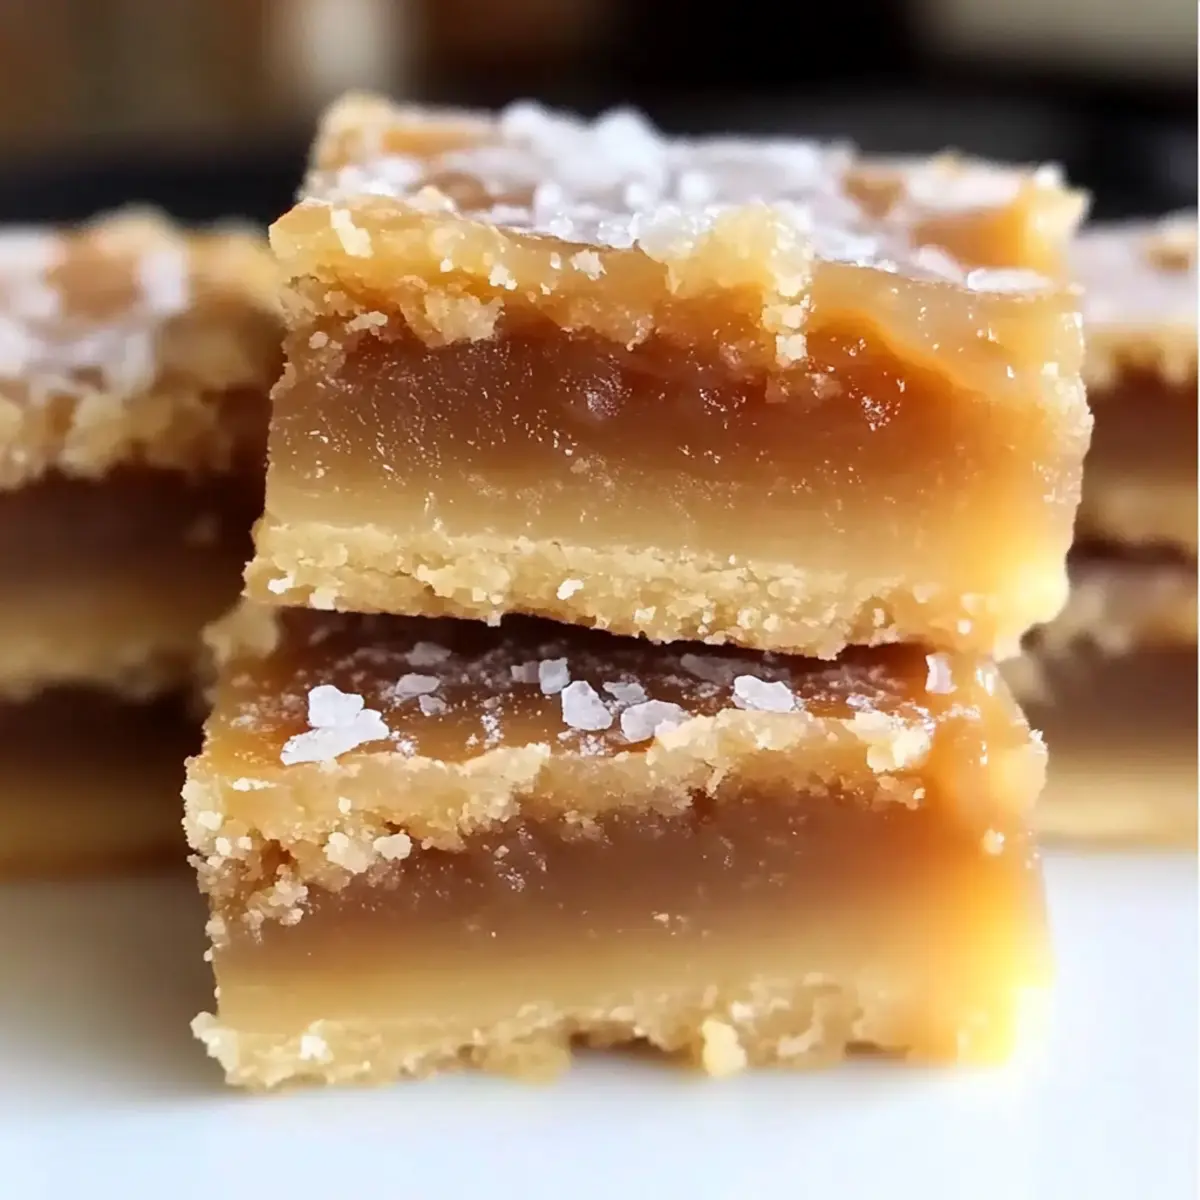
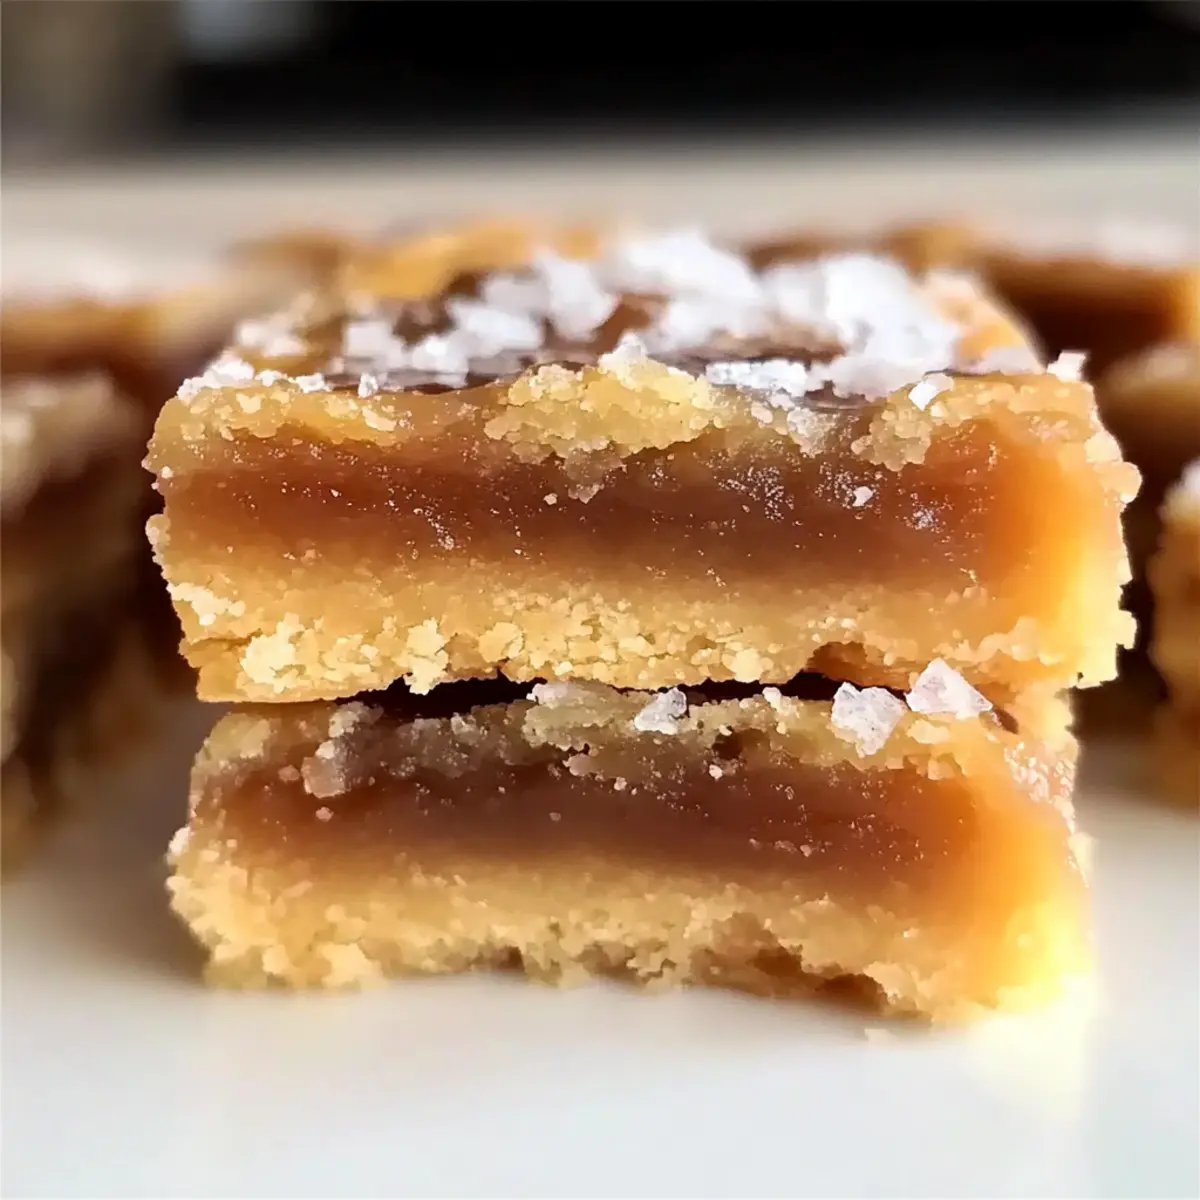
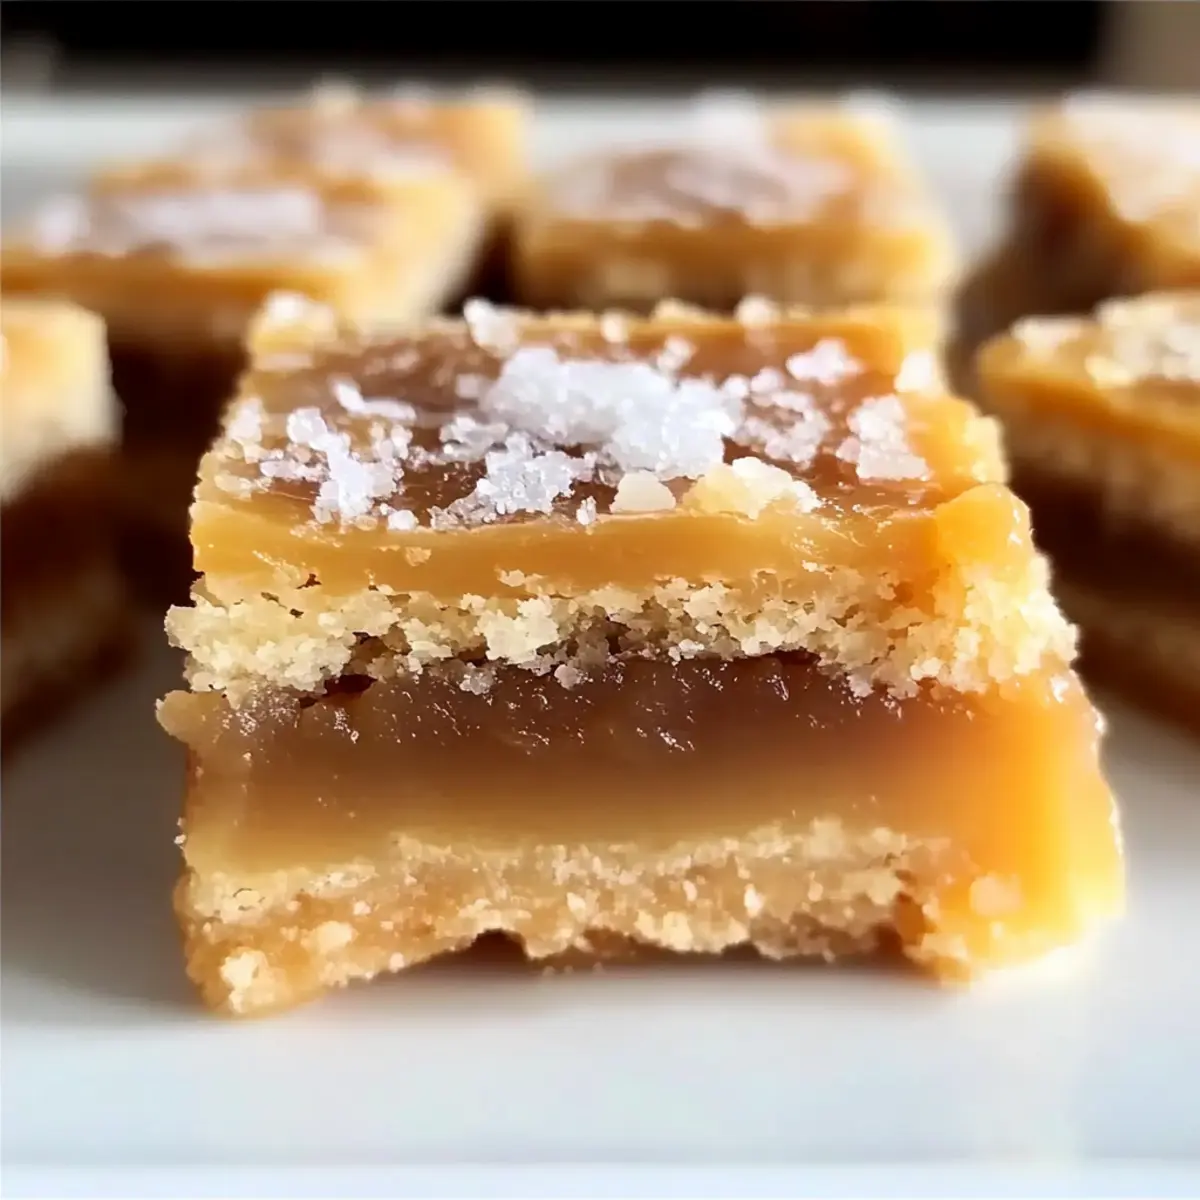
As I unwrapped that first salty caramel candy, a wave of nostalgia hit me—those sweet, sticky bites from childhood that seemed to hold the magic of homemade love. Now, I've transformed that memory into these Irresistible Salted Caramel Butter Bars, where a buttery shortbread crust cradles a gooey caramel layer, all topped with a sprinkle of flaky sea salt. The best part? They’re not just easy to make, but also incredibly versatile, inviting you to explore gluten-free options or even add your favorite nuts for an exciting crunch. Perfect for gatherings or a cozy afternoon snack, these bars will have your guests asking for seconds. So, are you ready to indulge in this delightful treat that balances richness and comfort in every bite?
What Makes These Bars Irresistible?
Decadent Flavor: Each bite bursts with a rich, buttery taste complemented by gooey caramel and a hint of flaky sea salt.
Easy to Make: This recipe requires minimal baking skills and uses everyday ingredients, making it a perfect choice for both beginner and seasoned bakers.
Versatile Options: You can easily substitute regular flour with a gluten-free blend for those with dietary needs, or toss in some nuts for added crunch.
Crowd-Pleasing Delight: Perfect for gatherings, these bars are sure to impress your friends and family, much like my Crockpot Butter Chicken impresses dinner guests.
Quick to Prepare: With a total baking time of under an hour, you can whip these up in no time and have a delicious dessert ready in a flash.
Memorable Treat: The combination of flavors and textures creates a nostalgic experience that reminds you of cherished homemade goodies, perfect for any occasion.
Salted Caramel Butter Bars Ingredients
For the Crust
- Butter – use room temperature for a rich, creamy texture.
- Granulated Sugar – sweetens the crust and adds essential structure.
- Powdered Sugar – creates a smooth texture in the dough for perfect bars.
- Vanilla Extract – enhances the flavor with a warm, inviting note.
- All-Purpose Flour – for the base structure; can swap with a gluten-free blend.
For the Filling
- Salted Caramel Candies – crucial for that gooey, indulgent center; store-bought caramel sauce works too.
- Heavy Cream – combines with the caramel to create a smooth, pourable consistency; no substitutions suggested.
For the Topping
- Flaky Sea Salt – a sprinkle adds the perfect finishing touch, balancing sweetness.
- Remaining Dough – crumbled over the caramel; keep it light for a delightful crunch.
Step‑by‑Step Instructions for Salted Caramel Butter Bars
Step 1: Preheat the Oven
Begin by preheating your oven to 325°F (165°C). While it heats, grab a 9×13-inch baking pan and line it with parchment paper, allowing some overhang for easy removal later. This step ensures your Salted Caramel Butter Bars bake evenly and don’t stick to the pan.
Step 2: Make the Dough
In a mixing bowl, beat together softened butter, granulated sugar, and powdered sugar until the mixture is light and fluffy, about 3 to 4 minutes. Then, stir in the vanilla extract to enhance the flavor. The result should be a creamy, delightful dough that feels rich and inviting as you prepare it for your bars.
Step 3: Add the Flour
Gradually incorporate the all-purpose flour into the creamed mixture, mixing until a thick dough forms. This step is crucial for achieving the perfect buttery crust for your Salted Caramel Butter Bars. You may need to switch to a spatula to fully combine the flour, ensuring no dry pockets remain.
Step 4: Bake the Crust
Press about two-thirds of the dough firmly into the bottom of your prepared pan, creating an even layer. Bake in the preheated oven for 20 minutes or until the crust is lightly golden around the edges. This initial baking will give your bars a solid base, ready to hold the luscious caramel layer.
Step 5: Prepare the Caramel Filling
While the crust bakes, place the salted caramel candies and heavy cream in a saucepan over medium-low heat. Stir constantly as they melt together, which should take about 5 to 7 minutes. You want a smooth, homogenous caramel sauce without any lumps, perfect for pouring over your crust.
Step 6: Pour the Caramel
Once the caramel is smooth and creamy, carefully pour it over the baked crust while it’s still warm. Use a spatula to spread it evenly, ensuring every corner is covered. To enhance the flavors, sprinkle a generous amount of flaky sea salt over the warm caramel, creating that irresistible salty-sweet contrast.
Step 7: Crumble the Remaining Dough
Take the remaining dough and crumbled it over the caramel layer without pressing it down. This will allow for a delightful crumble on top once baked. Make sure to distribute it evenly, as this will create a beautiful texture for the topping on your Salted Caramel Butter Bars.
Step 8: Final Bake
Return the pan to the oven and bake for an additional 25 to 30 minutes. You’re looking for a golden topping that feels set but has a slight jiggle in the middle. This step ensures the bars will hold together beautifully when sliced and have that perfect blend of soft and slightly crunchy textures.
Step 9: Cool and Slice
Once baked, remove the pan from the oven and let it cool completely at room temperature. For cleaner cuts, chill the bars in the refrigerator for at least an hour before slicing them into squares. This resting time allows the caramel to firm up, making your Salted Caramel Butter Bars easier to serve and more enjoyable to eat.
Make Ahead Options
These Salted Caramel Butter Bars are perfect for busy weeknights and can be prepared in advance to save you valuable time! You can make the shortbread crust up to 24 hours ahead; simply press it into the pan, bake, and let it cool completely before covering it tightly with plastic wrap. For the filling, prepare the caramel sauce and refrigerate it for up to 3 days; when ready to assemble, gently reheat it to pour over the crust. After crumbling the remaining dough on top, bake the bars as directed. This way, you’ll have scrumptious, homemade bars ready to impress your family and friends, offering that delightful homemade touch without the last-minute rush!
Salted Caramel Butter Bars Variations
Feel free to get creative and customize these delicious bars to suit your taste buds and dietary needs!
-
Gluten-Free: Substitute all-purpose flour with a 1:1 gluten-free blend for a delightful alternative. This way, everyone can enjoy the magic of these bars!
-
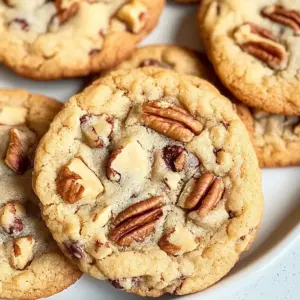
Nutty Crunch: Toss in some chopped pecans or walnuts to the dough for a delightful crunch that complements the soft caramel beautifully. The nutty flavors bring an exciting contrast to each bite.
-
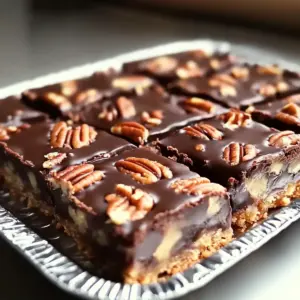
Chocolate Drizzle: Melt dark or milk chocolate and drizzle it over the cooled bars for an extra layer of indulgence. This chocolatey addition elevates the dessert experience to new heights!
-
Spiced Up: Add a pinch of cinnamon or nutmeg to the crust for a warm, spiced flavor that pairs wonderfully with the caramel. It gives a cozy, inviting touch to your bars.
-
Salt Variations: Experiment with flavored sea salts, like smoked or garlic salt, for a unique twist that adds depth and intrigue. These unexpected notes will surprise your taste buds with every bite.
-
Fruit Fusion: Layer thinly sliced apples or pears over the crust before adding the caramel for a fruity boost. The sweetness of the fruit contrasts nicely with the rich caramel, bringing brightness to your bars.
-
Peanut Butter Swirl: Incorporate a swirl of creamy peanut butter into the caramel before pouring it over the crust for a sweet and savory flavor combination. It’s a delicious way to mix things up!
For more delightful recipes, try my Crockpot Butter Chicken or check out these quick variations that can help inspire your home-cooking adventures!
How to Store and Freeze Salted Caramel Butter Bars
-
Room Temperature: Keep your Salted Caramel Butter Bars in an airtight container at room temperature for up to 3 days. They’re perfect for a quick sweet fix during the day!
-
Fridge: For a longer shelf life, store them in the refrigerator for up to a week. Be sure to wrap them well to prevent drying out.
-
Freezer: If you want to keep these delicious bars for longer, freeze them for up to 2 months. Wrap them tightly in plastic wrap and then in aluminum foil. Thaw at room temperature when ready to enjoy!
-
Reheating: For a warm treat, lightly reheat individual bars in the microwave for about 10-15 seconds. Enjoy them gooey and fresh!
Expert Tips for Salted Caramel Butter Bars
-
Room Temperature Butter: Ensure your butter is at room temperature for a creamy, well-combined dough. Cold butter may lead to uneven texture.
-
Avoid Overbaking: To keep your bars soft and chewy, watch the baking time closely. They should be lightly golden, not dark.
-
Melting Caramel: Melt salted caramel candies slowly and stir constantly to prevent scorching. This creates a smooth filling that enhances flavor.
-
Sprinkle While Warm: Add sea salt to the warm caramel immediately after pouring it over the crust for optimal flavor penetration.
-
Chill Before Cutting: For clean edges and perfect squares, chill the bars in the fridge before slicing. Patience pays off with presentation!
What to Serve with Salted Caramel Butter Bars
Indulging in these decadent bars creates an opportunity for a delightful meal experience that goes beyond dessert.
-
Classic Vanilla Ice Cream: A scoop of creamy vanilla ice cream beautifully contrasts the warm, gooey caramel, creating a decadent dessert duo. The cold creaminess balances the rich sweetness.
-
Fresh Berries: Strawberries or raspberries introduce a burst of tartness, enhancing the flavors in each bite while adding freshness to your dessert plate. They create a vibrant color contrast as well.
-
Coffee: A warm cup of brewed coffee provides a bitter depth that perfectly cuts through the sweetness of your bars, making it an ideal pairing for an afternoon treat.
-
Chai Latte: The spicy notes of chai complement the caramel beautifully, offering warmth and an exotic twist to the sweet indulgence. Pairing is like wrapping yourself in a cozy blanket!
-
Nutty Granola: Sprinkling some nutty granola on top brings an unexpected crunch while mirroring the richness of the bars. Its texture adds interest, elevating your dessert presentation.
-
Chocolate Drizzle: A light drizzle of melted chocolate emphasizes the dessert's richness and adds another layer of flavor that is hard to resist. It's an easy way to impress guests!
-
Shiraz Wine: A glass of Shiraz reds with fruity notes matches the sweetness while amplifying the experience, making it a great choice for gatherings and celebrations.
-
Salted Caramel Sauce: Serve a side of warm salted caramel sauce for those who crave an extra drizzle of decadence on their bars, amplifying that sweet-salty flavor even more!
Salted Caramel Butter Bars Recipe FAQs
What type of butter should I use for the dough?
Absolutely, use room temperature unsalted butter for your Salted Caramel Butter Bars. This will allow you to cream the butter easily with the sugars, creating a rich and fluffy dough. Cold butter can lead to a denser texture, so let your butter sit out for about 30 minutes before you start baking.
How should I store the Salted Caramel Butter Bars?
For the best enjoyment, store your Salted Caramel Butter Bars in an airtight container at room temperature for up to 3 days. If you'd like them to last longer, refrigerate them for up to a week. Make sure to wrap them well to keep them from drying out!
Can I freeze Salted Caramel Butter Bars?
Yes! These bars are fantastic for freezing. Wrap them tightly in plastic wrap, followed by aluminum foil to protect them from freezer burn. You can freeze them for up to 2 months. When you're ready to enjoy, simply let them thaw at room temperature for about an hour or until they reach your desired temperature.
What should I do if my caramel filling is grainy?
If your caramel filling ends up grainy, don’t worry! Return it to low heat, stirring continuously until it melts and becomes smooth again; this usually takes about 2-3 minutes. You can add a tiny splash of heavy cream to help with the smoothing process. Always ensure you're melting it gently to avoid this issue in the first place.
Are there any dietary considerations for this recipe?
Certainly! If you're looking to make these bars gluten-free, you can substitute the all-purpose flour with a 1:1 gluten-free blend. Additionally, please note that the Salted Caramel Butter Bars contain dairy, so if there are lactose sensitivities or allergies, consider using lactose-free butter and checking the labels on your caramel candies for any dairy ingredients.
What can I do to make my bars chewy?
For those wonderfully chewy Salted Caramel Butter Bars, be sure not to overbake them! Aim for a lightly golden top as you pull them from the oven, as they will continue to firm up while cooling. Additionally, chilling before slicing helps maintain that chewy texture, making every bite a delightful experience.
Decadent Salted Caramel Butter Bars You Can't Resist
Ingredients
Equipment
Method
- Preheat your oven to 325°F (165°C) and line a 9×13-inch baking pan with parchment paper.
- In a mixing bowl, beat together softened butter, granulated sugar, and powdered sugar until light and fluffy, about 3 to 4 minutes. Stir in the vanilla extract.
- Gradually incorporate the all-purpose flour into the mixture, mixing until a thick dough forms.
- Press about two-thirds of the dough into the bottom of the prepared pan and bake for 20 minutes.
- In a saucepan, melt the salted caramel candies with heavy cream over medium-low heat, stirring constantly for 5 to 7 minutes until smooth.
- Pour the caramel over the baked crust and sprinkle with flaky sea salt.
- Crumble the remaining dough over the caramel layer without pressing it down.
- Bake for an additional 25 to 30 minutes until the topping is golden.
- Let cool completely at room temperature, then chill in the refrigerator for at least an hour before slicing.


Leave a Reply