
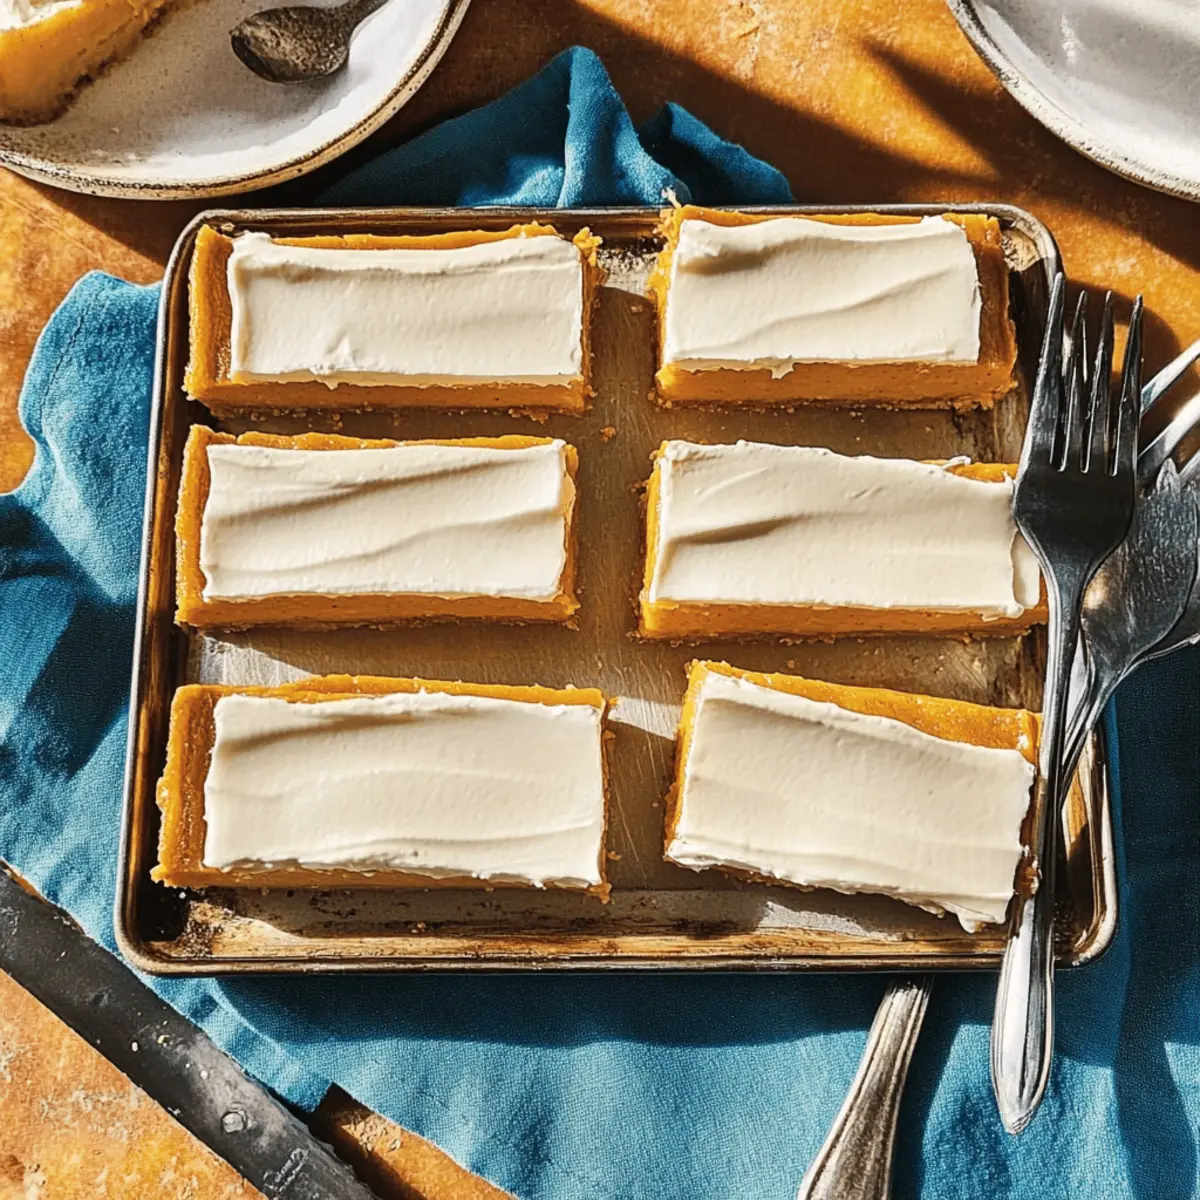
As the leaves begin to crunch beneath my feet and the air turns crisp, I can’t help but think of cozy gatherings filled with laughter and, of course, delicious desserts. Enter my Cozy Pumpkin Pie Bars! This delightful recipe transforms the classic flavors of pumpkin pie into a portable treat that everyone will love. With a buttery brown sugar crust and a silky pumpkin filling, they bring warmth to any fall gathering. Not only are these bars easy to bake, making them perfect for busy weekends, but they also deliver a satisfying balance of textures, especially when topped with a tangy sour cream whip. Trust me, there’s nothing like sharing them with friends and family when the chill sets in. So, are you ready to bring the taste of autumn to your kitchen?
Why are Pumpkin Pie Bars a must-try?
Irresistible Comfort: These Pumpkin Pie Bars offer the traditional warmth of pumpkin pie, reimagined into a delectable, easy-to-eat format perfect for sharing.
Quick and Simple: With straightforward steps, even novice bakers can whip up these treats with just a handful of ingredients.
Delightful Flavor: The combination of creamy pumpkin spice filling and buttery crust creates a rich, festive profile that resonates with the essence of fall.
Versatile Options: Feel free to customize by adding chocolate chips or swapping sour cream for a dollop of whipped cream for varied presentations. You can also enjoy them alongside a slice of Pumpkin Cinnamon Roll for a truly indulgent experience!
Perfect for Gatherings: Whether at family dinners or friend get-togethers, these bars are a hit, ensuring there's never a crumb left behind!
Pumpkin Pie Bars Ingredients
For the Crust
- Butter – Provides richness and flavor for the crust; can be substituted with margarine or a dairy-free alternative.
- Light Brown Sugar – Adds sweetness and a deep caramel flavor to the crust; can be replaced with dark brown sugar for a more intense flavor.
- All-Purpose Flour – Forms the structure of the crust; whole wheat flour can be used for a nuttier taste.
- Salt – Enhances flavor; optional to reduce for low-sodium diets.
For the Filling
- Pumpkin Puree – The main ingredient for the filling that adds moisture and flavor; fresh pumpkin can be used as a substitute.
- Eggs – Provide binding and help set the filling; flax eggs can be used as a vegan alternative.
- Pumpkin Spice – Offers classic fall flavors; can be substituted with a mix of cinnamon and nutmeg.
For the Topping
- Sour Cream (optional) – Adds creaminess and a slight tang; can be swapped with Greek yogurt for a lower-fat option.
- Confectioners’ Sugar – Sweetens the sour cream whip; can be replaced with maple syrup for a lower-sugar option.
Step‑by‑Step Instructions for Pumpkin Pie Bars
Step 1: Preheat the Oven and Prepare the Pan
Begin by preheating your oven to 350°F (175°C), setting the stage for your delicious Pumpkin Pie Bars. While the oven warms, grab a 9" x 13" baking pan and lightly grease it with butter or non-stick spray. For extra ease, line the bottom and sides with parchment paper, allowing for easy removal of the bars once baked.
Step 2: Make the Crust Mixture
In a large mixing bowl, cream together ½ cup of softened butter and 1 cup of light brown sugar until the mixture is smooth and well combined—this should take about 2-3 minutes. Next, sprinkle in 1 ¾ cups of all-purpose flour and a pinch of salt, mixing until the dough appears crumbly yet holds together when pressed. This forms the base of your luscious Pumpkin Pie Bars.
Step 3: Press the Crust into the Pan
Transfer the crust mixture into the prepared baking pan, using your fingers or a spatula to evenly press it down into the bottom. Make sure to create a snug, compact layer for even baking. Once pressed, take a fork and poke holes throughout the crust—this will help it bake evenly and avoid puffing up.
Step 4: Bake the Crust
Place the pan in your preheated oven and bake the crust for 28-32 minutes, or until it turns golden brown and slightly firm to the touch. Keep an eye on it, as the aroma of Pumpkin Pie Bars fills your kitchen! Once baked, remove the pan and allow it to cool slightly while you prepare the filling.
Step 5: Prepare the Pumpkin Filling
In a separate mixing bowl, whisk together 1 cup of pumpkin puree, 2 large eggs, ¾ cup of granulated sugar, and 1 tablespoon of pumpkin spice until well blended and smooth. The filling should have a velvety texture, ensuring a delightful experience when layered over the crust of your Pumpkin Pie Bars.
Step 6: Pour the Filling Over the Crust
Carefully pour the prepared pumpkin filling over the slightly cooled crust, spreading it evenly with a spatula. This contrast of the rich filling on the golden crust is simply irresistible! Gently tap the pan on the counter to release any air bubbles trapped in the filling, ensuring a silky result.
Step 7: Bake the Bars
Return the pan to the oven and bake the Pumpkin Pie Bars for an additional 32-35 minutes. You’ll know they're done when the filling is set and has a slight jiggle in the center; it should also take on a beautiful golden hue. Watch closely to prevent overbaking, as the filling should remain creamy.
Step 8: Cool and Cut the Bars
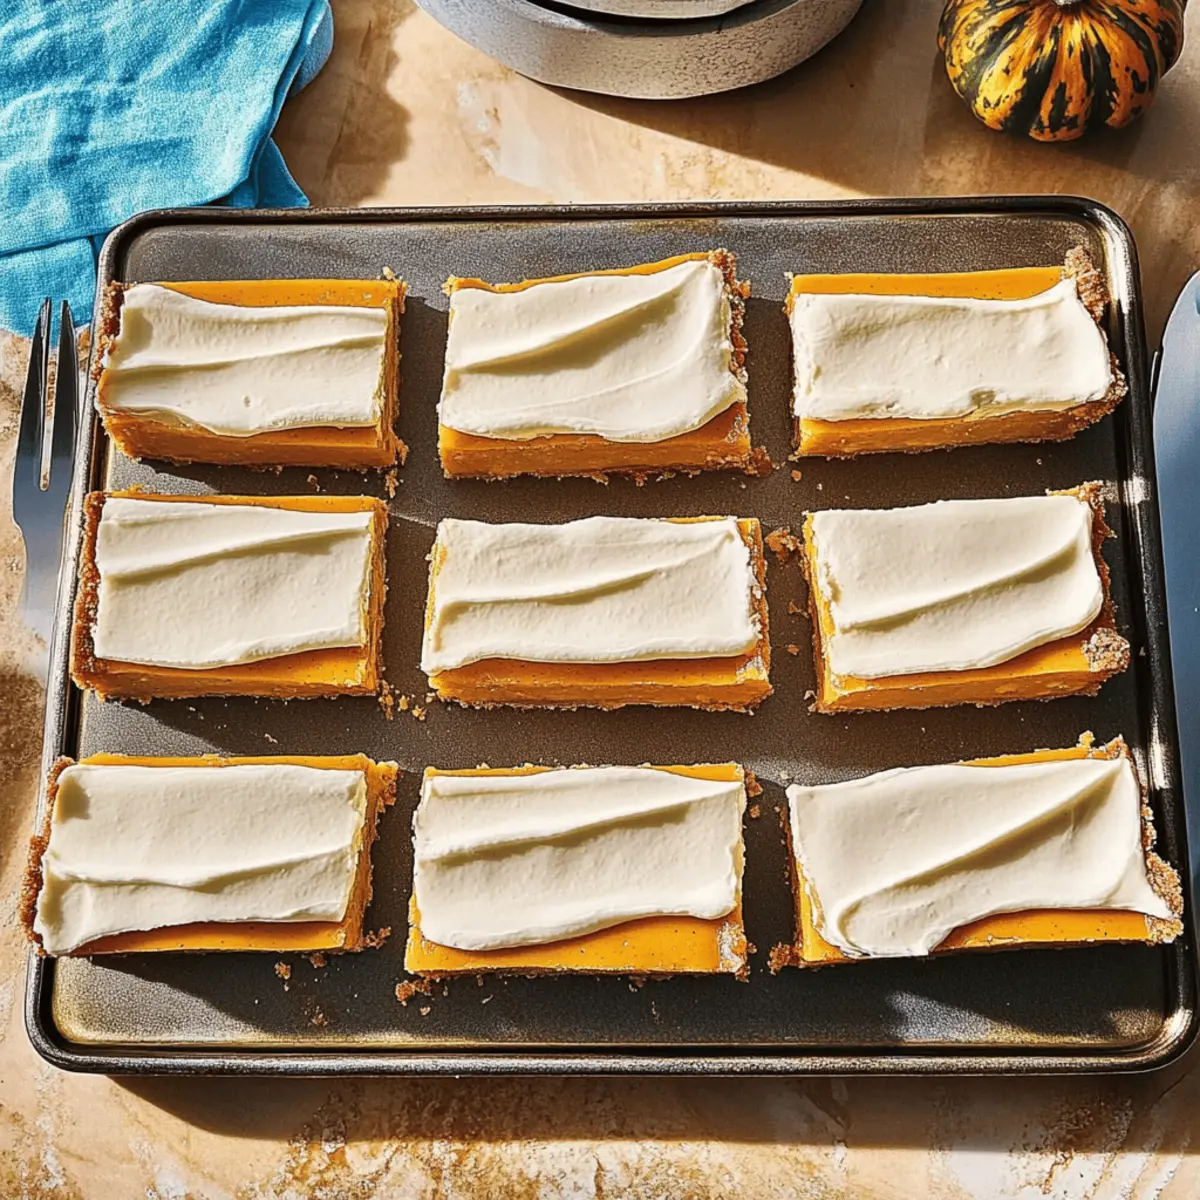
Once baked, remove the pan from the oven and let it cool on a wire rack for at least 30 minutes, allowing the flavors to meld beautifully. Carefully lift the bars out using the parchment paper, and place them on a cutting board. Cut into squares or rectangles, and feel the excitement build for serving your delightful Pumpkin Pie Bars.
Step 9: Serve with a Topping
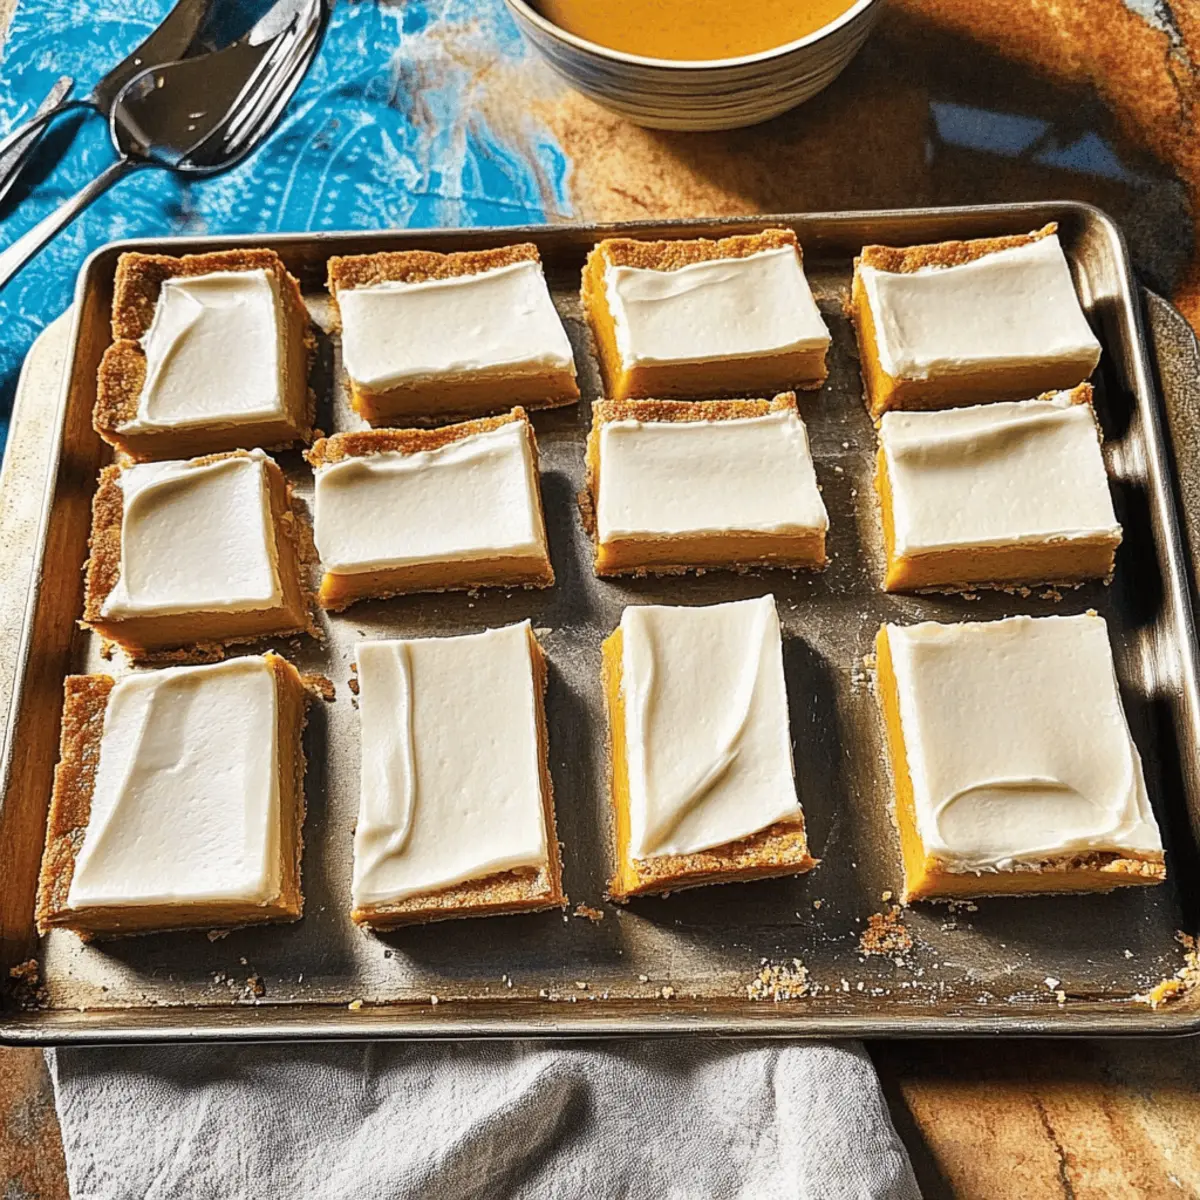
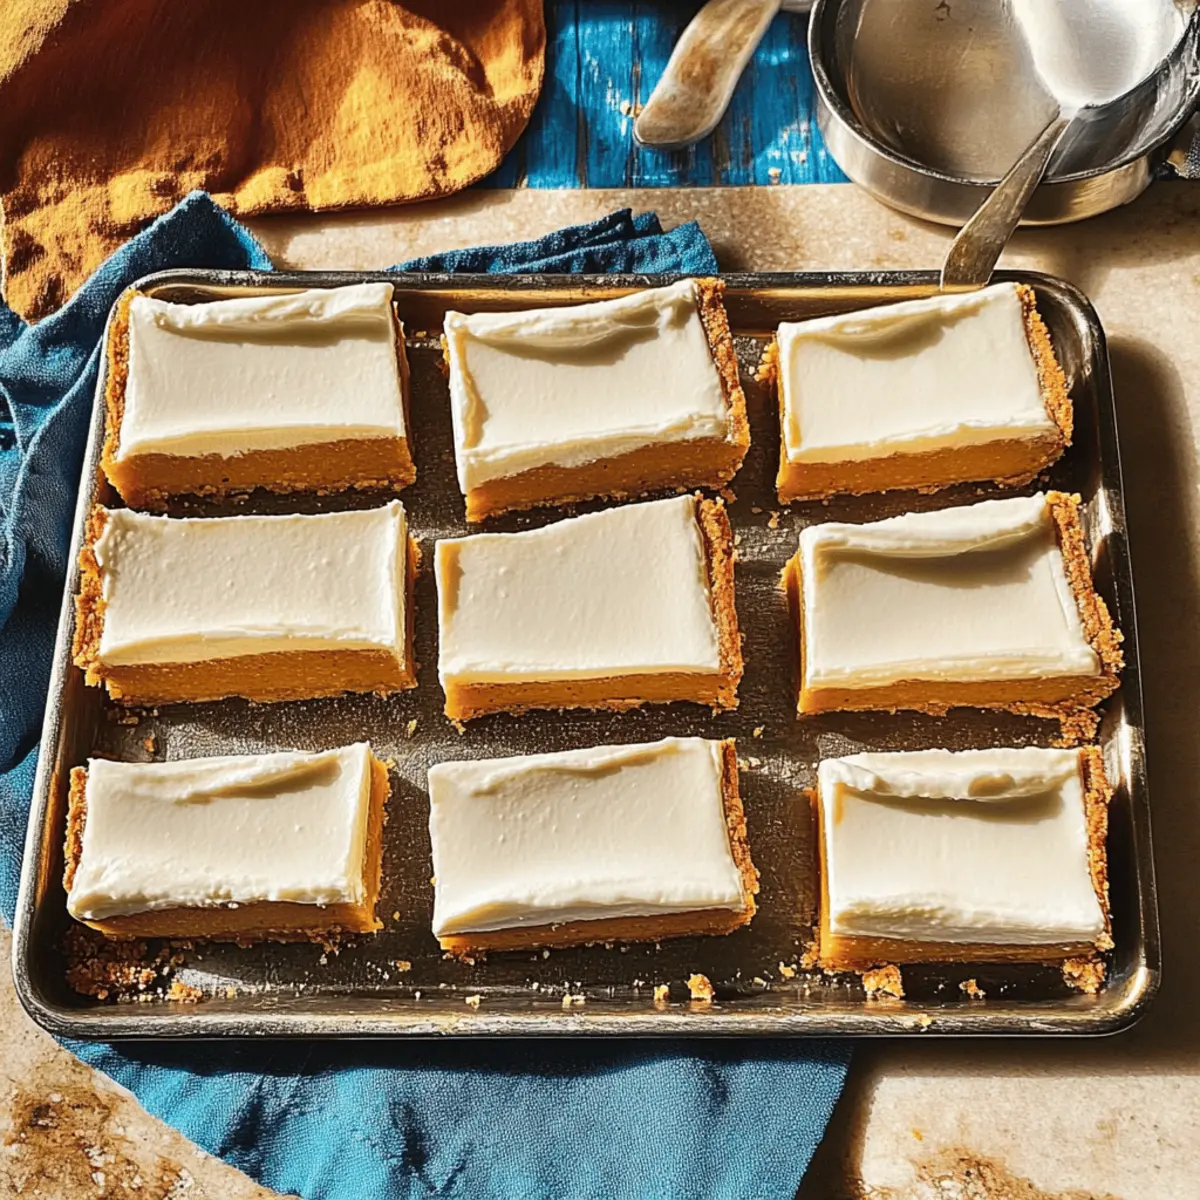
For an extra touch, whip up a sour cream topping by mixing 1 cup of sour cream with ¼ cup of confectioners’ sugar until smooth. Serve your Pumpkin Pie Bars with a dollop of this topping on each slice or sprinkle them with a dash of pumpkin spice for that festive flair. Enjoy the cozy flavors of fall with every bite!
Make Ahead Options
These Pumpkin Pie Bars are a fantastic option for meal prep! You can make them up to 24 hours in advance, which saves you time for busy weeknights or gatherings. To prep ahead, bake the crust and let it cool, then prepare the pumpkin filling and pour it over the crust—wrap the pan tightly with plastic wrap and refrigerate until you’re ready to bake. When you're ready to serve, simply bake the bars as directed. For optimal flavor and texture, cool the bars completely before slicing; they’ll be just as delicious, providing you with a delightful treat effortlessly!
How to Store and Freeze Pumpkin Pie Bars
Fridge: Store leftover Pumpkin Pie Bars covered in plastic wrap or in an airtight container for up to 5 days to keep them fresh and moist.
Freezer: For longer storage, wrap individual bars tightly in plastic wrap and place them in a freezer-safe bag. They can be frozen for up to 3 months; just thaw overnight in the fridge before enjoying.
Reheating: Warm bars in the microwave for about 10-15 seconds or in a preheated oven at 350°F (175°C) for 5-10 minutes to revive their buttery texture and flavor.
Serving Suggestions: Incorporate a dash of pumpkin spice while serving; this enhances the cozy autumn flavor, making every bite even more delightful!
What to Serve with Pumpkin Pie Bars
As autumn's cozy embrace invites gatherings around the table, these delicious bars deserve the perfect companions to match their warm, flavorful essence.
-
Vanilla Ice Cream: A scoop melts perfectly atop the warm bars, providing a delightful contrast of temperature and rich creaminess to each bite.
-
Spiced Apple Cider: This warm, cinnamon-infused drink enhances the fall flavor profile, making it a comforting match for family and friends.
-
Whipped Cream: A dollop on top adds airiness and sweetness, complementing the dense pumpkin filling while enhancing the nostalgic vibe of classic desserts.
-
Chai Tea: With its spiced warmth, chai tea complements the pumpkin spice flavors beautifully and creates a relaxing atmosphere for autumn gatherings.
-
Ginger Snap Cookies: These crunchy treats bring a delightful spiciness and texture that harmonizes with the soft, creamy texture of the Pumpkin Pie Bars.
-
Fresh Fruit Salad: A refreshing mix of seasonal fruits, like pears and apples, adds a juicy brightness, balancing the richness of the bars.
Pumpkin Pie Bars Variations & Substitutions
Customize your Pumpkin Pie Bars to suit your taste and dietary needs—let your creativity flow with these delightful twists!
-
Dairy-Free: Use coconut oil instead of butter and almond milk yogurt in place of sour cream for a creamy texture without dairy.
-
Gluten-Free: Swap all-purpose flour with a gluten-free blend to cater to those with gluten sensitivities while maintaining that satisfying crust.
-
Vegan: Replace eggs with a flax egg (1 tablespoon flaxseed meal mixed with 2.5 tablespoons water) and use a dairy-free alternative for other ingredients.
-
Spice it Up: Try adding a dash of cayenne or black pepper to the pumpkin filling for those who enjoy a hint of heat in their desserts. This unexpected twist can surprise and delight your taste buds!
-
Nutty Flavor: Incorporate finely chopped pecans or walnuts into the crust to enhance the texture and add a delightful crunch.
-
Chocolate Lovers: Mix in a cup of semi-sweet chocolate chips into the filling for a rich and decadent variation—who can resist chocolate and pumpkin combined?
-
Fruit Fusion: Swap half of the pumpkin puree with unsweetened applesauce; this adds a natural sweetness while keeping the bars moist and flavorful.
-
Sweet Topping: Instead of sour cream, top with a dollop of whipped cream or vanilla ice cream for a delightful finish. You could even drizzle a little caramel sauce for an extra special treat! Explore more indulgent flavors like Pumpkin Brownies Decadent for your gatherings!
Expert Tips for Pumpkin Pie Bars
Even Crust: Ensure you press the crust mixture evenly into the pan to avoid uneven baking, resulting in perfectly golden bars.
Monitor Baking: Watch the bars closely during the final bake; the filling should be set but slightly jiggly in the center to ensure a creamy texture.
Cool Completely: Always let the Pumpkin Pie Bars cool fully before cutting; this helps achieve clean edges and prevents them from crumbling.
Use Room Temperature Ingredients: Bring your eggs and butter to room temperature for smoother mixing, which leads to a better overall texture in your bars.
Test for Doneness: Use a toothpick to test the filling; it should come out mostly clean, indicating that your bars are baked to perfection while maintaining that luscious filling.
Pumpkin Pie Bars Recipe FAQs
What is the best way to select pumpkin puree?
When choosing pumpkin puree, look for pure canned pumpkin without added sugars or spices. If opting for fresh pumpkin, pick a sugar pumpkin or pie pumpkin as they have a sweeter taste and smoother texture. Ensure it feels firm and heavy for its size, with no dark spots or wrinkles on the skin.
How should I store leftover Pumpkin Pie Bars?
To store leftover Pumpkin Pie Bars, cover them with plastic wrap or place them in an airtight container. They can be kept in the refrigerator for up to 5 days. For best texture, allow them to cool completely before storing to avoid excess moisture buildup.
Can I freeze Pumpkin Pie Bars?
Absolutely! To freeze your Pumpkin Pie Bars, wrap each bar tightly in plastic wrap and place them in a freezer-safe bag. They can be kept in the freezer for up to 3 months. When you’re ready to enjoy them, simply thaw overnight in the fridge, then reheat in the microwave or oven as needed.
How can I troubleshoot a watery filling?
If your filling turns out watery, it might be due to excess moisture in the pumpkin puree. Always drain fresh pumpkin before using it, or if using canned puree, choose a brand that is labeled "pure pumpkin." Additionally, make sure to measure the ingredients accurately; too much liquid can affect texture.
Can I modify this recipe for dietary restrictions?
Certainly! For a dairy-free version, substitute butter with margarine or coconut oil, and use plant-based sour cream or yogurt. If you’re avoiding eggs, flax eggs (1 tablespoon ground flaxseed mixed with 2.5 tablespoons water per egg) work well as a binding agent. Always ensure that other ingredients are free from allergens based on personal dietary needs.
How long do pumpkin bars typically last?
When stored properly, Pumpkin Pie Bars can last up to 5 days in the refrigerator, and up to 3 months in the freezer. For optimal freshness and flavor, consume them within these timeframes to enjoy the delightful taste of pumpkin spice at its best.
Delicious Pumpkin Pie Bars Perfect for Fall Gatherings
Ingredients
Equipment
Method
- Preheat the oven to 350°F (175°C) and prepare a 9" x 13" baking pan.
- In a large mixing bowl, cream together ½ cup butter and 1 cup brown sugar until smooth. Add 1.75 cups flour and a pinch of salt, mixing until crumbly.
- Press the crust mixture evenly into the prepared pan and poke holes with a fork.
- Bake the crust for 28-32 minutes until golden brown.
- In a separate bowl, whisk together 1 cup pumpkin puree, 2 eggs, ¾ cup granulated sugar, and 1 tablespoon pumpkin spice.
- Pour the pumpkin filling over the slightly cooled crust and spread evenly.
- Bake the bars for an additional 32-35 minutes until the filling is set.
- Let the bars cool on a wire rack for at least 30 minutes before cutting.
- For topping, mix 1 cup sour cream with ¼ cup confectioners’ sugar until smooth.


Leave a Reply