
"Can you believe the holidays are here again?" As I gaze at the twinkling lights and the first snowflakes falling outside, I can’t help but feel a rush of excitement to bake something special. Enter my Polar Bear Christmas Cupcakes! These delightful festive treats are not only whimsical with their charming bear decorations and snowy frosting, but they also pack a flavor punch that will impress your family and friends. The beauty of this recipe lies in its quick prep and the joy it brings to any holiday gathering. Whether you're hosting a festive party or just looking to indulge yourself while watching a holiday classic, these cupcakes create the perfect centerpiece. Curious to learn how to bring these adorable, tasty treats to life? Let’s dive into the magic of baking!
Why are Polar Bear Cupcakes so special?
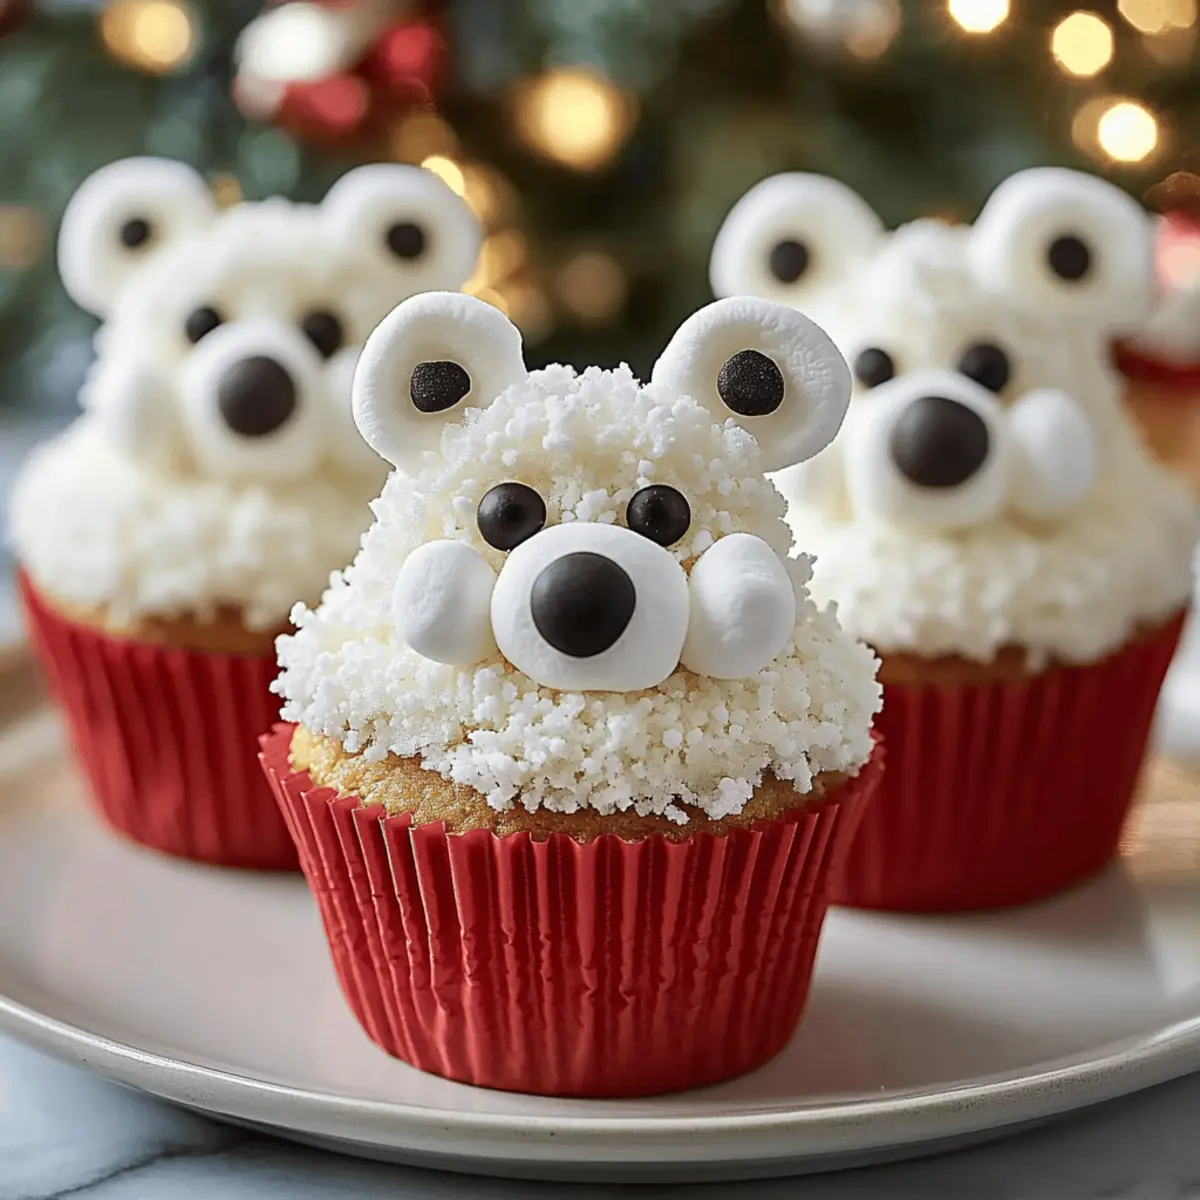
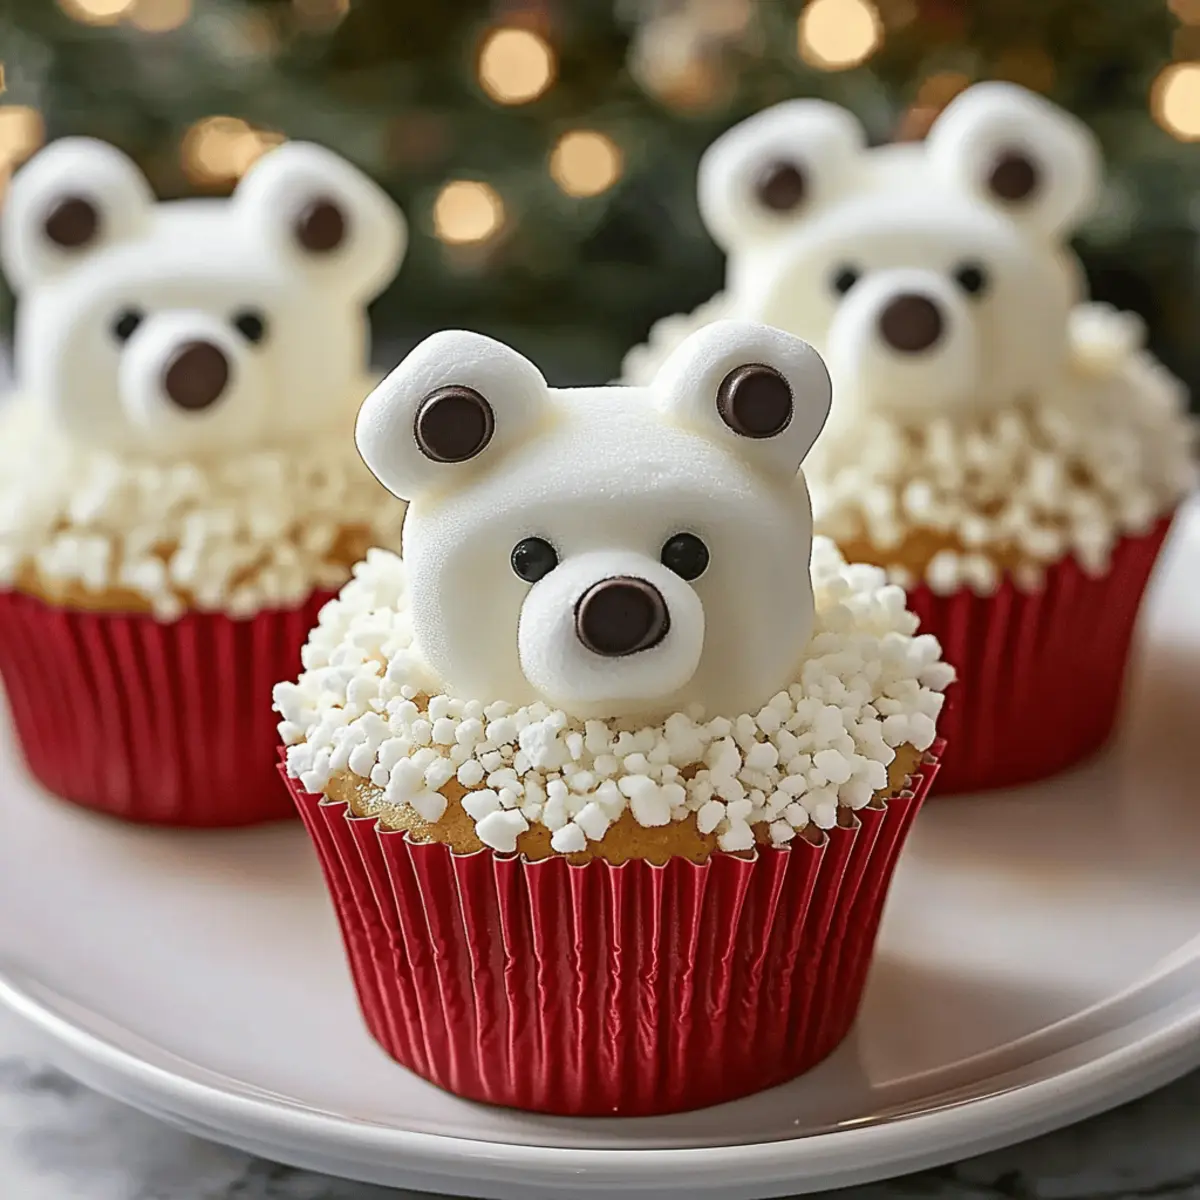
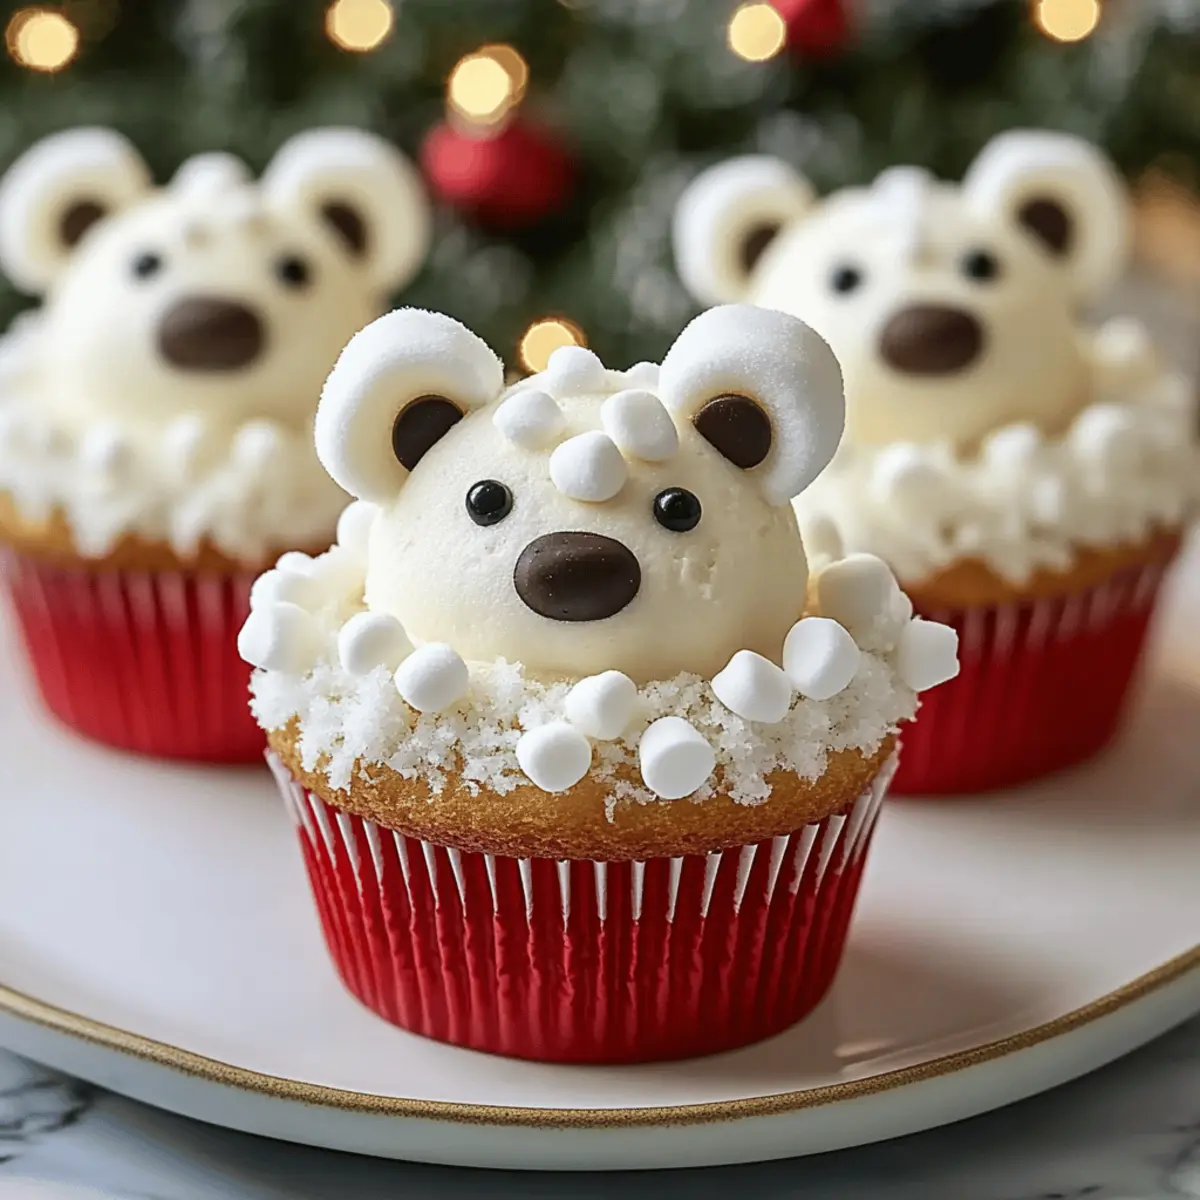
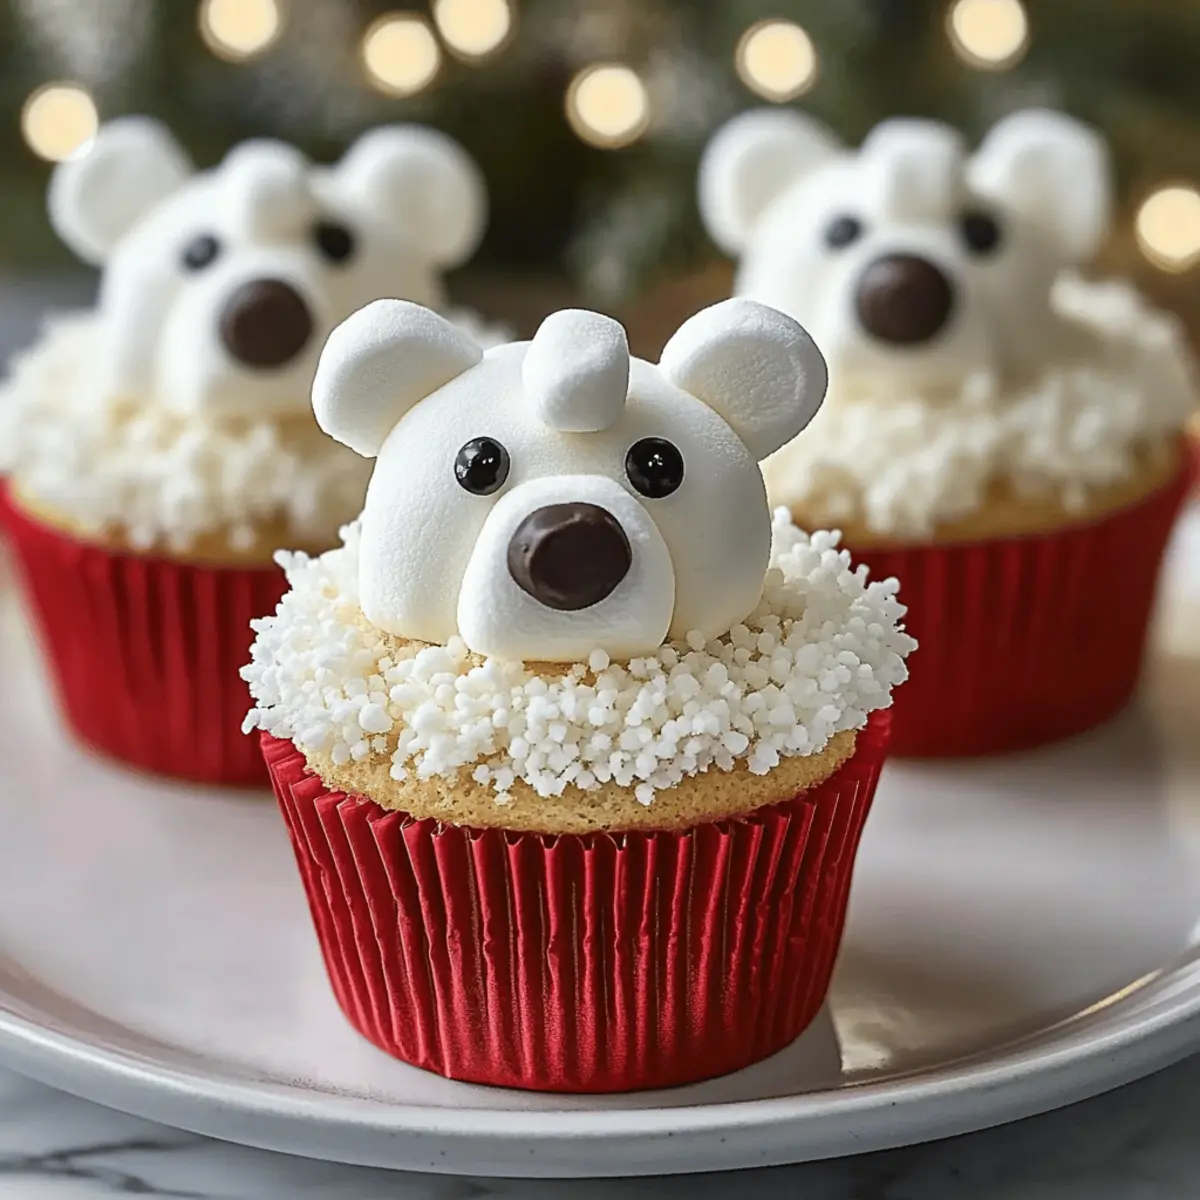
Whimsical, these Polar Bear Christmas Cupcakes bring holiday cheer to your kitchen with their adorable design.
Easy to make, this recipe requires simple ingredients and minimal baking skills, perfect for both beginners and seasoned bakers alike.
Customizable, let your creativity shine by experimenting with different flavors and decorations to suit your festive mood.
Perfect for gatherings, these cupcakes are sure to impress your family and friends at any holiday celebration.
Delicious, each bite offers a sweet balance of fluffy cake and rich frosting that’ll have everyone coming back for more! You can also check out our guide on holiday desserts for more delightful options.
Polar Bear Christmas Cupcake Ingredients
Prepare to bake delightful Polar Bear Christmas Cupcakes with these essential ingredients!
For the Cake Base
• All-Purpose Flour – Provides structure; substitute with gluten-free flour for a GF version.
• Baking Powder – A vital leavening agent; ensure freshness for the best rise.
• Baking Soda – Aids in rising and browning; can replace with more baking powder if needed.
• Salt – Enhances the overall flavor of your cupcakes.
• Unsalted Butter (softened) – Adds richness; margarine works as a non-dairy option.
• Granulated Sugar – Contributes sweetness and moisture; opt for brown sugar for a caramel twist.
• Large Eggs – Binds the ingredients and adds richness; flax eggs can serve as a vegan alternative.
• Vanilla Extract – Infuses flavor; almond extract can offer a delightful variation if desired.
• Buttermilk – Ensures moisture and a slight tang; substitute with milk mixed with lemon juice.
For the Frosting
• Powdered Sugar – Sweetens the frosting; consider confectioner’s sugar alternatives for a lower sugar option.
• Heavy Cream/Milk – Adjusts frosting consistency; non-dairy milk is a fine substitute if preferred.
For Decorating
• White Chocolate Chips – Perfect for cute bear eyes; dark chocolate chips can be a tasty swap if you prefer.
• Mini Chocolate Chips – Ideal for additional decoration, contributing to the bear's cuteness.
• Shredded Coconut – Creates a snowy effect; feel free to omit if coconut isn’t your thing.
• Mini Marshmallows – Use for adorable ears on your polar bear designs.
Step‑by‑Step Instructions for Polar Bear Christmas Cupcakes
Step 1: Preheat the Oven
Begin by preheating your oven to 350°F (175°C). While the oven warms up, line a cupcake pan with festive cupcake liners to prepare for your Polar Bear Christmas Cupcakes. This step is essential for achieving that delightful golden crust and fluffy texture as they bake.
Step 2: Mix the Dry Ingredients
In a medium bowl, whisk together 2 cups of all-purpose flour, 1 teaspoon of baking powder, ½ teaspoon of baking soda, and ½ teaspoon of salt. This combination will ensure your cupcakes rise perfectly. Set the bowl aside, allowing the dry ingredients to blend and create a foundation for your cupcakes.
Step 3: Cream Butter and Sugar
In a large mixing bowl, beat together ½ cup of softened unsalted butter and 1 cup of granulated sugar until the mixture is light and fluffy. This will take about 3-5 minutes of mixing. You'll know it’s ready when it appears pale and airy, creating a rich base for your Polar Bear Christmas Cupcakes.
Step 4: Add Eggs and Vanilla
Next, incorporate 2 large eggs one at a time, mixing thoroughly after each addition. Stir in 2 teaspoons of vanilla extract until well blended. The eggs will enrich the batter while ensuring moisture, heightening both the texture and flavor in your delightful cupcakes.
Step 5: Combine Mixtures
Gradually add the prepared dry ingredients into the butter mixture while alternating with 1 cup of buttermilk. Mix until just combined, being careful not to overbeat. The batter should be smooth and somewhat thick, ready to create the fluffy cupcakes that will dazzle your holiday table.
Step 6: Fill the Cupcake Liners
Scoop the batter into the lined cupcake pan, filling each liner about two-thirds full. Bake in the preheated oven for 18-20 minutes. To check for doneness, insert a toothpick into the center of a cupcake; it should come out clean when they are perfectly baked and ready to cool on a wire rack.
Step 7: Cool the Cupcakes
Once baked, let the cupcakes cool in the pan for about 5 minutes. Carefully transfer them to a wire rack to cool completely. This is a crucial step that helps prevent sogginess while allowing the flavors to settle in your festive Polar Bear Christmas Cupcakes.
Step 8: Prepare the Frosting
While your cupcakes cool, beat ½ cup of softened butter in a mixing bowl until creamy. Gradually add in 3 cups of powdered sugar, mixing until smooth. Finish by incorporating 1 teaspoon of vanilla extract and enough heavy cream to achieve a fluffy consistency; this will create the snowy frosting your bears deserve.
Step 9: Frost the Cupcakes
Once the cupcakes are completely cool, frost them using a piping bag or spatula. Generously apply the creamy frosting atop each cupcake, creating the perfect snowy base for your Polar Bear Christmas Cupcakes to shine.
Step 10: Decorate the Cupcakes
Now it’s time for the fun part! Place mini marshmallows on top for ears, use white chocolate chips for the eyes, and mini chocolate chips for the nose. For an extra festive touch, sprinkle shredded coconut around the edges to mimic a beautiful snowy backdrop, bringing your polar bear creations to life!
Make Ahead Options
These Polar Bear Christmas Cupcakes are a dream for busy bakers who want to save time during the hectic holiday season! You can prepare the cupcake batter up to 24 hours in advance; simply cover it with plastic wrap and refrigerate to keep it fresh. For best results, fill the cupcake liners and bake them just before serving—this keeps them fluffy and delightful. Additionally, frosting can be made ahead and stored in the fridge for up to 3 days; just allow it to soften at room temperature before using. When ready to serve, frost the cupcakes and add your adorable decorations for a spectacular touch that will wow your guests!
What to Serve with Polar Bear Christmas Cupcakes
Amidst the warmth of holiday celebrations, these charming cupcakes are just the sweet touch to a delightful festive spread.
- Hot Cocoa: A creamy, indulgent cup of hot cocoa pairs beautifully, enhancing the cozy feel of winter gatherings.
- Peppermint Bark: This crunchy seasonal favorite offers a refreshing minty contrast to the sweet, fluffy cupcakes.
- Eggnog: The creamy, spiced flavor of eggnog adds an extra festive cheer to your holiday dessert table.
Imagine enjoying a warm slice of spicy gingerbread alongside these cupcakes, creating a comforting traditional pairing. It sparks memories of cheerful holidays past, making both treats star attractions.
- Fruit Salad: A bright mix of seasonal fruits like pomegranate and orange adds a refreshing, zesty bite to complement the sweetness.
- Chocolate Dipped Strawberries: The rich chocolate pairs perfectly with the dreamy frosting, offering a luscious harmony of flavors.
- Sugar Cookies: Soft, buttery sugar cookies elevate the holiday spirit while complementing the playful design of your cupcakes.
- Spiced Chai Tea: A warm cup of spiced chai adds warming spices that enhance the festive flavors of the holidays.
Storage Tips for Polar Bear Christmas Cupcakes
Room Temperature: Store your Polar Bear Christmas Cupcakes in an airtight container at room temperature for up to 2 days to maintain their freshness and fluffy texture.
Fridge: If you need them to last a bit longer, refrigerate the cupcakes for up to a week. Ensure they are well-sealed to prevent drying out.
Freezer: For longer storage, freeze undecorated cupcakes in an airtight container for up to 3 months. Thaw overnight in the fridge before frosting and decorating.
Reheating: If you've stored your cupcakes in the fridge, let them come to room temperature before serving. For a cozy touch, gently warm them in the microwave for about 10-15 seconds.
Expert Tips for Polar Bear Christmas Cupcakes
- Room Temperature Ingredients: Ensure all ingredients, especially butter and eggs, are at room temperature for easier mixing and a smoother batter.
- Careful Mixing: Avoid overmixing once you combine the wet and dry ingredients. This can lead to dense and heavy cupcakes instead of the fluffy texture you want.
- Watch the Timer: Keep an eye on the baking time—start checking at the 18-minute mark. Overbaking can result in dry cupcakes, diminishing their holiday charm.
- Creative Decorations: Feel free to get whimsical with decorations! Try edible glitter or different candies for eyes and nose to make each polar bear unique.
- Flavor Variations: Don’t hesitate to switch up flavor extracts, like using almond or peppermint, to create variations of these Polar Bear Christmas Cupcakes that your loved ones will adore.
Polar Bear Christmas Cupcakes Variations & Substitutions
Feel free to make these delightful cupcakes your own with your preferred twists and swaps!
- Gluten-Free: Replace all-purpose flour with a gluten-free flour blend for a gluten-free treat.
- Vegan: Use flax eggs in place of the large eggs and non-dairy butter for a vegan-friendly option.
- Miniatures: Create cupcakes in mini sizes for bite-sized treats, great for parties and gatherings.
- Flavor Boost: Add peppermint extract to the batter for a refreshing holiday twist that sparks the season's joy.
- Chocolate Lovers: Substitute some of the flour with cocoa powder to create a rich chocolatey version of the Polar Bear cupcakes.
- Frosting Variations: Experiment with cream cheese frosting for a tangy alternative that adds delightful depth to the sweetness.
- Sprinkles & Decorations: Switch out shredded coconut with festive edible glitter or colorful sprinkles to brighten up your cupcakes.
- Nutty Goodness: Fold in chopped nuts like pecans or walnuts into the batter for an added crunch that enhances texture.
No matter how you choose to personalize these Polar Bear Christmas Cupcakes, enjoy the fun of creating and sharing these festive delights with loved ones. And don't forget to explore more about holiday dessert ideas or baking tips to elevate your festive baking experience!
Polar Bear Christmas Cupcakes Recipe FAQs
What should I look for in ripe ingredients?
Absolutely! For the best results in your Polar Bear Christmas Cupcakes, choose fresh ingredients. Ensure your butter is softened but not melted for optimum creaming. When selecting eggs, opt for large eggs that are free from cracks. If using buttermilk, check that it is not expired, as freshness is key to achieving that tangy flavor and moist texture.
How should I store leftover cupcakes?
Very good question! Store your Polar Bear Christmas Cupcakes in an airtight container at room temperature for up to 2 days for optimal freshness. If you need to extend their life, refrigerate them for up to a week but ensure they are well-sealed to prevent drying. Remember, the cupcakes can dry out quickly if not stored properly!
Can I freeze the cupcakes?
You absolutely can! To freeze your Polar Bear Christmas Cupcakes, it’s best to do so without the frosting. Once cooled, place the cupcakes in an airtight container or a freezer-safe zip-top bag. They can be frozen for up to 3 months. When you're ready to enjoy them, simply thaw overnight in the fridge, then frost and decorate them before serving.
What are some common troubleshooting tips?
If you find that your cupcakes are dense, avoid overmixing the batter once you combine the wet and dry ingredients. For optimal fluffiness, make sure all your ingredients are at room temperature before use. Additionally, monitor your baking time closely; overbaking can lead to dry cupcakes. If you notice them browning too much, consider reducing the temperature by 25°F next time.
What should I consider for dietary restrictions?
For those with dietary concerns, there are plenty of adjustments you can make! For gluten-free options, substitute all-purpose flour with a gluten-free alternative. To cater to vegans, replace eggs with flax eggs (1 tablespoon of flaxseed meal mixed with 2.5 tablespoons of water equals 1 egg) and use margarine or coconut oil instead of butter. Always check for allergies regarding chocolate chips and coconut, and remember to have a variety of decorations that suit different dietary needs!
Can I customize the flavors of these cupcakes?
The more the merrier when it comes to flavors! You can easily swap out traditional vanilla for lemon, peppermint, or even chocolate extracts to create unique twists on the classic Polar Bear Christmas Cupcakes. Try experimenting with different toppings too—edible glitter or colored candies can make for an exciting and delightful decoration experience!
Delicious Polar Bear Christmas Cupcakes to Brighten Your Holidays
Ingredients
Equipment
Method
- Preheat your oven to 350°F (175°C) and line a cupcake pan with festive cupcake liners.
- In a medium bowl, whisk together the flour, baking powder, baking soda, and salt.
- In a large mixing bowl, beat together the softened butter and granulated sugar until light and fluffy.
- Incorporate the eggs one at a time and then stir in the vanilla extract.
- Gradually add the dry ingredients into the butter mixture while alternating with the buttermilk.
- Scoop the batter into the lined cupcake pan, filling each liner about two-thirds full, and bake for 18-20 minutes.
- Cool the cupcakes in the pan for 5 minutes before transferring them to a wire rack.
- Beat the softened butter until creamy, then gradually add the powdered sugar and mix until smooth.
- Frost the cooled cupcakes using a piping bag or spatula.
- Decorate with mini marshmallows for ears, white chocolate chips for eyes, and mini chocolate chips for the nose.


Leave a Reply