
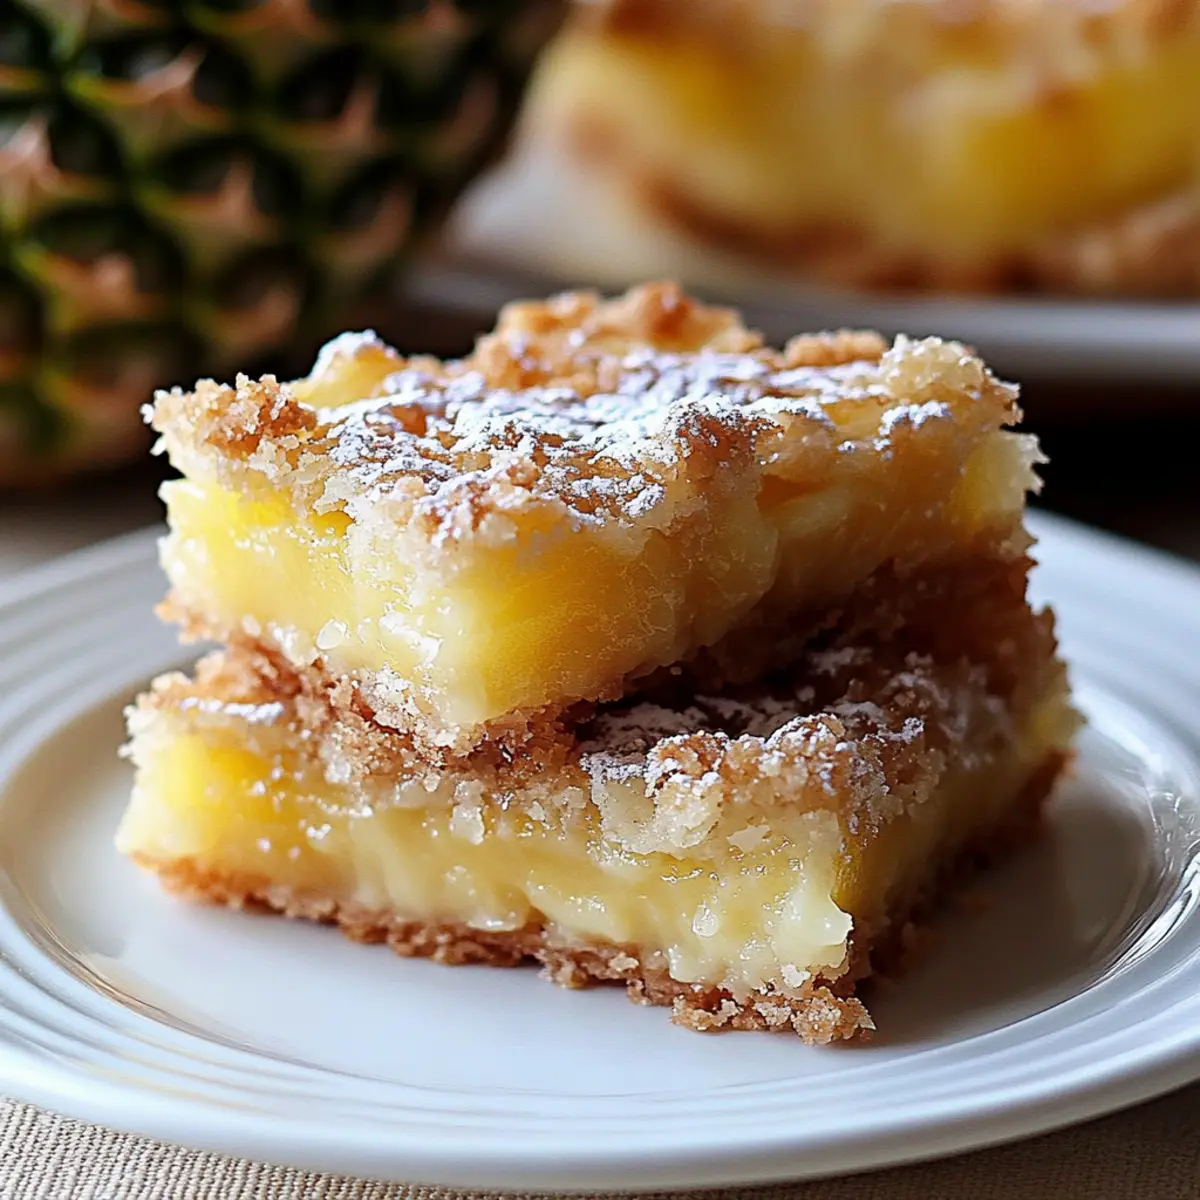
As I stood in my kitchen, the sweet aroma of crushed pineapple wafted through the air, instantly transporting me to a sun-kissed beach paradise. There's something magical about these Pineapple Bliss Bars that compels me to make them time and time again. With a buttery shortbread base and a gooey, sweet-tart filling, they have a delightful balance of textures that everyone loves. The best part? They’re deceptively simple to whip up and can easily impress at any gathering, making them a perfect choice for everything from casual summer get-togethers to festive celebrations. Plus, they’re potentially gluten-free when made with the right flour substitute, catering to diverse diets. I promise, once you take a bite, you’ll find it hard to resist another. Ready to dive into this tropical treat?
Why are Pineapple Bliss Bars a must-try?
Tropical Escape: Every bite transports you to a sunny beach paradise, thanks to the vibrant pineapple flavor.
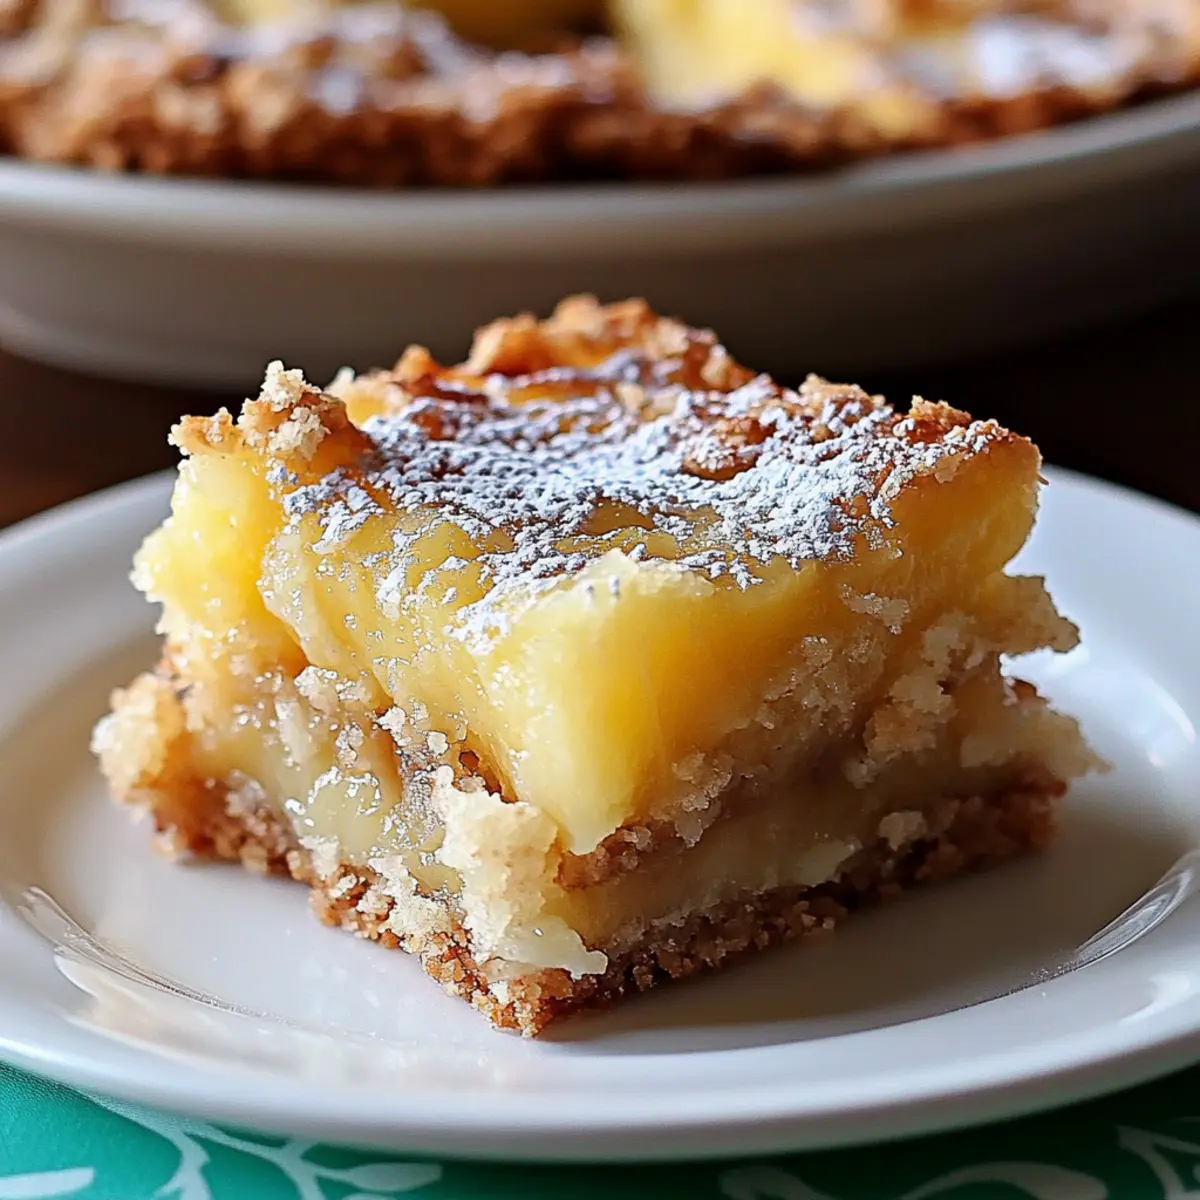
Gooey Goodness: The combination of a buttery crust and a sweet-tart filling creates a perfect harmony of textures.
Simplicity: With just a few ingredients, these bars are incredibly easy to make, making them accessible for any home chef.
Versatile Treat: Perfect for gatherings, they can wow guests at summer barbecues or festive parties.
Diet-Friendly: Easily adaptable for gluten-free diets, these bars cater to various dietary needs, so no one misses out on this delicious indulgence.
Grab your ingredients, and let’s make these delightful Pineapple Bliss Bars a new favorite in your dessert rotation!
Pineapple Bliss Bars Ingredients
• Get ready for tropical delight!
For the Crust
- All-Purpose Flour – Provides structure for both the crust and filling; substitute with gluten-free flour for a gluten-free version.
- Granulated Sugar – Adds sweetness to the crust; you can experiment with brown sugar for deeper flavor.
- Salt – Enhances and balances the sweetness for a well-rounded taste.
- Cold Unsalted Butter – Adds richness and creates a crumbly texture; ensure it’s well-chilled for optimal results.
For the Filling
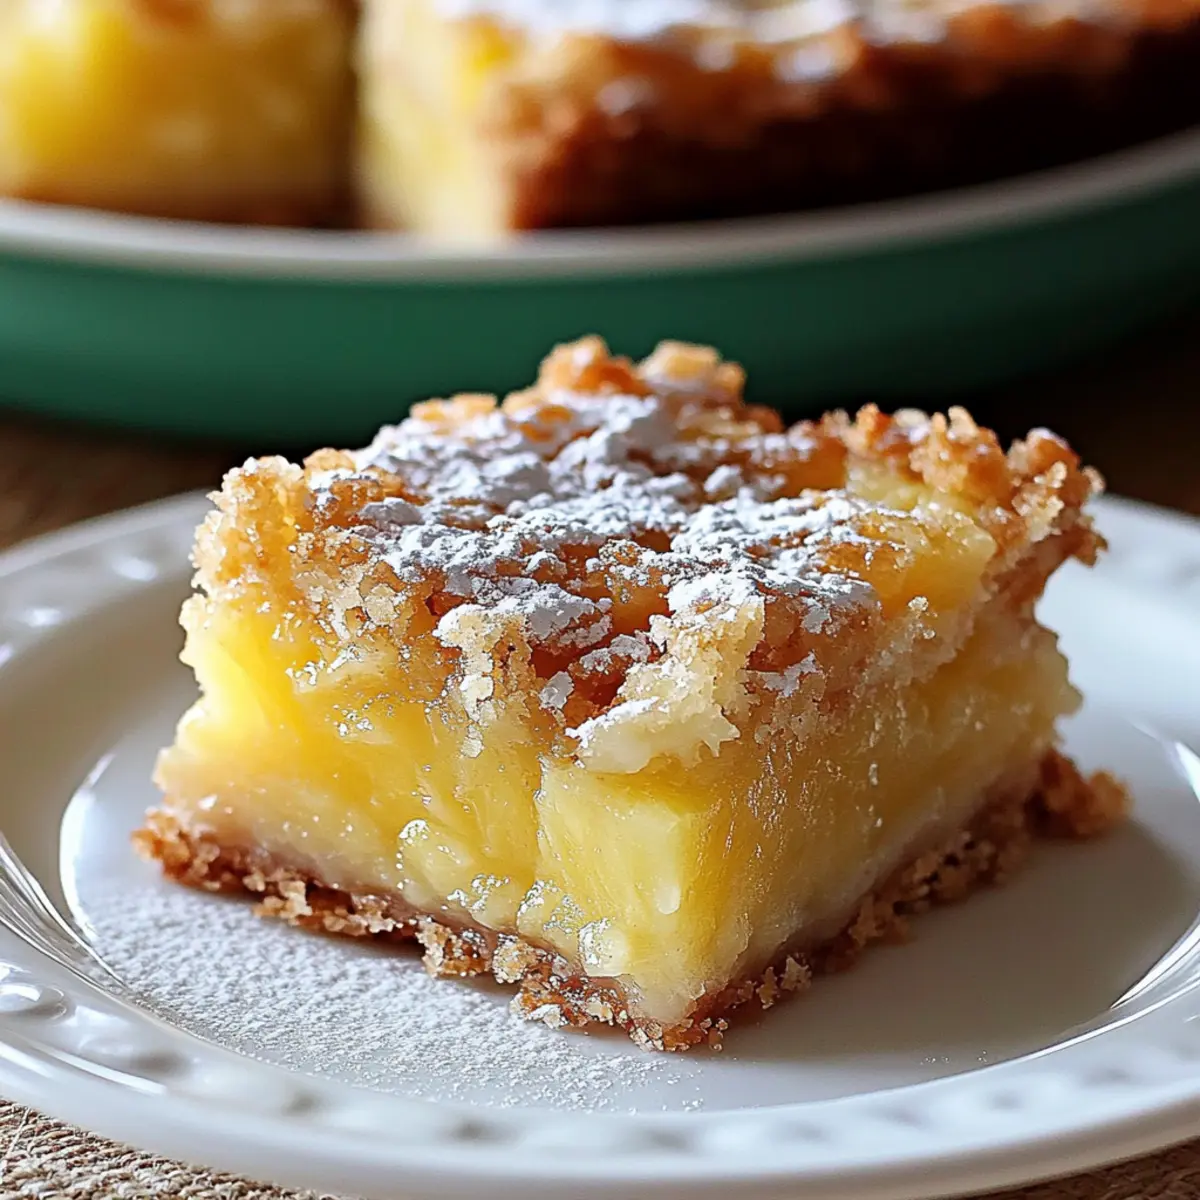
- Crushed Pineapple – Main flavor component; use well-drained pineapple to prevent excess moisture. Fresh pineapple can be substituted if finely crushed.
- Large Eggs – Essential for binding the filling and achieving the right texture.
- Baking Powder – Leavens the filling slightly, creating a light and airy texture.
- Vanilla Extract – Infuses aromatic sweetness into the filling.
For the Topping
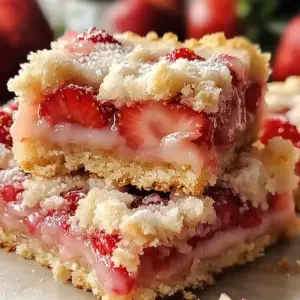
- Powdered Sugar – A light dusting for a visually appealing finish that enhances the tropical look of your Pineapple Bliss Bars.
Step‑by‑Step Instructions for Pineapple Bliss Bars
Step 1: Preheat the Oven
Begin by preheating your oven to 350°F (175°C). While the oven heats, prepare a 9x13-inch baking pan by lining it with parchment paper, allowing some overhang for easy removal later. This initial step sets the stage for baking your delicious Pineapple Bliss Bars, ensuring an evenly cooked crust.
Step 2: Make the Crust
In a medium mixing bowl, combine 1 ½ cups of all-purpose flour, ½ cup of granulated sugar, and a pinch of salt. Cut in ¾ cup of cold, unsalted butter using a pastry cutter or fork until the mixture resembles coarse crumbs. Once ready, press the buttery mixture firmly into the bottom of the prepared pan, creating an even layer that will form a deliciously crumbly crust.
Step 3: Bake the Crust
Place the crust in your preheated oven and bake for approximately 15 minutes, or until it turns lightly golden. Keep an eye on it to avoid over-baking; you want it to stay soft for the filling. Once baked, remove from the oven and let it cool slightly, allowing time for the crust to set while you prepare the pineapple filling.
Step 4: Prepare the Filling
In a clean mixing bowl, whisk together 2 large eggs and 1 cup of granulated sugar until the mixture is smooth and pale. Next, fold in ¼ cup of flour, 1 teaspoon of baking powder, and 1 teaspoon of vanilla extract. Finally, gently stir in 1 cup of well-drained crushed pineapple, ensuring the filling is well combined and ready to be poured over your crust.
Step 5: Combine and Bake
Pour the luscious pineapple filling evenly over the slightly cooled crust, spreading it out gently with a spatula. Return the pan to the oven and bake for another 25 to 30 minutes, or until the edges are set and the center is just slightly jiggly. The top should appear golden and inviting, signaling that your Pineapple Bliss Bars are nearly ready.
Step 6: Cool and Dust
Once baked, remove the pan from the oven and let the bars cool completely in the pan on a wire rack. Once cooled, carefully lift the bars out using the parchment overhang, transfer to a cutting board, and dust the top with a generous sprinkle of powdered sugar. Slice into squares and get ready to enjoy this delightful tropical treat!
Make Ahead Options
These Pineapple Bliss Bars are perfect for meal prep and can save you valuable time on busy days! You can prepare the crust up to 24 hours in advance by baking it, letting it cool, and then storing it tightly covered at room temperature. The filling can also be mixed ahead of time and refrigerated for up to 3 days; just be sure to keep it in an airtight container to maintain its freshness and avoid any moisture issues. When you're ready to enjoy, simply pour the chilled filling over the crust and bake as directed. This ensures your Pineapple Bliss Bars will be just as delicious as if made fresh on the day of serving!
Expert Tips for Pineapple Bliss Bars
- Use Cold Butter: Ensure your butter is very cold to achieve a crumbly texture for the crust. Room temperature butter will lead to a denser base.
- Drain Pineapple Well: Properly drain the crushed pineapple to prevent the filling from becoming soggy. Excess liquid can ruin the texture of your Pineapple Bliss Bars.
- Cool Completely: Allow the bars to cool completely before cutting to maintain clean, neat edges. Cutting too soon can lead to a messy, gooey filling.
- Perfect Storage: To keep your bars fresh, store them in the refrigerator for up to 5 days or freeze them for up to 2 months, using parchment paper between layers.
- Experiment with Flavors: Feel free to add coconut or substitute different fruit purees for unique versions of these Pineapple Bliss Bars, and discover your favorite combinations!
Storage Tips for Pineapple Bliss Bars
Fridge: Store your Pineapple Bliss Bars in an airtight container in the fridge for up to 5 days. Let them come to room temperature before serving for the best flavor and texture.
Freezer: For longer storage, freeze the bars for up to 2 months. Cool completely, pre-slice, and wrap them tightly in plastic wrap, then place them in an airtight container.
Layering: When freezing, separate layers with parchment paper to prevent sticking. This makes it easy to grab a bar whenever the tropical craving strikes!
Reheating: If desired, reheat the bars gently in the microwave for a few seconds to warm them up before serving. Enjoy the gooey goodness all over again!
Pineapple Bliss Bars Variations & Substitutions
Feel free to get creative with these delightful bars and tailor them to suit your taste!
- Gluten-Free: Swap all-purpose flour for a 1:1 gluten-free baking blend to make these bars gluten-friendly.
- Coconut Delight: Add 1/2 cup of shredded coconut into the filling for added richness and a tropical vibe. You’ll love the texture it brings!
- Tropical Fruit Swap: Use other fruit purees like mango or peach instead of pineapple for a deliciously different twist. Each fruit brings its own sweetness.
- Nutty Addition: Fold in 1/4 cup of chopped macadamia nuts or pecans for a satisfying crunch that complements the gooey filling beautifully.
- Sugar Variations: Experiment with brown sugar instead of granulated sugar for a deep caramel flavor that enhances the sweet-tart pineapple.
- Zesty Twist: Mix in the zest of one lime or lemon to brighten up the flavors with a refreshing citrus note. It’s an invigorating change that pairs well with the pineapple.
- Rich Filling: For a creamier texture, use sweetened condensed milk as part of the filling, creating an indulgent version of your bars.
- Berry Boost: Add 1 cup of berries, like blueberries or raspberries, mixed into the pineapple filling for added color and a berry twist. This adds a fun burst of flavor in every bite!
For more fruity inspirations, why not check out these delicious Acai Bowl Nutritious or indulge in some tasty Matcha Cookies? Enjoy your culinary adventure!
What to Serve with Pineapple Bliss Bars
The delightful blend of flavors in these bars begs for the perfect companions to complete your tropical dessert experience.
- Coconut Custard: This creamy treat mirrors the tropical notes in the bars and adds a luscious texture that enhances every bite.
- Tropical Fruit Salad: A vibrant mix of seasonal fruits like kiwi, mango, and berries, providing a refreshing contrast to the sweet bars. The bright colors and flavors will elevate your dessert table.
- Pineapple Sorbet: The icy sweetness of pineapple sorbet acts as a cool palate cleanser, enhancing the fruity goodness of the bars while keeping the tropical theme alive.
- Whipped Cream: A dollop of softly whipped cream adds a light and airy element, balancing the richness of your dessert, creating a delightful creaminess.
- Tequila Sunrise Cocktail: This bright, fruity drink complements the tropical vibes with its layers of orange juice and grenadine, making it a fun pairing for summer gatherings.
- Toasted Coconut: Garnish the bars with toasted coconut flakes; the crunch perfectly contrasts with the gooey filling while amplifying the coconut flavor.
- Almond Biscotti: For a delightful crunch, serve alongside these delightful biscotti, which offers a nutty flavor that beautifully pairs with the pineapple.
- Mango Sticky Rice: This indulgent dessert with creamy coconut and sweet mango adds a unique twist that complements the tropical bliss of the bars.
- Coconut Iced Coffee: Refreshing and energizing, this unique drink pairs nicely with the bars, enhancing the tropical experience and balancing sweetness.

Pineapple Bliss Bars Recipe FAQs
What kind of pineapple should I use for the filling?
Absolutely! For the best results, use well-drained crushed pineapple. If you can, fresh is even better! Just make sure to finely crush it and drain any excess liquid to keep your filling from becoming soggy. Canned crushed pineapple works wonderfully too—just double-check for added sugars.
How should I store leftover Pineapple Bliss Bars?
You’ll want to keep those lovely bars fresh! Store them in an airtight container in the refrigerator for up to 5 days. If serving later, let them come to room temperature for optimal taste and texture.
Can I freeze Pineapple Bliss Bars?
Yes, you can! They freeze beautifully. Allow the bars to cool completely and pre-slice them. Then wrap each slice in plastic wrap and place it in an airtight container. They’ll last for up to 2 months in the freezer. Just remember to layer parchment paper between slices to prevent sticking!
What if my filling isn’t setting properly?
Very! If your filling appears undercooked after the specified baking time, return the bars to the oven. Bake for additional 5-minute increments until it's set around the edges but still has a slight jiggle in the center. This ensures you keep that gooey texture we all love!
Are Pineapple Bliss Bars suitable for those with dietary restrictions?
Definitely! To make your Pineapple Bliss Bars gluten-free, simply swap out all-purpose flour for a gluten-free flour blend. Just be sure to check that your baking powder is gluten-free as well. As for allergies, double-check your ingredients against any specific allergens that might affect your guests.
How can I enhance the tropical flavor?
I recommend it! For an extra punch of tropical goodness, consider adding 1/2 cup of shredded coconut to the filling. It’ll add a delightful textural contrast and amplify that beachy vibe. You could also try swapping crushed pineapple for other fruit purees like mango or peach for a refreshing twist!
Pineapple Bliss Bars: Your Easy Ticket to Tropical Indulgence
Ingredients
Equipment
Method
- Preheat your oven to 350°F (175°C) and prepare a 9x13-inch baking pan by lining it with parchment paper.
- In a medium mixing bowl, combine 1 ½ cups of all-purpose flour, ½ cup of granulated sugar, and a pinch of salt. Cut in ¾ cup of cold unsalted butter until the mixture resembles coarse crumbs.
- Press the buttery mixture firmly into the bottom of the prepared pan for the crust. Bake for approximately 15 minutes, or until lightly golden.
- In a clean mixing bowl, whisk together 2 large eggs and 1 cup of granulated sugar until smooth. Fold in ¼ cup of flour, 1 teaspoon of baking powder, and 1 teaspoon of vanilla extract. Finally, stir in 1 cup of well-drained crushed pineapple.
- Pour the pineapple filling evenly over the slightly cooled crust and bake for another 25 to 30 minutes, until edges are set.
- Let the bars cool completely in the pan on a wire rack. Dust with powdered sugar before slicing into squares.

Leave a Reply