
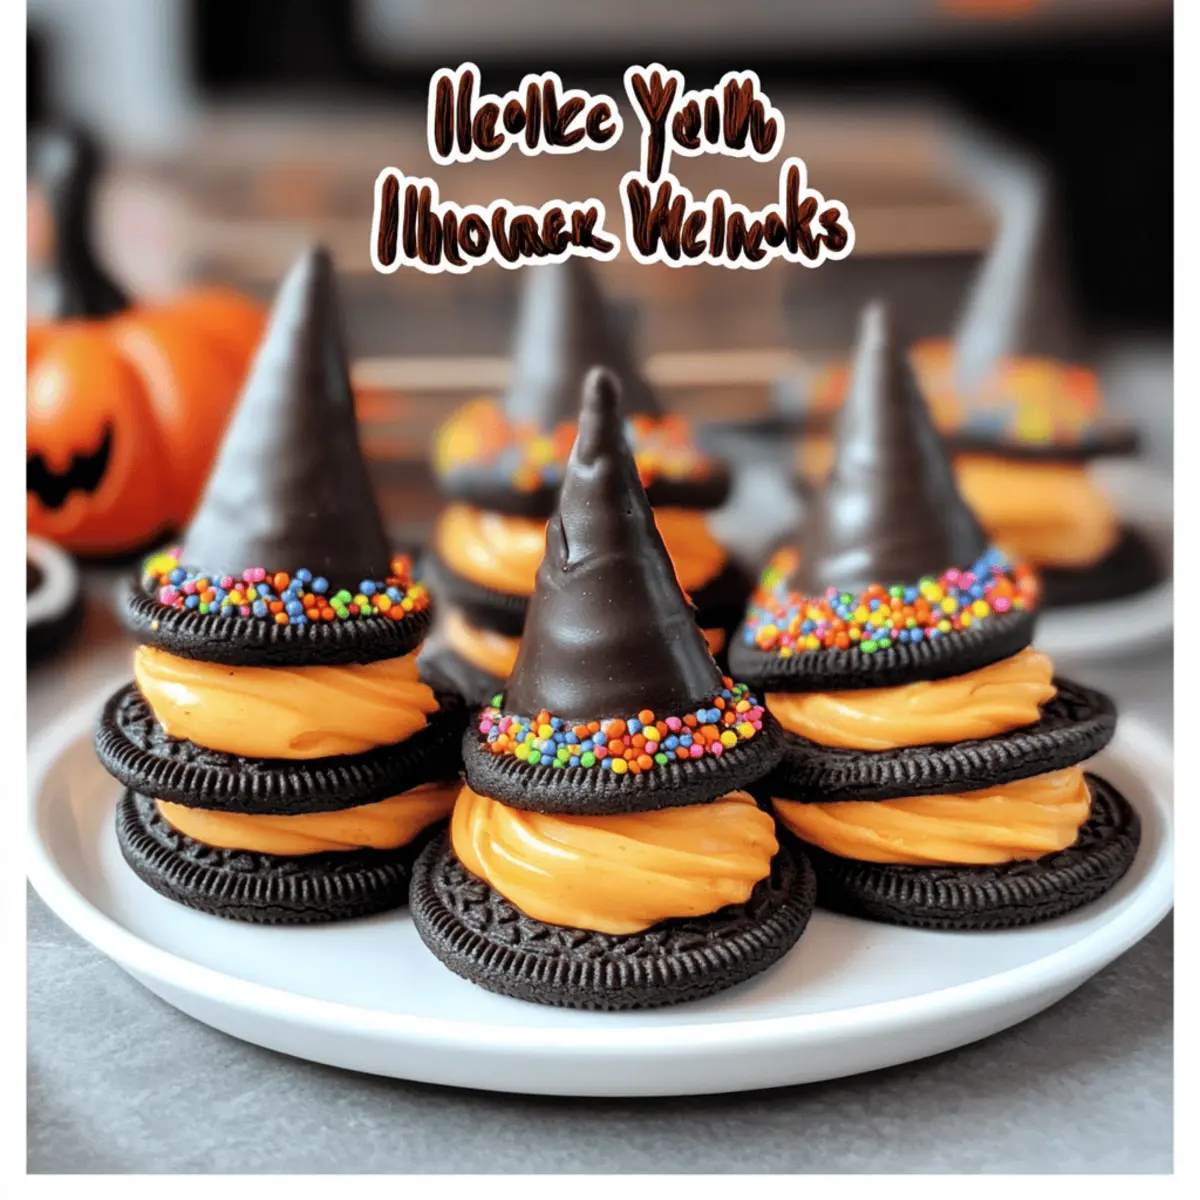
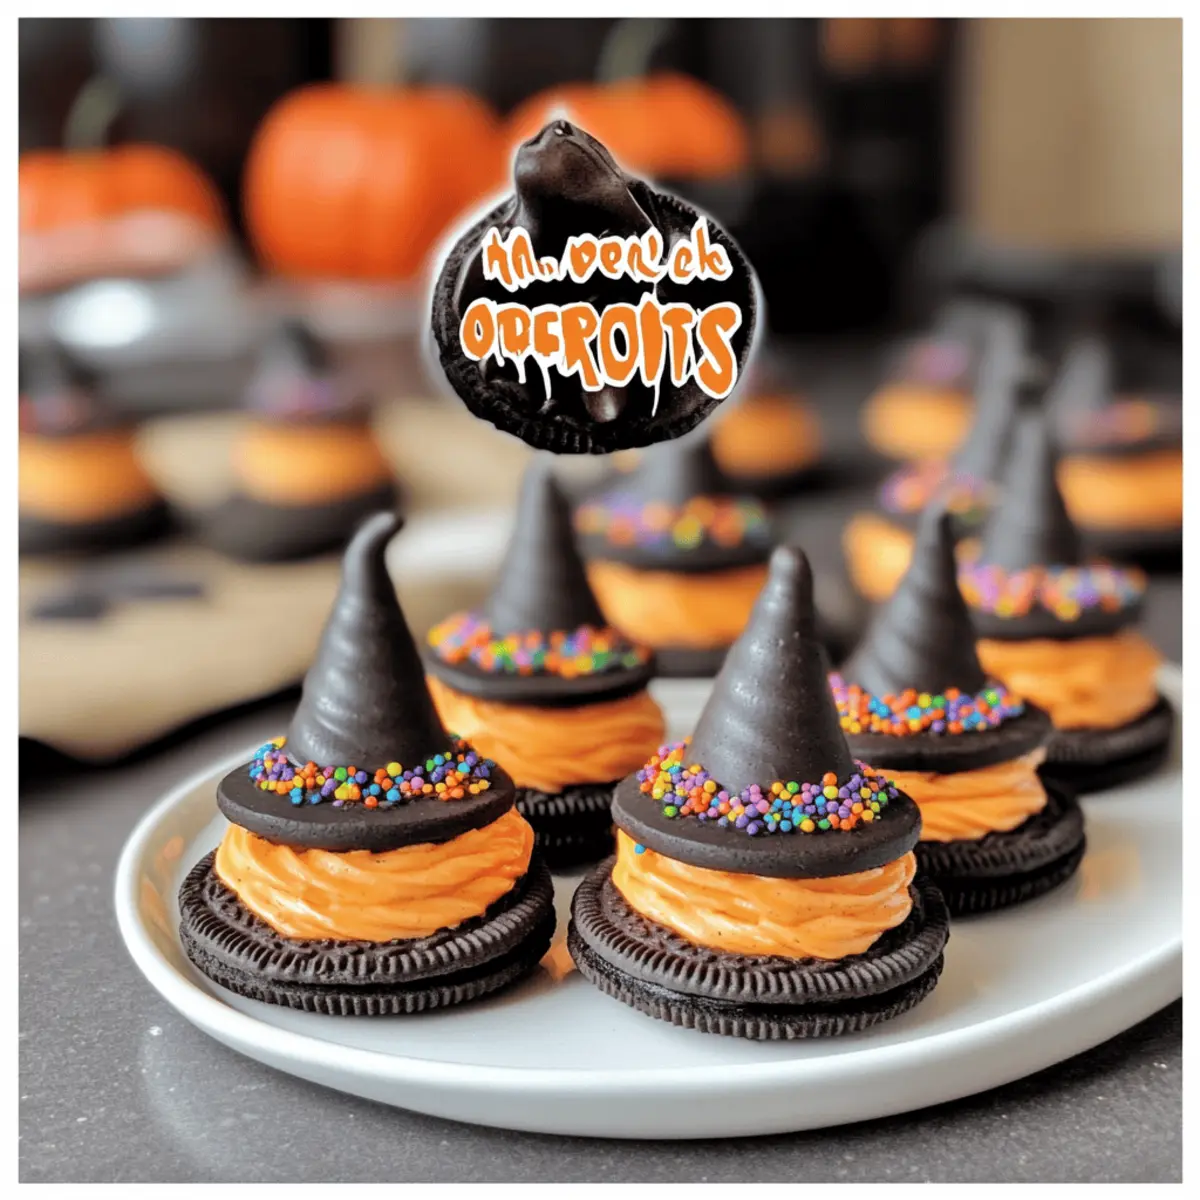
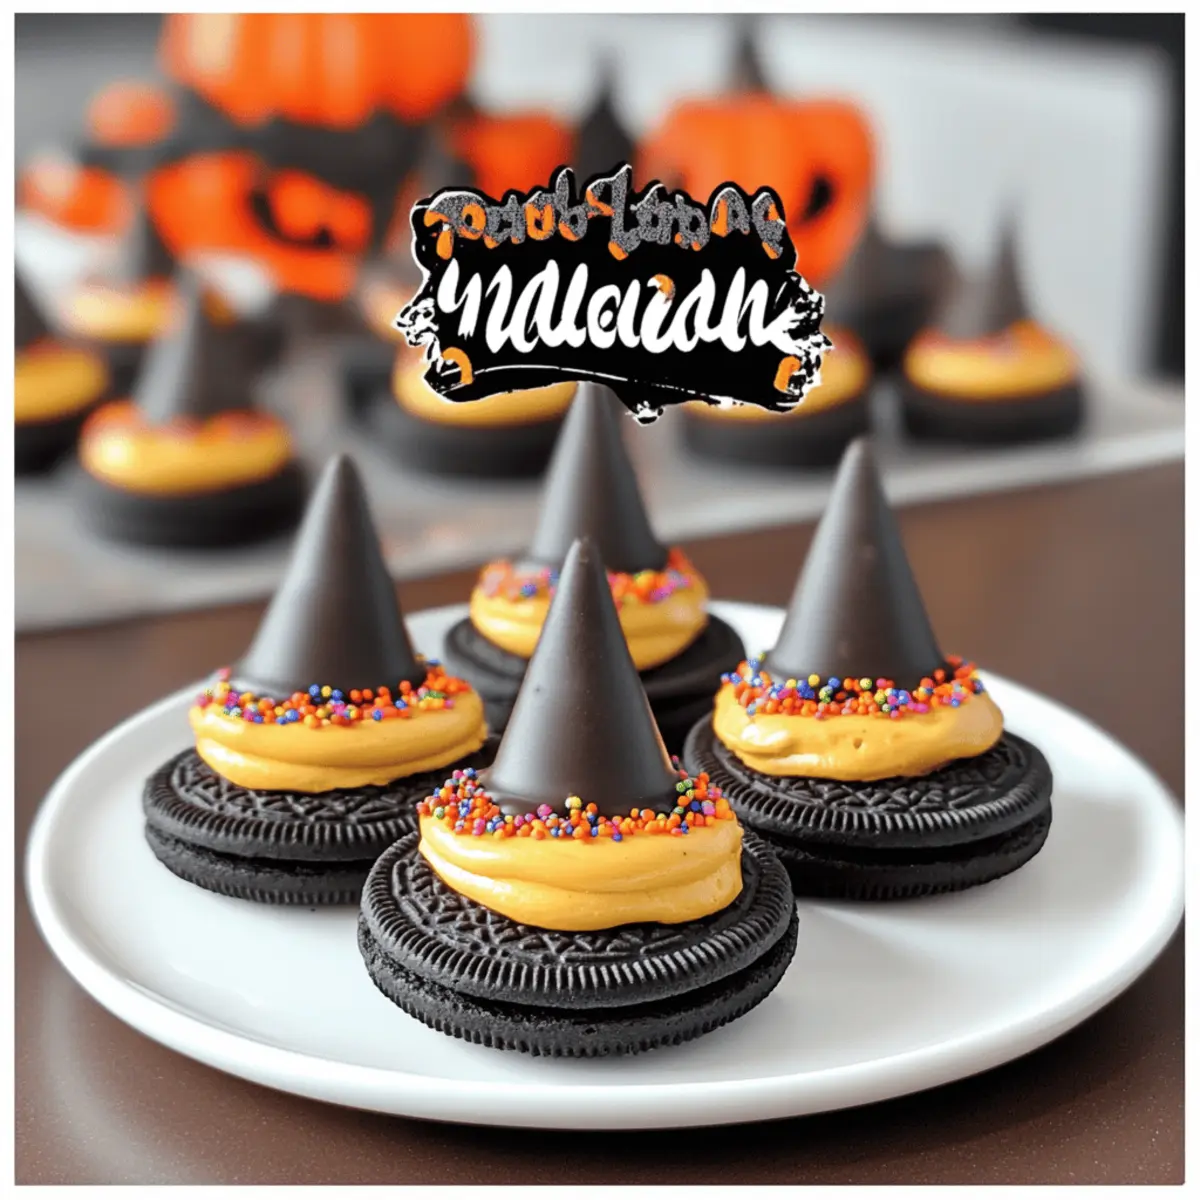
As the leaves turn gold and the air gets crisp, there’s a certain magic in the kitchen that’s just waiting to be stirred up. I couldn’t resist diving into the festive spirit with these adorable Oreo Witch Hat Cookies—an easy, no-bake Halloween treat that’s sure to enchant kids and adults alike. With a crunchy Oreo base topped with creamy frosting and a whimsical chocolate kiss, they’re not only a visual delight but also super quick to whip up. Trust me, they’ll be a hit at any gathering or party! Plus, the best part? These cookies invite endless creativity; swap in your favorite cookies or customize frosting colors to match your Halloween theme. Are you ready to conjure up some fun? Let's get started!

Why are Oreo Witch Hat Cookies a must-make?
Quick and Easy: You only need a few simple ingredients and no baking required, making these a breeze to whip up.
Creative Customization: Whether you choose colorful frosting or festive sprinkles, the options are endless for making these treats uniquely yours.
Perfect for Parties: These cookies not only look adorable but are also a delightful treat to serve at Halloween gatherings, drawing in both kids and adults.
Delicious Textures: The combination of crunchy Oreo, smooth frosting, and rich chocolate kiss creates a delightful eating experience.
Versatile Variations: Try using other chocolate cookies like Keebler Fudge Stripes or Grasshopper Cookies for a twist!
Oreo Witch Hat Cookies Ingredients
• • Get ready to create some magic!
For the Cookies
- Oreo cookies – The star of the show; their crunchy chocolate base is absolutely perfect for a Halloween treat.
- Keebler Fudge Stripes – A delightful alternative that adds a unique flavor twist while still delivering deliciousness.
For the Frosting
- Vanilla frosting – Provides the sweet creaminess that balances the chocolatey cookies; feel free to tint it with fun colors like orange or green!
- Store-bought frosting – A quick option that saves time without sacrificing taste.
For the Decorations
- Halloween sprinkles – These colorful toppings not only enhance presentation but also add a playful touch; highly recommended for that festive flair!
- Chocolate kisses – These chocolatey “hats” complete the look, but you can use any chocolate-shaped candy if desired.
These Oreo Witch Hat Cookies are not only fun to make but also allow you to get creative in the kitchen this Halloween!
Step‑by‑Step Instructions for Oreo Witch Hat Cookies
Step 1: Prep the Frosting
Begin by placing your vanilla frosting in a mixing bowl. If you want to add some Halloween flair, tint it with food coloring, like orange or green, using a toothpick to achieve your desired shade. Stir until fully combined and smooth. This frosting serves as the magical glue that holds our Oreo Witch Hat Cookies together, so make sure it’s fluffy and vibrant before moving on.
Step 2: Assemble the Cookies
Grab your Oreo cookies and set them on a clean workspace. Fit a piping bag with a star or round frosting tip, then fill it with your prepared frosting. Pipe a generous dollop of frosting onto the center of each Oreo, creating a lovely, swirled mound that resembles a witch's hat. This step will give your Oreo Witch Hat Cookies their enchanting shape, so take your time for an even look.
Step 3: Add the Sprinkles
Before the frosting sets, it's time to decorate! Sprinkle Halloween-themed sprinkles over each dollop of frosting, ensuring they stick well. Use a variety of colors and shapes for added visual appeal, making your cookies festive and fun. This step not only enhances the presentation but also adds a delightful crunch to each bite of your Oreo Witch Hat Cookies.
Step 4: Finish with Kisses
Unwrap your chocolate kisses and gently press one into the center of each dollop of frosting. This chocolate “hat” will sit perfectly atop your cookies, creating that iconic witch hat shape we’re after. Be careful not to squish the frosting too much—you're aiming for a delightful balance of chocolate and creamy frosting in each delectable Oreo Witch Hat Cookie.
Step 5: Let Them Set
Once all your cookies are assembled, place them on a tray and let them set for about 15-20 minutes. This will allow the frosting to firm up slightly, ensuring that the chocolate kisses stay in place. Use this time to clean up your workspace and prepare for the fun of enjoying your finished creations. These Oreo Witch Hat Cookies are looking adorable and waiting to be devoured!
Make Ahead Options
These Oreo Witch Hat Cookies are perfect for making ahead, saving you precious time on busy party days! You can prepare both the cookies and the frosting up to 24 hours in advance. Simply assemble the cookies without the chocolate kisses and refrigerate them in an airtight container to maintain their freshness. When you’re ready to serve, simply add the kisses and sprinkles just before putting them out for your guests; this prevents any sogginess while keeping the cookies just as delicious. By prepping ahead, you’ll have a delightful treat ready to impress with minimal last-minute effort!
Expert Tips for Oreo Witch Hat Cookies
-
Frosting Technique: Use a star or round frosting tip to create different designs; this adds a fun touch to your Oreo Witch Hat Cookies.
-
Colorful Customization: Experiment with different food colors in your frosting to match your Halloween theme or your family’s favorite colors!
-
Avoid Overfilling: Don’t pipe too much frosting on the cookies as it can cause the chocolate kisses to topple over; a generous dollop is perfect.
-
Storage Solutions: Keep your cookies fresh by storing them in an airtight container, which will help maintain that delightful crunch for up to 3 days.
-
Try Other Cookies: Feel free to substitute with other chocolate cookies like Keebler Fudge Stripes or Grasshopper Cookies for a uniquely flavored twist.
How to Store and Freeze Oreo Witch Hat Cookies
Room Temperature: These cookies can be stored at room temperature in an airtight container for up to 3 days, helping maintain their crunchy texture.
Fridge: If you want to extend their freshness, store the cookies in the fridge. They will last for up to 1 week, but allow them to come to room temperature before serving for the best flavor.
Freezer: For longer storage, you can freeze the Oreo Witch Hat Cookies. Wrap them individually in plastic wrap and place them in a freezer-safe bag for up to 2 months.
Reheating: If desired, let the cookies thaw at room temperature. For a warm treat, microwave for a few seconds but be cautious to avoid melting the chocolate kiss too much.
What to Serve with Halloween Oreo Witch Hat Cookies
Delight in the festive spirit as you create the perfect spread to complement these enchanting treats.
-
Spooky Fruit Salad: A mix of seasonal fruits like oranges and blackberries, bringing a refreshing contrast to the sweet cookies.
-
Witch’s Brew Punch: This fun, spooky drink made with grape juice and soda adds a fizzy, festive touch to your Halloween gathering.
-
Mellow Marshmallow Treats: Soft marshmallow squares layered with rice cereal offer a chewy, gooey counterpart to the crunchy texture of the cookies.
-
Candy Corn Parfait: Layered candy corn with yogurt creates a colorful, tasty dessert that echoes Halloween’s iconic treats while balancing sweetness.
-
Pumpkin Spice Cupcakes: A nod to fall flavors, these cupcakes feature rich spices and a creamy frosting, perfectly pairing with the chocolaty cookies.
-
Chocolately Hot Cocoa: Warm, indulgent hot chocolate topped with whipped cream feels like a hug in a mug, complementing every bite of your Oreo Witch Hat Cookies perfectly.
-
Pumpkin Pie Milkshake: Creamy and decadent, this blend of pumpkin pie flavors with ice cream brings a delightful finish to your Halloween feast.
-
Gummy Worms Snack Cups: Create little fun cups filled with gummy worms, adding a whimsical touch to the dessert table while enhancing the spooky theme!
Oreo Witch Hat Cookies Variations
Dive into delightful tweaks for your Oreo Witch Hat Cookies that will excite your creativity and taste buds!
-
Chocolate Options: Swap Oreo cookies with Keebler Fudge Stripes or Grasshopper Cookies for a different chocolatey experience. Each bite will bring a unique twist to this classic treat.
-
Colorful Frosting: Create a festive vibe by using colored frosting to match your Halloween theme. Bright oranges, spooky greens, or ghostly purples make for eye-catching designs!
-
Crunchy Textures: For a fun twist, add crushed Halloween-themed candies or nuts atop the frosting for an extra crunch in every bite. This dimension elevates the cookie experience.
-
Non-Dairy Delight: Switch to vegan chocolate cookies and plant-based frosting for a dairy-free version that everyone can enjoy. You still get that enchanting look and taste!
-
Mini Variations: Make mini Oreo Witch Hats using mini Oreos for bite-sized fun. Perfect for sharing at gatherings or to delight little ones.
-
Spicy Kick: Add a dash of cinnamon or pumpkin spice into the frosting for a warm, autumn flavor profile that dances on your taste buds. You might just fall in love with this pumpkin-inspired twist!
-
Candy Toppers: Replace chocolate kisses with marshmallow ghosts or candy corn for a playful variation. The kids will be thrilled with these unexpected toppings!
-
Peanut Butter Lovers: Spread a thin layer of peanut butter between the Oreo and frosting for a nutty flavor boost that will delight any peanut butter fan!
If you’re in the mood for even more sweet options, why not pair your spooky cookies with some delightful Matcha Cookies Soft or try out the lovable Thumbprint Cookies Melt? Happy celebrating!
Oreo Witch Hat Cookies Recipe FAQs
How do I choose the best Oreo cookies?
Absolutely! For the best Oreo Witch Hat Cookies, look for cookies that are fresh and unbroken. If you prefer a different taste, chocolate sandwich cookies like Keebler Fudge Stripes or even homemade chocolate cookies can work beautifully. Just ensure they're not stale or overly crumbly for that perfect base!
How should I store these cookies?
Very! To keep your Oreo Witch Hat Cookies fresh, store them in an airtight container at room temperature for up to 3 days. If you want to extend their shelf life, place them in the fridge where they can last up to 1 week. Remember to let them come to room temperature before serving to enhance the flavors!
Can I freeze Oreo Witch Hat Cookies?
Of course! Freezing them is easy and a great way to keep some festive treats on hand. Wrap each cookie individually in plastic wrap and place them in a freezer-safe bag. They can be stored for up to 2 months. When you're ready to enjoy, let them thaw at room temperature. For an extra treat, microwave them for just a few seconds—just be cautious not to melt the chocolate kiss too much!
What if my frosting is too thick?
No worries! If you find your vanilla frosting too thick to pipe easily, simply add a teaspoon of milk at a time until you reach your desired consistency. Mix well after each addition to ensure it's evenly blended. This will make it much easier to pipe those perfect dollops on your cookies!
Are these cookies safe for people with allergies?
Great question! The Oreos themselves are typically safe for most, but always check the packaging for allergy information since they may contain traces of nuts or gluten. For a nut-free or gluten-free version, look for specialized cookies that meet dietary requirements. Always consider the icing and sprinkles, as some may also contain allergens.
What if I run out of frosting?
If you find yourself with less frosting than you need, no problem! You can easily whip up a small batch of homemade frosting using just butter, powdered sugar, a splash of milk, and a hint of vanilla extract. Mix until creamy and spreadable, and you’ll have just the right amount for your Oreo Witch Hat Cookies!
Easy Oreo Witch Hat Cookies: A Spooky, Fun Treat!
Ingredients
Equipment
Method
- Prep the Frosting: Place vanilla frosting in a mixing bowl, tint if desired, stir until smooth.
- Assemble the Cookies: Pipe frosting onto the center of each Oreo, creating a swirled mound.
- Add the Sprinkles: Sprinkle Halloween-themed sprinkles over the frosting before it sets.
- Finish with Kisses: Press a chocolate kiss into the center of each dollop of frosting.
- Let Them Set: Place cookies on a tray and let them set for about 15-20 minutes.


Leave a Reply