
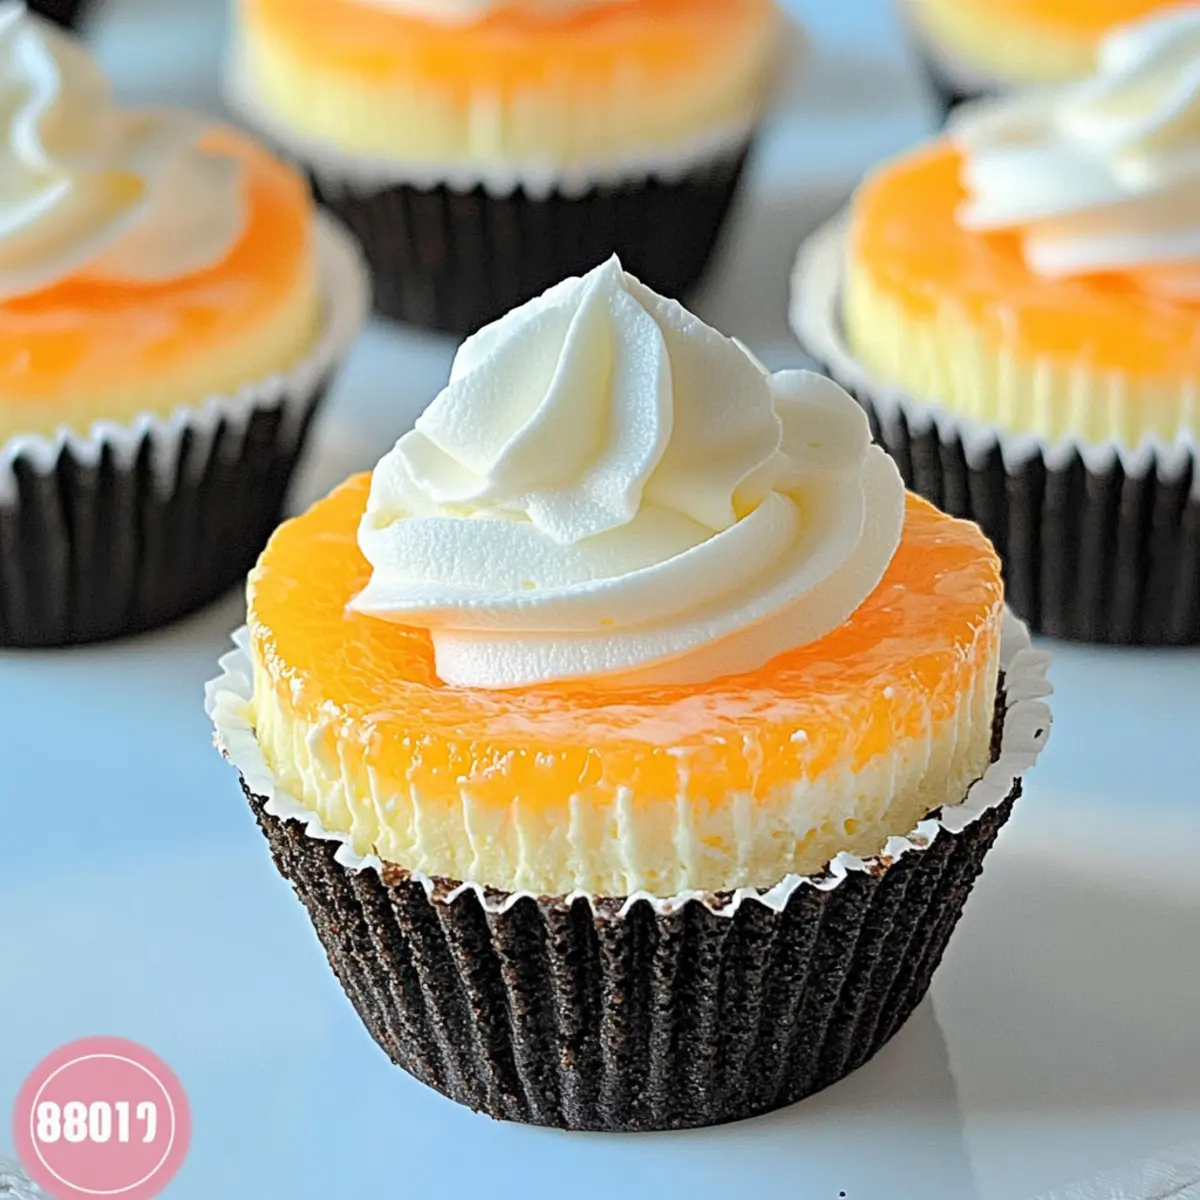
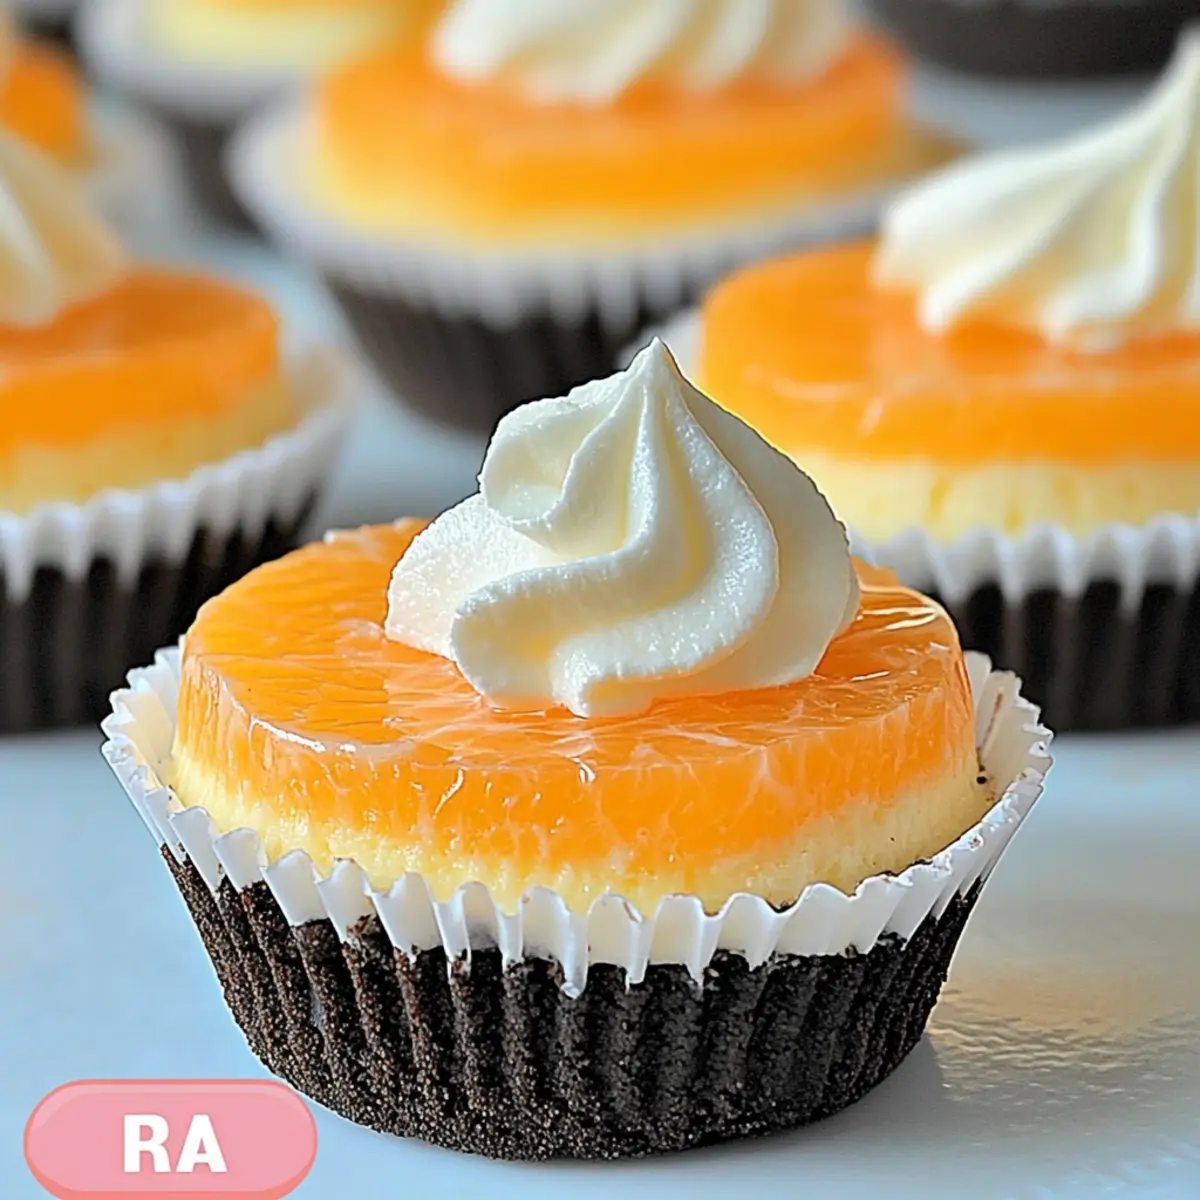
As I unearth my childhood memories of summer, the sweet, sunny aroma of oranges fills the air, instantly transporting me back to carefree days. It’s this delightful sensation that inspired my No-Bake Orange Creamsicle Mini Cheesecakes. Perfect for the sweltering heat, these easy-to-make desserts offer a light and fluffy cheesecake filling infused with zesty orange flavor, all perched atop a crunchy Oreo crust. Not only do these treats bring a pop of color and cheer to any gathering, but they also allow you to indulge your sweet tooth without spending hours in the kitchen. Ready to impress your friends and family with a homemade treat that’s as nostalgic as it is delicious? Let’s dive into this refreshing recipe together!
Why are these cheesecakes a must-try?
Delightful nostalgia: These No-Bake Orange Creamsicle Mini Cheesecakes will whisk you back to sunny days filled with sweet treats. Effortless preparation: With minimal steps involved, even novice bakers can create this stunning dessert. Guilt-free indulgence: Light yet creamy, they satisfy your sweet cravings without weighing you down. Visual appeal: Their vibrant colors and charming mini sizes make them perfect for gatherings—just like my Mini Tropical Pavlovas. Versatile twists: You can easily swap the flavors or crusts to suit your taste, ensuring every batch is unique. Ready to enjoy a taste of summer?
Orange Creamsicle Mini Cheesecake Ingredients
• Here’s everything you need to create these dreamy desserts!
For the Crust
- Oreo Cookies – Offers a sweet, chocolatey base; you can use graham crackers if you prefer a lighter flavor.
For the Cheesecake Filling
- Cream Cheese – 16 oz, at room temperature for easy blending; Neufchâtel can be used for a lighter option.
- Powdered Sugar – ½ cup for a smooth sweetness; can be swapped with granulated sugar but will alter the texture slightly.
- Vanilla Extract – 1 teaspoon to enhance the cheesecake flavor; almond extract makes a delightful alternative.
- Heavy Whipping Cream – 1 cup to ensure a light and fluffy texture; coconut cream is great for a dairy-free option.
- Orange Zest – Zest of one orange for that bright citrus aroma; feel free to substitute with lemon or lime zest for a different twist.
- Orange Extract – ½ teaspoon to boost the orange flavor; omit if you are using fresh orange zest.
- Orange Gel Food Coloring – 2-3 drops for added visual flair; skip it for a more natural look.
For Garnish
- Whipped Cream – Optional, for a creamy topping; try coconut whipped cream for a dairy-free touch.
These Orange Creamsicle Mini Cheesecakes are sure to add a splash of summer joy to your dessert table!
Step‑by‑Step Instructions for Orange Creamsicle Mini Cheesecakes
Step 1: Prepare the Muffin Tin
Start by preheating your oven to 350°F (if you prefer a warm crust, otherwise no heat is needed). Line a standard muffin tin with 12 cupcake liners, placing one Oreo cookie in the bottom of each liner. Press down gently to create a solid base, ensuring each cookie is flat for a delightful crust in your Orange Creamsicle Mini Cheesecakes.
Step 2: Mix the Cream Cheese Filling
In a mixing bowl, combine room-temperature cream cheese and powdered sugar. Using an electric mixer, blend on medium speed until the mixture is smooth and creamy, about 2-3 minutes. This will create a luscious filling for your cheesecakes. Be sure to scrape down the sides of the bowl to fully incorporate the ingredients, enhancing the flavor of your Orange Creamsicle Mini Cheesecakes.
Step 3: Whip the Heavy Cream
In a separate bowl, pour in the heavy whipping cream. Using a hand mixer or a stand mixer, whip the cream until soft peaks form, usually around 3-5 minutes. Once you see the peaks start to hold, add in the orange extract and continue whipping until stiff peaks form. This step will give your mini cheesecakes that light and fluffy texture they deserve.
Step 4: Combine Mixtures
Carefully fold the whipped cream into the cream cheese mixture using a spatula. Be gentle to maintain the airy texture of the whipped cream. Continue to fold until just combined and smooth, ensuring no streaks remain. This blend is vital for the airy quality of your Orange Creamsicle Mini Cheesecakes, creating that perfect creamy filling everyone will love.
Step 5: Layer the Cheesecake Mixture
Divide the cheesecake mixture into two equal portions. Spread the first half over the Oreo crust in each cupcake liner, smoothing it gently with a spatula. Ensure an even layer across all cups. This base layer will provide the foundation for the citrus layer to come in your delightful Orange Creamsicle Mini Cheesecakes.
Step 6: Add Orange Zest and Color
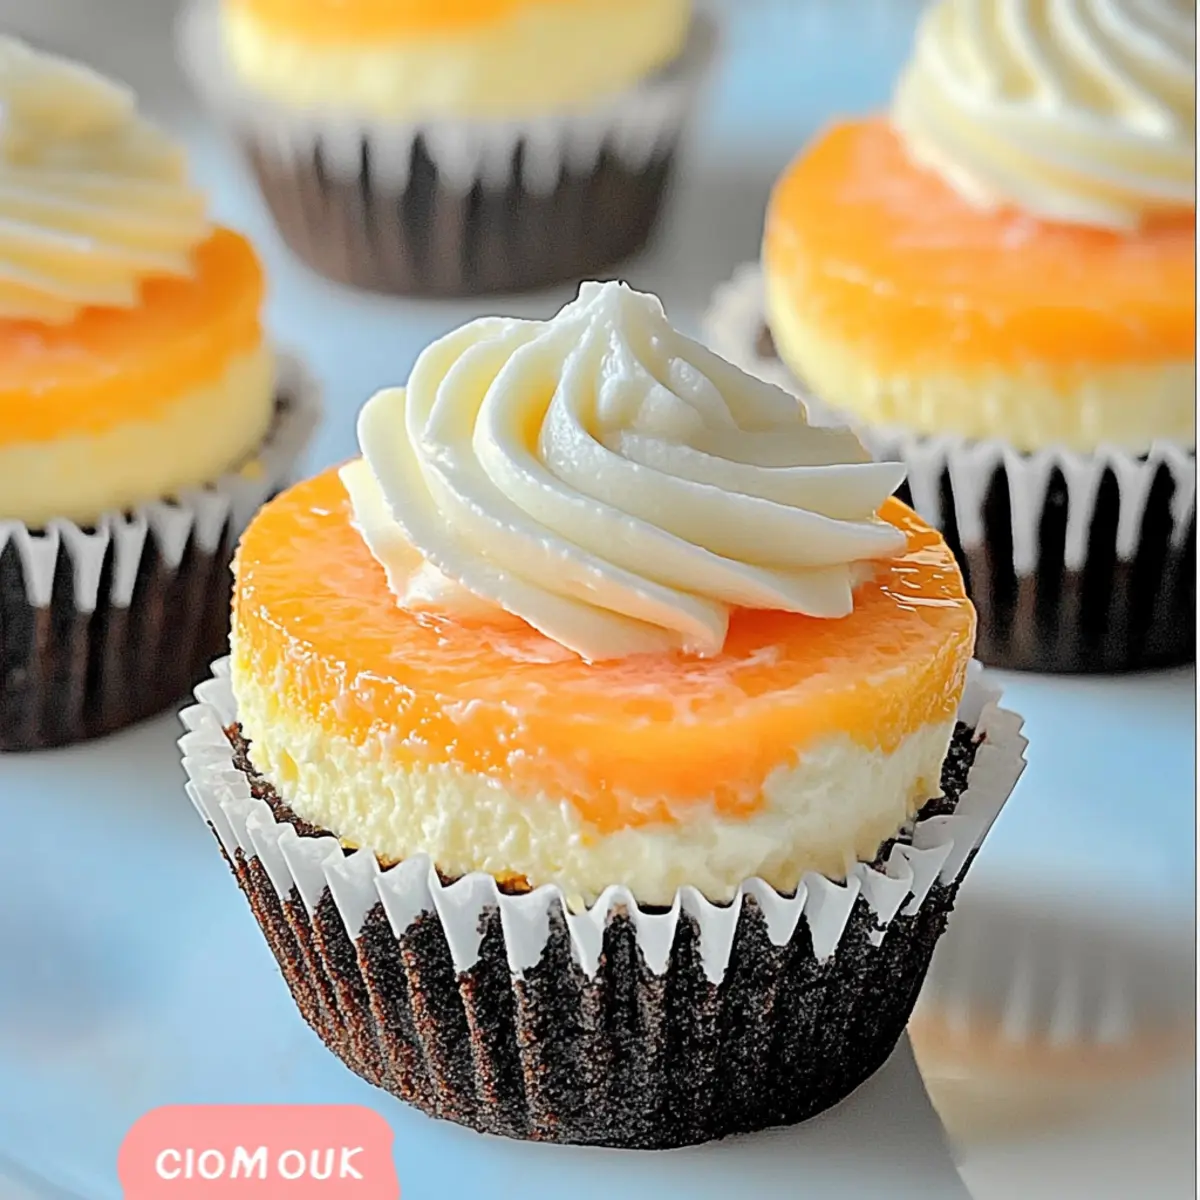
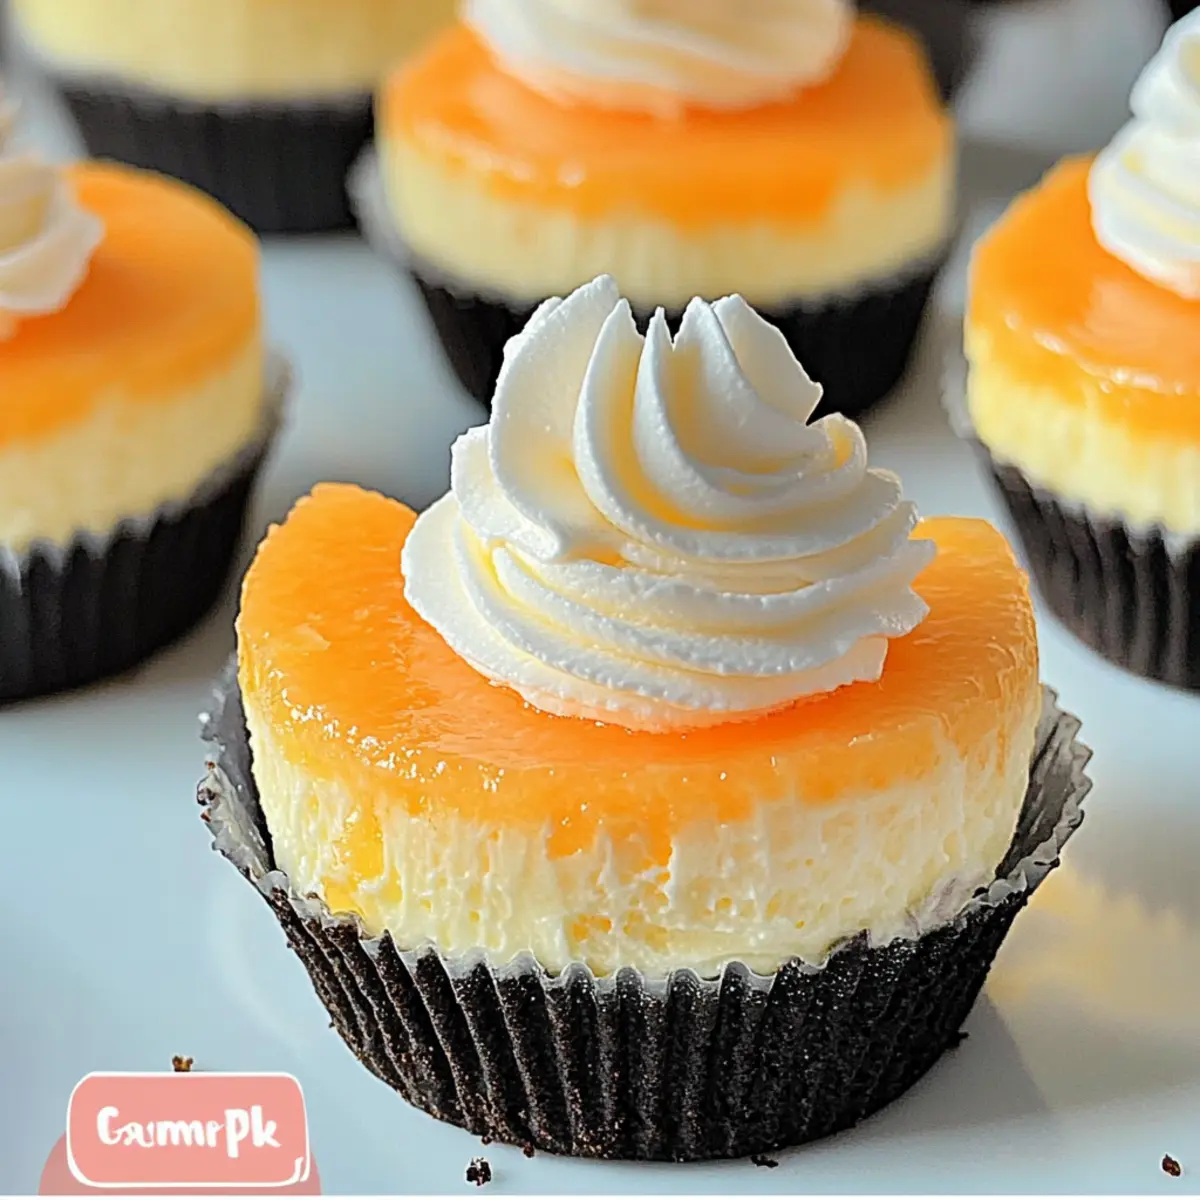
With the remaining cheesecake mixture, fold in the orange zest and a few drops of orange gel food coloring, if using. Stir gently until all the zest is well distributed, aiming for a beautiful, vibrant color. Carefully spread this orange-infused layer over the first layer in each cupcake liner, creating a visually appealing contrast in your Orange Creamsicle Mini Cheesecakes.
Step 7: Swirl for Aesthetic Appeal
Using a toothpick or the end of a spoon, gently swirl the top layers of the cheesecake mixture to create a marbled effect. Be cautious not to overmix; you want to preserve the distinct layers. This simple technique adds an inviting look to your Orange Creamsicle Mini Cheesecakes, making them even more enticing.
Step 8: Refrigerate to Set
Cover the muffin tin with plastic wrap and place it in the refrigerator to set for at least 3-4 hours, or preferably overnight. This chilling step is crucial for achieving the right texture and firmness in your Orange Creamsicle Mini Cheesecakes. Just imagine how wonderful they’ll taste after that time!
Step 9: Garnish and Serve
Once set, remove your mini cheesecakes from the refrigerator. If desired, top each cheesecake with a dollop of whipped cream and a slice of orange for a beautiful finish. Serve these delightful Orange Creamsicle Mini Cheesecakes chilled, delighting friends and family with every light, creamy bite!
Orange Creamsicle Mini Cheesecakes Variations
Feel free to bring your creative flair to these delightful no-bake desserts!
-
Dairy-Free: Substitute cream cheese and whipped cream with vegan cream cheese and coconut whipped cream for a dairy-free version. This twist doesn’t compromise on flavor; your taste buds will still dance with joy!
-
Nutty Crust: Swap out the Oreo cookies for crushed almonds or pecans mixed with melted butter for a nut-based crust. The crunch of nuts adds a unique texture, taking your mini cheesecakes to another level.
-
Chocolate Twist: Incorporate a tablespoon of cocoa powder into the cream cheese mixture for a hint of chocolate. Imagine the rich fusion of orange and chocolate creating a delightful surprise in every bite!
-
Fruit-Infused: Blend in pureed strawberries or raspberries for a fruity variation that complements the orange beautifully. The vibrant red swirls will not only attract attention but also explode with flavor.
-
Extra Zesty: Add additional orange zest or a splash of fresh orange juice for a more intense citrus flavor. This will elevate the brightness and give your cheesecakes an extra kick of refreshing taste!
-
Mini Tropical Pavlovas: To embrace a tropical theme, serve these cheesecakes alongside my deliciously light Mini Tropical Pavlovas. They create a fabulous dessert trio that everyone will adore!
-
Spicy Kick: Introduce a pinch of cayenne pepper to the filling for a surprising spicy twist that complements the sweetness. Just a touch can create an unexpected but delightful depth of flavor!
-
Garnish Alternatives: Instead of whipped cream, top your cheesecakes with a layer of fruit compote or a sprinkle of toasted coconut for added visual appeal and texture. This makes for a picture-perfect presentation!
Storage Tips for Orange Creamsicle Mini Cheesecakes
Fridge: Store your mini cheesecakes in an airtight container in the refrigerator for up to 5 days to maintain freshness and flavor.
Freezer: Freeze the cheesecakes in a single layer on a baking sheet for 1-2 hours until firm, then transfer to an airtight container or wrap individually. They can last in the freezer for up to 3 months.
Thawing: To enjoy frozen Orange Creamsicle Mini Cheesecakes, transfer them to the refrigerator and let them thaw overnight before serving for the best texture.
Reheating: These cheesecakes are best served chilled, so no reheating is needed; simply garnish and enjoy their refreshing taste!
What to Serve with Orange Creamsicle Mini Cheesecakes
Looking to create an unforgettable spread that perfectly accompanies these delightful desserts?
-
Fresh Berries: These burst with flavor and provide a refreshing contrast to the creamy mini cheesecakes, enhancing the overall experience. Strawberries and blueberries on the side create a vibrant, colorful plate.
-
Ice Cream: A scoop of vanilla or orange sorbet adds a creamy, cold element that pairs wonderfully with the rich cheesecakes, rounding out the dessert pleasure.
-
Mint Tea: The light, herbal notes of mint tea cleanse the palate, balancing sweetness while offering a calming finish to your meal.
-
Citrus Salad: A light salad made with mixed greens, orange slices, and a honey-lime vinaigrette adds brightness and a fresh crunch. This symphony of flavors enhances the orange essence of the cheesecake while offering a refreshing contrast.
-
Chocolate Dipped Fruit: Pieces of fruit like bananas or strawberries dipped in chocolate bring a delightful sweetness, creating a dreamy, indulgent combo that pairs uniquely with the orange flavors.
-
Lemonade Sparklers: This zesty drink's carbonation and tangy flavor beautifully complement the sweetness of the mini cheesecakes, making every bite more refreshing and enjoyable.
-
Pistachio Crumble: A sprinkle of crushed pistachios adds a nutty crunch and a touch of elegance to your dessert presentation, enhancing both texture and flavor.
Make Ahead Options
These No-Bake Orange Creamsicle Mini Cheesecakes are a fantastic choice for meal prep, allowing you to savor their delightful flavors without the last-minute rush! You can prepare the entire cheesecake mixture up to 24 hours in advance; simply fill the muffin tin and refrigerate them overnight. For optimal quality, ensure they're well-covered with plastic wrap to prevent any absorption of fridge odors. When you're ready to serve, just garnish with whipped cream and an orange slice for a refreshing touch. This not only saves time but ensures you can impress your guests with a homemade dessert that tastes just as delicious as if it were freshly made!
Expert Tips for Orange Creamsicle Mini Cheesecakes
-
Room Temperature Ingredients: Ensure your cream cheese is at room temperature for a smooth combination. Cold cream cheese leads to lumps in your filling.
-
Whipping Technique: When whipping the heavy cream, be careful not to overwhip. Stiff peaks are crucial for a fluffy texture, but overwhipping can turn it grainy.
-
Chill Time Matters: Don't rush the refrigeration process; letting the mini cheesecakes set for at least 3-4 hours ensures they hold their shape perfectly when served.
-
Swirled Perfection: Use a toothpick to create a gentle swirl in the top layer. This not only enhances the aesthetics but also balances the flavors in each bite of your Orange Creamsicle Mini Cheesecakes.
-
Diverse Crust Options: Experiment with different cookie bases, like graham crackers or even shortbread, for a unique twist on your classic recipe.
-
Visual Appeal: For that pop of color, a few drops of orange gel food coloring can enhance the look of your mini cheesecakes, making them more inviting at gatherings.
Orange Creamsicle Mini Cheesecakes Recipe FAQs
How do I select the right orange for my recipe?
Absolutely! When choosing an orange, look for firm, vibrant oranges with a pleasant, fruity aroma. Avoid any with dark spots or blemishes, as these can indicate spoilage. If you're looking for added zest, navel oranges are a sweet option, while Valencia oranges are great if you're after juiciness.
How should I store my Orange Creamsicle Mini Cheesecakes?
These mini cheesecakes should be kept in an airtight container in the refrigerator for up to 5 days. Be sure to place them on a flat surface to maintain their shape. If you want to keep them longer, you can freeze them!
Can I freeze these mini cheesecakes, and how do I do it?
Of course! To freeze your Orange Creamsicle Mini Cheesecakes, allow them to set fully in the refrigerator first. Then, place them on a baking sheet in a single layer and freeze for 1-2 hours until firm. After that, transfer them to an airtight container or wrap them individually. They will stay fresh for up to 3 months. For the best texture, thaw in the refrigerator overnight before enjoying.
What if my cheesecake filling is too thick or lumpy?
No worries! If your filling is too thick, try mixing it a bit longer, ensuring your cream cheese is at room temperature before you begin. If lumps persist, you can gently fold in a bit more heavy whipping cream to achieve that desired light and fluffy texture without overwhipping. This will help create the smooth creaminess we all crave in a cheesecake!
Are there any dietary considerations for pets?
Very! While it’s tempting to share a treat, keep in mind that the ingredients, especially cream cheese and sugar, are not safe for pets. Always be cautious and keep these mini cheesecakes out of reach from our furry friends!
Delight in Orange Creamsicle Mini Cheesecakes: No-Bake Bliss
Ingredients
Equipment
Method
- Preheat your oven to 350°F if you prefer a warm crust. Line a standard muffin tin with 12 cupcake liners, placing one Oreo cookie in the bottom of each liner.
- In a mixing bowl, combine room-temperature cream cheese and powdered sugar. Blend on medium speed for about 2-3 minutes until smooth.
- In a separate bowl, whip the heavy cream until soft peaks form. Add the orange extract and continue whipping until stiff peaks form.
- Carefully fold the whipped cream into the cream cheese mixture using a spatula until just combined and smooth.
- Divide the cheesecake mixture into two equal portions. Spread the first half over the Oreo crust in each cupcake liner.
- Fold in the orange zest and a few drops of orange gel food coloring to the remaining cheesecake mixture, then spread it over the first layer.
- Gently swirl the top layers of the cheesecake mixture with a toothpick to create a marbled effect.
- Cover the muffin tin with plastic wrap and refrigerate for at least 3-4 hours, preferably overnight.
- Once set, remove the cheesecakes and top with a dollop of whipped cream and an orange slice if desired.


Leave a Reply