
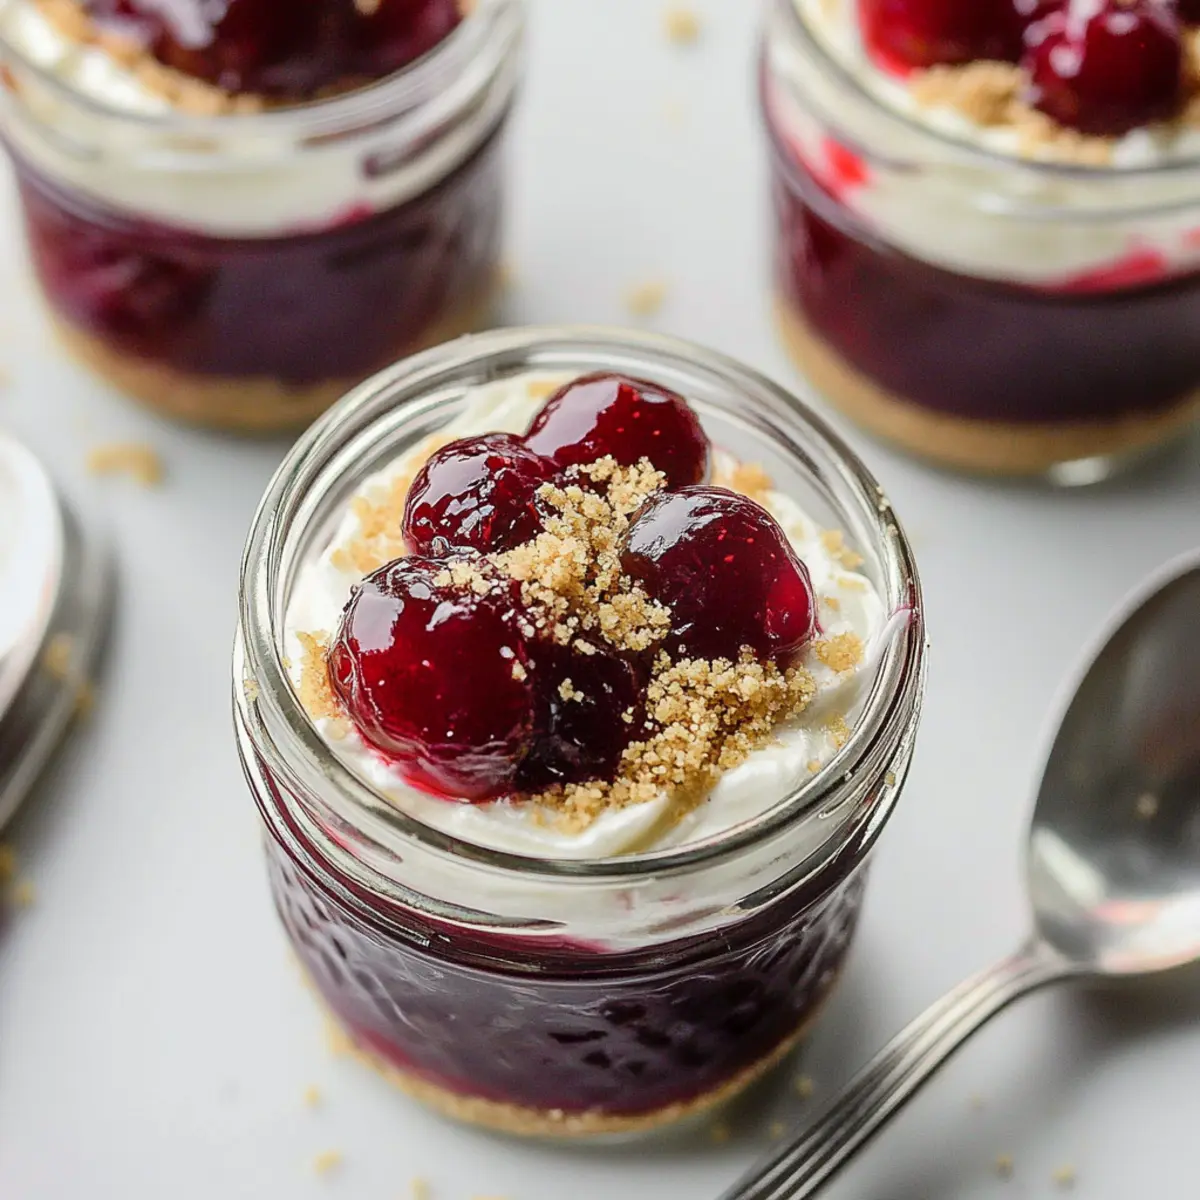
When I first spotted those adorable mini mason jars at the store, a light bulb flickered in my mind—why not create a no-bake cheesecake in a jar? This Healthier No-Bake Cheesecake in a Jar is not just a delightful dessert; it’s also a promise that you can indulge your sweet tooth without the guilt. Packed with creamy Greek yogurt and a buttery graham cracker crust, it's quick to prepare, making it perfect for both last-minute gatherings and cozy weeknight treats. Imagine the joy of a delicious dessert that’s as nutritious as it is satisfying! With a luscious cherry topping and a rich filling that won’t weigh you down, I know you’ll love every bite. Are you ready to dive into this sweet creation and impress your friends and family?
Why Try This No-Bake Cheesecake in a Jar?
Delectable and Guilt-Free: This no-bake cheesecake is a heavenly treat that lets you indulge in dessert without the heavy calories.
Quick & Easy: With minimal prep time, you’ll have fancy mini desserts ready in no time—perfect for unexpected guests or a sweet weeknight surprise!
Versatile Options: Mix it up by adding your favorite fruits or even chocolate to customize every jar to your liking.
Impressive Presentation: These adorable jars make serving easy and elegant, making your dessert look as good as it tastes!
Healthier Ingredients: With Greek yogurt as a base, you can satisfy your cravings while sticking to healthier choices—check out how it fits into healthy dessert ideas to explore more guilt-free recipes.
No-Bake Cheesecake in a Jar Ingredients
For the Cherry Topping
• Pitted Cherries – Provides a sweet topping and vibrant color; you can use fresh or frozen varieties for convenience.
• Pure Maple Syrup – Adds natural sweetness with a rich flavor; honey or agave syrup can be excellent substitutes.
• Fresh Lemon Juice – Enhances brightness and balances sweetness; feel free to swap with lime juice if needed.
• Corn Starch – Thickens the cherry sauce effectively; if you wish to avoid it, consider using arrowroot instead.
For the Cheesecake Filling
• Cream Cheese – Forms the decadent base of the cheesecake filling; use light cream cheese for a lower-fat option or vegan cream cheese for a plant-based alternative.
• Plain Full-Fat Greek Yogurt – Provides delightful creaminess and a healthier alternative to heavy cream; low-fat Greek yogurt can be used, but it may affect the tanginess.
For the Crust
• Graham Cracker Crumbs – Creates a sweet, crunchy texture for the base; crushed oats or gluten-free crumbs make for a great gluten-free option.
• Butter (melted) – Binds the crust together beautifully; melted coconut oil is a fantastic dairy-free substitute.
With these delightful No-Bake Cheesecake in a Jar ingredients, you’re well on your way to making a dessert that’s both delicious and wholesome!
Step‑by‑Step Instructions for Healthier No-Bake Cheesecake in a Jar
Step 1: Prepare Cherry Topping
In a medium saucepan over medium heat, combine pitted cherries, pure maple syrup, fresh lemon juice, and a splash of water. Sprinkle in corn starch to thicken the mixture. Stir frequently and allow it to bubble gently for about 5-10 minutes until the sauce has thickened and the cherries are tender. Remove from heat and let it cool completely before assembling your no-bake cheesecake in a jar.
Step 2: Make Cheesecake Filling
In a large mixing bowl, start by beating softened cream cheese until it’s creamy and smooth. Gradually add in the plain full-fat Greek yogurt, pure maple syrup, and fresh lemon juice. Use a hand mixer on medium speed for about 2-3 minutes until all ingredients are well combined and the mixture is velvety. Set aside and refrigerate for a moment to allow the flavors to meld.
Step 3: Prepare Graham Cracker Crust
Melt the butter in a small saucepan over low heat or the microwave, being careful not to overheat. In a separate bowl, mix the melted butter with graham cracker crumbs until they are well combined and resemble wet sand. This step ensures the crust holds together beautifully.
Step 4: Assemble Mini Cheesecake Jars
Take your mason jars and evenly divide the graham cracker crust mixture into the bottom of each jar. Pack it down gently using the back of a spoon, creating a firm base. Layer the creamy cheesecake filling on top of the crust, smoothing it out with a spatula. Tap the jars lightly on the counter to settle the filling.
Step 5: Top with Cherry Mixture
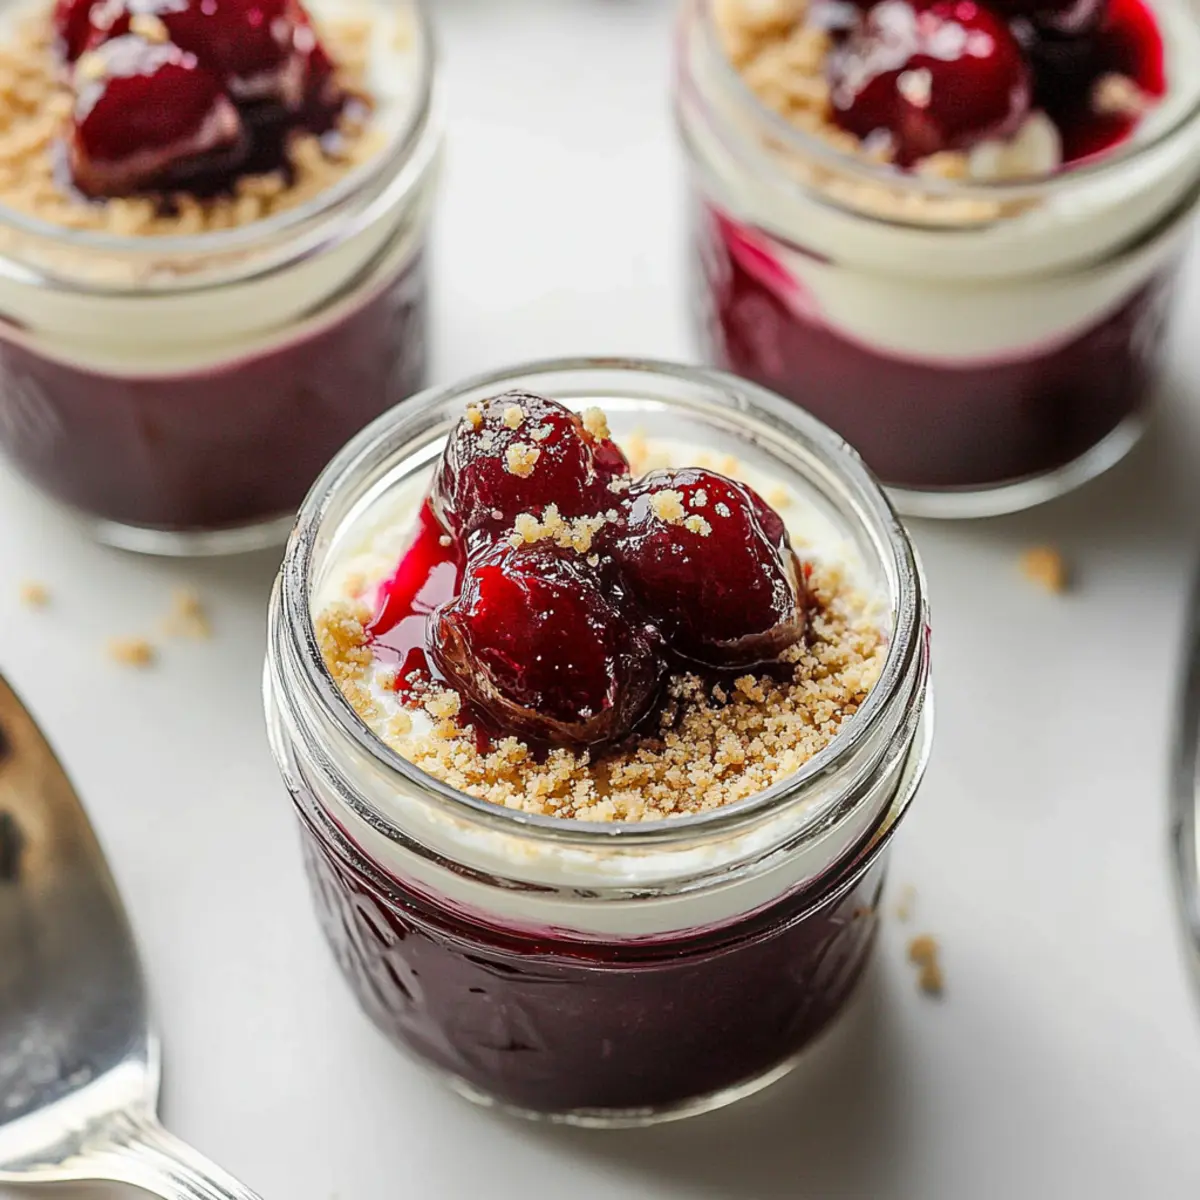
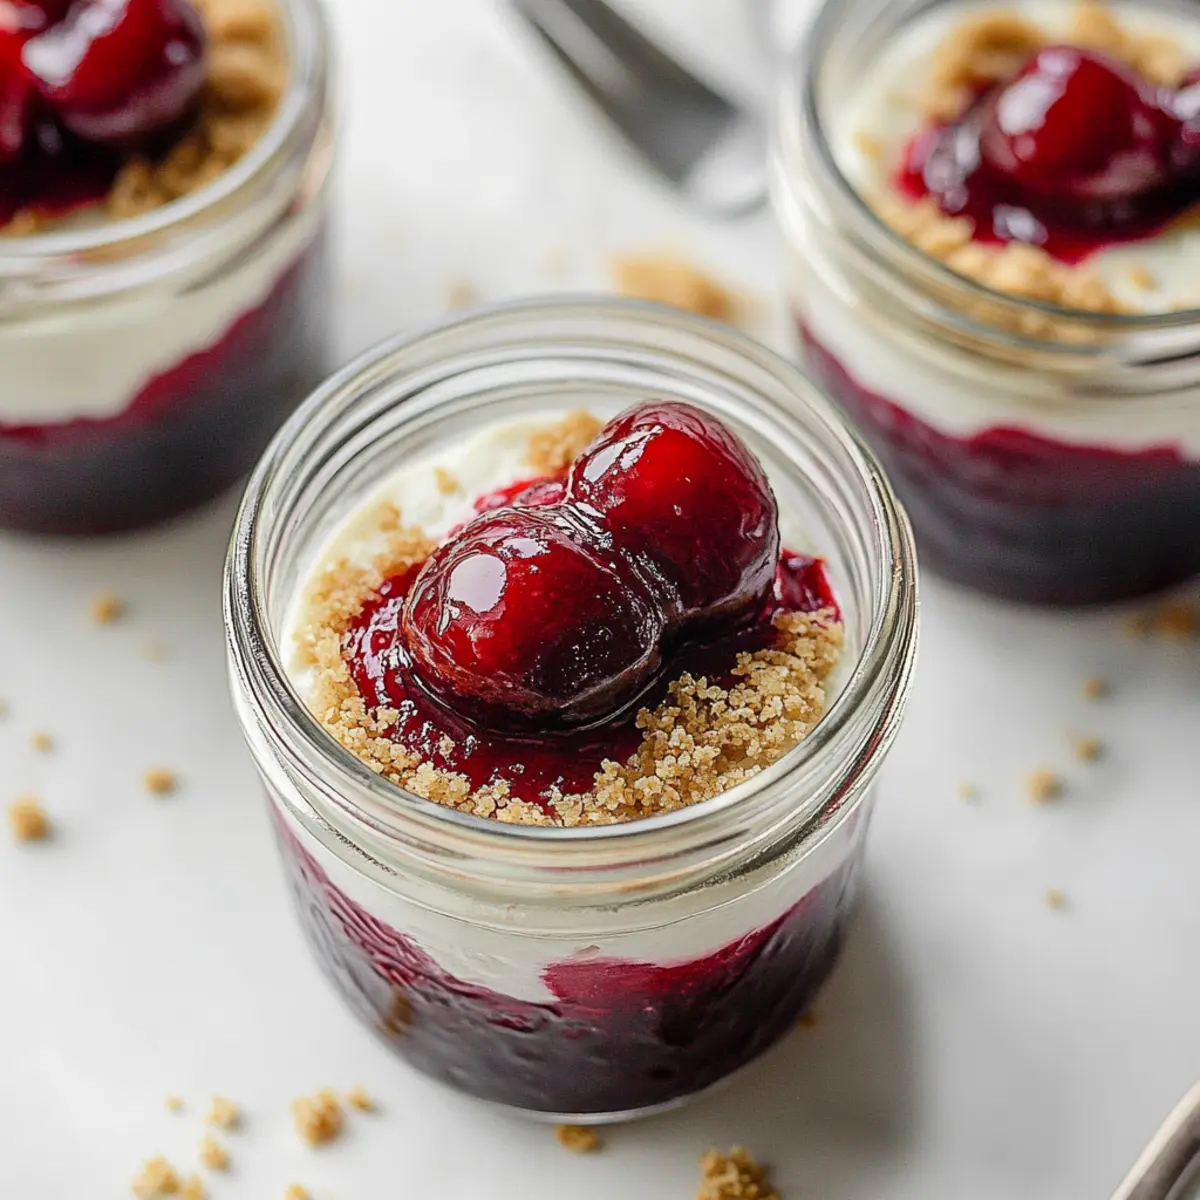
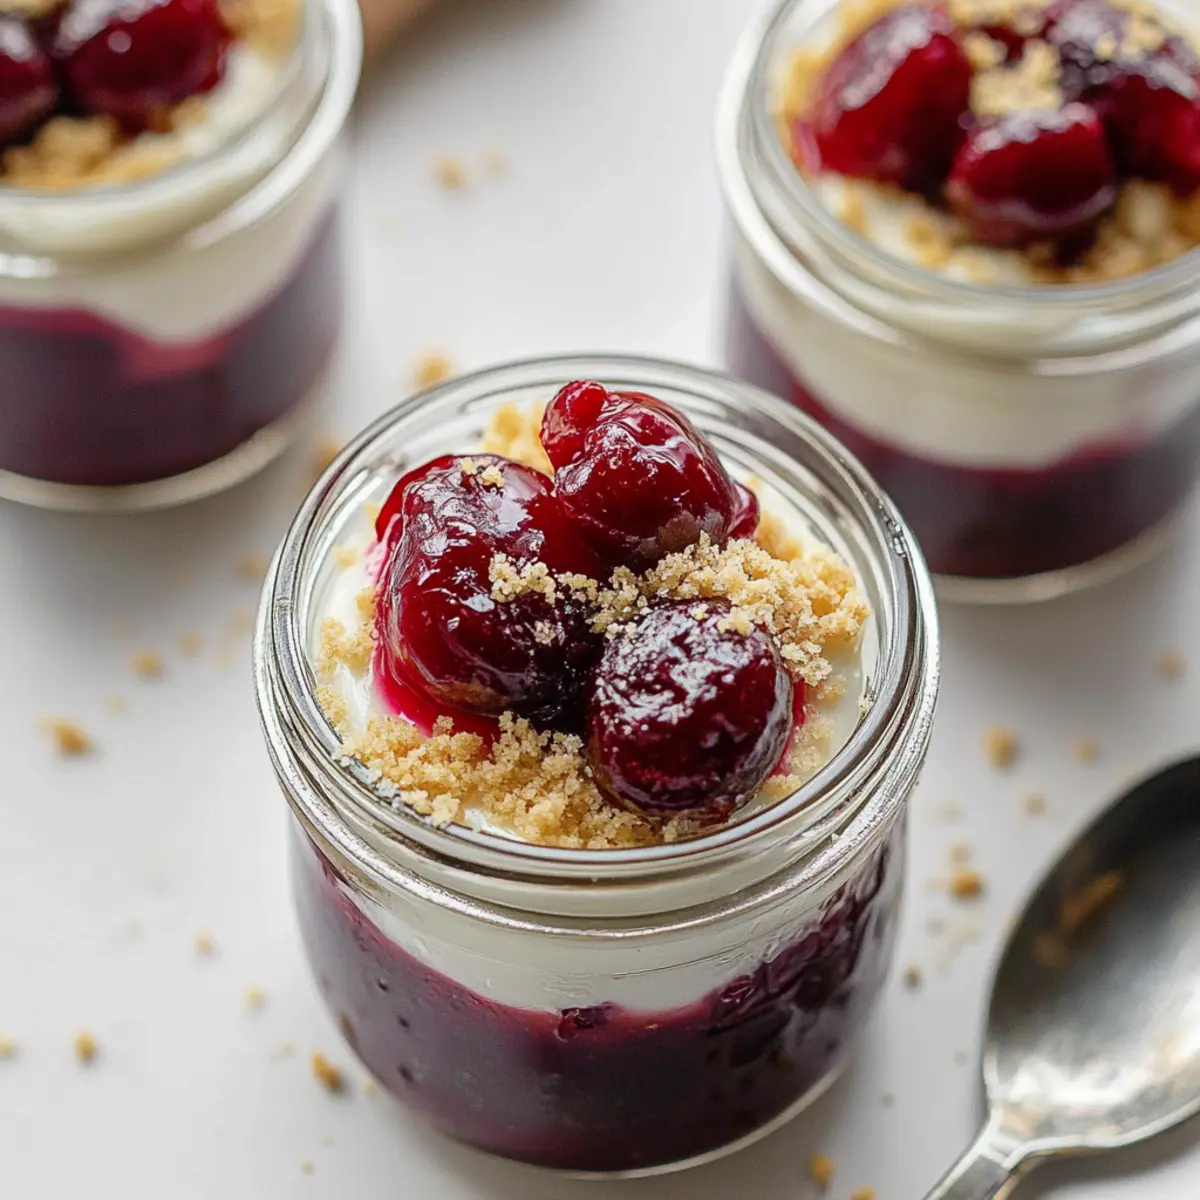
Once the cheesecake filling is in place, generously spoon the cooled cherry topping over each jar, making sure to cover the filling completely. The vibrant red topping will contrast beautifully against the creamy cheesecake. If there are any leftover cherries, feel free to sprinkle them on top for an added touch!
Step 6: Chill
Now that your healthier no-bake cheesecake in a jar is assembled, place them in the refrigerator to chill for at least 1 hour. This cooling period allows the cheesecake to firm up and the flavors to deepen. If you’re short on time, you can enjoy them immediately, but a little chill will enhance the overall taste and texture.
Expert Tips for No-Bake Cheesecake in a Jar
Chill for Texture: Ensure to refrigerate the jars for at least an hour; this helps the cheesecake firm up and improves the overall texture.
Adjust Sweetness: Taste your cheesecake filling and cherry topping before serving; feel free to add more maple syrup if you like it sweeter.
Soften Cream Cheese: To prevent lumps, let your cream cheese sit at room temperature for about 30 minutes before mixing; this ensures a smooth filling for your no-bake cheesecake in a jar.
Crust Consistency: Ensure the graham cracker mixture resembles wet sand; too dry will lead to a crumbly crust that doesn't hold together well.
Add Extra Flavor: Experiment with extracts like vanilla or almond in the cheesecake filling for a flavorful twist that enhances your no-bake cheesecake experience.
What to Serve with Healthier No-Bake Cheesecake in a Jar
Elevate your dessert experience by pairing this guilt-free delight with complementary flavors and textures that will impress your guests.
-
Fresh Berries: Juicy strawberries or blueberries add a burst of flavor that balances the creamy cheesecake beautifully.
-
Minted Fruit Salad: A refreshing mix of seasonal fruits like melon and pineapple tossed with mint invigorates and cleanses the palate.
-
Chocolate Drizzle: Adding a light drizzle of dark chocolate gives a rich contrast to the sweet cheesecake, creating a luxurious touch.
-
Whipped Coconut Cream: This dairy-free topping adds a luscious texture and tropical flair that pairs perfectly with the cheesecake jars.
-
Almond Biscotti: Crunchy and slightly sweet, these delightful cookies provide an appealing contrast in texture, enhancing the overall dessert experience.
-
Herbal Iced Tea: Sweetened or unsweetened, a refreshing herbal iced tea is a light beverage option that complements the cheesecake without overpowering it.
-
Espresso or Coffee: A strong, black coffee enhances the dessert’s sweetness and rounds out the flavors—a perfect finish after a satisfying meal.
-
Vanilla Ice Cream: A scoop of creamy vanilla ice cream adds richness and a cold contrast to the smooth cheesecake in every spoonful.
Storage Tips for No-Bake Cheesecake in a Jar
Fridge: Store your no-bake cheesecake jars in the refrigerator for up to 1-2 days. Ensure the lids are tightly sealed or cover with plastic wrap to maintain freshness.
Freezer: If you want to freeze them, do so without the cherry topping. Place the jars in an airtight container, and they will last for up to 2 months.
Thawing: When ready to enjoy, simply transfer the jars from the freezer to the fridge and let them thaw overnight before serving.
Reheating: This dessert is best served cold, so avoid reheating. Just add the cherry topping before serving for a refreshing treat!
No-Bake Cheesecake in a Jar Variations
Feel free to play around with this delightful recipe and make it truly your own, beckoning flavors that dance on your palate!
-
Fruitful Swaps: Substitute cherries for blueberries or strawberries for a fresh twist, adding seasonal flair.
Imagine the vibrant colors and juicy bites transforming your jars into a fruity festival! -
Choco-Madness: Incorporate cocoa powder into the cheesecake filling for a rich chocolate version, perfect for chocoholics.
Each spoonful will be like indulging in a lighter chocolate mousse—absolute bliss! -
Nutty Crunch: Mix crushed nuts into the graham cracker crust for a delightful texture and nuttier flavor.
Think of the satisfying crunch as you dig in, offering a delightful contrast to the creamy filling. -
Dairy-Free Delight: Swap out cream cheese for vegan cream cheese and use coconut yogurt for a dairy-free dessert.
Enjoy the creamy goodness without dairy, making it a celebration fit for all dietary needs! -
Sweeten It Up: Use honey or agave syrup instead of maple syrup for a different sweetness profile.
This subtle change can elevate the entire jar, creating a unique flavor experience! -
Spicy Gingerbread: Add ground ginger or cinnamon to the crust for a warm, spiced dessert reminiscent of the holidays.
The warm aroma will wrap around you like a cozy blanket, perfect for chilly evenings. -
Zesty Lemons: Incorporate lemon zest into the cheesecake filling for an extra zing of brightness.
This little twist will have your taste buds singing with fresh citrus joy! -
Heat Things Up: Stir in a touch of cayenne pepper into the cherry topping for a surprising kick.
The blend of sweet and spicy will ignite your senses—are you ready for this adventure?
Get creative and enjoy these variations to make your No-Bake Cheesecake in a Jar even more special! For more culinary inspiration, check out our ideas on healthy dessert alternatives that will satisfy your sweet tooth without guilt.
Make Ahead Options
These Healthier No-Bake Cheesecakes in a Jar are ideal for meal prep, making your busy weeknights a breeze! You can prepare the cherry topping and cheesecake filling up to 24 hours in advance. To do this, make the cherry sauce and let it cool, then refrigerate it in an airtight container. Similarly, prepare the cheesecake filling and store it in the fridge; keeping it well-covered will ensure it stays fresh. The graham cracker crust can also be assembled in the jars up to 3 days ahead of time. Just remember to add the cherry topping just before serving to maintain that vibrant flavor and prevent any sogginess. With these steps, you’ll enjoy quick, delicious desserts anytime!
No-Bake Cheesecake in a Jar Recipe FAQs
What type of cherries should I use for the topping?
Absolutely! You can use either fresh or frozen pitted cherries for your no-bake cheesecake jars. Fresh cherries will give you the best flavor and color, but frozen cherries work wonderfully and are just as convenient. When using frozen, just thaw them slightly before cooking to ensure they mix well with your other ingredients.
How long can I store the no-bake cheesecake in the fridge?
Very! You can keep your no-bake cheesecake jars in the refrigerator for up to 1-2 days. Just make sure to seal them tightly with lids or plastic wrap to help maintain their freshness and prevent them from absorbing any odors from the refrigerator.
Can I freeze my no-bake cheesecake jars?
Definitely! If you want to freeze your cheesecake jars, it’s best to do so without the cherry topping. Place the jars in an airtight container, and they should last in the freezer for up to 2 months. When you’re ready to enjoy, simply move the jars to the fridge overnight to thaw, then add your cherry topping fresh before serving.
Why is my cheesecake filling lumpy?
A common issue! This typically happens when the cream cheese isn't softened enough before mixing. To avoid lumps, allow the cream cheese to sit at room temperature for about 30 minutes before beating it. Also, mixing at medium speed for a couple of minutes should yield a smooth and creamy filling without lumps.
Can I substitute for any of the ingredients due to dietary restrictions?
Of course! To make this no-bake cheesecake suitable for dietary restrictions, you can substitute light cream cheese for regular cream cheese, and a dairy-free cream cheese can be used as a vegan alternative. For the crust, crushed gluten-free crackers or oats can replace graham cracker crumbs to accommodate gluten-free diets. Adjust these substitutions to fit your preferences while keeping the delightful taste intact!
How do I adjust the sweetness in the dessert?
Absolutely! Start by tasting your cheesecake filling and cherry topping before serving. If you wish to make it sweeter, gradually add more maple syrup, a teaspoon at a time, until you reach your desired sweetness. Remember that the natural flavors from the lemon juice and cherries also contribute a delicious tang, so find the right balance that suits your palate!
Delicious No-Bake Cheesecake in a Jar for Guilt-Free Indulgence
Ingredients
Equipment
Method
- In a medium saucepan over medium heat, combine pitted cherries, pure maple syrup, fresh lemon juice, and a splash of water. Sprinkle in corn starch to thicken the mixture. Stir frequently and allow it to bubble gently for about 5-10 minutes until the sauce has thickened and the cherries are tender. Remove from heat and let it cool completely before assembling your no-bake cheesecake in a jar.
- In a large mixing bowl, start by beating softened cream cheese until it’s creamy and smooth. Gradually add in the plain full-fat Greek yogurt, pure maple syrup, and fresh lemon juice. Use a hand mixer on medium speed for about 2-3 minutes until all ingredients are well combined and the mixture is velvety. Set aside and refrigerate for a moment to allow the flavors to meld.
- Melt the butter in a small saucepan over low heat or the microwave, being careful not to overheat. In a separate bowl, mix the melted butter with graham cracker crumbs until they are well combined and resemble wet sand.
- Take your mason jars and evenly divide the graham cracker crust mixture into the bottom of each jar. Pack it down gently using the back of a spoon, creating a firm base. Layer the creamy cheesecake filling on top of the crust, smoothing it out with a spatula.
- Once the cheesecake filling is in place, generously spoon the cooled cherry topping over each jar, making sure to cover the filling completely.
- Place them in the refrigerator to chill for at least 1 hour.


Leave a Reply