
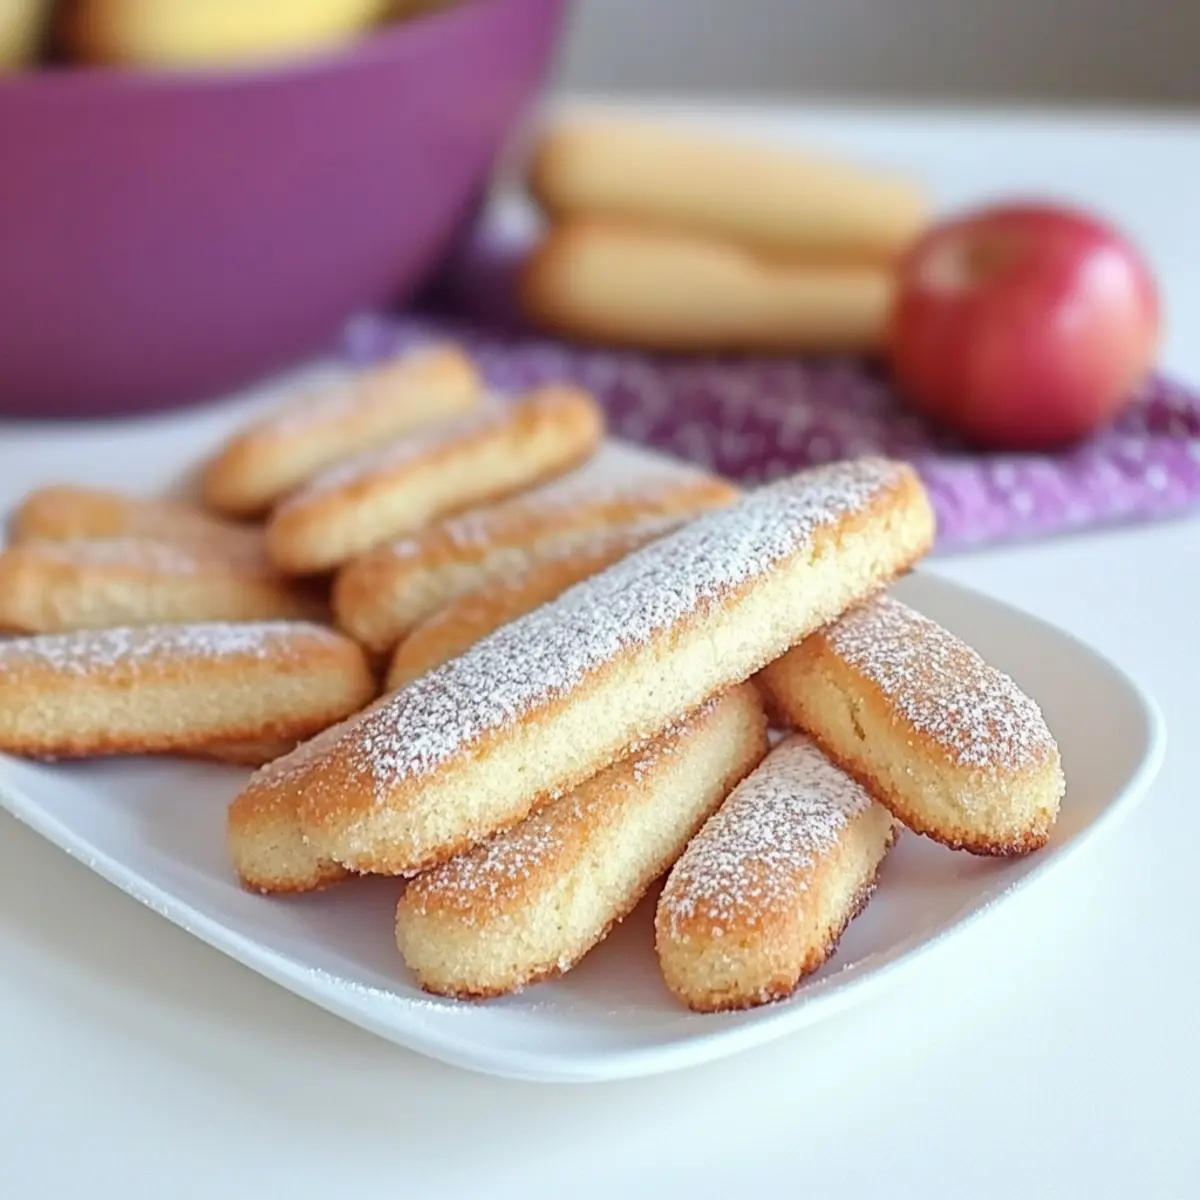
As I stood in my kitchen, the warm aroma of vanilla wafted through the air, instantly transporting me to a quaint Italian café on a sunlit afternoon. My latest creation? Easy Homemade Ladyfinger Cookies, the quintessential ingredient for crafting an indulgent Tiramisu. These airy delights are not only perfect for layering between rich mascarpone but also shine as scrumptious stand-alone treats best enjoyed with a steaming cup of coffee or tea. Imagine a cookie so light and crisp that it practically melts in your mouth! Plus, they’re a breeze to whip up, making them a fun baking project for both seasoned chefs and curious novices. Who wouldn’t want to dive into the enchanting world of homemade cookies that elevate your dessert game? Ready to embark on this delightful baking adventure?
Why Go Homemade with Ladyfingers?
Homemade ladyfinger cookies are a game-changer! Their airiness and crispiness create the ideal texture for a scrumptious Tiramisu. Versatile in nature, you can easily adjust flavors with options like lemon zest or almond extract. Effortless to make, they require basic skills and are ready in under 30 minutes! Plus, these delightful cookies are perfect for dipping into your favorite beverage or enjoying as a standalone treat. Whipping up a batch not only impresses friends and family but also brings a taste of Italy right to your kitchen—what’s not to love? Want to elevate your desserts further? Check out our guide on how to make Tiramisu!
Homemade Ladyfinger Cookie Ingredients
For the Batter
• Eggs – Provides structure and richness; use large, free-range eggs for the best flavor.
• Granulated Sugar – Adds sweetness and helps aerate the batter when whipped with eggs; substitute with coconut sugar for a lower glycemic index.
• Salt – Enhances flavor; a pinch balances the sweetness perfectly.
• Vanilla Extract – Adds aroma and depth of flavor; you can replace it with almond extract for a different profile.
• All-Purpose Flour – The main structure element; make sure to sift it to avoid clumps.
• Cornstarch – Lightens the texture for a crisper cookie; swap with arrowroot powder for a gluten-free version.
• Lemon Zest (optional) – Offers a fresh citrus note; feel free to omit it if desired.
For Dusting
• Powdered Sugar – A finishing touch that adds sweetness; substitute with monk fruit sweetener for a sugar-free version.
Step‑by‑Step Instructions for https://theseamanmom.com/homemade-ladyfinger-cookies/
Step 1: Preheat the Oven
Start by preheating your oven to 350°F (175°C). Line two baking sheets with parchment paper to prevent the cookies from sticking. It's vital to have everything ready since homemade ladyfinger cookies rely on timing and temperature for that perfect airy texture.
Step 2: Separate the Eggs
Carefully separate the eggs, placing the yolks in one mixing bowl and the whites in another. Make sure there is no yolk in the egg whites, as this will prevent them from whipping up properly. Doing this step right will ensure your ladyfinger cookies are light and fluffy.
Step 3: Whip the Yolks
In the bowl with the yolks, add half of the granulated sugar and beat them together until the mixture turns pale and fluffy, which should take about 3-5 minutes. This aeration is crucial in creating a delicate texture for your homemade ladyfinger cookies. Once fluffy, mix in the vanilla extract for that irresistible aroma.
Step 4: Whip the Whites
Using a clean mixing bowl and whisk, beat the egg whites on medium-high speed until soft peaks form. Gradually add the remaining sugar while continuing to whip until you achieve stiff peaks. This is vital for the structure of your ladyfinger cookies, so take a moment to ensure they are glossy and firm.
Step 5: Combine the Mixtures
Gently fold the whipped egg whites into the yolk mixture with a spatula. Be careful not to deflate the whites; they should maintain their volume. This combination is the heart of your homemade ladyfinger cookies, adding that lightness needed for a delightful texture.
Step 6: Fold in Dry Ingredients
In a separate bowl, whisk together the sifted all-purpose flour, cornstarch, and a pinch of salt. Gradually fold this dry mixture into the egg mixture, being cautious to retain its fluffiness. This step is essential for ensuring your ladyfinger cookies rise properly during baking.
Step 7: Pipe the Cookies
Transfer your batter into a piping bag fitted with a round tip. Pipe 3-inch long forms onto the prepared baking sheets, ensuring there's ample space between each cookie as they will puff up. This step is where your homemade ladyfinger cookies begin to take shape, so be steady and consistent!
Step 8: Dust and Bake
Lightly dust the piped cookies with powdered sugar for an extra touch of sweetness. Then, pop them into the preheated oven and bake for 12 to 15 minutes, or until they are puffed and golden. Keep an eye on them to prevent over-baking, as color indicates doneness.
Step 9: Cool the Cookies
Once baked, remove the sheets from the oven and allow the ladyfinger cookies to cool on the trays for a few minutes. Then carefully transfer them to a wire rack to cool completely. This is crucial for maintaining their crisp texture, especially if you plan on using them for Tiramisu.
Make Ahead Options
These homemade ladyfinger cookies are perfect for meal prep, allowing you to enjoy fresh-baked flavors even on the busiest days. You can prepare the batter up to 24 hours in advance; simply cover it tightly in the refrigerator to maintain freshness. If you prefer, bake the ladyfingers and store them in an airtight container at room temperature for up to 3 weeks—they will still be just as delicious! When you're ready to use the cookies, whip up your Tiramisu or pair them with a cup of coffee, and they’ll be a delightful treat that feels freshly made. Just be sure to avoid refrigerating the baked cookies, as this can affect their crispy texture.
Homemade Ladyfinger Variations & Substitutions
Feel free to play with the recipe and create your own delightful twists on these ladyfinger cookies!
- Flavored Extract: Replace vanilla extract with almond extract for a nutty twist that adds depth and intrigue. Imagine the rich flavor mingling with a Tiramisu’s creamy layers!
- Citrus Burst: Add lemon zest to the batter for a refreshing citrus note. This brightens the flavor profile, making these cookies even more delightful when dipped in tea.
- Chocolate Lovers: Blend in cocoa powder into the dry ingredients for a chocolate-infused version. These chocolate ladyfingers can elevate a classic Tiramisu to a new level of decadence!
- Spice it Up: Incorporate a pinch of cinnamon or nutmeg for a warm, cozy flavor. The hint of spice gives the cookies a unique, comforting vibe, perfect for pairing with warm beverages.
- Gluten-Free Option: Swap all-purpose flour with almond flour or gluten-free flour for those with dietary restrictions. Just remember that almond flour will yield a slightly different texture but equally delightful!
- Lower Sugar Delight: Use coconut sugar instead of granulated sugar for a hint of caramel flavor and lower glycemic index treats. It’s a subtle change that keeps this recipe family-friendly while delicious.
- Sugar-Free Variation: Dust with monk fruit sweetener instead of powdered sugar when serving. Perfect for those watching their sugar intake while still craving a sweet treat!
- Nutty Crunch: Fold in finely chopped hazelnuts or walnuts into the batter for a crunchy texture. The toasted nuts offer a fantastic contrast to the airy cookies, making your dessert extra special.
Ready to make your homemade ladyfingers sing with personality? And if you’re pondering what to pair them with, our recipe for a classic Tiramisu is waiting to add delight to your plate!
What to Serve with Easy Homemade Ladyfinger Cookies for Tiramisu
Imagine a delightful afternoon with a steaming cup of espresso paired alongside these airy cookies, perfecting your dessert experience.
-
Rich Tiramisu: Nothing complements ladyfinger cookies quite like a classic Tiramisu, allowing the cookies to soak up that creamy goodness. It's a match made in dessert heaven!
-
Fresh Berries: Serve alongside raspberries or strawberries for a tart contrast that brightens your palate, enhancing the overall flavor of your meal.
-
Whipped Cream: A dollop of freshly whipped cream offers a luxurious touch when paired with the cookies, adding a creamy texture that complements their crispness.
-
Espresso or Coffee: Sip a warm cup of rich espresso or your favorite coffee to enhance the flavor of ladyfinger cookies, making every bite an inviting experience.
-
Chocolate Sauce: Drizzle some warm chocolate sauce over the cookies or serve it as a dip for a decadent touch that brings out the sweetness.
-
Fruit Compote: A spoonful of homemade fruit compote, whether berry or stone fruit-based, pairs beautifully with ladyfingers, adding excitement and contrast in flavors.
Treat your family or guests to an inspiring spread that showcases these homemade ladyfingers and elevates any gathering!
Expert Tips for Homemade Ladyfinger Cookies
-
Stiff Peaks Required: Ensure egg whites are whipped to stiff peaks to prevent the cookies from spreading when baked. This is crucial for airy ladyfinger cookies.
-
Oven Temperature Matters: Avoid opening the oven frequently during baking as this can cause the cookies to deflate. Keep the heat consistent for best results.
-
Sift Flour Thoroughly: Sifting all-purpose flour is essential to avoid clumps and to achieve a light and airy texture that will elevate your homemade cookies.
-
Cool Completely: Let cookies cool on a wire rack; this step ensures they maintain their crispness and are perfect for soaking in Tiramisu.
-
Experiment with Flavors: Feel free to add variations such as lemon zest or almond extract, but remember that balance is key for flavorful homemade ladyfingers.
How to Store and Freeze Homemade Ladyfinger Cookies
Room Temperature: Store cooled ladyfinger cookies in an airtight container at room temperature for up to 3 days to keep them crisp and fresh.
Freezer: For longer storage, freeze the cookies in an airtight container for up to 3 months. Layer them with parchment paper to prevent sticking.
Reheating: To refresh cookies, let them sit at room temperature for 15 minutes before serving. You can also pop them in a preheated oven at 350°F (175°C) for about 5 minutes to restore crispness.
Make-Ahead Tip: Bake a batch of homemade ladyfingers on the weekend and store them for easy use in Tiramisu or as delightful snacks during the week.
Homemade Ladyfinger Cookies Recipe FAQs
How do I know if my eggs are fresh enough for baking?
Absolutely! When selecting eggs for your homemade ladyfinger cookies, look for those with the latest expiration date and intact shells. A simple freshness test is to place the egg in a bowl of water; if it sinks, it’s fresh; if it floats, it’s best to discard it.
How should I store leftover ladyfinger cookies?
To keep your homemade ladyfinger cookies crisp and delicious, store them in an airtight container at room temperature for up to 3 days. If you plan to keep them longer, consider freezing them for up to 3 months.
Can I freeze ladyfinger cookies?
Very! To freeze your homemade ladyfinger cookies, ensure they are completely cooled and layer them with parchment paper in an airtight freezer-safe container. This will prevent them from sticking together. When ready to enjoy, let them thaw at room temperature.
What if my ladyfinger cookies are too flat?
If your homemade ladyfinger cookies turn out flat, it might be due to under-whipping the egg whites. Make sure they reach stiff peaks before folding into the egg yolks—this is key to achieving that perfect airy texture. Also, avoid opening the oven door frequently while they bake!
Are ladyfingers safe for people with egg allergies?
For those with egg allergies, homemade ladyfinger cookies may not be suitable as they rely on eggs for structure and texture. While you could experiment with egg replacements like aquafaba or commercial egg replacers, please note that results may vary from the traditional recipe.
What’s the best way to refresh cookies that have lost their crispness?
If your homemade ladyfinger cookies have softened over time, you can bring back their crispness by placing them in a preheated oven at 350°F (175°C) for about 5 minutes. This quick baking will restore their delightful texture, making them perfect for dipping!
Homemade Ladyfinger Cookies: Perfectly Airy for Tiramisu
Ingredients
Equipment
Method
- Preheat your oven to 350°F (175°C) and line two baking sheets with parchment paper.
- Carefully separate the eggs, placing the yolks in one bowl and the whites in another.
- In the bowl with the yolks, add half of the granulated sugar and beat until pale and fluffy.
- Beat the egg whites on medium-high speed until soft peaks form; gradually add remaining sugar to achieve stiff peaks.
- Gently fold the whipped egg whites into the yolk mixture.
- Whisk together the sifted flour, cornstarch, and a pinch of salt; fold into the egg mixture.
- Transfer batter into a piping bag and pipe 3-inch forms onto the baking sheets.
- Dust the piped cookies with powdered sugar; bake for 12 to 15 minutes until puffed and golden.
- Allow the cookies to cool on the trays for a few minutes, then transfer to a wire rack to cool completely.


Leave a Reply