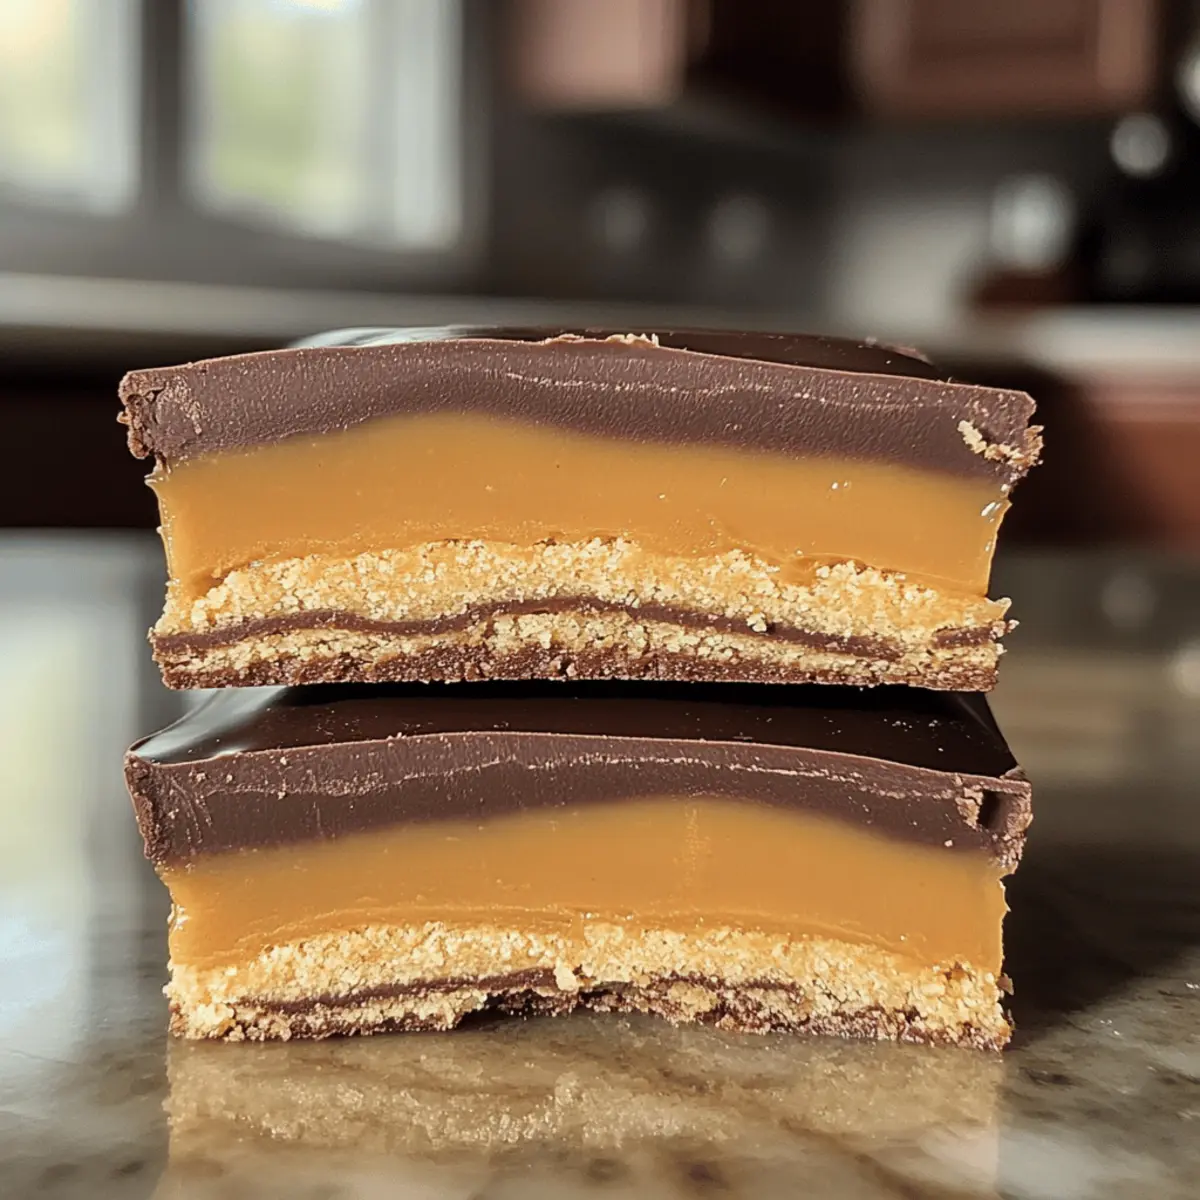
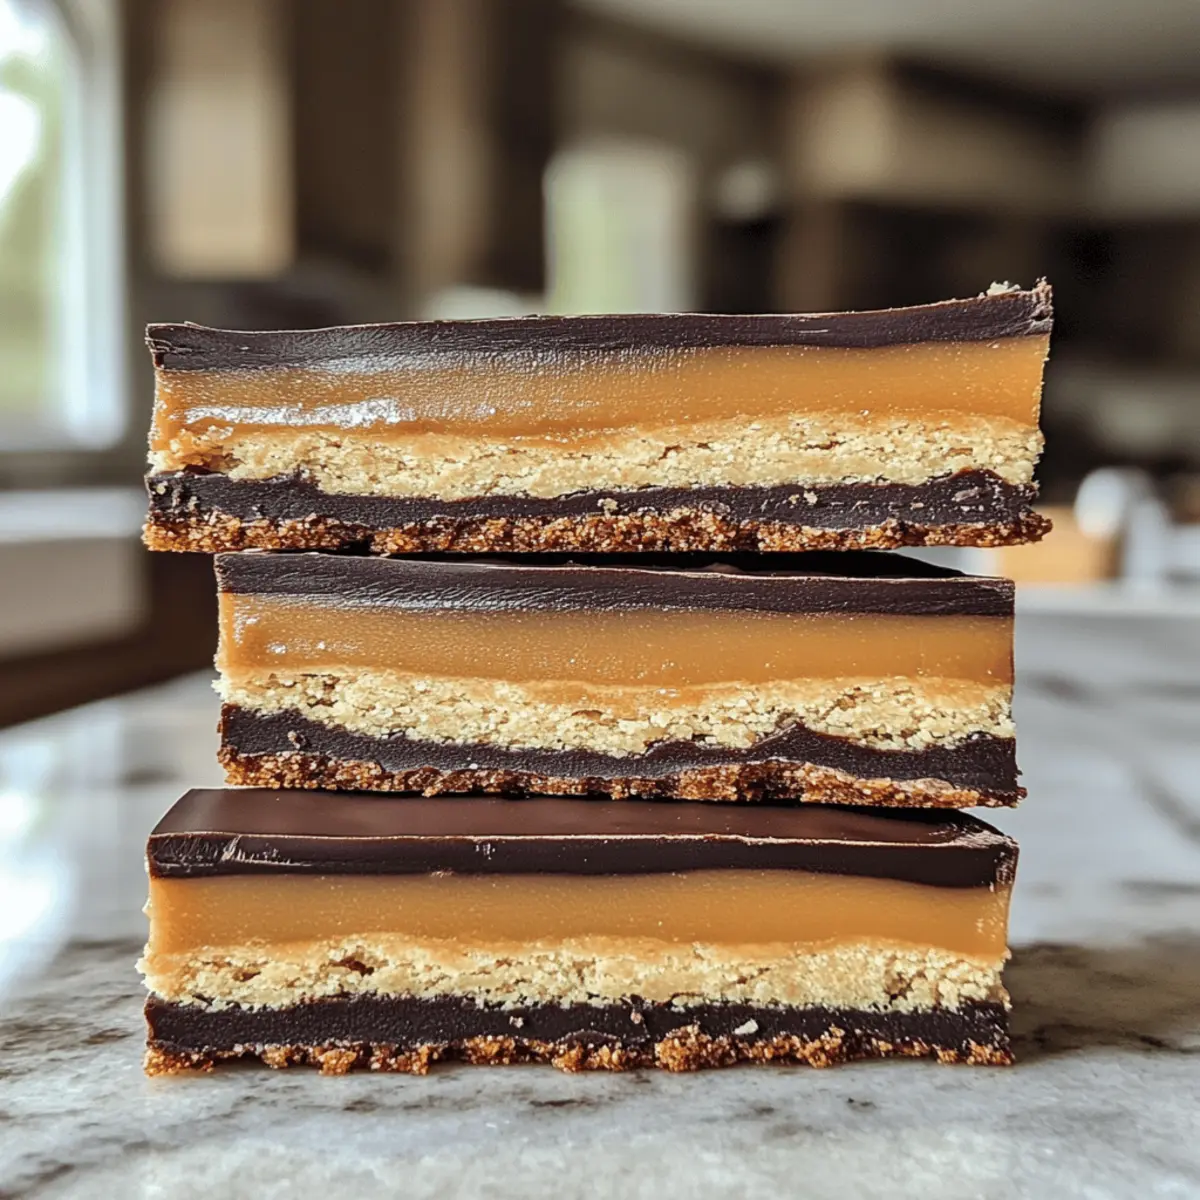
There's nothing quite like unwrapping a treat that evokes memories of childhood bliss. These Healthy Homemade Twix Bars capture that essence, combining a crunchy almond flour shortbread, a creamy peanut butter “caramel,” and a luscious dark chocolate topping. What makes them truly special is that they’re gluten-free and refined sugar-free, letting you indulge without the guilt. Quick to make and absolutely delightful, these bars are perfect for satisfying your sweet tooth while keeping your health goals in mind. Whether you're whipping them up for a snack or a treat for friends, you'll find they’re a crowd-pleaser that brings the joy of homemade goodness back to your kitchen. Ready to dive into this deliciously simple recipe? Let's get started!
Why Are These Twix Bars Special?
Indulgence redefined: These Healthy Homemade Twix Bars are a guilt-free treat that combines nostalgia with nutrition. No baking required: With simple, wholesome ingredients, this recipe is straightforward and quick to prepare. Sweet without compromise: Enjoy a rich, chocolatey flavor that’s gluten-free and refined sugar-free. Perfect for sharing: Bring these bars to gatherings or enjoy them at home—they’re sure to impress! If you love delightful desserts like Homemade Hot Chocolate, this recipe will take your sweet tooth satisfaction to the next level!
Healthy Homemade Twix Bars Ingredients
Indulge in these guilt-free delights with wholesome ingredients!
For the Shortbread Base
• Almond Flour – Provides structure and a gluten-free base. Substitute with coconut flour for a different texture.
• Melted Butter (or Coconut Oil) – Adds richness and moisture. Coconut oil is a dairy-free option.
• Maple Syrup – Natural sweetener for the shortbread and caramel layers. Substitute 1:1 with honey, noting that honey has a stronger flavor.
• Vanilla Extract – Enhances sweetness and flavor profile. No direct substitution needed, but can omit for a more neutral flavor.
• Salt – Balances flavors and heightens sweetness. Omit for low-sodium diets.
For the Caramel Layer
• Creamy Peanut Butter – Acts as the “caramel” layer, providing creaminess and flavor. Use a thicker brand to avoid softness.
For the Chocolate Coating
• Dark Chocolate Chips – Adds a rich chocolate coating; use 70% or higher for less sugar. Ensure dairy-free for vegan options.
• Coconut Oil (for chocolate) – Used to help melt chocolate smoothly and add sheen. Omit for a richer chocolate flavor.
Step‑by‑Step Instructions for Healthy Homemade Twix Bars
Step 1: Make the Base
Preheat your oven to 350°F (175°C) and line a loaf pan with parchment paper to ensure easy removal. In a mixing bowl, combine the almond flour, melted butter (or coconut oil), maple syrup, vanilla extract, and salt. Mix until the mixture resembles coarse crumbs. Press this mixture firmly into the lined pan, ensuring an even layer. Bake for 10-12 minutes until golden brown and fragrant, then let it cool completely.
Step 2: Make the Caramel
In a separate bowl, blend together creamy peanut butter, maple syrup, vanilla extract, and a bit of almond flour until the mixture is thick and smooth. This will serve as the luscious “caramel” layer for your Healthy Homemade Twix Bars. Once the shortbread base has cooled, spread the peanut butter mixture evenly over it. Place the pan in the freezer for 30 minutes to allow the caramel layer to firm up.
Step 3: Top with Chocolate
While the caramel is chilling, melt the dark chocolate chips and coconut oil together in a microwave-safe bowl, stirring every 30 seconds until smooth. Once melted, carefully pour the chocolate over the hardened caramel layer, tilting the pan slightly to ensure an even coating across the top. Return the pan to the freezer for an additional 15-20 minutes until the chocolate is set.
Step 4: Slice & Serve
After everything has chilled and set well, lift the dessert from the loaf pan using the parchment paper for easy access. With a warm knife (run it under hot water), slice the bars into 12 even portions for the perfect treat size. Store the Healthy Homemade Twix Bars in an airtight container in the fridge for the best texture, and enjoy the indulgence guilt-free!
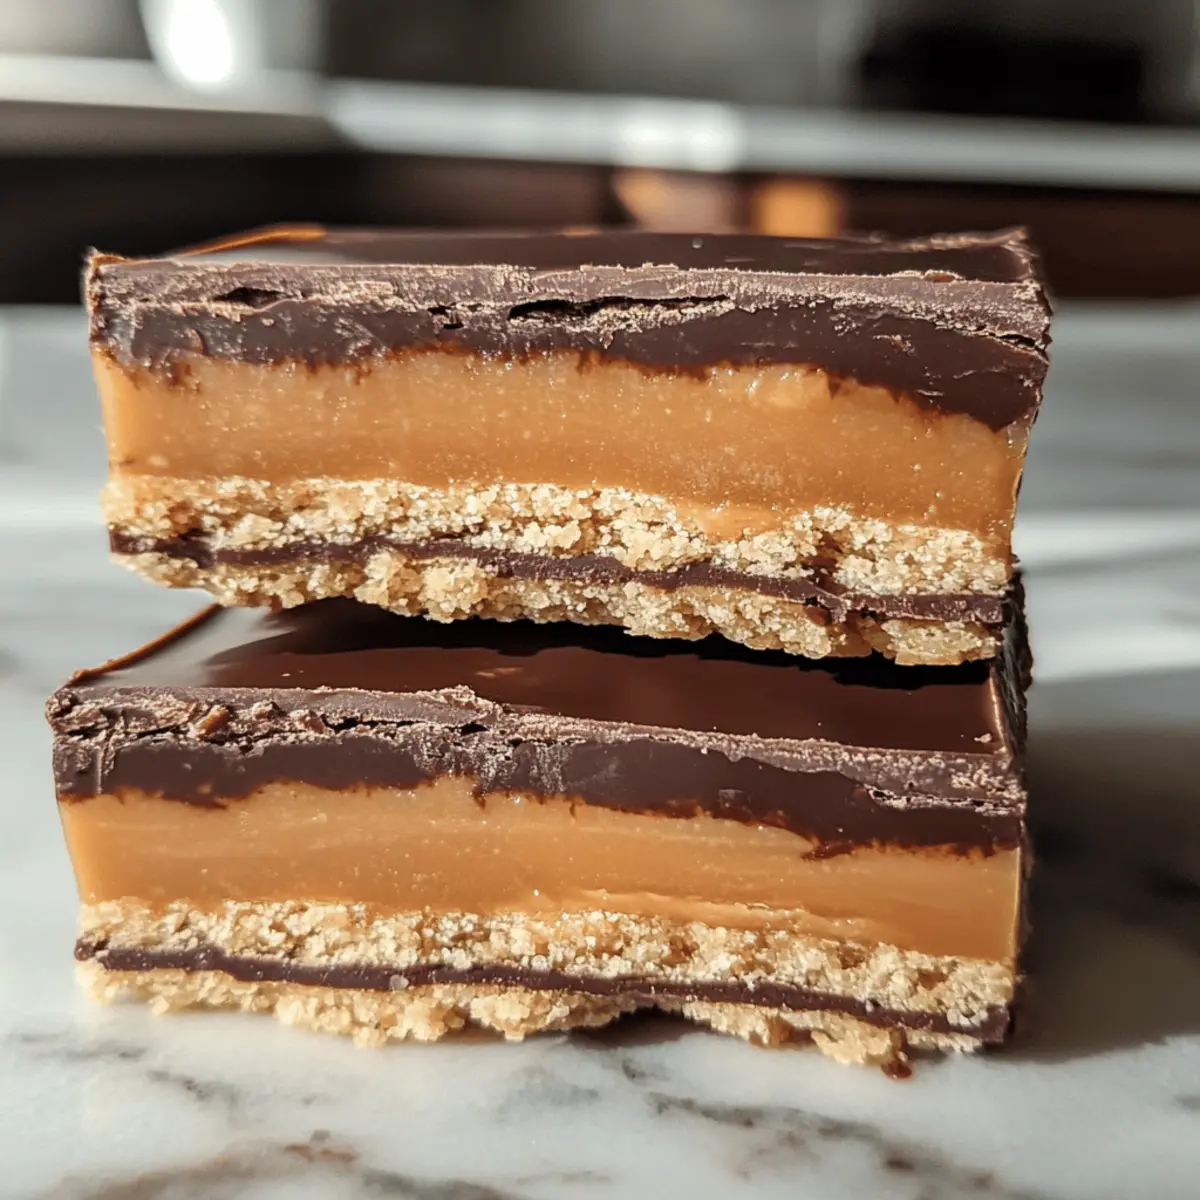
Healthy Homemade Twix Bars: Customize Your Treats
Feel free to unleash your creativity and tailor these delicious bars to suit your taste and dietary preferences!
-
Coconut Flour: Swap almond flour for coconut flour for a fun twist. This change will impart a subtle coconut flavor while keeping it gluten-free.
-
Nut Butter Variation: Experiment with different nut butters like creamy cashew or sunflower seed for a unique caramel flavor. Each variety brings its own personality to the bars, making it an exciting adventure!
-
Chocolate Variety: Use white chocolate chips for a sweeter spin. This irresistible topping creates a milky contrast with the rich caramel, giving it a playful look and flavor.
-
Flavor Infusion: Add a pinch of cinnamon or sea salt to the chocolate layer for a delightful kick. It elevates the taste, taking these bars from simple to extraordinary.
-
Texture Boost: Fold in some dark chocolate chunks or chopped nuts into the caramel layer for added crunch. This variation enhances the bars while providing an extra bite of deliciousness!
-
Dairy-Free Delight: Opt for dairy-free chocolate chips if you’re vegan or lactose intolerant. They offer the same rich flavor and satisfy those chocolate cravings seamlessly.
-
Spicy Kick: Feeling adventurous? Add a sprinkle of cayenne pepper to the chocolate layer for a surprising heat that contrasts beautifully with the sweetness.
-
Satisfy Your Cravings: If you’re in for a different homemade treat, consider trying these delightful recipes, such as Asparagus Soup Healthy or savory Shakshuka Savor Bold.
Make Ahead Options
These Healthy Homemade Twix Bars are perfect for meal prep, allowing you to indulge in a delightful treat without the last-minute hassle! You can prepare the almond flour shortbread base up to 24 hours in advance and store it covered in the fridge to maintain its freshness. The peanut butter “caramel” layer can also be made ahead of time; simply freeze it for up to 3 days in an airtight container. When you're ready to finish the bars, melt the dark chocolate, pour it over the caramel, and chill until set. With these make-ahead steps, you’ll enjoy delicious, guilt-free treats with minimal effort!
What to Serve With Healthy Homemade Twix Bars?
Indulge in a full culinary experience by pairing these delightful bars with complementary flavors and textures.
-
Rich Coffee: The boldness of freshly brewed coffee enhances the chocolate, making it a perfect companion for your treats.
-
Almond Milk: A soothing glass of almond milk brings a nutty flavor that pairs wonderfully with the bars, delighting both kids and adults alike.
-
Fresh Berries: Juicy strawberries or raspberries add a sweet-tart contrast, balancing the richness of the peanut butter and chocolate layers.
-
Whipped Coconut Cream: This light and airy topping offers a creamy, dairy-free option that accentuates the bars’ flavors beautifully.
-
Nutty Granola: Top your bars with a sprinkle of nutty granola for an extra crunch, enhancing the textural experience of these delicious squares.
-
Fruit Salad: A colorful mix of seasonal fruits provides a refreshing side, bringing a fruity brightness to your indulgent dessert.
-
Matcha Latte: The earthy tones of a matcha latte create an intriguing flavor combination, perfect for those seeking a unique pairing.
-
Dark Chocolate Dipped Fruit: Elevate your dessert game with fruit dipped in dark chocolate, echoing the chocolatey goodness of the Twix Bars.
-
Vanilla Ice Cream: A scoop of creamy vanilla ice cream next to a warm bar brings a delightful contrast that’s impossible to resist.
How to Store and Freeze Healthy Homemade Twix Bars
Fridge: Keep your Healthy Homemade Twix Bars in an airtight container in the refrigerator for up to 1 week. This will ensure they maintain their delightful texture and flavor.
Freezer: To enjoy them later, freeze the bars in a single layer, wrapped tightly in plastic wrap and then placed in a freezer-safe container. They can be stored for up to 2 months.
Thawing: When you’re ready to savor a bar, simply transfer it to the fridge to thaw for a few hours or overnight. This will retain its creamy and delicious texture.
Reheating: There’s no need to reheat these bars; enjoy them chilled for the best experience and to preserve that satisfying crunch!
Expert Tips for Healthy Homemade Twix Bars
- Solid Caramel Required: Ensure the caramel layer is fully set before pouring the chocolate to avoid cracks. A firm layer keeps everything intact!
- Adjust Consistency: If the caramel is too soft, freeze it longer or mix in more almond flour to achieve the right thickness for the Healthy Homemade Twix Bars.
- Layering Technique: Allow the caramel to rest for 3-5 minutes before adding the chocolate layer; this helps in achieving the perfect layered finish.
- Warm Knife Slicing: For clean slices, run a knife under hot water before cutting the bars. It prevents crumbs and ensures a neat presentation.
- Freezing for Freshness: These bars can freeze well for up to 2 months! Double the batch to quench those sweet cravings anytime.
Healthy Homemade Twix Bars Recipe FAQs
What is the best way to select almond flour for this recipe?
Absolutely! When choosing almond flour, look for a finely ground, blanched version for the best texture in your Healthy Homemade Twix Bars. Avoid almond meal, which is coarser and can alter the consistency of the bars. Make sure there are no dark specks or hard chunks, as this can indicate old or improperly stored flour.
How long will Healthy Homemade Twix Bars last in the fridge?
These delightful bars can be stored in an airtight container in the fridge for up to 1 week. This storage method keeps their delightful texture intact, ensuring you can savor them throughout the week. Just remember to allow them to sit at room temperature for a few minutes for the best experience!
Can I freeze Healthy Homemade Twix Bars? If so, how?
Yes, you can absolutely freeze these bars! To do this, wrap each bar individually in plastic wrap and place them in a freezer-safe container. They will stay deliciously good for up to 2 months. When you’re ready to enjoy one, let it thaw in the fridge overnight or for a few hours at room temperature for the perfect texture.
What should I do if my caramel layer is too soft?
If your caramel layer is too soft, don’t worry! You can simply pop the dessert back into the freezer for an additional 10-15 minutes until it firms up nicely. Alternatively, if you’d like to adjust the consistency, adding a tablespoon of almond flour to the mixture can help thicken it while still maintaining that creamy goodness.
Are these Healthy Homemade Twix Bars suitable for people with nut allergies?
Unfortunately, these bars do contain nuts, specifically almond flour and peanut butter. For those with nut allergies, you could try substituting almond flour with sunflower seed flour or oat flour, and use a sunbutter or soy nut butter in place of peanut butter. Keep in mind that the flavor and texture may vary, but it allows for a delicious alternative!
Can I use a different sweetener besides maple syrup?
Very! You can substitute maple syrup with honey in a 1:1 ratio; just keep in mind that honey has a stronger flavor. Alternatively, a liquid stevia or agave syrup can also work well, but for stevia, be sure to check the conversion ratio on the label, as it can be much sweeter than maple syrup!
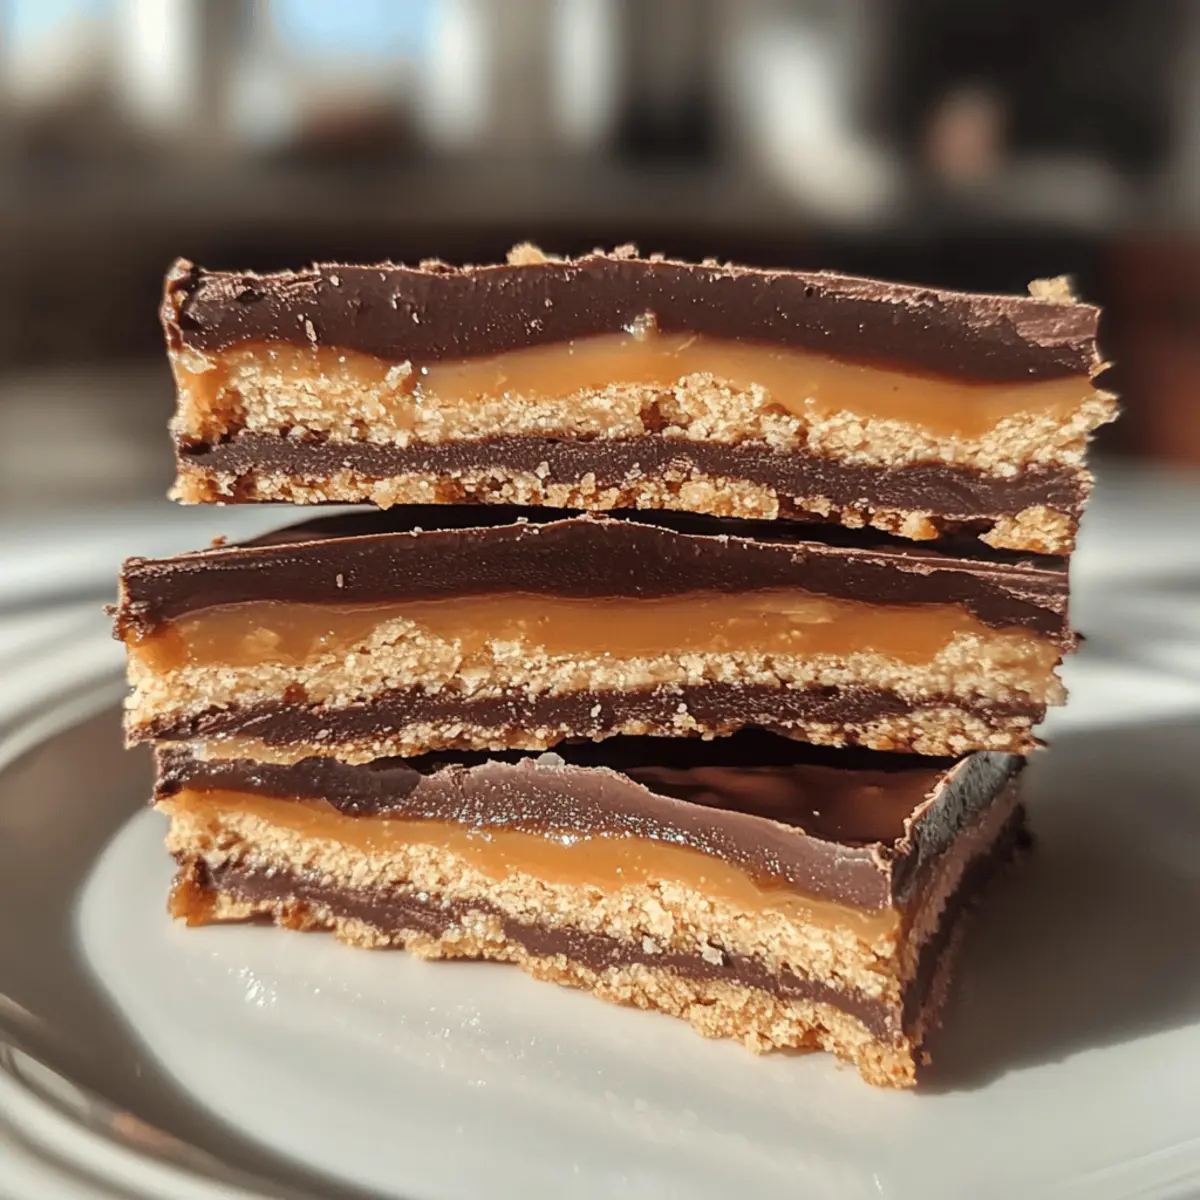
Healthy Homemade Twix Bars: Guilt-Free Chocolate Indulgence
Ingredients
Equipment
Method
- Preheat your oven to 350°F (175°C) and line a loaf pan with parchment paper. In a mixing bowl, combine almond flour, melted butter (or coconut oil), maple syrup, vanilla extract, and salt. Mix until resembling coarse crumbs. Press into the lined pan and bake for 10-12 minutes until golden brown and fragrant. Let cool completely.
- In a separate bowl, blend together creamy peanut butter, maple syrup, vanilla extract, and almond flour until thick and smooth. Spread over the cooled shortbread base. Place in freezer for 30 minutes to firm up.
- Melt dark chocolate chips and coconut oil in a microwave-safe bowl, stirring every 30 seconds until smooth. Pour over the caramel layer, tilting the pan for an even coating. Return to freezer for 15-20 minutes until set.
- Lift the dessert from the loaf pan using parchment paper. Use a warm knife to slice into 12 even portions. Store in an airtight container in the fridge.




Leave a Reply