
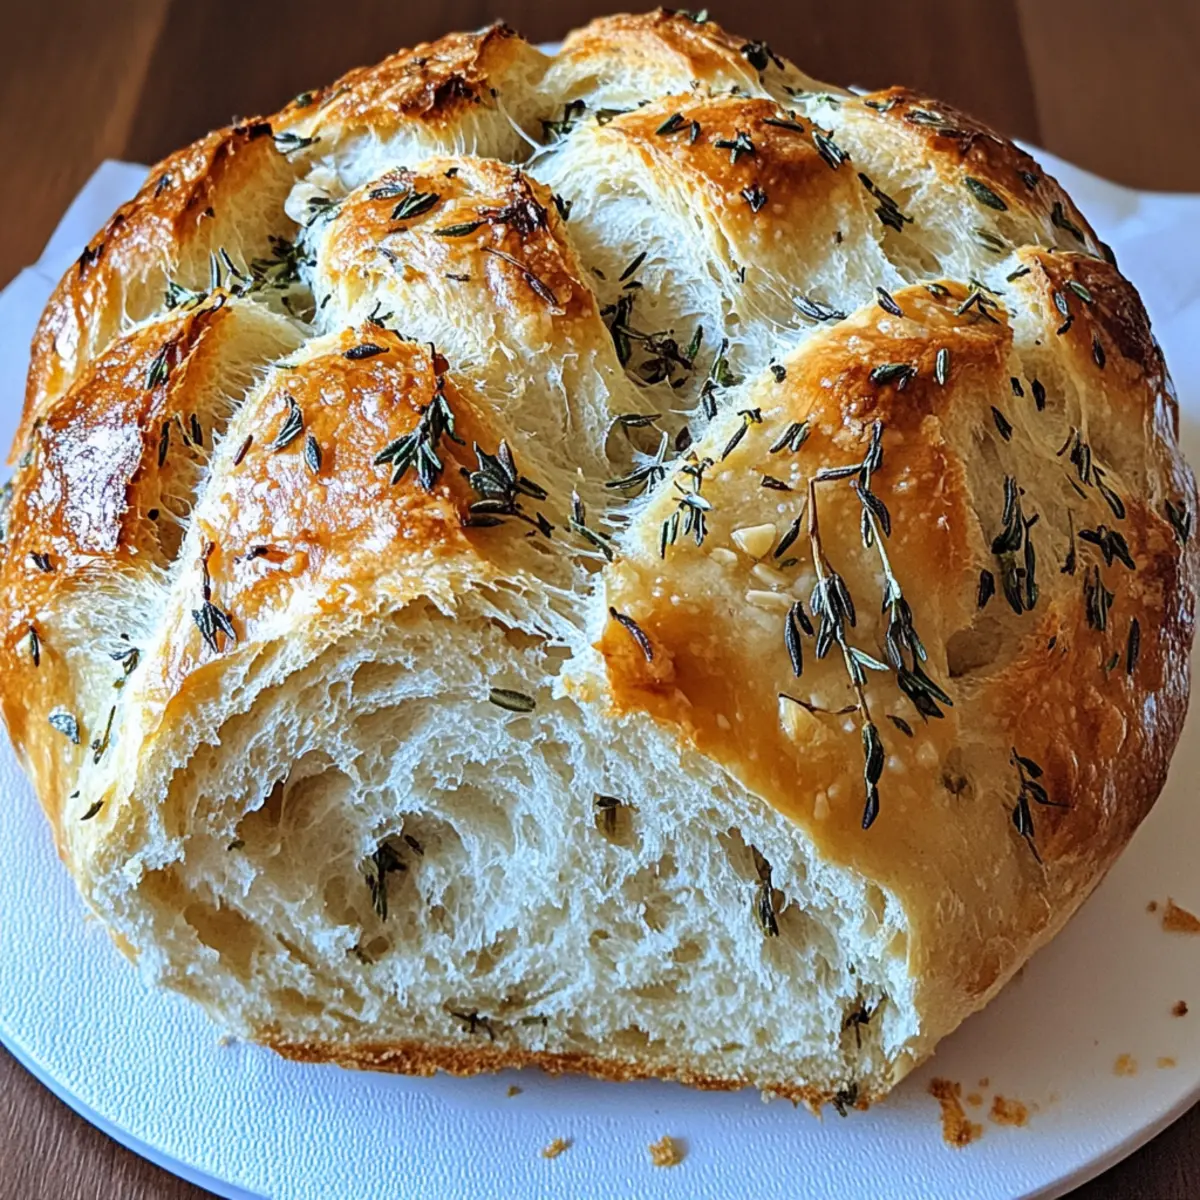
If you ever found yourself enchanted by the sight of a beautifully braided loaf in a bakery window, then this Garlic Herb Braided Bread will transport you right there. It’s astonishing how something so visually stunning can also be so approachable for home bakers. Not only will this recipe fill your kitchen with savory, mouthwatering aromas, but its golden crust and fluffy interior are a guaranteed crowd-pleaser at any gathering. Perfect for family dinners or cozy evenings, this bread effortlessly complements everything from hearty soups to fresh salads. Plus, it's beginner-friendly, meaning anyone can master this artisan classic with ease. So, are you ready to indulge in the warm comfort of freshly baked bread? Let’s dive in!
Why Is This Bread So Irresistible?
Aromatic Experience: The moment you bake this bread, your kitchen will fill with the irresistible scent of garlic and herbs, creating a warm and inviting atmosphere.
Artisan Quality: With its beautifully braided appearance, this Garlic Herb Braided Bread looks gourmet, making it perfect for special occasions or a simple weeknight dinner.
Beginner-Friendly: You don't need to be a pro baker to achieve this artisanal delight! The straightforward method and easy-to-find ingredients make it accessible for all skill levels.
Versatile Pairing: This bread works fabulously with various dishes! Serve it warm with your favorite butter, or pair it with dishes like Crockpot Potato Broccoli Cheddar Soup for a comforting meal.
Customizable: Feel free to unleash your creativity! Experiment by adding spices, herbs, or even cheese to make it uniquely yours.
Garlic Herb Braided Bread Ingredients
For the Dough
- 3 cups all-purpose or bread flour – Provides structure; using bread flour yields a chewier texture.
- 2¼ tsp active dry yeast – Acts as a leavening agent; instant yeast can reduce rise time by 15 minutes.
- 1 cup warm water (110°F) – Activates the yeast and hydrates the dough.
- 2 tbsp olive oil – Adds flavor and moisture; consider using garlic butter for a richer taste.
- 1 tsp salt – Enhances the overall flavor.
- 1 tbsp sugar – Feeds the yeast for a better rise.
- 3–4 cloves garlic, minced or roasted – Infuses the bread with bold garlic flavor.
- 1 tbsp dried mixed herbs (oregano, thyme, basil) – Offers aromatic qualities; substitute with 2 tbsp fresh herbs for a fresher taste.
- ½ cup grated parmesan cheese – Contributes savory depth.
For Brushing & Topping
- 1 tbsp melted butter – Adds shine and enhances crust flavor.
Optional Add-ins
- ¼ tsp red pepper flakes – Introduces a delightful hint of heat.
- 2 tbsp shredded mozzarella – For those who desire an extra cheesy indulgence.
- 1 tbsp fresh parsley for garnish – Adds a pop of color for visual appeal.
With this Garlic Herb Braided Bread, you'll create a culinary masterpiece that not only delights the senses but also beckons for customization to suit your taste! Happy baking!
Step‑by‑Step Instructions for Garlic Herb Braided Bread
Step 1: Activate the Yeast
In a large mixing bowl, combine 1 cup of warm water (110°F) with 1 tablespoon of sugar, stirring gently. Sprinkle 2¼ teaspoons of active dry yeast over the top and let it sit undisturbed for 5 to 10 minutes until it's foamy and bubbly, indicating the yeast is alive and ready for your Garlic Herb Braided Bread.
Step 2: Mix the Dough
Once the yeast is activated, stir in 2 tablespoons of olive oil, minced garlic, dried herbs, 1 teaspoon of salt, and 2½ cups of flour. Mix until a shaggy dough forms, adding more flour gradually until the dough is neither too sticky nor too dry, creating the perfect base for your braided bread.
Step 3: Knead the Dough
Transfer the shaggy dough to a floured surface and knead it for about 6 to 8 minutes. During this time, gradually incorporate ½ cup of grated parmesan cheese until it's well distributed, and the dough becomes smooth and elastic. This step is vital for developing the bread's texture, ensuring that your Garlic Herb Braided Bread has that delightful chew.
Step 4: First Rise
Place the kneaded dough into a greased bowl, covering it with a damp cloth or plastic wrap. Set it in a warm, draft-free area for about 1 hour, or until the dough has doubled in size. This rising process allows the yeast to work its magic and gives your bread that light, airy structure.
Step 5: Shape the Ropes
After the dough has risen, gently punch it down to release any excess air. Divide it into three equal pieces, then roll each piece into a long rope, 14 to 16 inches in length. With these ropes prepared, you're ready to create the beautiful braid that will make your Garlic Herb Braided Bread both stunning and appetizing.
Step 6: Braid the Bread
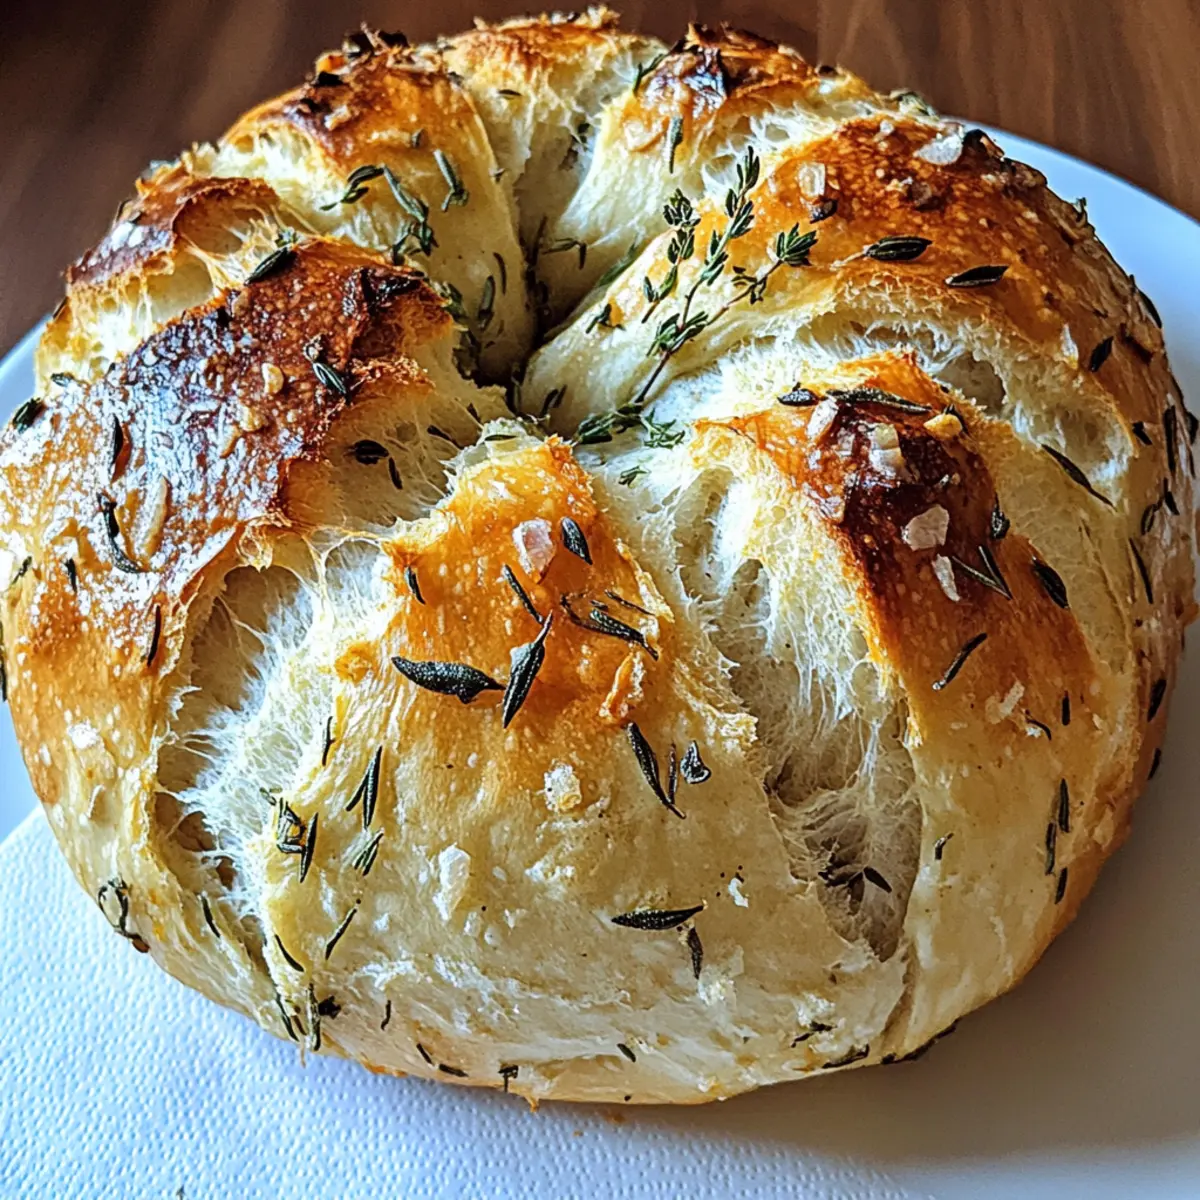
Lay the three ropes side by side and pinch the ends together. Braid the ropes together tightly, tucking the ends underneath the loaf. Ensure the braid is uniform in thickness, as this will affect the final appearance and evenness of baking. Now, your braided loaf is taking shape and is sure to impress.
Step 7: Second Rise
Place your braided bread on a parchment-lined baking sheet, cover it again with a cloth, and let it rise for another 30 to 40 minutes in a warm spot. This second rise allows the dough to puff up even more, giving it a light and airy texture that will become irresistible when baked.
Step 8: Preheat and Prepare for Baking
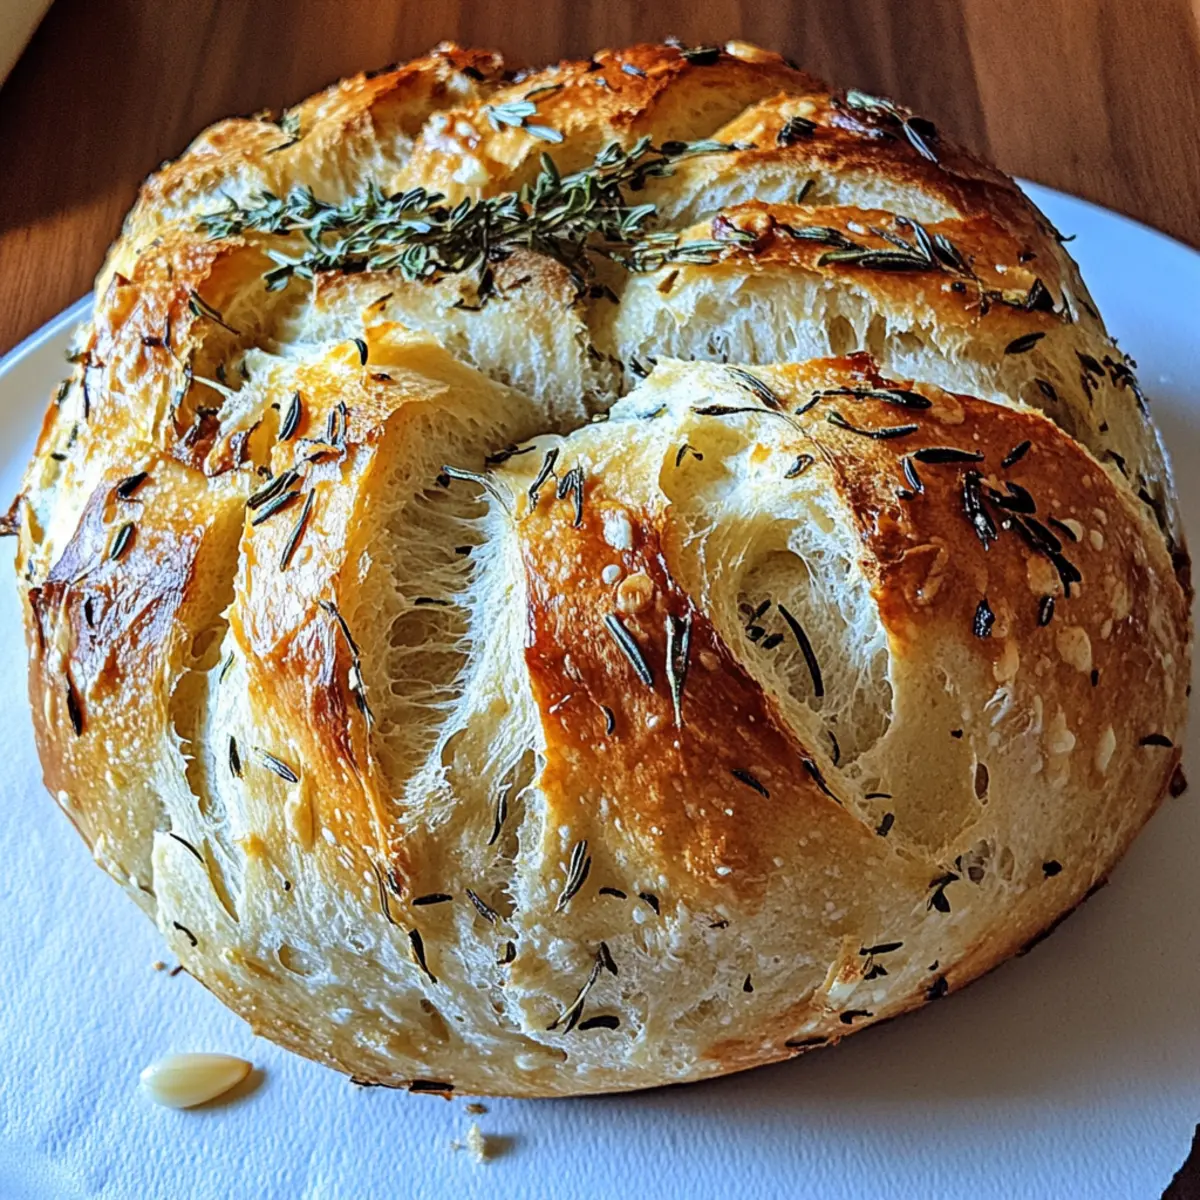
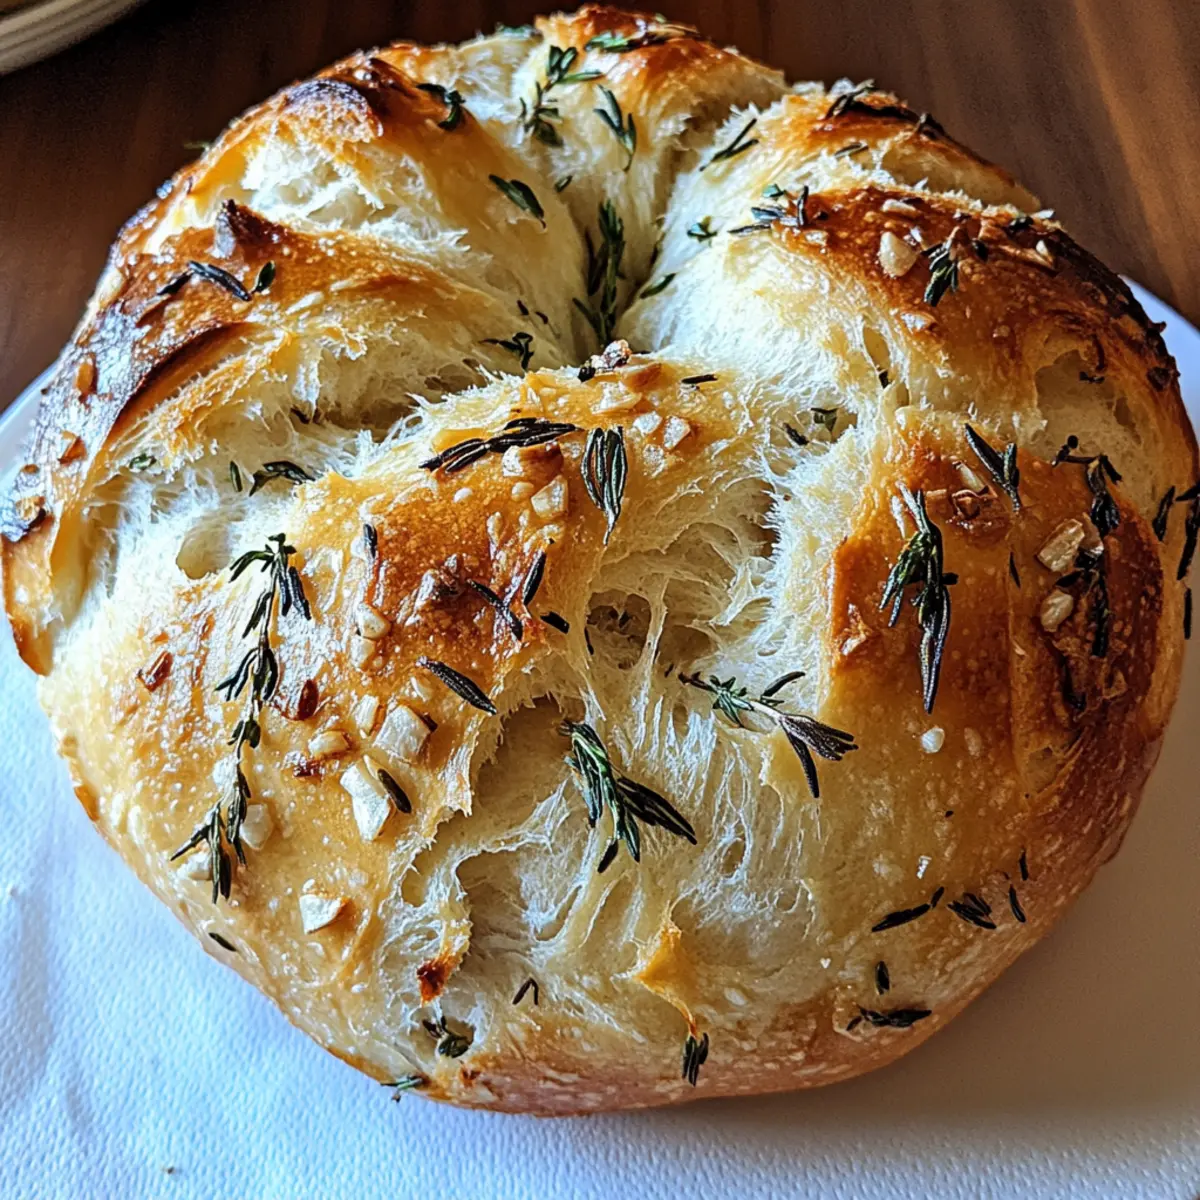
While your Garlic Herb Braided Bread undergoes its second rise, preheat the oven to 375°F (190°C). Once the dough has completed its rise, gently brush the top with melted butter for a golden, glossy finish, and sprinkle any optional toppings, like red pepper flakes or shredded mozzarella, to elevate the flavors.
Step 9: Bake the Bread
Carefully place the baking sheet in the preheated oven and let your braided bread bake for 25 to 30 minutes. It's ready when it turns a beautiful golden brown and emits an enticing aroma. To check doneness, tap the bottom; if it sounds hollow, it’s perfect!
Step 10: Cool and Serve
Remove the Garlic Herb Braided Bread from the oven and let it cool on a wire rack for a few minutes before slicing. This will enhance its flavor and texture. As you slice into the warm loaf, you'll appreciate the beautiful braided pattern and delectable garlic and herb aroma calling out to you.
How to Store and Freeze Garlic Herb Braided Bread
Room Temperature: Keep the bread in an airtight container for up to 3 days to maintain freshness and texture.
Freezer: To freeze, wrap the cooled bread tightly in plastic wrap, then place it in a freezer bag. It can be stored for up to 3 months.
Reheating: For the best results, thaw in the fridge overnight, then reheat wrapped in foil at 350°F (175°C) for about 10-15 minutes before serving.
Slicing Tips: Slice the bread before freezing; this makes it convenient to reheat individual pieces when craving your delicious Garlic Herb Braided Bread.
Garlic Herb Braided Bread Variations
Feel free to explore your creativity and tailor this recipe to your personal taste for a delicious twist!
- Gluten-Free: Substitute all-purpose flour with gluten-free flour blend for a wheat-free version that maintains the delicious flavors.
- Cheesy Delight: Add ½ cup of shredded cheddar or mozzarella to the dough for a gooey, cheesy interior that complements the garlic perfectly.
- Herb Twists: Try swapping in fresh rosemary or sage instead of dried herbs for a fragrant and seasonal variation that brightens the flavor.
- Spice It Up: Mix in ¼ teaspoon of cayenne pepper or chili flakes to the dough for a delightful kick that warms you up.
The beauty of baking is that you can make it your own! For a stunning presentation, consider making individual braids or rolls instead of a single loaf. Plus, this Garlic Herb Braided Bread is delicious alongside hearty dishes like Crockpot Potato Broccoli Cheddar Soup or served with a slice of Honey Garlic Chicken. Enjoy experimenting!
Make Ahead Options
These Garlic Herb Braided Bread are perfect for busy home cooks looking to save time! You can prepare the dough up to 24 hours in advance by following steps 1 to 4, then cover it with plastic wrap and refrigerate. When you're ready to bake, simply remove the dough from the fridge, let it rest at room temperature for about 30 minutes, shape it, and proceed with the second rise (step 6 and 7). Keeping the dough chilled helps maintain its quality and flavor, ensuring your bread will be just as delicious as the day it was made. With this plan in place, you'll have freshly baked bread ready to impress with minimal effort!
Tips for the Best Garlic Herb Braided Bread
-
Pick the Right Flour: Use bread flour for extra chewiness. If you prefer a lighter texture, all-purpose flour works beautifully, too.
-
Watch the Yeast: Ensure your water is warm (about 110°F) but not hot, as overheating can kill the yeast. The yeast needs to foam to show it's alive!
-
Don’t Rush the Rise: Allow the dough plenty of time to rise until doubled in size. Rushing this step can yield a denser bread than desired.
-
Braiding Basics: Start with a 3-strand braid for ease; as your confidence builds, try more strands for a beautiful, intricate design in your garlic herb braided bread.
-
Flavor Boost: Add fresh herbs, cheese, or spices to customize the flavor. It’s easy to make this artisan classic uniquely yours!
-
Proper Cooling: Always cool your bread on a wire rack to prevent sogginess and maintain that perfect crispy crust.
What to Serve with Garlic Herb Braided Bread
Warm, inviting aromas and a golden crust make this bread the perfect centerpiece for a comforting meal.
-
Creamy Tomato Soup: The acidity and creaminess of tomato soup beautifully balance the savory flavors of the bread, creating a satisfying combination.
-
Garden Salad: A fresh salad featuring mixed greens, cherry tomatoes, and a zesty vinaigrette brightens the meal and adds crunch alongside the bread.
-
Roasted Vegetables: The earthy sweetness of roasted carrots and Brussels sprouts complements the herb-infused bread, adding depth to your dinner table.
-
Cheesy Garlic Dip: A warm, gooey cheese dip paired with slices of your braided bread turns every bite into an indulgent treat; perfect for gatherings!
-
Spaghetti Aglio e Olio: The simple garlic and olive oil pasta elevates the bread’s flavors while satisfying carb cravings in the most delightful way.
-
Grilled Chicken Breast: Juicy, seasoned chicken will pair wonderfully with the bread’s herbs and garlic, ensuring every bite is full of flavor.
-
Chardonnay or Chianti: A glass of chilled Chardonnay or a smooth Chianti not only complements the bread but adds an elegant touch to your dining experience.
-
Chocolate Chip Cookies: For a sweet finish, serve warm chocolate chip cookies as a delightful dessert that flows seamlessly from the bread's warm savoriness.
Garlic Herb Braided Bread Recipe FAQs
What is the best way to choose garlic for this recipe?
Absolutely! Look for garlic bulbs that are firm, with tight, dry skins and no dark spots. When using fresh garlic, choose cloves that are plump and free from any soft or sprouting signs. This ensures you’ll have the robust flavor for your Garlic Herb Braided Bread!
How should I store my Garlic Herb Braided Bread?
To keep your Garlic Herb Braided Bread fresh, store it in an airtight container at room temperature for up to 3 days. If you live in a humid environment, it’s best to wrap it in wax paper or a cloth before placing it in the container to help absorb moisture.
Can I freeze Garlic Herb Braided Bread, and how?
Yes, you can freeze it! First, let the bread cool completely after baking. Then, wrap it tightly in plastic wrap and place it in a freezer-safe bag. It can be stored for up to 3 months. For serving, thaw overnight in the fridge and reheat at 350°F (175°C) wrapped in foil for about 10-15 minutes for the best texture.
What should I do if my dough isn’t rising?
If your dough isn’t rising, ensure that your yeast is fresh. You can perform a quick test by adding it to warm water with sugar—if it doesn't foam after 10 minutes, it may be too old. Additionally, make sure your dough is placed in a warm, draft-free location, as drafts can impact rising. If it’s still cool in your kitchen, preheat your oven for a minute or two, turn it off, and let the dough rise there instead!
Is this recipe suitable for those with gluten sensitivity?
Definitely! You can make this Garlic Herb Braided Bread gluten-free by substituting the all-purpose or bread flour with a 1:1 gluten-free baking mix. Make sure the blend contains xanthan gum, which mimics the elasticity of gluten. Keep in mind that the texture may vary slightly, but it’s equally delightful!
Are there any allergy considerations I should keep in mind?
While this recipe is generally safe for many, those with dairy allergies should opt for vegan cheese or leave out the parmesan. Additionally, for nut allergies, double-check any pre-packaged ingredients you use. As always, it’s good to consult with those you’re serving if there are any dietary restrictions!
Garlic Herb Braided Bread
Ingredients
Equipment
Method
- In a large mixing bowl, combine 1 cup of warm water (110°F) with 1 tablespoon of sugar, stirring gently. Sprinkle 2¼ teaspoons of active dry yeast over the top and let it sit undisturbed for 5 to 10 minutes until it's foamy and bubbly, indicating the yeast is alive and ready for your Garlic Herb Braided Bread.
- Once the yeast is activated, stir in 2 tablespoons of olive oil, minced garlic, dried herbs, 1 teaspoon of salt, and 2½ cups of flour. Mix until a shaggy dough forms, adding more flour gradually until the dough is neither too sticky nor too dry.
- Transfer the shaggy dough to a floured surface and knead it for about 6 to 8 minutes, incorporating ½ cup of grated parmesan cheese until it's well distributed and the dough becomes smooth and elastic.
- Place the kneaded dough into a greased bowl, covering it with a damp cloth. Set it in a warm area for about 1 hour, or until doubled in size.
- Gently punch down the dough and divide it into three equal pieces, rolling each into a long rope, 14 to 16 inches in length.
- Lay the ropes side by side, pinch the ends together, and braid them tightly, tucking the ends underneath.
- Place the braided bread on a parchment-lined baking sheet, cover with a cloth, and let it rise for another 30 to 40 minutes.
- Preheat the oven to 375°F (190°C). Once the dough has completed its rise, brush the top with melted butter.
- Bake for 25 to 30 minutes, until golden brown and hollow-sounding when tapped.
- Cool on a wire rack for a few minutes before slicing.


Leave a Reply