
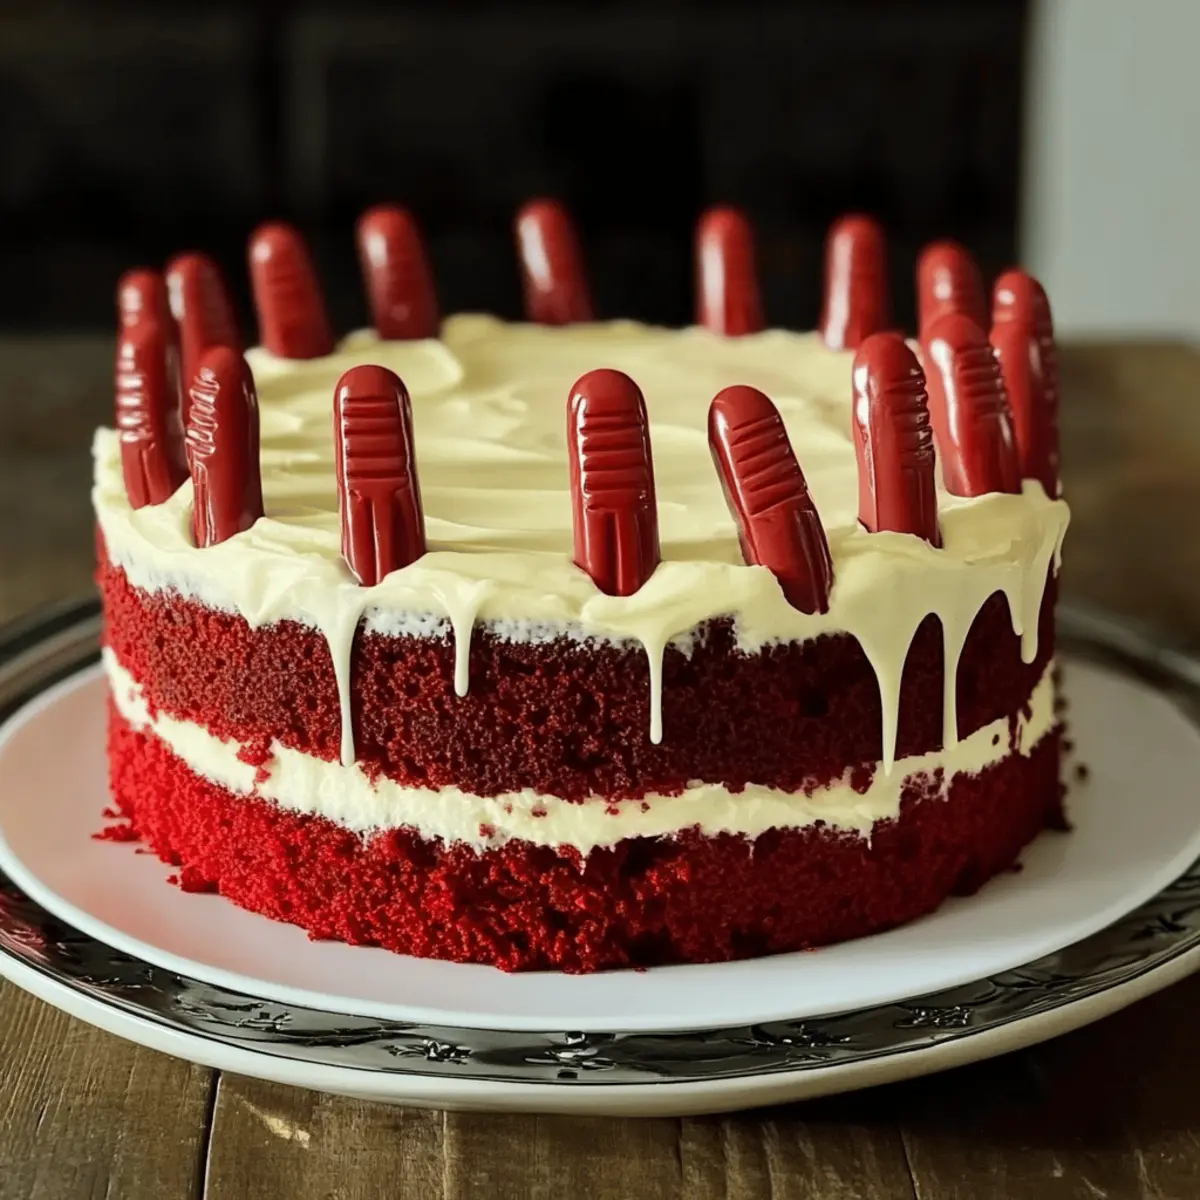
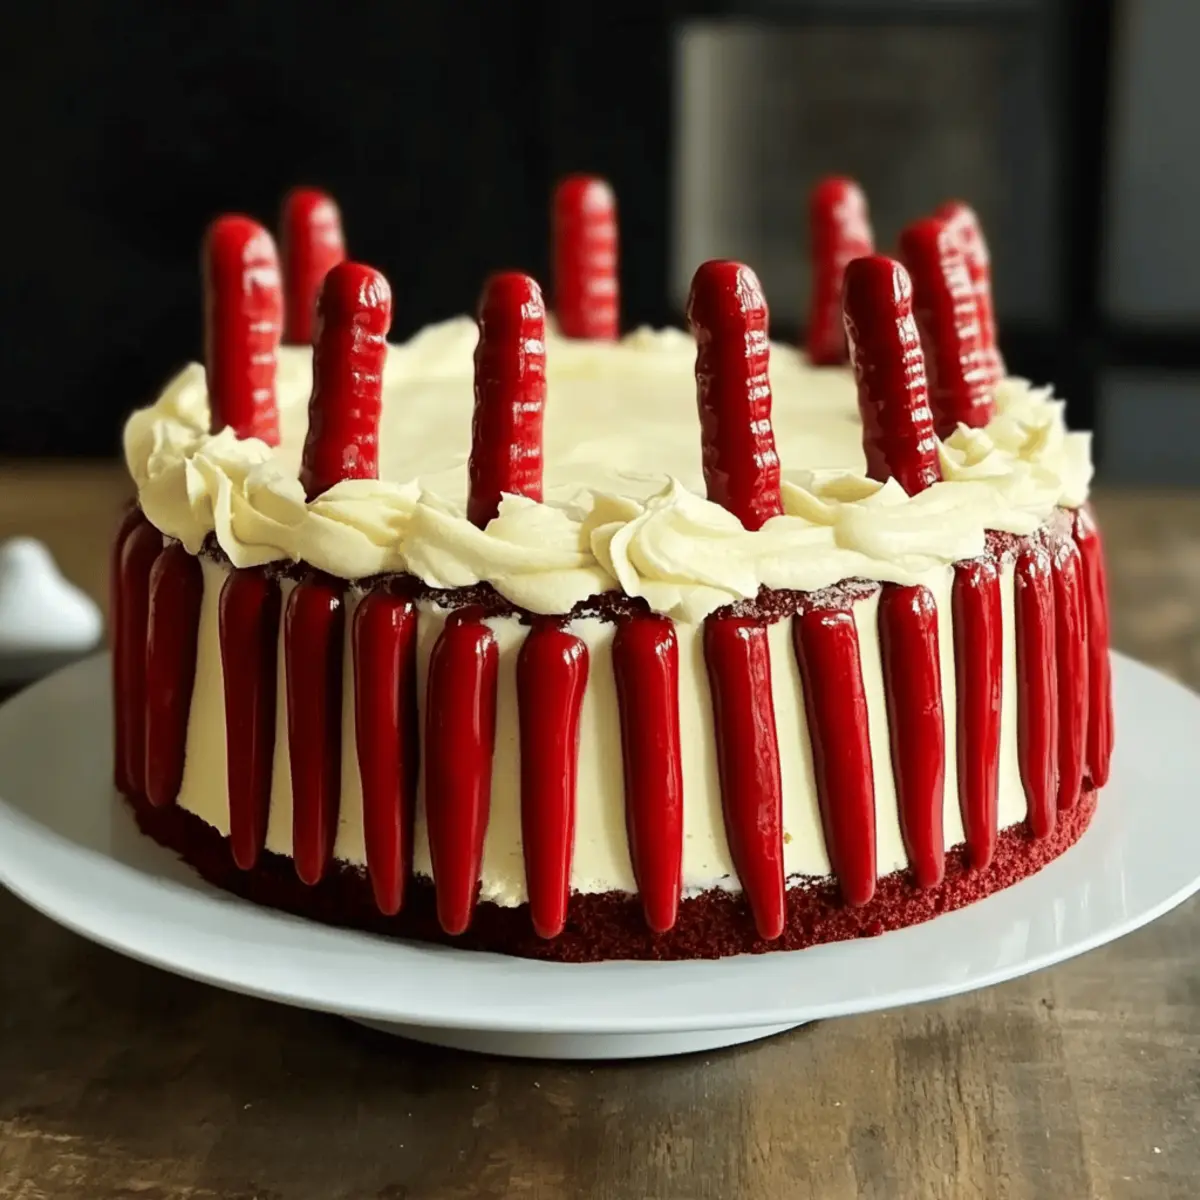
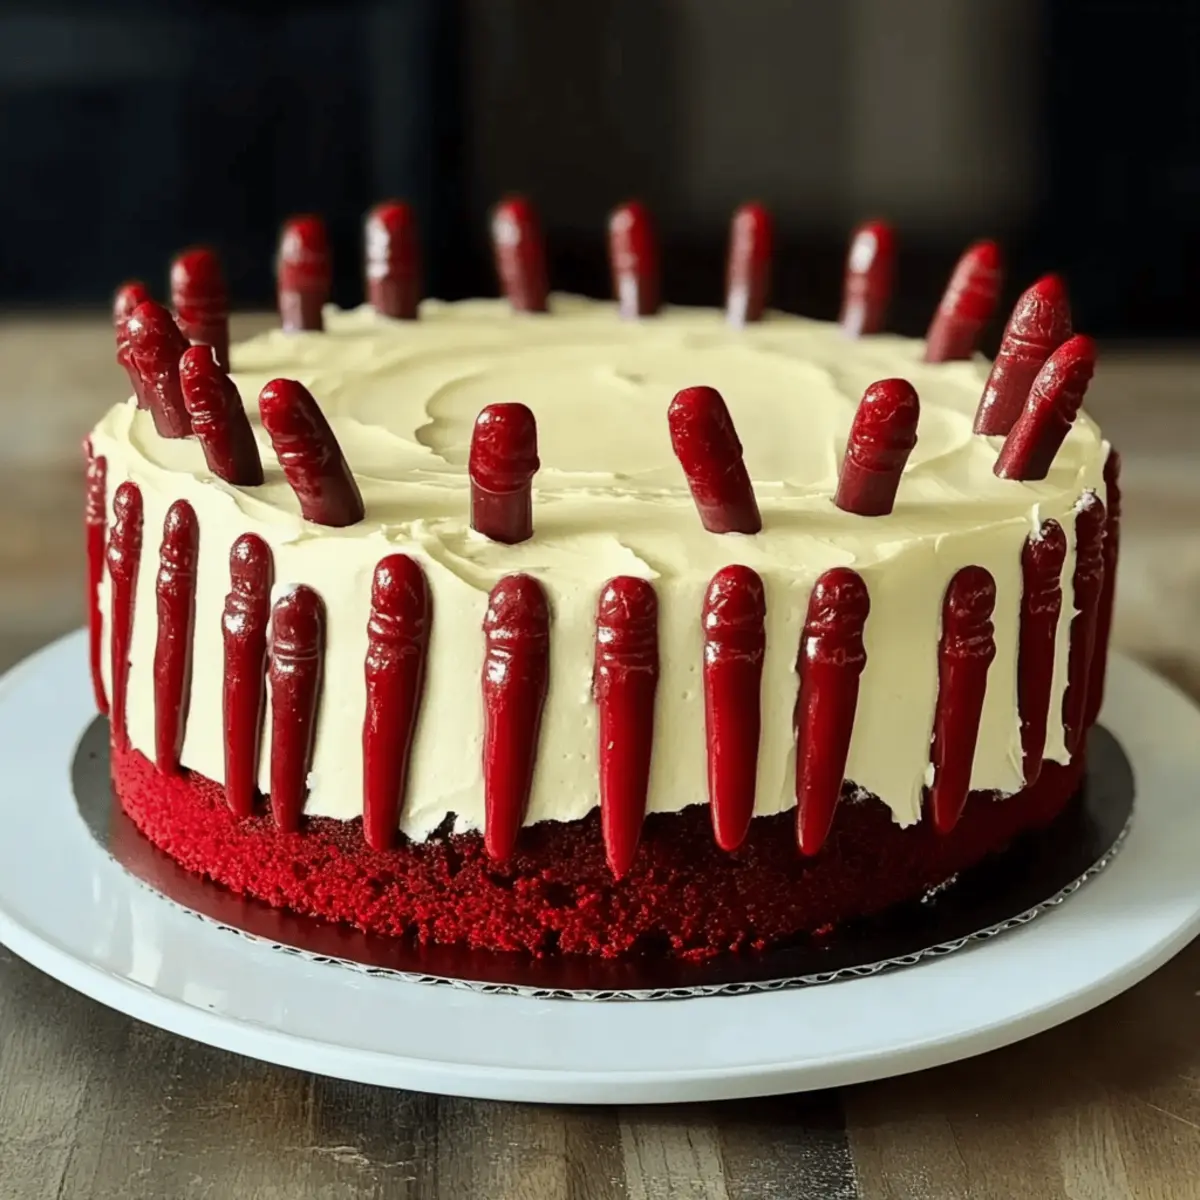
As I stood in the kitchen, a mischievous idea struck me: what if I could create a cake that both dazzles and scares? Introducing the Spooky Freaky Finger Red Velvet Cake! This Halloween, take your dessert game to the next level with this eye-catching treat that combines the rich allure of chocolate red velvet with a delightfully tangy cream cheese frosting. It’s perfect for impressing your guests—whether they’re young or just young at heart—and best of all, it comes together in a snap. With its vibrant color and whimsical decoration, this cake isn’t just delicious; it’s a fun centerpiece that sparks conversation and laughter at any gathering. Curious how to whip up this spooky delight? Let’s dive in and make your Halloween unforgettable!
Why is this cake a Halloween must-try?
Spooky Appeal: This Freaky Finger Red Velvet Cake brings a playful twist to your Halloween celebrations, charming both kids and adults alike.
Quick & Easy: With simple steps and readily available ingredients, you’ll whip it up without a fuss.
Flavor Explosion: The rich chocolate red velvet perfectly balances the tangy cream cheese frosting, making each bite a delightful experience.
Visual Delight: Its striking color and whimsical design make it a showstopper, guaranteed to spark conversations at your Halloween party!
Versatile Variations: Feeling creative? Switch up the chocolate fingers or add festive touches to suit any theme, just like in our Chocolate Pudding Cake.
Festive Fun: Serve it with a scoop of vanilla ice cream for an extra treat, ensuring your guests leave with sweet memories!
Freaky Finger Red Velvet Cake Ingredients
• Get ready to create a spooky masterpiece with these essential ingredients!
For the Cake
- Soft Butter (175g) – Adds moisture and richness; ensure it’s room temperature for easy creaming.
- White Caster Sugar (225g) – Sweetens the cake, ensuring a light and fluffy texture.
- Vanilla Extract (1 tsp) – Enhances flavor and adds a hint of sweetness.
- Large Eggs (3, at room temperature) – Provides structure and richness; room temperature eggs mix evenly.
- Red Food Coloring (1 tbsp) – Gives the cake its bold red hue; paste is preferred for an intense color.
- Plain Flour (200g) – Forms the cake's structure; can be substituted with gluten-free flour if needed.
- Cocoa Powder (50g) – Adds a rich chocolate flavor; use a high-quality cocoa for the best results.
- Bicarbonate of Soda (1 ½ tsp) & Baking Powder (½ tsp) – Leavening agents that help your cake rise beautifully.
- Salt (¼ tsp) – Balances sweetness and enhances the overall flavors.
- Low-fat Plain Yogurt (150g, loosened with 2 tbsp milk) – Adds moisture and a slight tang; can substitute sour cream.
For Decoration
- White Chocolate Fingers (about 3 x 114g boxes) – Perfect for spooky decoration; regular chocolate fingers are a great alternative.
- Icing Sugar (140g) – Sweetens and thickens the cream cheese frosting; essential for your cake's topping.
- Milk (2 tsp) – Adjusts the consistency of icing as needed.
- Additional Red Food Coloring (small blob) – Used for coloring the icing; maintains a thick consistency.
For the Frosting
- Full-fat Cream Cheese (300g, fridge cold) – Creates a creamy base for the frosting; Philadelphia is recommended for great texture.
- Zest of Orange (optional) – Brightens the frosting with a fresh flavor twist.
With these ingredients, you're just a step away from crafting the spookiest and most delicious Freaky Finger Red Velvet Cake that’s sure to impress your Halloween guests!
Step‑by‑Step Instructions for Freaky Finger Red Velvet Cake
Step 1: Preheat the Oven
Begin by preheating your oven to 180°C (160°C fan) or gas mark 4. While the oven warms up, prepare your two 20cm sandwich tins by greasing them generously and lining the bottoms with parchment paper. This ensures your Freaky Finger Red Velvet Cake releases easily after baking and gives a clean finish.
Step 2: Cream Butter and Sugar
In a large mixing bowl, cream together 175g of softened butter and 225g of white caster sugar using an electric mixer on medium speed until the mixture turns light and fluffy, about 3–5 minutes. Then, add in 1 teaspoon of vanilla extract and continue mixing. Slowly incorporate the three room temperature eggs, one at a time, ensuring each is fully blended before adding the next.
Step 3: Add Food Coloring
Next, pour 1 tablespoon of red food coloring into your butter and sugar mixture, mixing well until the color is uniformly distributed. This is what gives your Freaky Finger Red Velvet Cake its vibrant hue! Make sure the batter looks bright and inviting, reflecting the spooky delight you’re creating.
Step 4: Combine Dry Ingredients
In a separate bowl, sift together 200g of plain flour, 50g of cocoa powder, 1½ teaspoons of bicarbonate of soda, ½ teaspoon of baking powder, and ¼ teaspoon of salt. This will ensure even distribution of the leavening agents. Gradually mix half of this dry mixture into your wet ingredients, followed by half of 150g of loosened low-fat plain yogurt, folding gently to maintain air in your batter. Repeat this process with the remaining dry ingredients and yogurt.
Step 5: Bake the Cake
Once your batter is fully combined and smooth, evenly divide it between the prepared sandwich tins. Bake in your preheated oven for about 25 minutes, or until the cakes rise and spring back when gently pressed in the center. Once baked, allow them to cool in the tins for about 10 minutes before transferring to a wire rack to cool completely.
Step 6: Prepare the Chocolate Fingers
While the cake is cooling, line a tray with parchment paper for your chocolate fingers. Take around 3 boxes of white chocolate fingers and carefully cut the ends off each piece for a spooky look. This will add a fun touch to your finished cake’s decoration, resembling creepy fingers ready for Halloween!
Step 7: Make the Red Icing
To create the red icing, sift 140g of icing sugar into a bowl and gradually mix in 2 teaspoons of milk until you achieve a thick consistency. Add a small blob of additional red food coloring to the icing to enhance its spooky aesthetic. Make sure the icing holds its shape well, as it will be used to stick the chocolate fingers together.
Step 8: Mix Cream Cheese Frosting
For the cream cheese frosting, start by beating 300g of cold full-fat cream cheese with a mixer until smooth. Add in the chilled butter and optional zest of orange, mixing until combined. Gradually sift in the icing sugar while mixing and fold it in gently to avoid over-beating. Chill the frosting to allow it to firm up slightly before use.
Step 9: Assemble the Cake
Once your cakes have cooled and your frosting is ready, spread a thin layer of the cream cheese frosting on the top of one cake layer and then position the second layer on top. Use a spatula to cover the entire cake with a generous layer of frosting, smoothing it out for a clean appearance.
Step 10: Decorate with Fingers
Press the chocolate fingers into the frosting around the sides of the cake, securing them in place with the thick red icing you prepared. Feel free to get creative and add extra chocolate fingers on top of the cake. This will enhance the spooky effect of your Freaky Finger Red Velvet Cake, making it a striking centerpiece.
Step 11: Chill and Serve
Finally, place your decorated cake in the refrigerator for a bit to allow the frosting to set properly. However, serve the cake at room temperature for the best flavor and texture. Slice it up and watch your guests’ delight as they dive into this spooktacular treat!
Freaky Finger Red Velvet Cake Variations
Feel free to get creative with your spooky dessert and make it uniquely yours!
-
Dairy-Free: Substitute the cream cheese frosting with a vegan cream cheese or coconut whipped cream for a plant-based version.
-
Gluten-Free: Swap out the plain flour with a 1:1 gluten-free flour blend. This way, everyone can enjoy the spooky fun!
-
Spicy Kick: Add a pinch of cayenne pepper to the cake batter for a surprising heat that enhances the chocolate flavor—it's a delightful twist!
-
Citrus Burst: Mix 1-2 teaspoons of orange or lemon zest into the cake batter. The citrus notes will brighten up the rich flavors beautifully.
-
Nutty Crunch: Fold in half a cup of chopped walnuts or pecans to the cake batter for a satisfying texture that adds a nutty flavor.
-
Color Swap: Experiment with different food colorings! Green or purple shades can transform the cake for other spooky occasions or themed parties—imagine a Halloween party with a vibrant twist!
-
Extended Decoration: Instead of just chocolate fingers, use gummy worms or Halloween-themed sprinkles to embellish the cake. This adds a fun, festive touch and extra flavor.
-
Serving Suggestion: Pair a slice with a scoop of vanilla ice cream or a drizzle of warm chocolate sauce. It's the ultimate treat, reminiscent of our delightful Chocolate Poke Cake!
Feel free to mix and match these ideas to create an unforgettable Freaky Finger Red Velvet Cake that will be the talk of your Halloween gathering!
Tips for the Best Freaky Finger Red Velvet Cake
- Butter Temperature: Ensure your butter is softened to room temperature for easy creaming, which is vital for a fluffy cake texture.
- Don’t Overmix: After adding the dry ingredients, fold gently to avoid a dense cake. Overmixing can lead to tough results.
- Quality Cocoa: Use high-quality cocoa powder to enhance the chocolate flavor in your Freaky Finger Red Velvet Cake—it truly makes a difference!
- Chill the Frosting: Allow your cream cheese frosting to chill slightly before spreading; this helps achieve a smooth and stable finish.
- Thick Icing for Fingers: The red icing used to decorate the chocolate fingers should be thick to maintain their shape—nobody wants a droopy finger!
- Serving Temperature: For the best taste and texture, serve your cake at room temperature, allowing the flavors to shine through beautifully.
Make Ahead Options
These Freaky Finger Red Velvet Cakes are perfect for meal prep, significantly easing your Halloween dessert planning! You can bake the cake layers up to 3 days in advance; just ensure they’re completely cooled before wrapping them tightly in plastic wrap and refrigerating to maintain moisture. The cream cheese frosting can also be prepared up to 24 hours ahead; simply keep it chilled in an airtight container until you’re ready to use it. Lastly, assemble and decorate the cake on the day of serving for freshness and visual appeal. When ready to serve, frost the cake and add the chocolate fingers, allowing for a magical dessert presentation that is just as delicious as if made the same day!
What to Serve with Spooky Freaky Finger Red Velvet Cake
Elevate your Halloween gathering with delightful accompaniments that will complement this visually stunning cake and enhance the festive spirit.
- Vanilla Ice Cream: The creamy, cool texture of vanilla ice cream balances the richness of the cake, creating a delicious contrast.
- Whipped Cream with Sprinkles: A light dollop of whipped cream adorned with colorful Halloween-themed sprinkles adds a festive touch and extra sweetness.
- Caramel Sauce: Drizzling warm caramel over each slice provides a decadent flavor that harmonizes beautifully with the chocolate notes of the cake.
- Pumpkin Spice Latte: The spiced flavors of this fall favorite bring warmth and coziness, perfect for sipping alongside your spooky dessert.
- Ghoulish Fruit Salad: A mix of fresh fruits like orange slices and blackberries makes a refreshing side, offering a delightful contrast to the cake's richness.
- Chocolate Chip Cookies: For an extra treat, bake up some soft chocolate chip cookies; their cookie dough comfort pairs wonderfully with the cake's textures.
- Spiced Apple Cider: This warm beverage not only celebrates the season but also complements the flavors of your cake with a warming note.
- Creepy Cupcakes: Bake some Halloween-themed cupcakes to create a dessert spread that’s both fun and alluring—great for the little ones!
How to Store and Freeze Freaky Finger Red Velvet Cake
Fridge: Store your cake in an airtight container for up to 3 days to keep it fresh and moist. Ensure it’s covered to prevent it from absorbing any odors.
Freezer: For longer storage, freeze slices wrapped tightly in plastic wrap and aluminum foil for up to 2 months. Thaw in the fridge before serving for the best texture and flavor.
Reheating: If you prefer your cake warm, gently reheat individual slices in the microwave for about 10-15 seconds, ensuring they don't become dry.
Serving: Best served at room temperature, allow the cake to sit out for about 30 minutes before indulging in the marvelous layers of your Freaky Finger Red Velvet Cake!

Freaky Finger Red Velvet Cake Recipe FAQs
How should I select the right red food coloring?
Absolutely! For the richest and most vibrant hue, I recommend using gel or paste food coloring instead of liquid. Gel coloring provides more intense color without adding extra liquid to your batter, which is essential for creating the iconic look of the Freaky Finger Red Velvet Cake. Look for brands that specifically label their products as 'red velvet' coloring for the best results.
What is the best way to store leftovers of this cake?
After enjoying your delicious dessert, you can store the cake in an airtight container in the refrigerator for up to 3 days. Make sure to cover it well to maintain its moisture and flavor. If you find you have more cake than you can eat, you can freeze it for future enjoyment!
Can I freeze slices of the Freaky Finger Red Velvet Cake?
Certainly! To freeze, wrap individual slices tightly in plastic wrap, followed by a layer of aluminum foil for extra protection. You can keep them in the freezer for up to 2 months. When you're ready to enjoy, simply thaw the slices overnight in the fridge before serving.
What do I do if the cake doesn’t rise properly?
If your cake doesn’t rise, it could be due to expired leavening agents or overmixing the batter. Always check the expiration date on your baking powder and bicarbonate of soda, as they need to be fresh to work effectively. When mixing, gently fold in the dry ingredients and avoid overmixing, which can lead to a dense cake.
Are there any dietary considerations with this recipe?
Great question! Since this recipe contains dairy and gluten, those with allergies should be cautious. You can substitute the regular butter with vegan margarine and use a dairy-free cream cheese for a non-dairy option. For gluten-free needs, swap the plain flour with a gluten-free flour blend while ensuring that all other ingredients are also free from gluten to keep it safe for those with dietary restrictions.
Freaky Finger Red Velvet Cake that's Spookily Delicious
Ingredients
Equipment
Method
- Preheat your oven to 180°C (160°C fan) or gas mark 4. Grease and line two 20cm sandwich tins with parchment paper.
- Cream together the butter and sugar until light and fluffy, then add vanilla and eggs one at a time.
- Add red food coloring to the mixture, ensuring it is well combined.
- Sift dry ingredients together and fold into the wet mixture alternately with the yogurt.
- Divide the batter between the tins and bake for about 25 minutes, then cool for 10 minutes in the tins before transferring to a wire rack.
- Prepare the chocolate fingers by cutting the ends for decoration.
- Make the red icing by mixing icing sugar with milk and red food coloring.
- Beat cream cheese until smooth, add optional zest and icing sugar, then chill slightly.
- Assemble the cake with cream cheese frosting between layers and around the sides.
- Decorate with chocolate fingers and use the red icing to secure them in place.
- Chill the cake to set the frosting and serve at room temperature.


Leave a Reply