
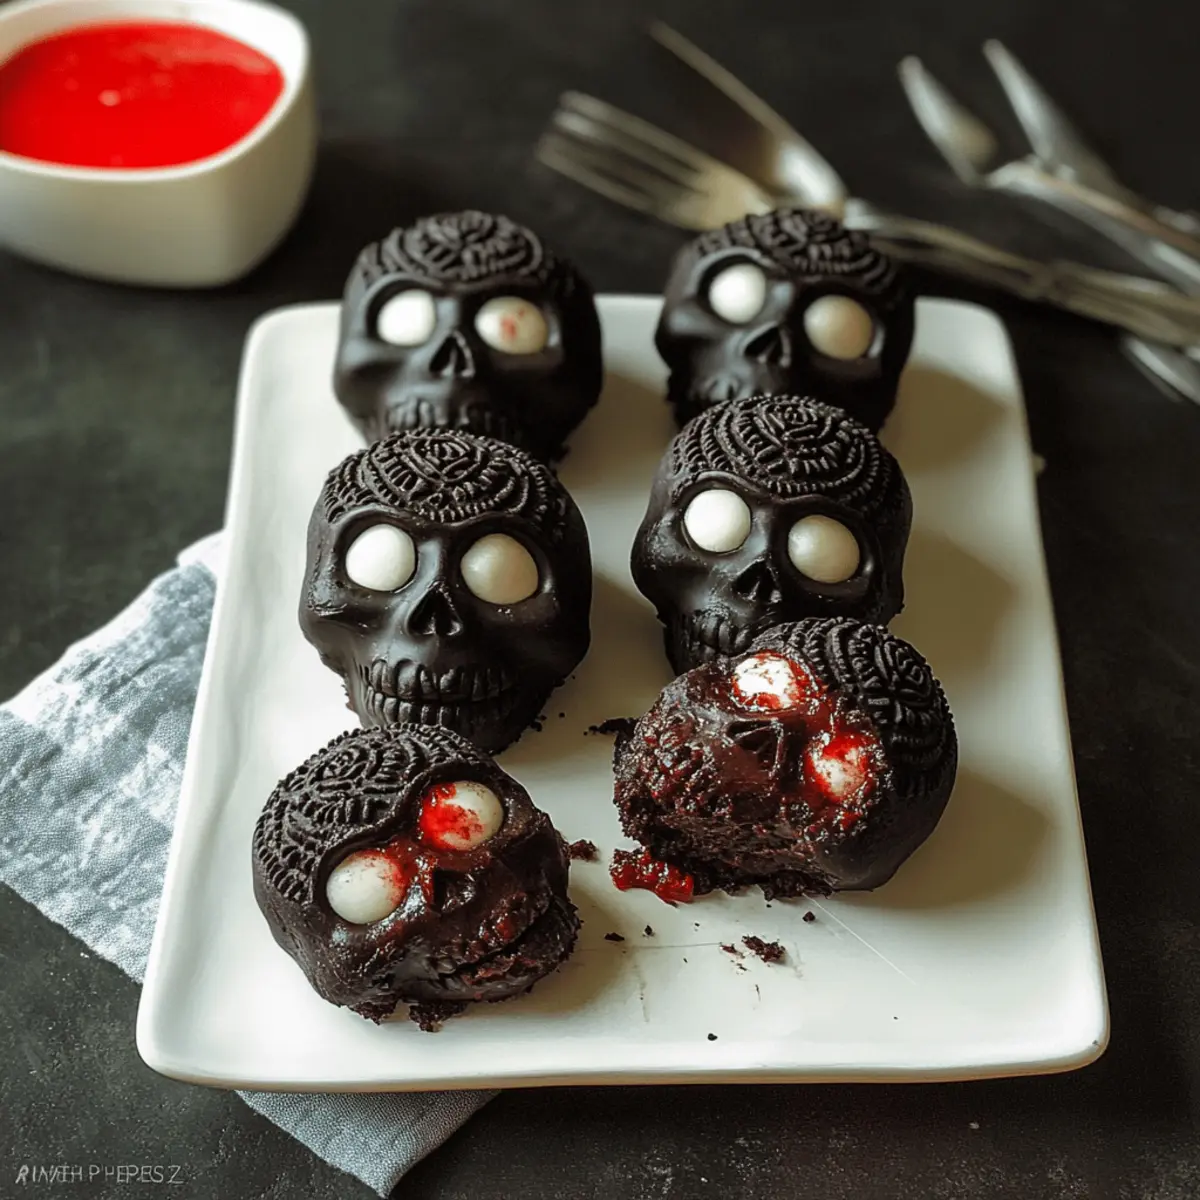
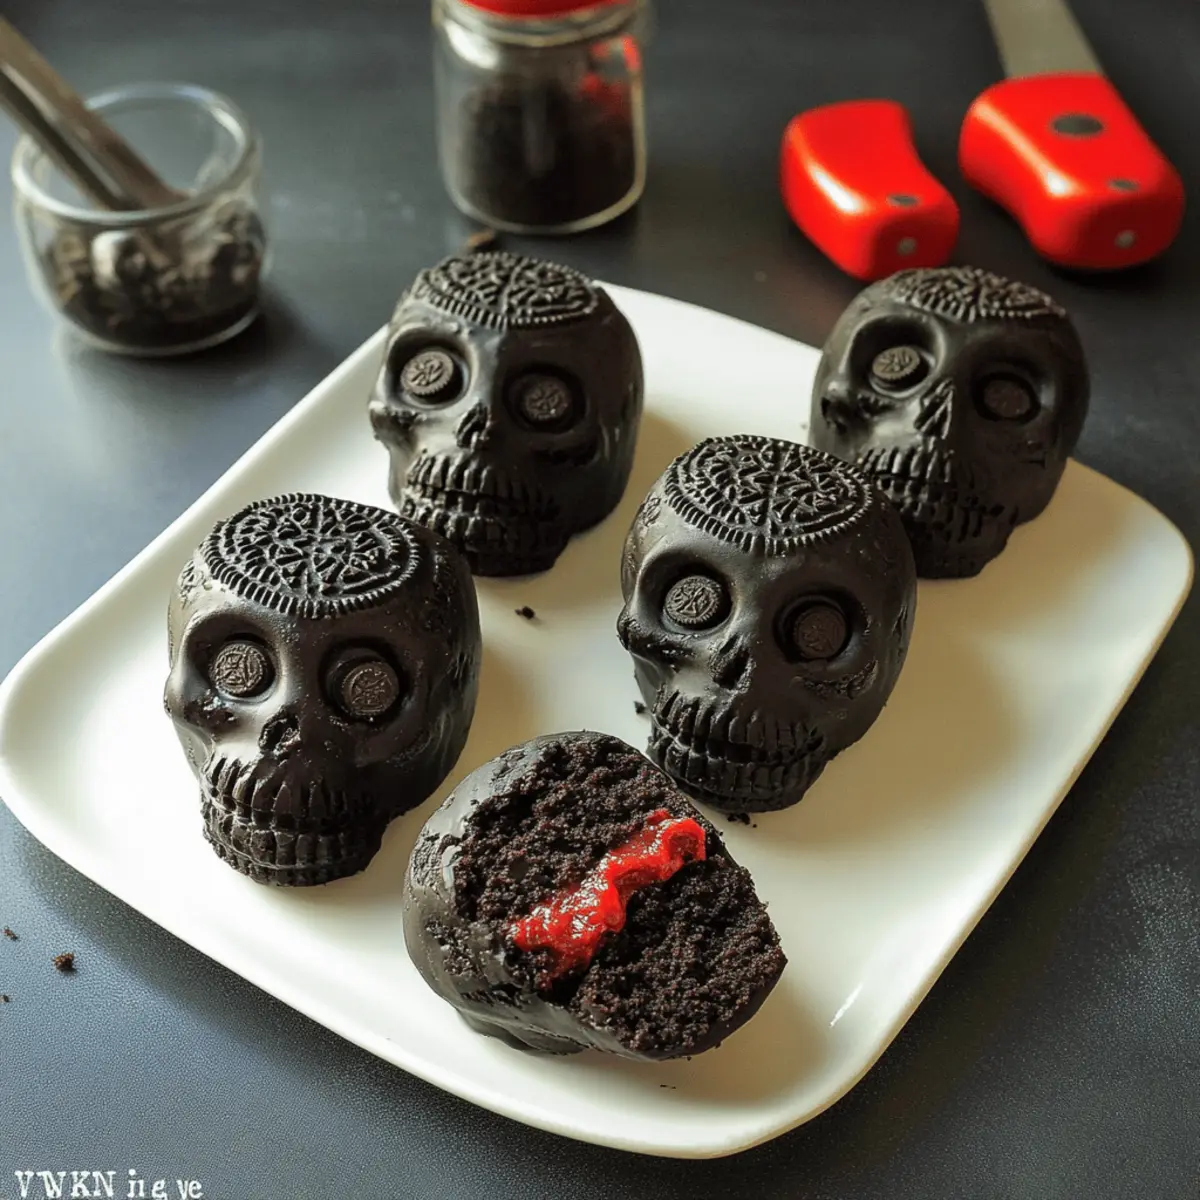
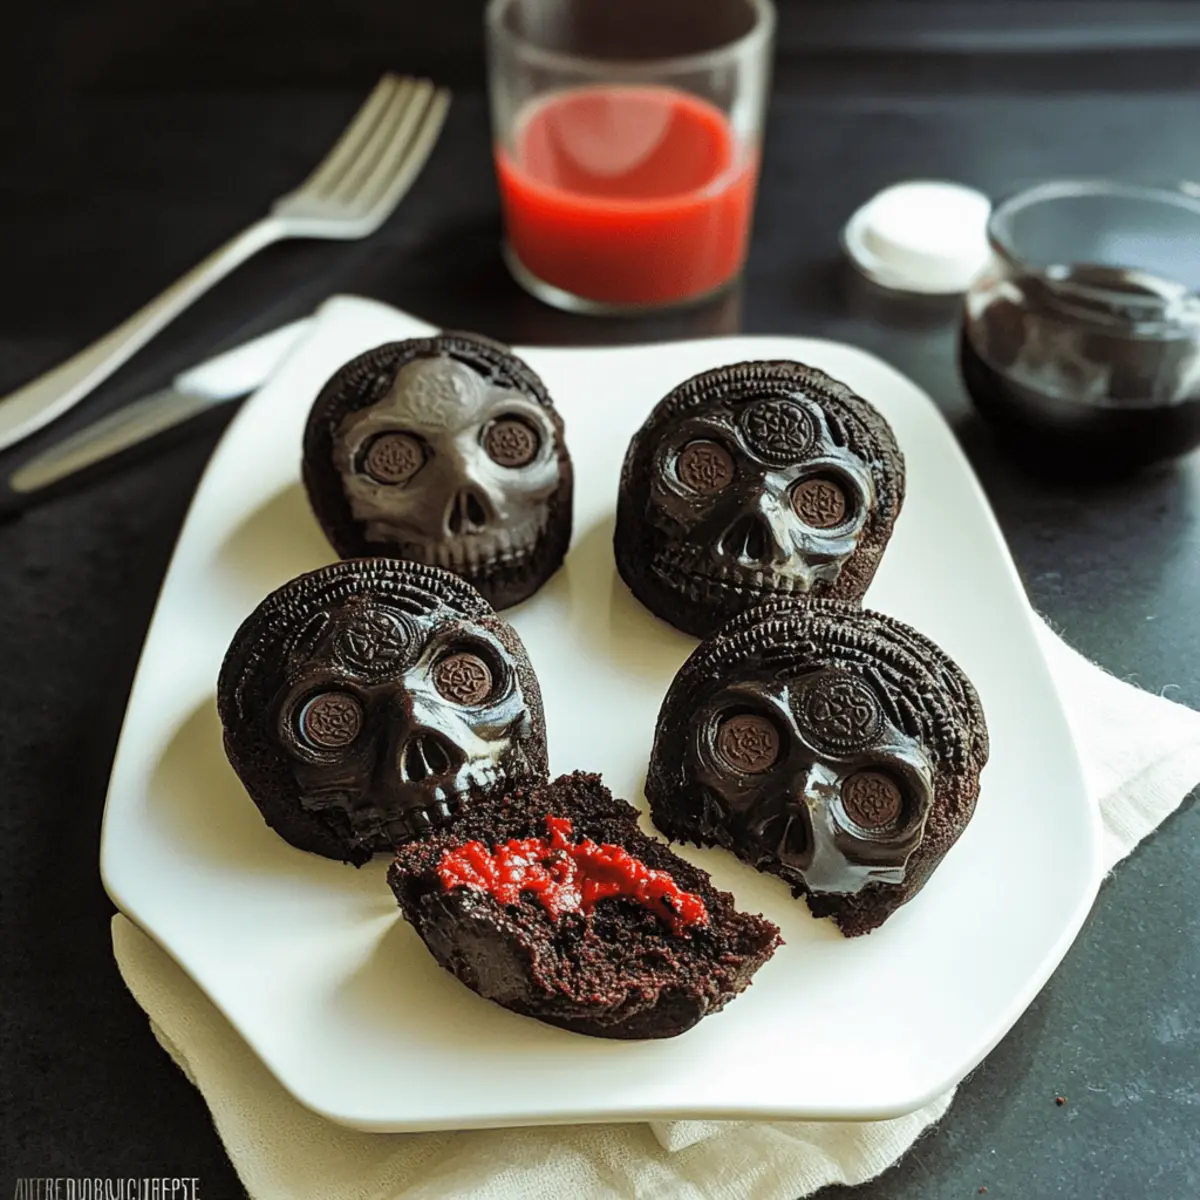
As the clock strikes October, the air fills with the scent of cinnamon, pumpkin spice, and a hint of mischief. This spooktacular time of year calls for special treats, and nothing captures the Halloween spirit quite like these Dark Chocolate Oreo Mini Skull Cakes. With their charmingly eerie shape and a delectable blend of rich chocolate and crushed Oreos, they're perfect for any festive gathering. These bite-sized delights are not only a fun way to show off your culinary skills but also offer a quick prep time, making them a go-to dessert for busy ghouls and boys. So, whether you're hosting a Halloween bash or simply indulging in seasonal sweetness, these mini cakes are sure to wow your guests! Are you ready to whip up a batch of these devilishly delightful treats?
Why Choose Dark Chocolate Oreo Mini Skulls?
Irresistible seasonal treat: These mini cakes are a festive way to embrace Halloween, combining spookiness with deliciousness.
Easy to make: With simple ingredients and straightforward steps, anyone can whip up these treats, even if you're a kitchen novice!
Flavor explosion: The rich dark chocolate paired with crunchy Oreos creates a satisfying taste that will leave everyone craving more.
Customizable fun: Switch up the Oreos or decorations to create your unique spin. For some inspiration, consider variations like those in our German Chocolate Poke recipe!
Guaranteed crowd-pleaser: Kids and adults alike will adore these tasty, creepy desserts, making them perfect for parties or family gatherings.
Quick prep and bake: Save time in the kitchen while impressing your guests with these delightful, bite-sized delights. Get ready to indulge!
Dark Chocolate Oreo Mini Skull Cakes Ingredients
For the Cake
- Strong Hot Coffee – Enhances the chocolate flavor, adding depth; substitute with hot water if you prefer no caffeine.
- Dutch Process Cocoa Powder – Provides a rich, chocolatey taste; can be substituted with regular cocoa powder if needed.
- Sugar – Sweetens the cake, balancing the bitterness of the cocoa; no alternative suggested.
- Kosher Salt – Enhances flavors in the cake; feel free to use standard table salt as a substitute.
- Baking Soda – Provides leavening for a fluffy texture; no substitute suggested.
- Whole Eggs & Egg Yolk – Bind and enrich the batter; flax eggs work as a vegan alternative.
- Buttermilk – Adds moisture and tenderness; replace with 1 cup of milk mixed with vinegar for a DIY version.
- Peanut Oil or Neutral Vegetable Oil – Keeps the cake moist and tender; can be swapped with canola or sunflower oil.
- Vanilla Extract – Adds aromatic flavor; no alternative suggested.
- All-Purpose Flour – Provides structure to the cake; substitute with a gluten-free blend for those with dietary restrictions.
- Crushed Oreos – Essential for texture and flavor; avoid using boxed crumbs for best results.
For the Glaze
- Powdered Sugar – Forms the base of the glaze, creating a sweet finish.
- Milk – Helps achieve the right consistency for the glaze; adjust for thickness as desired.
- Vanilla Extract – Enhances the flavor of the glaze; consider using clear vanilla for a pure white finish.
These Dark Chocolate Oreo Mini Skull Cakes are sure to bring festive cheer to your Halloween celebrations!
Step‑by‑Step Instructions for Dark Chocolate Oreo Mini Skull Cakes
Step 1: Preheat and Prepare the Pan
Begin by preheating your oven to 350°F (175°C). While the oven warms up, grab your skull cakelet pan and generously coat it with softened butter, ensuring that all crevices are well-covered. Dust the pan with cocoa powder to prevent sticking, and set it aside while you prepare the cake batter.
Step 2: Combine Coffee and Cocoa
In a mixing bowl, whisk together strong hot coffee and Dutch process cocoa powder until smooth and combined. Let this rich mixture sit for a moment to cool slightly, as it will enhance the chocolate flavor of your Dark Chocolate Oreo Mini Skull Cakes and give them a decadent depth.
Step 3: Mix Wet Ingredients
In the bowl of a stand mixer, combine sugar, kosher salt, baking soda, whole eggs, and egg yolk. Beat on medium speed for about one minute until the mixture is smooth and slightly frothy. Next, add in the buttermilk, peanut oil, and vanilla extract, mixing for an additional minute until fully incorporated.
Step 4: Incorporate Dry Ingredients
Gradually add all-purpose flour to the wet mixture, mixing until just combined, about two minutes. The batter will start to thicken, showcasing a rich, dark color. Then, slowly pour in the cocoa-coffee mixture while mixing for an additional three minutes or until the batter is smooth and homogeneous.
Step 5: Fold in Crushed Oreos
Gently fold in the crushed Oreos using a spatula or wooden spoon. Be cautious not to overmix; you want to maintain the lovely texture of the cookie pieces within the batter. This step adds both flavor and a delightful crunch to your Dark Chocolate Oreo Mini Skull Cakes.
Step 6: Fill the Pan and Bake
Carefully pour the batter into the prepared skull cakelet pan, filling each cavity about three-quarters full. Place the pan in the preheated oven and bake for 20 to 30 minutes. The cakes are done when a toothpick inserted into the center comes out clean or with a few moist crumbs.
Step 7: Cool the Cakes
Once baked, remove the pan from the oven and let it cool for at least 15 minutes. This cooling period allows the cakes to set properly. After cooling, gently invert the pan onto a wire cooling rack to release the mini skull cakes. Allow them to cool completely before glazing.
Step 8: Prepare the Glaze
In a medium bowl, whisk together powdered sugar, milk, and vanilla extract until the mixture is smooth and reaches your desired consistency. If it's too thick, add a little more milk; if too thin, incorporate more powdered sugar. This glaze is perfect for draping over your spooky Dark Chocolate Oreo Mini Skull Cakes.
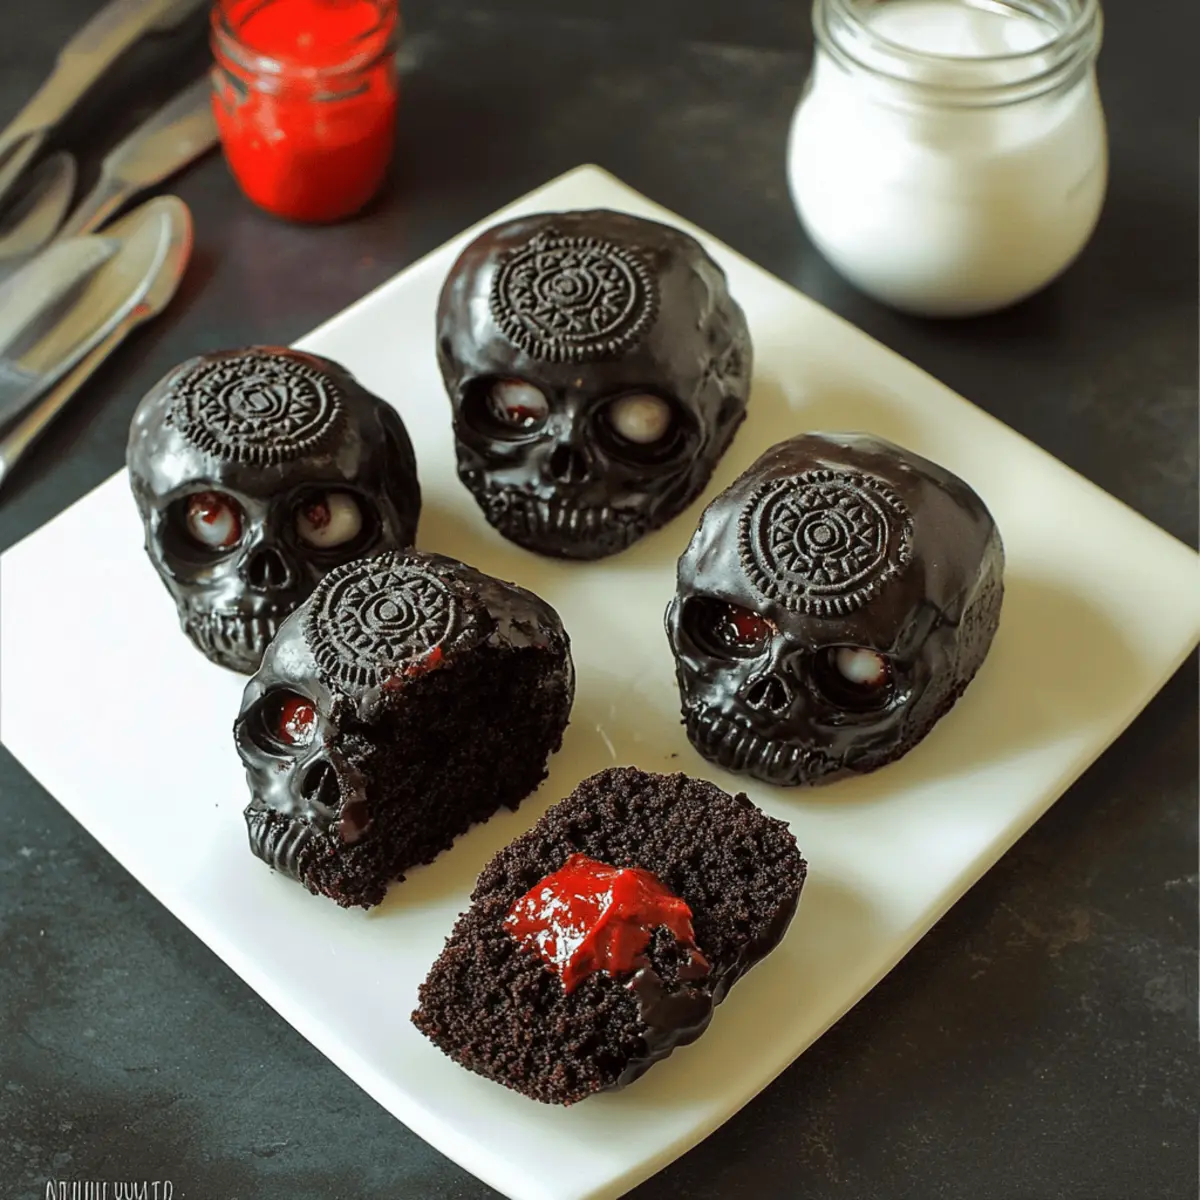
Step 9: Glaze the Cakes
Once the cakes have cooled completely, dip the top of each mini skull cake into the glaze, allowing the excess to drip off. Place them back on the wire rack and let the glaze set. For an extra festive touch, consider adding decorations like sprinkles or edible Halloween-themed elements before the glaze hardens.
Dark Chocolate Oreo Mini Skull Cakes Variations
Feel free to get creative and make these delightful mini cakes your own with these fun variations!
-
Nut-Free: Swap peanut oil for coconut oil or use any neutral vegetable oil to keep it nut-free.
Coconut oil adds a hint of tropical flavor, making it a scrumptious alternative for those avoiding nuts. -
Gluten-Free: Use a gluten-free flour blend instead of all-purpose flour for a gluten-friendly treat.
This option allows everyone to enjoy these festive delights without dietary restrictions. -
Vegan-Friendly: Replace eggs with flax eggs and buttermilk with plant-based milk plus a little vinegar.
These adjustments ensure all your guests can partake in the Halloween fun without compromising flavor! -
Minty Delight: Incorporate mint extract instead of vanilla for a refreshing twist on the classic flavor.
Mint pairs beautifully with chocolate and adds a ghostly coolness to each bite. -
Candy Crush: Replace crushed Oreos with other cookies or candies like crushed Butterfingers or Halloween candies.
This way, you can make each batch unique while keeping that delightful crunch. -
Spicy Kick: Add a pinch of cayenne pepper or chili powder to the batter for a surprising warmth.
The kick will intrigue your taste buds, adding an unexpected twist to the sweet chocolate flavors! -
Festive Decorations: Use your favorite Halloween-themed toppings like spooky sprinkles, or drizzle with colored frosting.
Transform the mini skull cakes into a graveyard scene with edible decorations for even more fun. -
Creative Glaze: Experiment with different flavored extracts like lemon or almond in the glaze for a new taste dimension.
This small change can turn your cakes into a completely different dessert experience, perfect for impressing guests.
With these variations, the possibilities are endless, allowing you to tailor your Dark Chocolate Oreo Mini Skull Cakes to any gathering or celebration. Who could resist trying these spooky treats alongside something seasonal, like a joyful cup of pumpkin spice latte? Happy baking!
Storage Tips for Dark Chocolate Oreo Mini Skull Cakes
-
Room Temperature: Store these mini skull cakes in an airtight container at room temperature for up to 3 days to keep them fresh and moist.
-
Fridge: If you're planning to enjoy them later, refrigerate for up to a week. Just make sure they are properly wrapped to prevent drying out.
-
Freezer: To extend their life, freeze the cakes in a single layer, covered in plastic wrap, for up to 3 months. Thaw in the fridge before serving for the best texture.
-
Reheating: If desired, gently warm in the microwave for 10-15 seconds to enhance the gooey chocolate flavor before serving.
What to Serve with Dark Chocolate Oreo Mini Skull Cakes?
Elevate your Halloween celebration by pairing these delicious mini treats with delightful sides and drinks that will enchant your guests.
-
Pumpkin Spice Lattes: The warm spices in these lattes complement the rich chocolate decadence, creating a cozy fall vibe. Perfect for sipping while enjoying your sweet treats!
-
Ghost-Shaped Marshmallows: These playful additions add a whimsical touch to your dessert table, making for a fun and festive presentation that both kids and adults will adore.
-
Crispy Caramel Apples: The sweetness and crunch of caramel apples offer a delightful contrast to the soft, gooey mini cakes, balancing flavors wonderfully and enhancing the Halloween spirit.
-
Chocolate Mousse: For a double chocolate experience, serve a light, velvety chocolate mousse alongside these skull cakes. It raises the dessert game and provides an elegant touch.
-
Cinnamon Sugar Donuts: The warm, sugary flavor profile harmonizes beautifully with the chocolate, creating a delightful treat that resonates with the season’s spirit.
-
Spiced Apple Cider: Hot or cold, this drink offers an aromatic bouquet that blends harmoniously with the chocolatey goodness, putting everyone in the Halloween mood.
Make your spooky gathering unforgettable by pairing these sides and drinks with your Dark Chocolate Oreo Mini Skull Cakes!
Make Ahead Options
These Dark Chocolate Oreo Mini Skull Cakes are perfect for busy home cooks looking to save time during Halloween festivities! You can prepare the batter up to 24 hours in advance and store it in an airtight container in the refrigerator. You can also bake the mini skull cakes ahead of time; simply cool them completely, then place in an airtight container, where they will stay fresh for up to 3 days. To ensure the cakes maintain their moisture and quality, avoid glazing until you're ready to serve. When it's time to enjoy, simply glaze and decorate your spooky treats for a delightful, hassle-free dessert that will wow your guests!
Expert Tips for Dark Chocolate Oreo Mini Skull Cakes
-
Cool Completely First: Make sure your cakes are completely cooled before glazing; this ensures the glaze adheres better and doesn’t slide off.
-
Proper Pan Preparation: Use softened butter to grease the skull cakelet pan adequately, along with cocoa powder, to prevent sticking and maintain the intricate details.
-
Avoid Overmixing: When folding in the crushed Oreos, mix gently to keep the delightful cookie texture intact in your Dark Chocolate Oreo Mini Skull Cakes.
-
Don’t Skip the Coffee: Strong hot coffee enhances the chocolate flavor, providing a rich depth. If avoiding caffeine, hot water works in a pinch.
-
Watch the Baking Time: Check for doneness around the 20-minute mark by inserting a toothpick. Overbaking can lead to dry cakes; aim for a few moist crumbs for the best texture.
-
Customize the Glaze: Adjust the thickness of the glaze to your liking by modifying the milk-to-powdered sugar ratio. A thicker glaze stays put better and gives a nice finish!
Dark Chocolate Oreo Mini Skull Cakes Recipe FAQs
How do I choose ripe ingredients for the Dark Chocolate Oreo Mini Skull Cakes?
Absolutely! For the best results, ensure the eggs are fresh and the buttermilk is within its use-by date. When selecting oils, opt for neutral-flavored options like peanut, canola, or sunflower oil to keep the cake's taste balanced. Fresh cocoa powder should be rich and aromatic, so check for freshness by smelling it.
What’s the best way to store leftover Dark Chocolate Oreo Mini Skull Cakes?
For optimal freshness, store your mini skull cakes in an airtight container at room temperature for up to 3 days. If you want them to last longer, place them in the refrigerator for up to a week—just ensure they’re wrapped well to prevent them from drying out.
Can I freeze Dark Chocolate Oreo Mini Skull Cakes?
Certainly! To freeze, first ensure the cakes are completely cooled, then wrap them individually in plastic wrap. Store them in a freezer-safe container or bag, and they’ll last for up to 3 months. When you’re ready to enjoy, simply thaw them in the refrigerator overnight and serve!
What if my cakes turn out dry?
If your Dark Chocolate Oreo Mini Skull Cakes are dry, it could be due to overbaking or not enough moisture in the batter. Always keep an eye on them during baking, checking around the 20-minute mark. Aim for a toothpick to come out with a few moist crumbs to ensure they stay nice and fluffy.
Are these cakes safe for people with allergies?
Good question! These cakes contain eggs and dairy, making them unsuitable for strict vegans or those with lactose intolerance unless alternatives are substituted (like flax eggs and plant-based milk). They also contain gluten due to the all-purpose flour, but you can easily swap in a gluten-free blend to cater to gluten sensitivities.
Can my pet share in the Halloween fun?
No, it's best to keep these spooky treats away from pets! The chocolate content is toxic to dogs and other pets, so make sure your furry friends stick to their own safe treats while you enjoy these delightful Dark Chocolate Oreo Mini Skull Cakes!
Dark Chocolate & Oreo Mini Skull Cakes for Spooky Treats
Ingredients
Equipment
Method
- Preheat your oven to 350°F (175°C) and prepare the skull cakelet pan with softened butter and cocoa powder.
- In a mixing bowl, whisk together strong hot coffee and cocoa powder until combined; let cool slightly.
- In a stand mixer, beat sugar, salt, baking soda, eggs, and egg yolk until smooth, then mix in buttermilk, oil, and vanilla.
- Gradually add flour to the mixture, then slowly incorporate the cocoa-coffee mix until smooth.
- Gently fold in crushed Oreos, ensuring not to overmix.
- Pour the batter into the pan, filling each cavity three-quarters full, and bake for 20-30 minutes until done.
- Cool the cakes in the pan for 15 minutes, then invert onto a wire rack to cool completely.
- Prepare the glaze by whisking together powdered sugar, milk, and vanilla to the desired consistency.
- Dip each cooled cake into the glaze, allowing excess to drip off and set on a wire rack.


Leave a Reply