
The moment I unwrapped those homemade Chocolate Truffles, a wave of nostalgia hit me. With just three simple ingredients, this recipe beckons with promises of velvety goodness and customizable delight. Whether you're preparing an indulgent treat for a cozy night in or surprising friends with a thoughtful gift, these truffles deliver on both taste and ease. They are not only incredibly quick to whip up but can also cater to various dietary preferences thanks to their adaptable ingredients. Imagine the joy of rolling these little bites of heaven in your favorite toppings, like crushed nuts or colorful sprinkles, making each batch uniquely yours. Ready to dive into a world of chocolatey bliss and creativity in the kitchen? Let’s get started!
Why are these truffles a must-try?
Simplicity at Its Best: With just three ingredients, these Chocolate Truffles are incredibly easy to make.
Customizable Delight: Tailor them to your taste by substituting the chocolate or toppings, whether you prefer vegan chocolate or a sprinkle of crushed nuts.
Crowd-Pleasing Treat: Perfect for gifting or celebrations, they’ll impress friends and family at any gathering.
Decadent Creaminess: Each truffle is rich and creamy, creating a luxurious experience that feels indulgent without a lot of effort—just wait until you try them with a side of Homemade Hot Chocolate!
Quick and Versatile: These truffles can be whipped up in no time, making them a go-to recipe for spontaneous cravings or events.
Chocolate Truffles Ingredients
For the Truffle Base
• Semi-Sweet Chocolate Chips – The star ingredient providing rich flavor and smooth texture; consider using vegan chocolate chips for a dairy-free option.
• Sweetened Condensed Milk (14 oz can) – This ingredient binds the truffles together and adds sweetness; opt for sweetened condensed coconut milk for a dairy-free twist.
For the Coating
• Walnut Pieces (¼ cup) – These offer a delightful nutty crunch; feel free to swap with chopped nuts, cocoa powder, or dried fruits for variety.
Enjoy crafting your own delicious Chocolate Truffles and don’t forget to experiment with toppings and variations to make them uniquely yours!
Step‑by‑Step Instructions for Chocolate Truffles
Step 1: Melt the Chocolate
In a microwave-safe bowl, combine 1 cup of semi-sweet chocolate chips. Heat in the microwave at 20-second intervals, stirring between each session until the chocolate is completely melted and smooth, which should take about 1-2 minutes. Be careful not to overheat, as burnt chocolate will lose its silky texture.
Step 2: Mix in Condensed Milk
Once your chocolate is melted, immediately stir in a 14 oz can of sweetened condensed milk. Mix thoroughly until the two ingredients are fully incorporated, creating a glossy mixture. The chocolate should look rich and creamy. Afterward, cover the bowl and refrigerate the mixture for at least 30 minutes, or until it firms up.
Step 3: Prepare Your Toppings
While the chocolate mixture is chilling, process ¼ cup of walnut pieces in a food processor until they resemble small crumbs. This crunchy coating will enhance your Chocolate Truffles, adding texture and flavor. Set the crushed walnuts aside for easy access once the chocolate base is ready.
Step 4: Shape the Truffles
After the mixture has cooled in the refrigerator, remove it and use a 1-ounce cookie scoop or your hands to portion out the chocolate dough. Roll each portion into a smooth ball, creating a uniform size for your truffles. The warmth from your hands will make this process easier, yielding a perfect round shape.
Step 5: Coat the Truffles
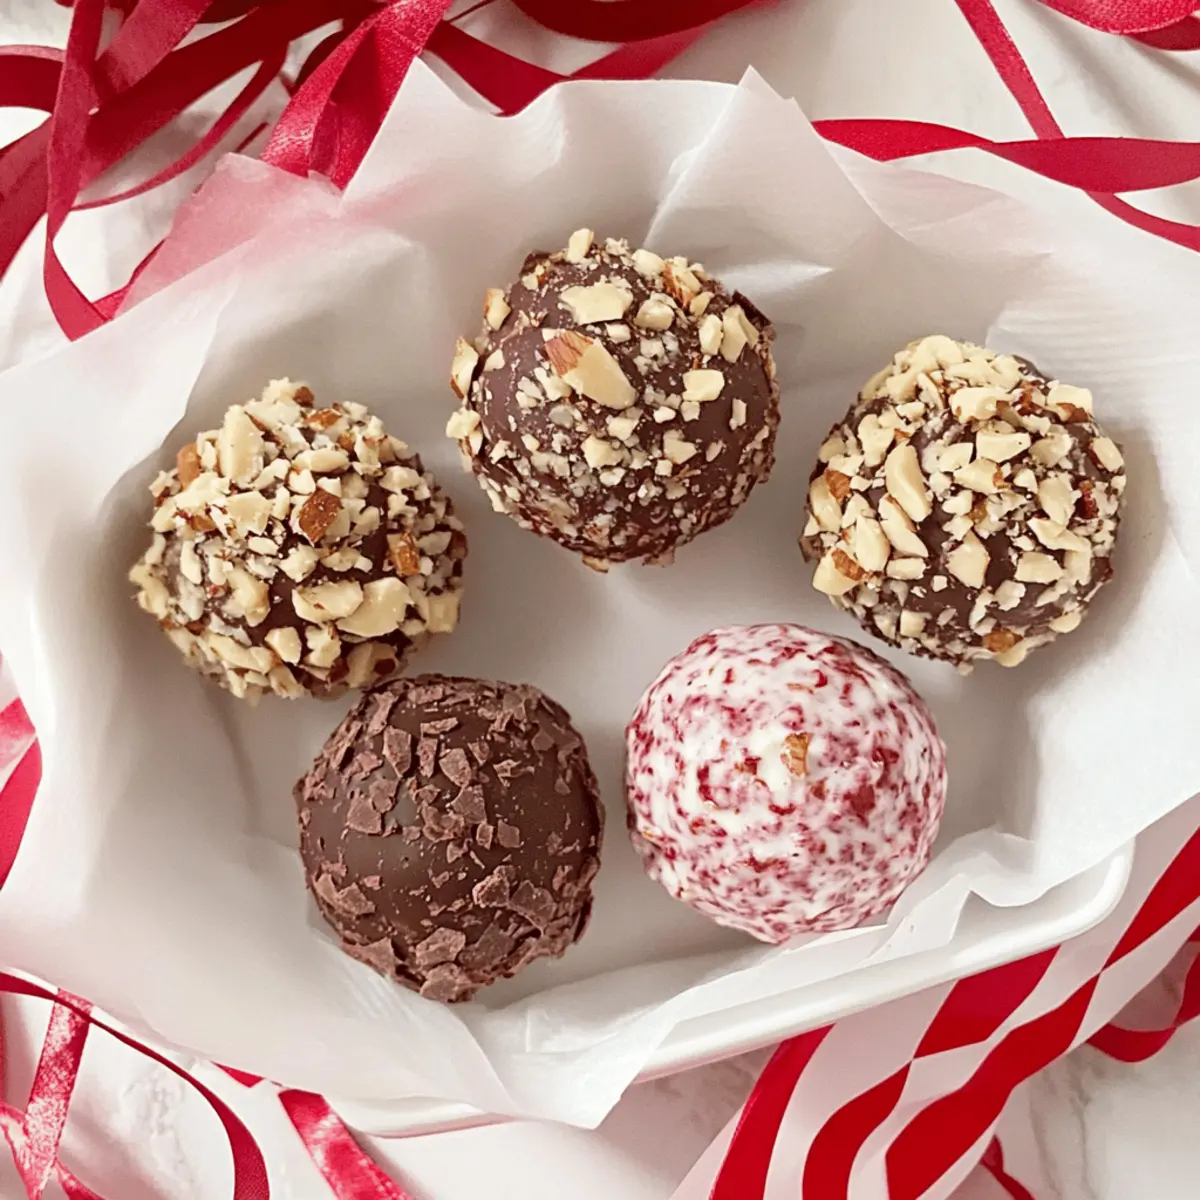
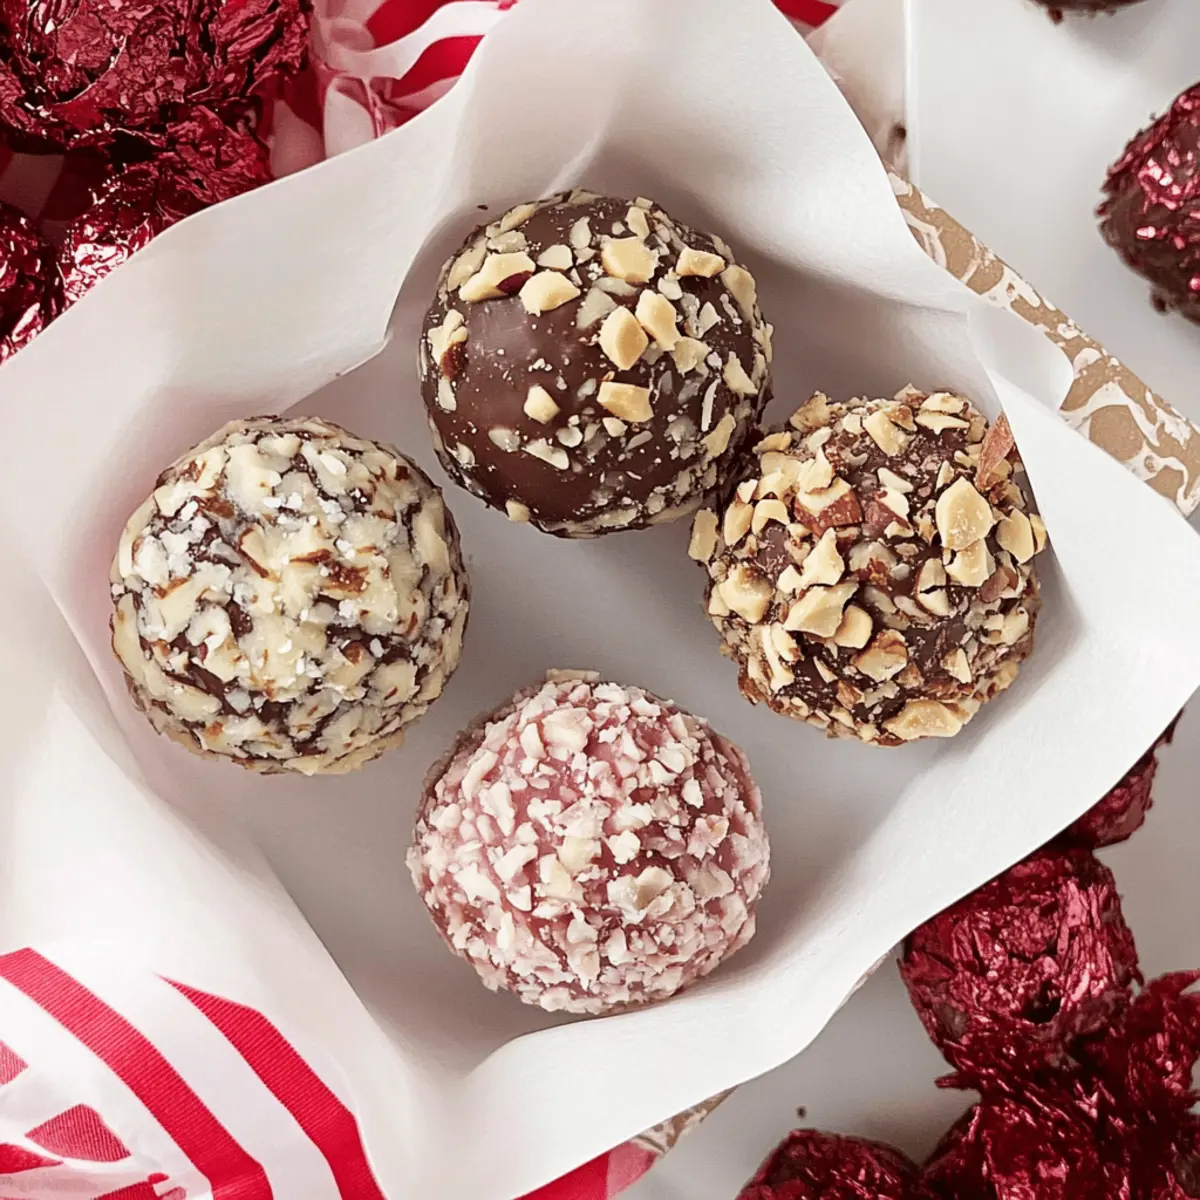
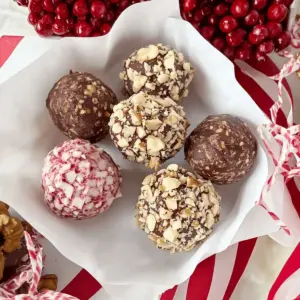
Next, gently roll each chocolate ball in the processed walnut crumbs until completely coated. Ensure that all sides are covered, allowing the truffles to gain that delightful crunchy texture. You can also have fun here by using different toppings like crushed nuts or cocoa powder if you prefer variety.
Step 6: Final Chill
Once all the truffles are rolled and coated, place them on a baking sheet lined with parchment paper. Refrigerate for an additional 15-20 minutes to set. They will firm up nicely, creating the ideal texture for your indulgent Chocolate Truffles. Once they are set, your homemade treats are ready to be shared or stored!

Expert Tips for Chocolate Truffles
• Choose Quality Chocolate: Using high-quality semi-sweet chocolate chips will elevate the flavor of your truffles significantly, making each bite a rich delight.
• Avoid Overheating: When melting the chocolate, be vigilant to avoid overheating. Stir frequently and choose shorter heating intervals to maintain a smooth texture for your Chocolate Truffles.
• Chill for Firmness: Refrigerate the chocolate mixture sufficiently before shaping. Chilling helps achieve the perfect consistency, allowing easy rolling into balls without sticking to your hands.
• Explore Toppings: Don’t hesitate to get creative with coatings! Try crushed cookies, colorful sprinkles, or shredded coconut for a fun twist on your Chocolate Truffles.
• Use Different Bindings: For a dairy-free option, substitute sweetened condensed milk with sweetened condensed coconut milk. This keeps the dessert delicious while accommodating dietary preferences.
• Keep Portions Consistent: Use a cookie scoop to ensure each truffle is the same size, allowing for even coating and a professional look that impresses everyone!
Make Ahead Options
These Chocolate Truffles are perfect for meal prep enthusiasts! You can mix the chocolate and sweetened condensed milk up to 24 hours in advance and refrigerate it until you’re ready to roll them into truffles. Additionally, if desired, you can prepare the walnut coating (or other toppings) ahead of time and store them in an airtight container for up to three days. Just remember to keep the mixture tightly covered in the refrigerator to maintain its rich flavor and creamy texture. When you’re ready to serve, simply scoop, roll, and coat the truffles as instructed, and you’ll have a delicious treat with minimal effort, ready to impress!
Chocolate Truffles Variations & Substitutions
Feel free to personalize these Chocolate Truffles, creating your own delightful versions that satisfy every sweet tooth!
-
Dairy-Free: Swap semi-sweet chocolate chips for vegan chocolate chips and sweetened condensed milk for sweetened condensed coconut milk.
-
White Chocolate Twist: Use white chocolate chips instead of semi-sweet for a creamy, sweet flavor that contrasts beautifully with the nutty coating.
-
Nut-Free Option: Replace walnuts with crushed graham crackers or cocoa powder to avoid allergens while maintaining a delightful crunch.
-
Flavor Infusion: Add a teaspoon of your favorite extract, such as mint or orange, to the chocolate mixture for an enhanced flavor experience.
-
Crunchy Alternatives: Roll the truffles in crushed pretzels or caramelized nuts instead of walnuts for a sweet-salty surprise!
-
Spicy Kick: For a bit of heat, sprinkle in a pinch of cayenne pepper or chili powder to the chocolate mixture before chilling.
-
Colorful Toppings: Experiment with fun coatings like colorful sprinkles or edible glitter to make your truffles festive and visually appealing. Picture a platter adorned with these beauties, just waiting for an eager crowd!
-
Fruit Fusion: Incorporate finely chopped dried fruits, such as cranberries or apricots, into the chocolate mix for a chewy, fruity surprise that adds a lovely burst of flavor.
Get creative and make these truffles your new go-to treat. For another delicious chocolatey delight, you might enjoy German Chocolate Poke or try incorporating some rich flavor into your adventures with Homemade Hot Chocolate!
What to Serve with 3-Ingredient Easy Chocolate Truffles
Indulge in a symphony of flavors by pairing these rich truffles with delightful accompaniments that elevate every bite.
-
Homemade Hot Chocolate: The ultimate pairing, this warm drink's chocolatey depth beautifully complements the truffles’ creamy sweetness.
-
Fresh Berries: Bright and tart, berries like raspberries or strawberries provide a refreshing contrast that balances the truffles’ richness. Their vibrant color also enhances the presentation.
-
Coffee or Espresso: The bold notes of coffee harmonize beautifully with the chocolate, enhancing the truffles’ complex flavors. Whether served hot or as an iced drink, it's a perfect match.
-
Whipped Cream: Light and airy, a dollop of freshly whipped cream adds a luscious texture that harmonizes with the truffles’ creamy ganache. Consider dusting with cocoa powder for a chic look.
-
Nutty Biscotti: Their crisp texture makes an enticing contrast, and the nutty flavors echo the walnut coating on the truffles, creating a delightful pairing.
-
Coconut Milk Ice Cream: This dairy-free dessert plays well with the chocolaty richness while offering a cool, creamy counterpoint. A scoop adds a delightful chill to your chocolate experience.
Enhance your Chocolate Truffles feast with these appetizing companions, ensuring a truly memorable dessert experience!
Storage Tips for Chocolate Truffles
Room Temperature: Store chocolate truffles in an airtight container at room temperature for up to 3-4 days, ensuring they remain fresh and flavorful.
Fridge: For extended freshness, keep the truffles in the fridge for up to 2 weeks. Just remember to let them sit at room temperature for a few minutes before enjoying for the best texture.
Freezer: If you want to save these delightful treats for later, freeze the truffles for up to 3 months. Place them in a single layer on a baking sheet until firm, then transfer to a freezer-safe bag or container.
Reheating: To thaw, simply transfer the frozen chocolate truffles to the fridge overnight before serving. This gentle thawing method retains their rich taste and decadent texture.
Chocolate Truffles Recipe FAQs
How do I choose the right chocolate for my truffles?
Absolutely! Selecting quality chocolate is key to delicious truffles. Look for semi-sweet chocolate chips with a cocoa percentage between 60-70% for rich flavor. If you want a dairy-free option, vegan chocolate chips are a great alternative. Always remember, the better the chocolate, the more indulgent your truffles will be!
How should I store leftover chocolate truffles?
For sure! Store chocolate truffles in an airtight container at room temperature for up to 3-4 days. If you want to keep them longer, refrigerate for up to 2 weeks. Just make sure to let them sit at room temperature for a few minutes before eating, as this helps them regain their texture.
Can I freeze chocolate truffles, and how do I do it?
Yes, definitely! To freeze chocolate truffles, place them in a single layer on a baking sheet until they are firm—this usually takes about 1-2 hours. Then, transfer the firm truffles to a freezer-safe bag or container, and they will keep well for up to 3 months. When you’re ready to enjoy them, simply thaw them overnight in the fridge.
What should I do if my chocolate mixture is too thick?
Not a problem! If your chocolate mixture thickens too much after chilling, gently stir in a teaspoon of warm milk or dairy-free alternative to loosen it. If you need to, you can also place it back in the microwave for a few seconds to achieve a smoother consistency. Just be cautious not to overheat!
Are there any allergy considerations with these truffles?
Very much so! This recipe typically contains chocolate and condensed milk, which can pose issues for individuals with dairy allergies. To accommodate dietary needs, opt for dairy-free chocolate and use sweetened condensed coconut milk. Always check labels for potential allergens, especially if serving to others.
Can I customize the flavors of my chocolate truffles?
The more the merrier! You can absolutely customize your chocolate truffles. Consider using white chocolate chips for a different taste or adding flavor extracts like vanilla or peppermint to the chocolate mixture. For toppings, get creative with crushed nuts, sprinkles, or even matcha powder for a unique twist!

Irresistible Chocolate Truffles - 3 Ingredients of Pure Joy
Ingredients
Equipment
Method
- In a microwave-safe bowl, combine 1 cup of semi-sweet chocolate chips. Heat in the microwave at 20-second intervals, stirring until melted and smooth.
- Once your chocolate is melted, stir in the 14 oz can of sweetened condensed milk until fully incorporated.
- Process ¼ cup of walnut pieces in a food processor until they resemble small crumbs.
- Use a 1-ounce cookie scoop or your hands to portion out the chocolate dough and roll each into a smooth ball.
- Gently roll each chocolate ball in the processed walnut crumbs until completely coated.
- Place the truffles on a baking sheet lined with parchment paper and refrigerate for an additional 15-20 minutes to set.


Leave a Reply