
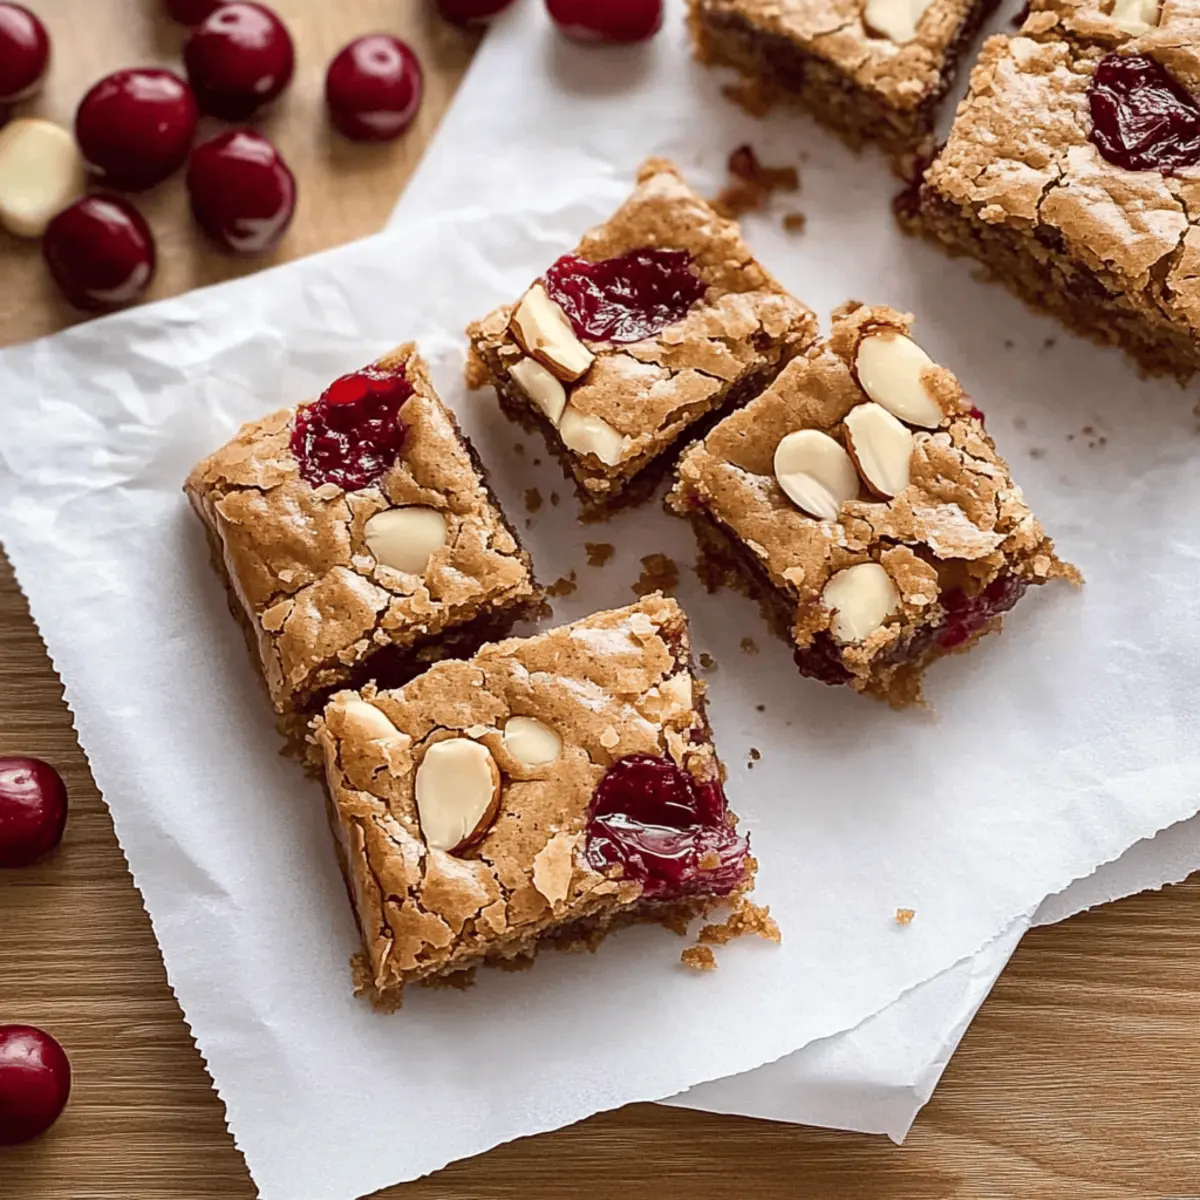
As I stood in my kitchen, the sweet aroma of browned butter wafted through the air, instantly whisking my thoughts to the cozy vibes of childhood baking. That's when I knew it was time to whip up a batch of Cherry Blondies with White Chocolate and Almonds. This simple recipe turns the classic dessert into a delightful experience, combining fudgy, chewy goodness with the sweet-tart zing of cherry pie filling. Plus, they come together in just 10 minutes of hands-on prep, making them a perfect choice for anyone looking to indulge in a homemade treat without the hassle. Whether you’re planning a gathering or just need a little something sweet for yourself, these budget-friendly bars are sure to hit the spot. Curious about how to make this easy dessert? Let’s dive right in!
Why are Cherry Blondies so irresistible?
Quick Prep Time: These blondies come together in just 10 minutes of hands-on time, making them a breeze for busy bakers.
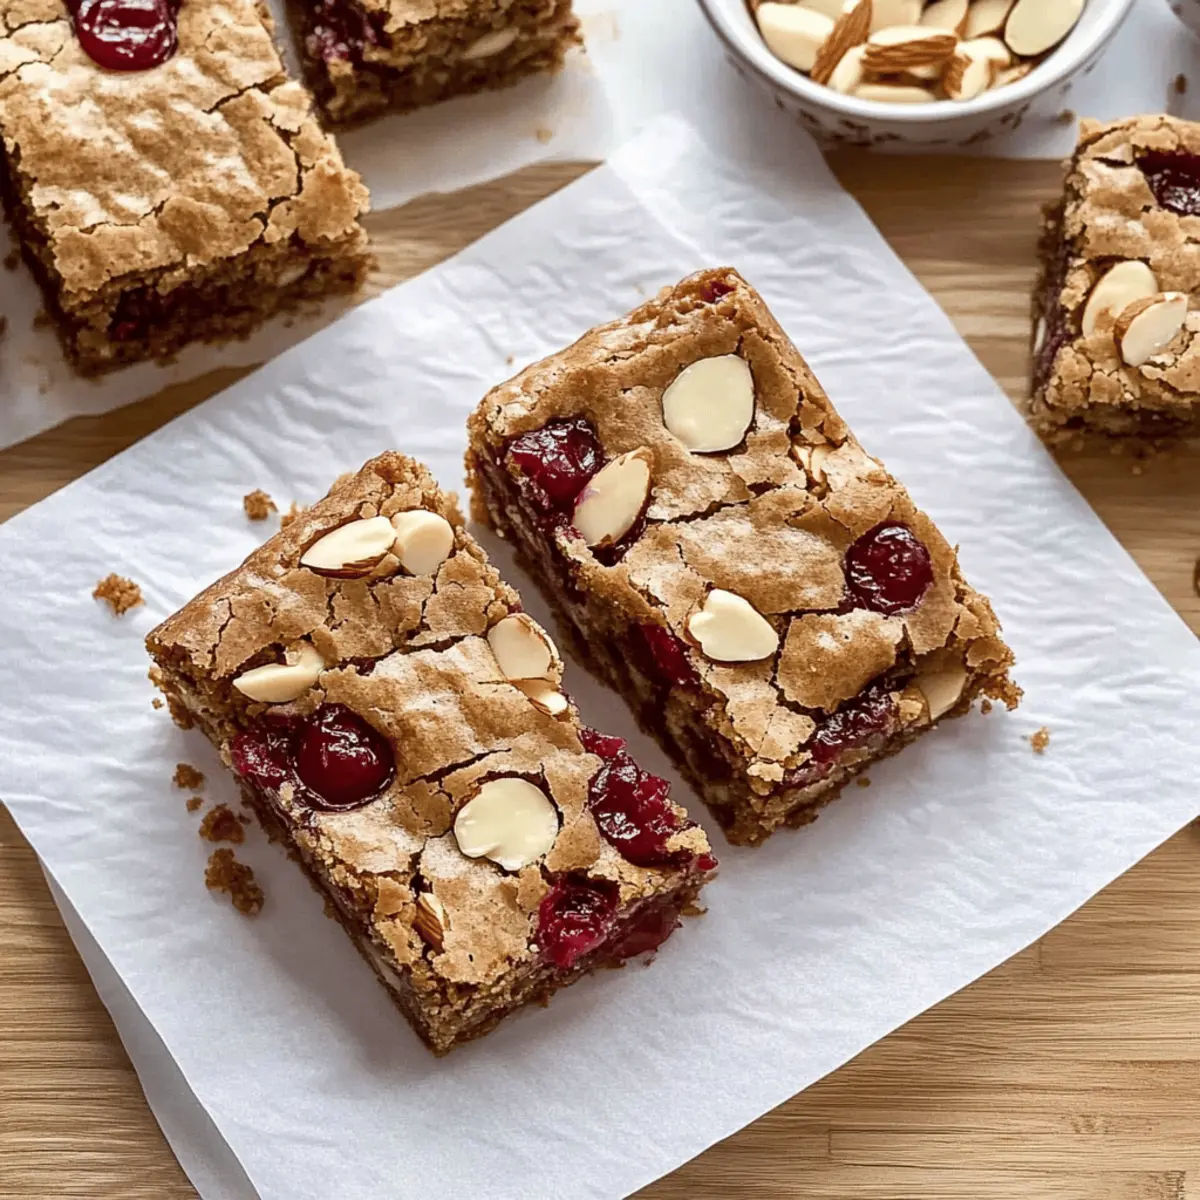
Fudgy Texture: The chewy, fudgy consistency resembles brownies, satisfying any dessert lover's cravings.
Flavorful Bite: With white chocolate and almond notes complementing the tangy cherry pie filling, each bite is a delightful explosion of flavor!
Versatile Treat: Customize with different fruits or nuts to keep things exciting, ensuring this recipe never gets old.
Crowd-Pleaser: Whether for a family gathering or a casual get-together, these Cherry Blondies will disappear in no time. And if you’re in the mood for another fruity dish, consider making a Chocolate Cherry Smoothie to round out your dessert repertoire.
Cherry Blondies Ingredients
• Note: Get ready to gather your ingredients for these Doughy Cherry Blondies.
For the Blondie Batter
- All-Purpose Flour – Provides structure; can be swapped with gluten-free flour for those with dietary restrictions.
- Baking Powder – Acts as a leavening agent to give the blondies a delightful rise; don’t substitute if using self-rising flour.
- Salt – Enhances all the flavors; feel free to reduce if you’re cutting back on sodium.
- Large Egg – Binds ingredients and adds moisture; a flax egg can replace it for a vegan version.
- Vanilla Extract – Infuses a warm flavor; always opt for pure vanilla extract for the best taste.
- Almond Extract – Adds a nutty aroma; use sparingly or omit if you'd like to keep it simple.
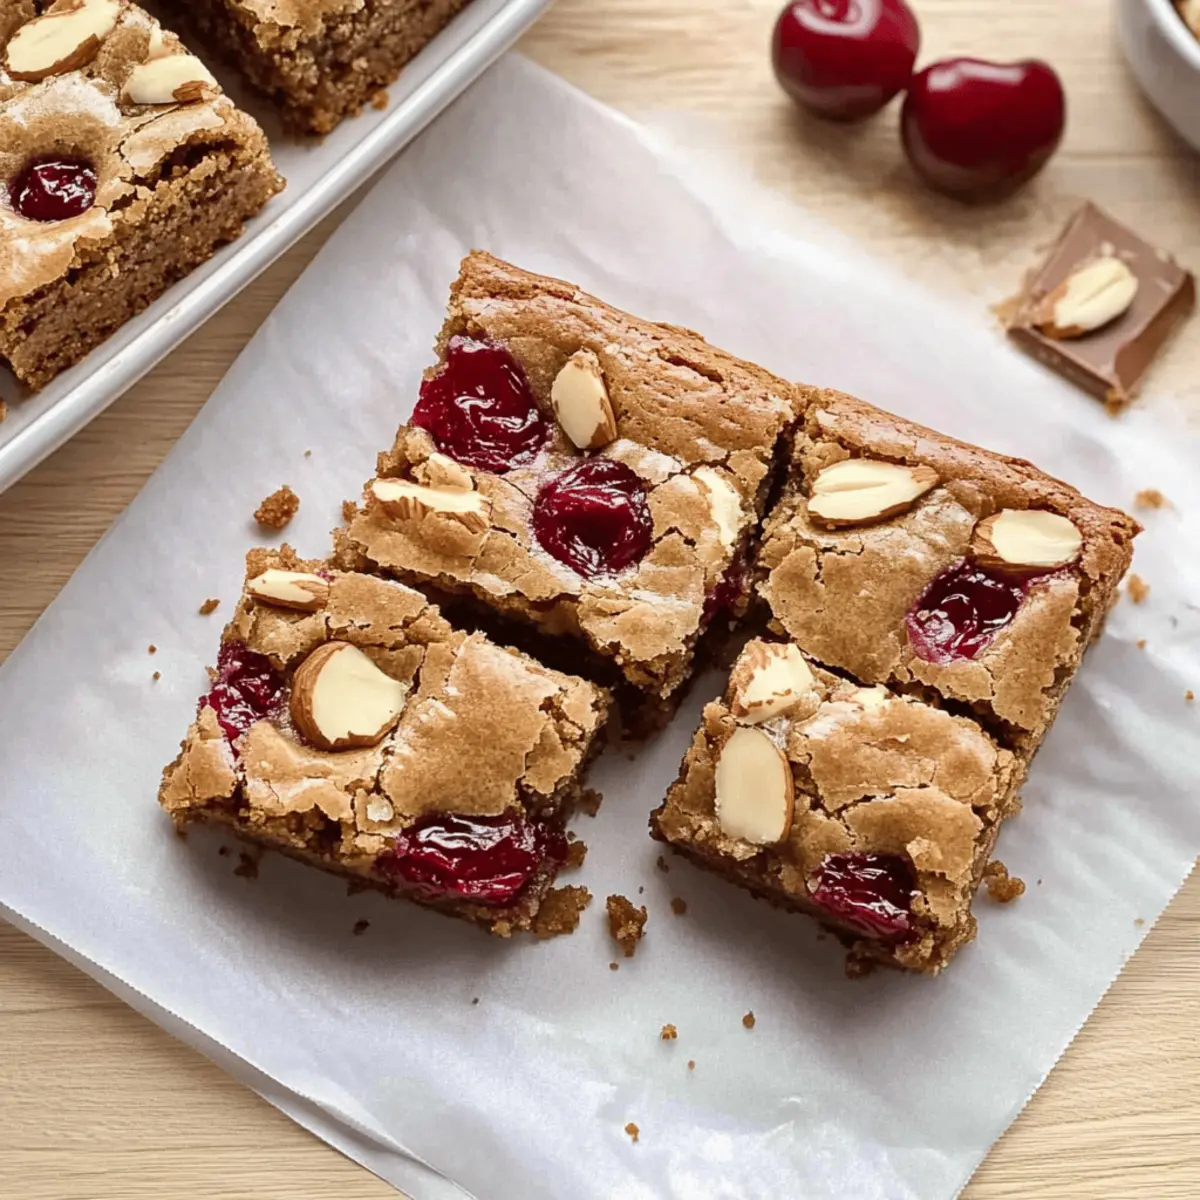
- Cherry Pie Filling – Provides that sweet-tart essence with zero fuss; fresh cherries work great, too—just dust them with cornstarch.
- Salted Butter – Brings richness and moisture; unsalted butter is fine if you prefer, just add a pinch of salt.
- Granulated Sugar – Helps sweeten and stabilize the texture; brown sugar can offer extra moisture if substituted.
- Brown Sugar – Enhances chewiness and adds depth; you can use either light or dark brown sugar interchangeably.
- White Chocolate Chips – Contributes sweetness and creaminess; you might swap them for dark or milk chocolate chips to change the flavor profile.
- Slivered Almonds – Provides a crunchy texture; feel free to use any nut or skip them for nut-free blondies.
These ingredients come together to create an unforgettable batch of Cherry Blondies that will keep your taste buds dancing!
Step‑by‑Step Instructions for Cherry Blondies
Step 1: Preheat and Prepare the Dish
Begin by preheating your oven to 350°F (175°C). While it warms, take an 8x8” baking dish and grease it lightly with butter or cooking spray. For easy removal later, line the bottom and sides with parchment paper, ensuring you leave some overhang. This little step will make serving your Cherry Blondies a breeze!
Step 2: Mix the Dry Ingredients
In a medium mixing bowl, whisk together 1¾ cups of all-purpose flour, ½ teaspoon of baking powder, and ¼ teaspoon of salt. Ensure the mixture is well combined, which will help your blondies rise perfectly in the oven. Set this bowl aside as you will incorporate it later into the moist ingredients.
Step 3: Combine the Wet Ingredients
In another bowl, whisk together 1 large egg, 1 teaspoon of vanilla extract, ½ teaspoon of almond extract, and ½ cup of cherry pie filling until blended. The cherry filling will add sweetness and moisture, enhancing the overall texture of your Cherry Blondies, so give it a good mix to incorporate everything smoothly.
Step 4: Brown the Butter
Now, take a medium saucepan over medium heat and melt 1½ sticks of salted butter, stirring continuously. Keep an eye on it as it melts for about 5-8 minutes; you want to achieve a golden brown color with a nutty aroma. This step is crucial as it will deepen the flavor of your Cherry Blondies.
Step 5: Combine Butter and Sugars
Once the butter is browned, remove it from heat and pour it into a mixing bowl. Add ½ cup of granulated sugar and 1 cup of brown sugar, whisking until well combined. The sugars will dissolve into the warm butter, creating a smooth, inviting mixture that’s perfect for your Cherry Blondies.
Step 6: Mix Everything Together
Next, add the wet cherry mixture from Step 3 into the butter-sugar combination, stirring until fully combined. Gradually add the flour mixture from Step 2, using a spatula to fold it in gently. Aim for a thick batter that showcases the delicious chunks of cherry and sweetness throughout.
Step 7: Fold in Chocolate and Nuts
Gently fold in ¼ cup of white chocolate chips and ¼ cup of slivered almonds into your batter until evenly distributed. This will introduce lovely pockets of sweetness and crunch in your Cherry Blondies. Once everything is well combined, pour the batter into your prepared baking dish, spreading it evenly across the surface.
Step 8: Bake the Blondies
Place the baking dish in the preheated oven and bake for 50-55 minutes. Keep an eye on them towards the end; you want a toothpick inserted into the center to come out clean, indicating that your Cherry Blondies are ready. The edges may look slightly golden, and the center will be set yet soft.
Step 9: Cool and Slice
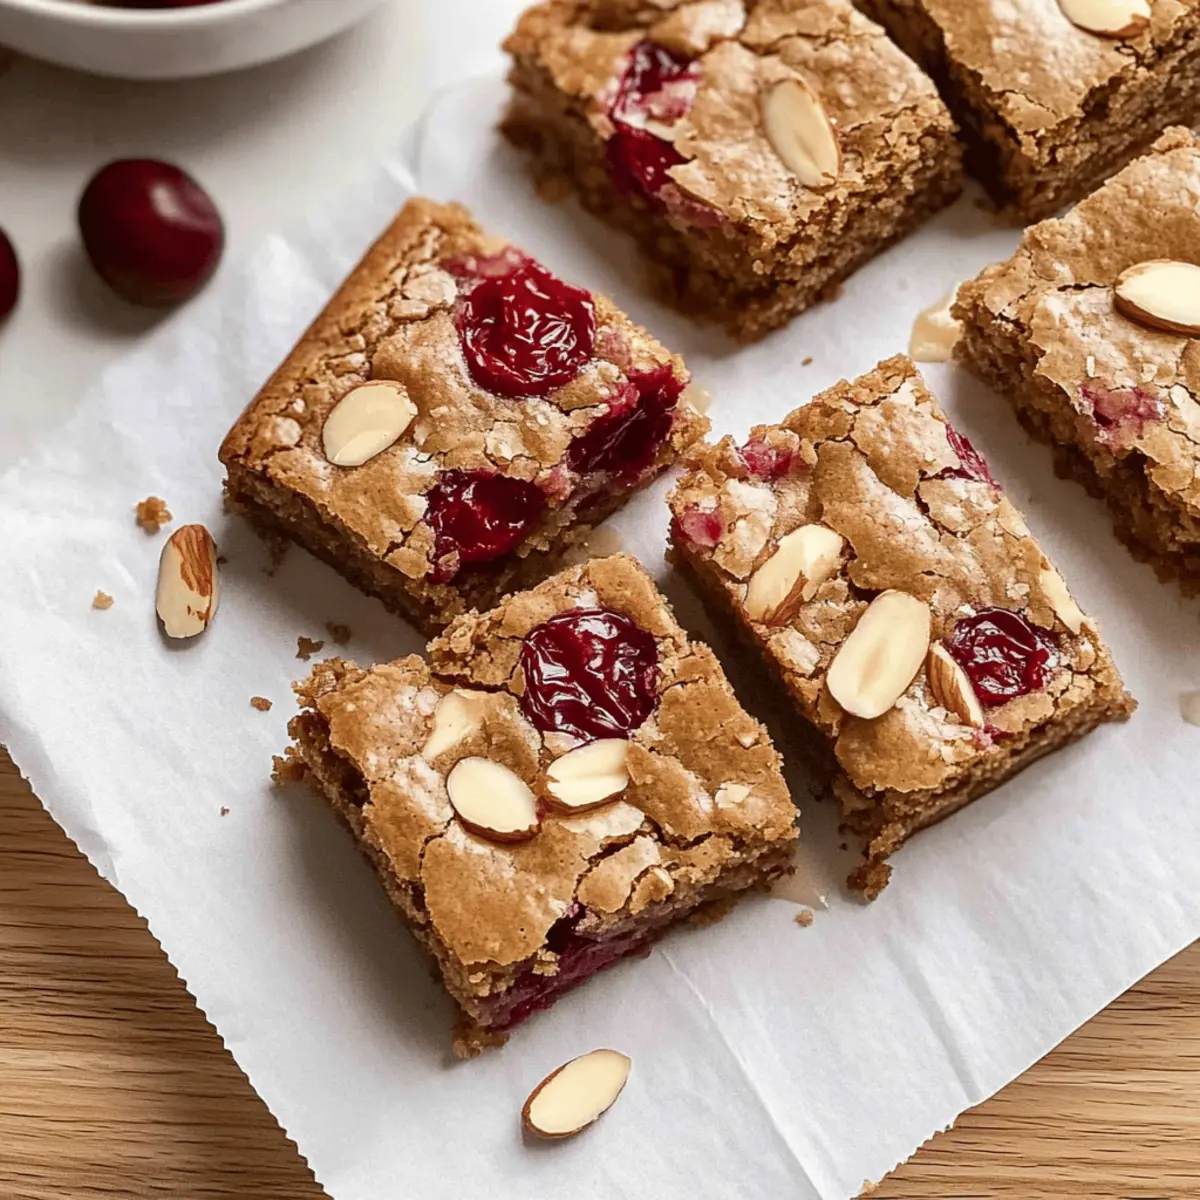
Once baked, remove your Cherry Blondies from the oven and let them cool in the pan for about 20 minutes. This helps them maintain their chewy texture. After cooling, use the parchment overhang to lift the blondies out of the pan, then slice them into 9 squares, revealing the gooey interior that pairs perfectly with the chewiness.
How to Store and Freeze Cherry Blondies
Fridge: Store your cooled Cherry Blondies in an airtight container for up to 3-4 days. This helps maintain their chewy texture while keeping them fresh and delightful.
Freezer: For longer storage, freeze the blondies by wrapping them individually in foil or parchment. They can last for up to 3 months, making it easy to have a sweet treat ready at any time.
Reheating: To enjoy your frozen Cherry Blondies, simply thaw them in the fridge overnight. Reheat in the microwave for a few seconds or warm in the oven for a couple of minutes to restore that fudgy goodness.
Grab-and-Go Treats: When storing, consider slicing them first for quick grab-and-go treats. This way, you can easily satisfy your sweet cravings any day!
What to Serve with Fudgy Cherry Blondies
Imagine sinking your teeth into a rich, fudgy blondie, and pairing it with delightful accompaniments that elevate the experience to heavenly.
-
Vanilla Ice Cream: The creamy sweetness of vanilla ice cream contrasts beautifully with the cherry tartness, creating a harmonious balance of flavors.
-
Whipped Cream: A dollop of whipped cream adds lightness and a delicate touch, enhancing the overall richness of your dessert. You can even sprinkle a little cinnamon or cocoa on top for an extra kick!
-
Fresh Berries: A side of fresh raspberries or blueberries provides a refreshing burst, complementing the cherry filling perfectly while adding a pop of color to your plate.
-
Chocolate Sauce: Drizzling warm chocolate sauce over each blondie intensifies the dessert's sweetness, inviting indulgence with every bite.
-
Coffee or Espresso: A warm cup of coffee or espresso pairs splendidly, the bold flavors cutting through the blondie's richness and prolonging the delightful experience.
-
Almond Milkshake: For a fun twist, blend almond milk, ice cream, and almond extract for an almond milkshake that echoes the nutty notes in the blondies.
-
Caramel Sauce: Drizzle melted caramel over your blondies for a decadent touch that introduces a luscious, buttery sweetness, making each bite even more dreamy.
-
Cheesecake Fluff: Serve a light, fluffy cheesecake dip on the side, bringing a tangy twist that pairs beautifully with the sweet, fudgy blondies.
Pairing each of these delightful sides with your Cherry Blondies can transform dessert time into a mood-lifting moment, perfect for sharing with family or savoring solo.
Make Ahead Options
These Cherry Blondies are perfect for meal prep enthusiasts looking to save time! You can prepare the blondie batter up to 24 hours in advance, storing it in an airtight container in the refrigerator. To maintain their delicious texture, be sure to cover the bowl tightly to prevent drying out. When you're ready to bake, simply follow Steps 8 and 9 of the recipe, pouring the chilled batter into the prepared baking dish and baking as instructed. This way, you'll have fresh, fudgy Cherry Blondies hot out of the oven, effortlessly ready to impress your family and friends! Enjoy the convenience without sacrificing flavor!
Expert Tips for Cherry Blondies
-
Butter Browning: Keep a close eye on the butter while browning to prevent it from burning; look for a nutty aroma and golden color.
-
Chewy vs. Cake-like: Remember, these Cherry Blondies are meant to be chewy, not cake-like. Don’t overbake for the perfect fudgy texture!
-
Cooling Time: Allow the blondies to cool in the pan for at least 20 minutes to set properly, ensuring easier slicing and that delightful gooeyness.
-
Storage Tips: Store your cooled Cherry Blondies in an airtight container in the fridge for up to 3-4 days, or freeze them for a delightful treat later on.
-
Ingredient Swaps: Feel free to experiment by substituting different nuts or fruits in the recipe; this keeps your Cherry Blondies exciting every time you make them!
Cherry Blondies Variations & Substitutions
Get ready to unleash your creativity in the kitchen! These delightful Cherry Blondies invite an array of tempting variations that will elevate your baking experience.
- Fruit Swap: Replace cherry pie filling with fresh blueberries or raspberries for a different fruity punch.
- Nuts Change: Use walnuts or pecans instead of slivered almonds for a new texture and flavor combination.
- Dairy-Free Delight: Substitute the butter with coconut oil and use dairy-free chocolate chips to create a vegan version.
- Flavor Burst: Add a tablespoon of orange or lemon zest to the batter for a refreshing citrus twist.
- Chocolate Lovers: Swap white chocolate chips for dark chocolate or milk chocolate chips to deepen that sweet richness.
- Gluten-Free Option: Utilize a gluten-free flour blend to make these scrumptious blondies accessible for gluten-sensitive friends.
- Caramel Drizzle: After baking, drizzle a homemade or store-bought caramel sauce on top for added sweetness and richness.
- Nut-Free: Omit the almonds entirely, or replace them with sunflower seeds for a nut-free treat that everyone can enjoy.
Remember, the possibilities are endless! Have fun experimenting with your own variations, and while you're at it, you might find inspiration for other delicious desserts like a warm slice of Cherry Clafoutis French or a refreshing Chocolate Cherry Smoothie. Enjoy your culinary journey!
Cherry Blondies Recipe FAQs
How do I select the best cherry pie filling?
When choosing cherry pie filling, look for a brand that uses whole cherries without too much added sugar. If you can find one with minimal preservatives, that’s even better! Alternatively, using fresh pitted cherries is delightful—just remember to coat them lightly in cornstarch to prevent excess moisture in the blondies.
What’s the best way to store Cherry Blondies?
Store your cooled Cherry Blondies in an airtight container in the fridge for up to 3-4 days. This will help maintain their soft, chewy texture while keeping them fresh. If you notice any dark spots or unusual odors, it’s best to discard them.
Can I freeze Cherry Blondies, and how?
Absolutely! To freeze your Cherry Blondies, wrap each square individually in foil or parchment paper before placing them in a freezer-safe bag or container. They can last up to 3 months in the freezer. When you're ready to enjoy them, simply thaw in the fridge overnight and heat in the microwave or oven for a few moments for that fresh-out-of-the-oven taste!
What should I do if my blondies are too dry?
If your Cherry Blondies turn out dry, it might be due to overbaking or using too much flour. To ensure a fudgier texture next time, follow the baking times closely and check for doneness using a toothpick—just a few moist crumbs will indicate they’re perfectly baked! Also, consider adding a bit more cherry filling for added moisture.
Are there any dietary restrictions with Cherry Blondies?
These Cherry Blondies can easily be made vegetarian and can be adjusted for vegan diets by using a flax egg and dairy-free butter. If you or your guests have nut allergies, simply omit the slivered almonds or replace them with seeds like sunflower or pumpkin seeds for added crunch without the risk!
Can I use different flavors or fruits in this recipe?
Very much! Feel free to swap the cherry pie filling for other fruits like blueberries or raspberries for a delightful twist. You can also mix and match nuts, using pecans or walnuts instead of slivered almonds. This versatility allows you to keep experimenting with different flavor profiles in each batch of Cherry Blondies while creating a new favorite!
Delicious Cherry Blondies: Easy Fudgy Treats for Everyone
Ingredients
Equipment
Method
- Preheat your oven to 350°F (175°C) and grease an 8x8” baking dish with butter or cooking spray. Line with parchment paper.
- In a bowl, whisk together the flour, baking powder, and salt. Set aside.
- In another bowl, whisk together the egg, vanilla extract, almond extract, and cherry pie filling until blended.
- Melt the butter in a saucepan over medium heat, stirring continuously until it turns golden brown.
- Remove from heat, combine with granulated sugar and brown sugar, whisking until smooth.
- Stir in the wet cherry mixture, then gradually fold in the flour mixture until combined.
- Fold in the white chocolate chips and slivered almonds, then pour the batter into the prepared dish.
- Bake for 50-55 minutes until a toothpick comes out clean. Edges should be slightly golden.
- Cool for about 20 minutes in the pan, then slice into 9 squares.


Leave a Reply