
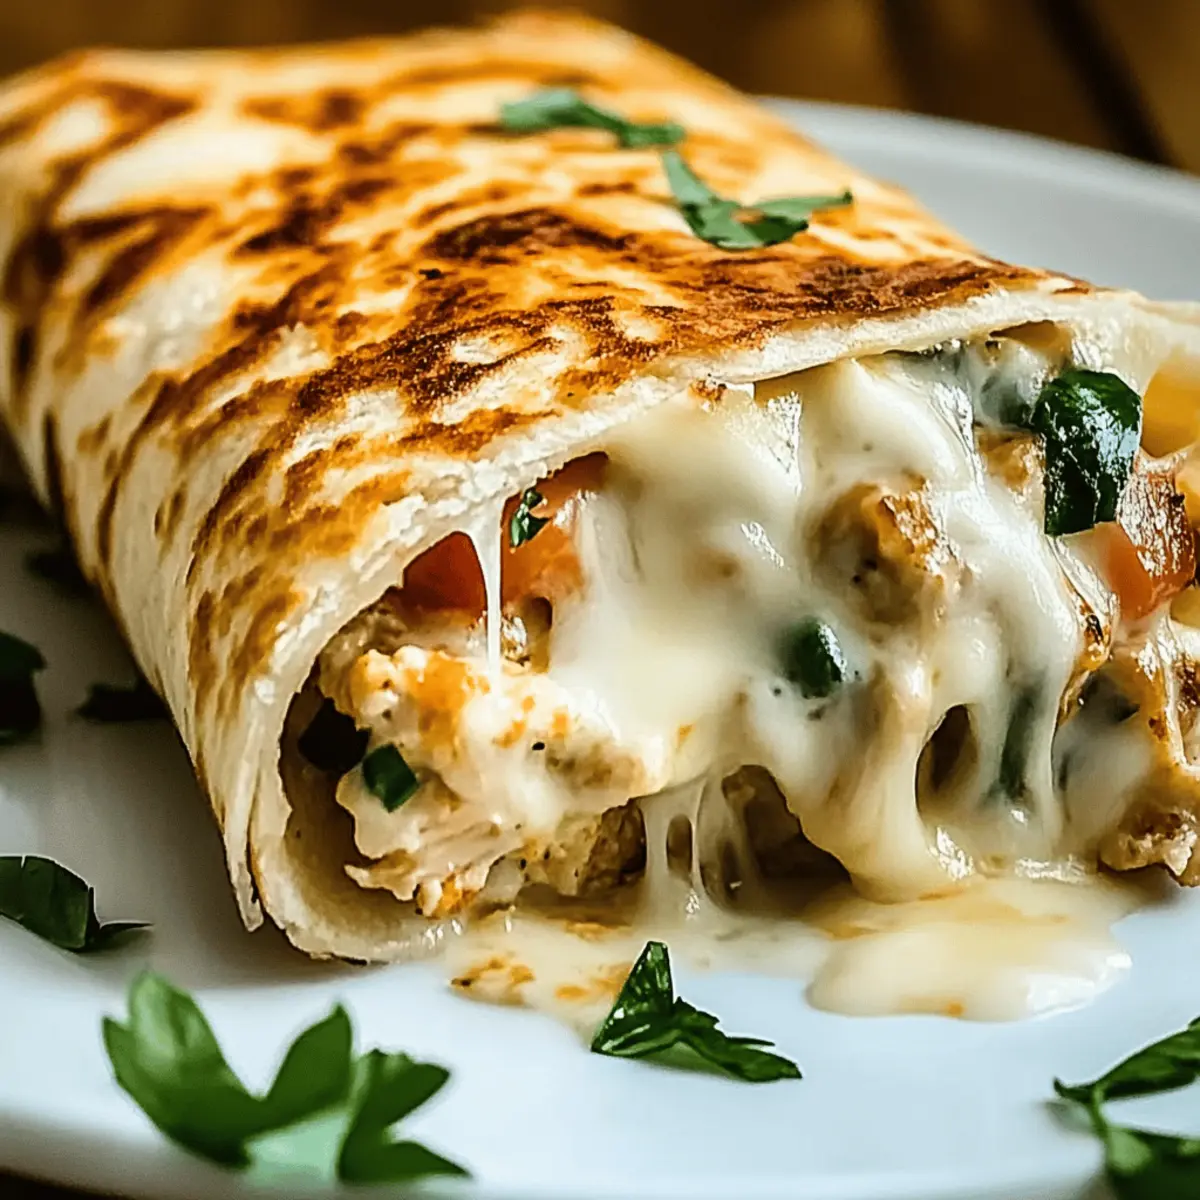
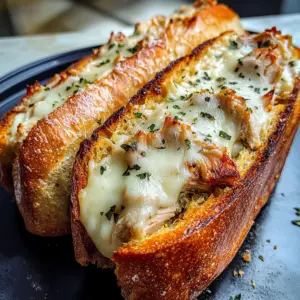
As I stood in my kitchen, the aroma of sizzling chicken and garlic wafted through the air, sparking a sudden craving for comfort food. Enter my Cheesy Garlic Chicken Wraps—a delightful concoction that combines tender, seasoned chicken with gooey cheese and a rich garlic punch, all snugly wrapped in a buttery tortilla. This recipe isn’t just quick to whip up; it’s also customizable, making it perfect for every palate—from gluten-free guests to those seeking a vegetarian twist. Whether you're in need of a weeknight dinner solution or something special for a casual gathering, these wraps satisfy on so many levels. Ready to discover your new go-to comfort food? Let's dive into the deliciousness!
Why Are These Wraps a Must-Try?
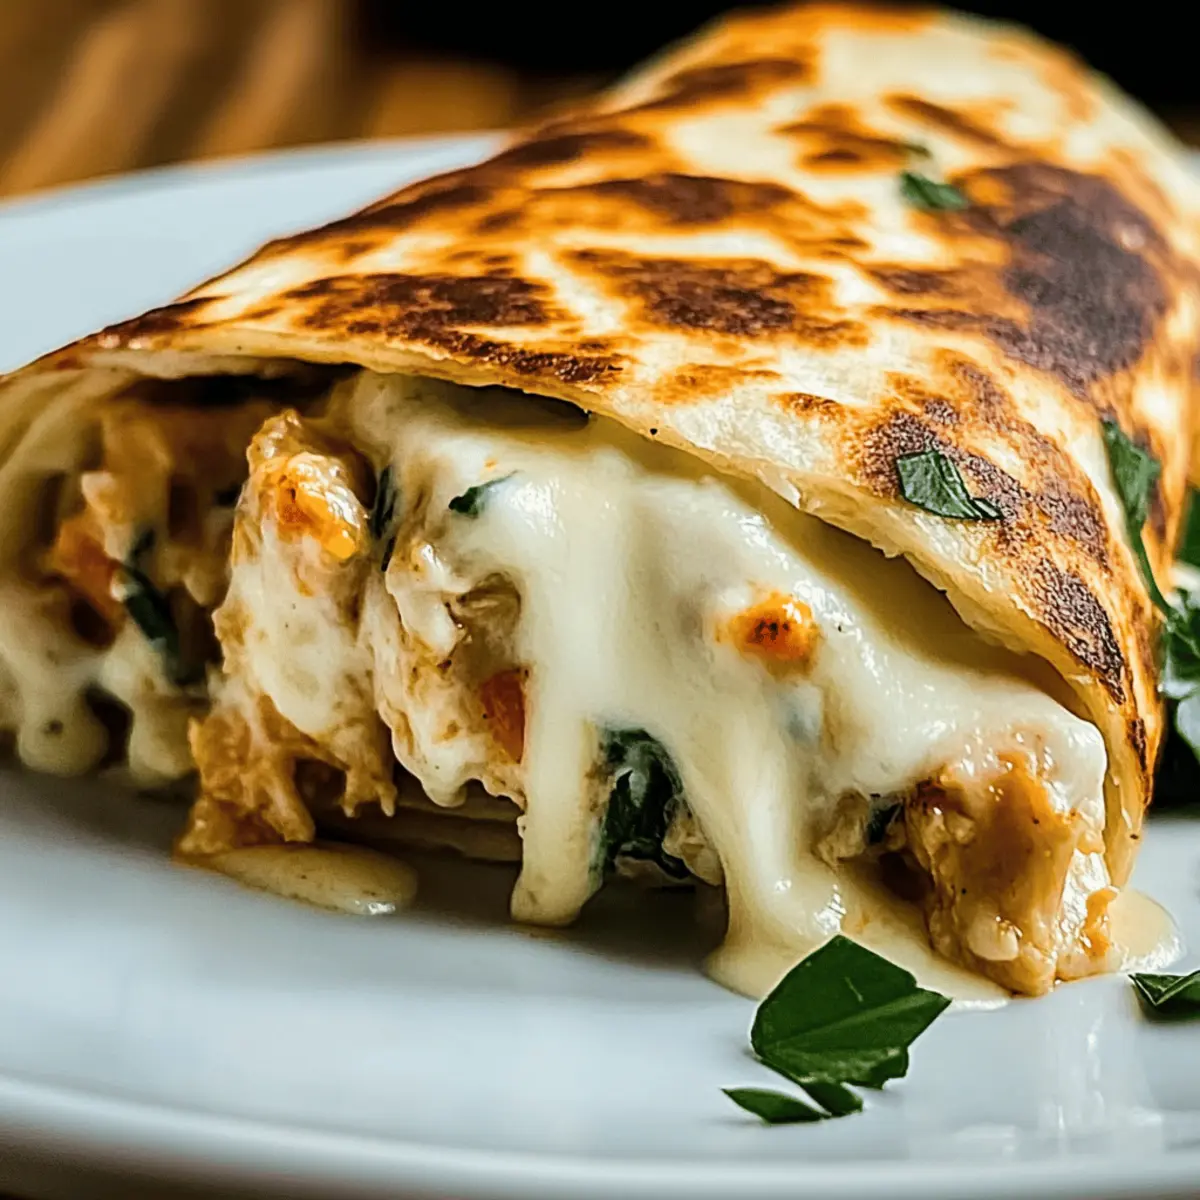
Versatile and adaptable, these Cheesy Garlic Chicken Wraps can easily cater to any dietary need—swap in corn tortillas for gluten-free, or load them with veggies for a hearty vegetarian option. Quick to prepare, you'll have a scrumptious meal ready in under 30 minutes, making them perfect for busy weeknights. Gooey goodness and robust flavors elevate these wraps into true comfort food, appealing to friends and family alike. Easy cleanup means more time to enjoy your creation with a side of fresh salsa or guacamole. Dive into this recipe today and feel the love with every bite!
Cheesy Garlic Chicken Wraps Ingredients
For the Chicken
• Extra Virgin Olive Oil – Adds flavor and moisture to the chicken; avocado oil can be used for a different flavor.
• Chicken Breast – The main protein source, sliced into thin strips for quick cooking; turkey is a leaner substitution.
• Garlic – Provides the signature flavor profile in the wraps; garlic powder is a convenient alternative.
• Mediterranean Herb Blend – Enhances flavor depth; feel free to swap with Italian seasoning.
• Smoky Paprika – Adds warmth and a hint of smokiness; cayenne pepper can replace it for extra spice.
• Chili Flakes – Offers customizable heat; omit if you prefer milder wraps.
• Sea Salt and Cracked Black Pepper – Essential for seasoning; adjust to your taste preference.
For the Filling
• Sweet Onion – Adds sweetness and complexity; substitute with red onion for a different flavor.
• Red Bell Pepper – Contributes vibrant color and sweetness; any bell pepper color works well.
• Fresh Spinach Leaves – A nutritious components that wilts perfectly into the filling; kale or Swiss chard can be used instead.
• Shredded Mozzarella – Key cheese for a melty experience; try a dairy-free alternative for a dairy-free option.
• Sharp Cheddar – Provides bold flavor; mixing in some pepper jack creates a spicy twist.
• Cream Cheese – Adds creaminess; feel free to substitute with sour cream for tang.
• Sour Cream – Introduces creaminess and a touch of tang; Greek yogurt can serve as a substitute.
• Fresh Chives – For garnish and added flavor; consider using green onions instead.
For the Wraps
• Large Flour Tortillas – Serves as the base for these cheesy wraps; use corn tortillas for a gluten-free option or lettuce leaves for a lower-carb wrap.
• Melted Butter – Creates a crispy finish on the tortillas; olive oil can be a lighter substitute.
• Roasted Garlic Powder – Boosts the garlic flavor in the wrap; regular garlic powder works in a pinch.
With this collection of ingredients, you're on your way to crafting the ultimate Cheesy Garlic Chicken Wraps that are sure to become a family favorite! Enjoy the journey of creating this delicious comfort food.
Step‑by‑Step Instructions for Cheesy Garlic Chicken Wraps
Step 1: Cook Chicken
Heat 2 tablespoons of extra virgin olive oil in a large skillet over medium-high heat. Add sliced chicken breast, season with Mediterranean herb blend, smokey paprika, sea salt, and cracked black pepper. Sauté for 5-6 minutes until the chicken is golden brown and cooked through, reaching an internal temperature of 165°F. Once done, remove the chicken from the skillet and keep warm on a plate.
Step 2: Cook Vegetables
In the same skillet, add another drizzle of olive oil if needed, and toss in the sliced sweet onion and red bell pepper. Sauté for about 3-4 minutes until the vegetables are softened and just beginning to brown. Next, add the fresh spinach leaves and continue cooking for an additional 1-2 minutes until the spinach wilts down nicely. Remove the mixture from heat and set aside.
Step 3: Combine Cheese
In a mixing bowl, combine 1 cup of shredded mozzarella, ½ cup of sharp cheddar, 2 tablespoons of cream cheese, and 2 tablespoons of sour cream. Add freshly chopped chives to the mixture, stirring until everything is well incorporated. This cheesy blend will create a wonderful filling for your Cheesy Garlic Chicken Wraps, offering a creamy and savory taste.
Step 4: Prepare Tortillas
Take large flour tortillas and brush them with melted butter mixed with roasted garlic powder. This adds extra flavor and creates a crispy exterior. Warm the tortillas in the microwave for 20-30 seconds, making them pliable and easy to roll. Alternatively, you can warm them in the skillet for about a minute on each side, enhancing their flavor and texture.
Step 5: Assemble Wraps
On each tortilla, layer a portion of the cooked chicken, sautéed vegetables, and a generous amount of the cheese mixture. Be careful not to overfill, as this can lead to tearing. Roll the tortilla tightly, folding in the sides as you go, to create the perfect wrap. Ensure the seams are tucked in to keep the contents secure.
Step 6: Toast Wraps
Place the assembled wraps seam-side down in the skillet over medium heat. Cook for about 3-4 minutes until the bottom is golden and crispy. Carefully flip the wraps and toast the other side for an additional 3-4 minutes. The goal is to achieve a delightful crunch on the outside while the cheese melts beautifully on the inside.
Step 7: Serve Warm
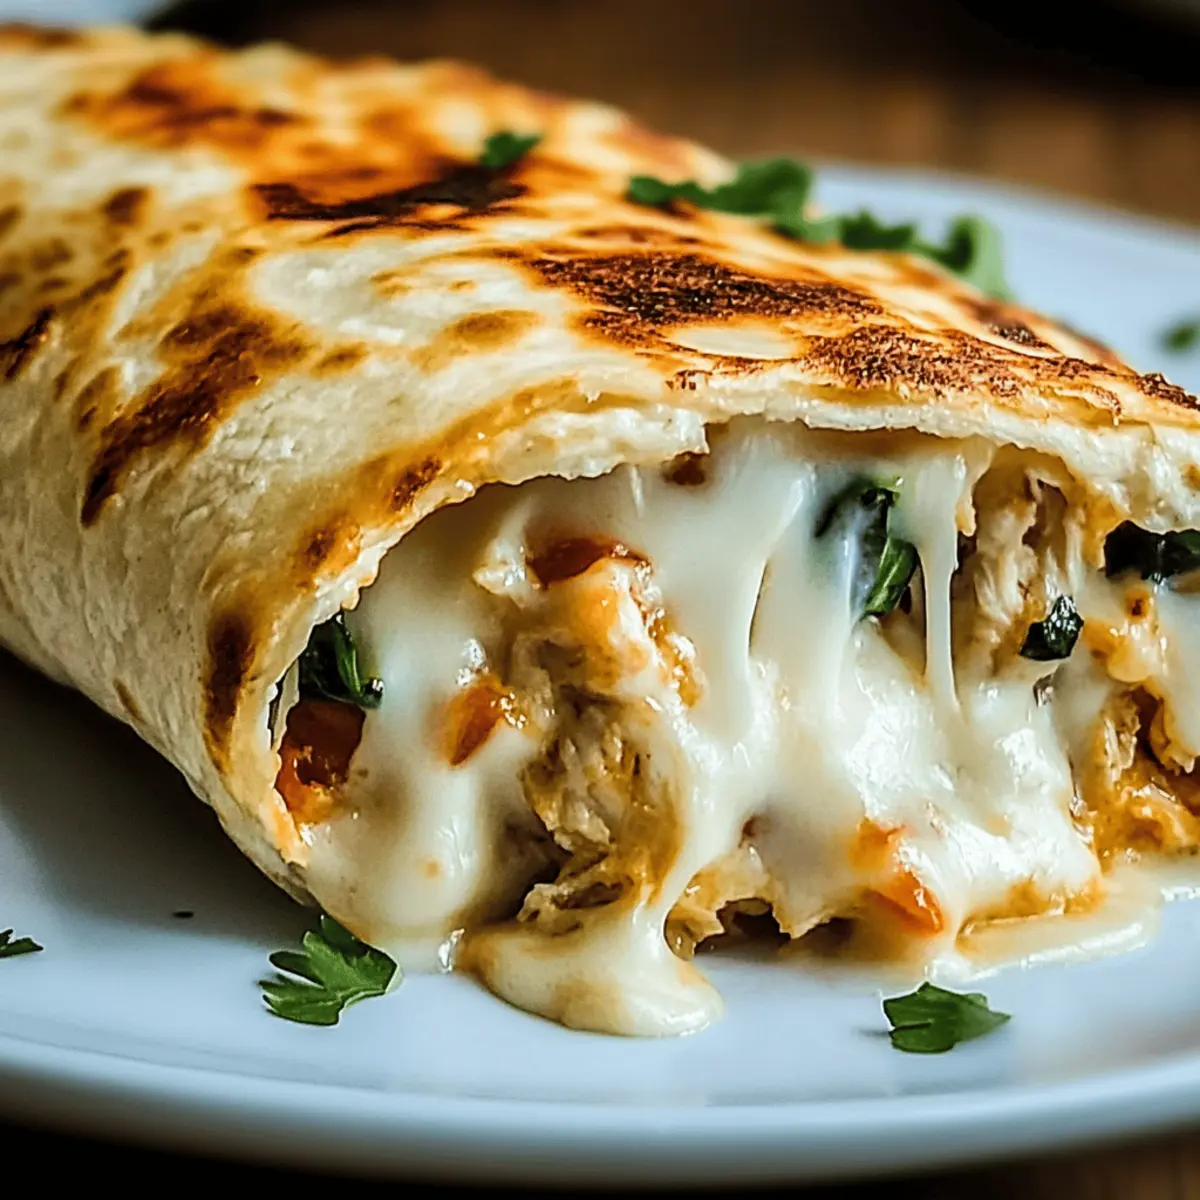
Once the Cheesy Garlic Chicken Wraps are toasted to perfection, remove them from the skillet. Allow them to cool for a minute before slicing them in half for presentation. Serve them warm with your favorite dipping sauces like fresh salsa or guacamole, and watch your family and friends enjoy this comforting meal!
How to Store and Freeze Cheesy Garlic Chicken Wraps
Fridge: Keep assembled Cheesy Garlic Chicken Wraps in an airtight container for up to 24 hours. This allows you to enjoy them fresh and ready for a quick meal!
Freezer: For longer storage, freeze unassembled wraps wrapped tightly in plastic wrap and aluminum foil for up to 3 months. Thaw in the fridge before toasting.
Reheating: Toast frozen wraps directly in a skillet over medium heat for about 8–10 minutes until warmed through and crispy. You can also use an oven at 375°F for 15–20 minutes.
Pre-Cooked Filling: You can make the chicken mixture and cheese blend 2 days in advance, stored in the fridge for quick wrap assembly during busy weekdays.
What to Serve with Cheesy Garlic Chicken Wraps
Looking to complete your meal and elevate those delicious wraps? Here are some perfect pairings that will help create a delightful dining experience!
- Fresh Salsa: A vibrant, zesty accompaniment that adds a refreshing contrast and a burst of flavor to each bite.
- Guacamole: Creamy avocado goodness brings richness while balancing the savory elements of the wraps. It’s a classic pairing that never fails!
- Crispy French Fries: The irresistible crunch of seasoned fries perfectly complements the soft, cheesy wraps, providing a satisfying texture contrast.
- Roasted Vegetables: A mix of seasoned, caramelized veggies introduces a beautiful color palette and nutritious balance, enhancing the overall meal experience.
- Caesar Salad: Crisp romaine, savory dressing, and crunchy croutons create a light and refreshing side, cutting through the richness of the wraps.
- Corn on the Cob: Sweet, buttery corn provides a delightful sweetness, contrasting with the savory notes of the wraps and making for a fun finger-food experience.
- Chilled White Wine: A glass of crisp, chilled white wine brings out the wrap's flavors, enhancing your dining experience with a touch of sophistication.
- Chocolate Chip Cookies: For a sweet ending, these soft-baked cookies are the perfect treat, rounding off your meal with nostalgia and comfort.
Expert Tips for Cheesy Garlic Chicken Wraps
- Cool the Filling: Allow the chicken and vegetable filling to cool slightly before assembling to avoid soggy wraps that tear easily.
- Grate Cheese Freshly: Use freshly grated cheese for the best melt and flavor; pre-shredded cheese often has anti-caking agents that can affect texture.
- Avoid Overfilling: Ensure not to overstuff the wraps; it's tempting, but this can lead to tears when rolling or toasting.
- Secure with Toothpicks: If any wraps are stubborn, use toothpicks to keep them secure while toasting, ensuring a perfect golden finish.
- Customize Seasoning: Taste your filling before assembling; feel free to adjust salt, pepper, and chili flakes to suit your personal spice preference.
Enjoy making your Cheesy Garlic Chicken Wraps with these tips in mind for a delicious experience!
Cheesy Garlic Chicken Wraps Variations
Feel free to explore the delightful world of customization with your Cheesy Garlic Chicken Wraps, turning a loved recipe into your own masterpiece!
-
Mediterranean Twist: Substitute some cheese with feta and add kalamata olives and artichoke hearts for a vibrant flavor boost.
-
Southwest Style: Incorporate canned black beans and corn, paired with pepper jack cheese to bring a spicy, bold flair. This ensures a colorful and hearty filling.
-
Buffalo Chicken Version: Toss cooked chicken in tangy buffalo sauce and mix in crumbled blue cheese for a zesty spin. It's perfect for those craving a kick of heat.
-
Breakfast Variation: Use scrambled eggs and crispy bacon instead of chicken, pairing with fresh salsa for a morning delight. Picture that cozy breakfast vibe wrapped up!
-
Vegetarian Delight: Swap the chicken for sautéed mushrooms or zucchini, keeping all the cheeses for a rich and satisfying option. Enhance with roasted red peppers for extra flavor!
-
Low-Carb Option: Use lettuce leaves instead of tortillas for a refreshing twist. This keeps all the flavors intact while cutting down on carbs.
-
Dairy-Free Swap: Use cashew cream instead of cream cheese and a dairy-free cheese blend for a scrumptious twist. You can still enjoy creaminess without the dairy!
Don’t forget to check out some of my other recipes like Honey Garlic Chicken or Chipotle Lime Chicken for even more flavorful inspiration!
Make Ahead Options
These Cheesy Garlic Chicken Wraps are a fantastic meal prep solution for busy home cooks! You can pre-cook the chicken mixture and cheese blend up to 3 days ahead of time, storing them in airtight containers in the refrigerator to maintain their freshness. Additionally, you can assemble the wraps without toasting them and keep them in the fridge for up to 24 hours. To prevent sogginess, allow the filling to cool before assembling and avoid overfilling the wraps. When you're ready to serve, simply heat the assembled wraps in a skillet for about 3-4 minutes on each side until golden and crispy, ensuring that your meal is just as delicious with minimal effort!
Cheesy Garlic Chicken Wraps Recipe FAQs
What kind of chicken should I use?
For the best results, I recommend using boneless, skinless chicken breasts sliced into thin strips. This allows for quick cooking and juicy bites. If you're looking for a leaner option, sliced turkey works wonderfully, too, keeping the flavors intact!
How do I store leftovers?
Absolutely! If you have any assembled Cheesy Garlic Chicken Wraps remaining, store them in an airtight container in the refrigerator for up to 24 hours. This way, they’ll be ready for a quick meal when you need it!
Can I freeze the wraps?
Yes, you can freeze these wraps! I suggest wrapping them tightly in plastic wrap and then in aluminum foil. They can be stored in the freezer for up to 3 months. When you’re ready to enjoy them, thaw in the refrigerator overnight and toast them in a skillet directly from the freezer or for about 8–10 minutes until hot and crispy.
What if my wraps are tearing when I roll them?
Very common! If your tortillas are tearing, it usually helps to warm them slightly in the microwave for 20-30 seconds or in a skillet for about a minute. This makes them more pliable and easier to roll without breaking. Remember also not to overfill them, as that's a common culprit for tearing!
Are there any dietary considerations for this recipe?
Good question! This recipe is highly customizable to cater to various dietary needs. For a gluten-free option, simply swap the flour tortillas for corn tortillas or lettuce leaves for a low-carb wrap. You can also use dairy-free cheese alternatives if dairy is a concern. Always check your seasoning and ingredients if you have food allergies.
What if I don't have some of the ingredients?
No worries at all! Feel free to substitute ingredients based on what you have at home. For example, if you're out of fresh garlic, garlic powder works just as well. If you don’t have shredded mozzarella, crumbled feta or any cheese you enjoy will also work! Get creative, and have fun with it!
Cheesy Garlic Chicken Wraps: Quick Comfort Food Delight
Ingredients
Equipment
Method
- Heat 2 tablespoons of extra virgin olive oil in a large skillet over medium-high heat. Add sliced chicken breast, season with Mediterranean herb blend, smokey paprika, sea salt, and cracked black pepper. Sauté for 5-6 minutes until the chicken is golden brown and cooked through.
- In the same skillet, add another drizzle of olive oil if needed, and toss in the sliced sweet onion and red bell pepper. Sauté for about 3-4 minutes until softened. Add fresh spinach leaves and continue cooking for an additional 1-2 minutes until wilted.
- In a mixing bowl, combine 1 cup of shredded mozzarella, ½ cup of sharp cheddar, 2 tablespoons of cream cheese, and 2 tablespoons of sour cream. Stir in freshly chopped chives until well incorporated.
- Brush large flour tortillas with melted butter mixed with roasted garlic powder. Warm the tortillas in the microwave for 20-30 seconds or in the skillet for about a minute on each side.
- On each tortilla, layer a portion of the cooked chicken, sautéed vegetables, and cheese mixture. Roll tightly, folding in the sides to create the wrap.
- Place the assembled wraps seam-side down in the skillet over medium heat. Cook for 3-4 minutes until golden and crispy. Flip and toast the other side for an additional 3-4 minutes.
- Remove wraps from skillet and let cool for a minute before slicing in half. Serve warm with fresh salsa or guacamole.
Leave a Reply