
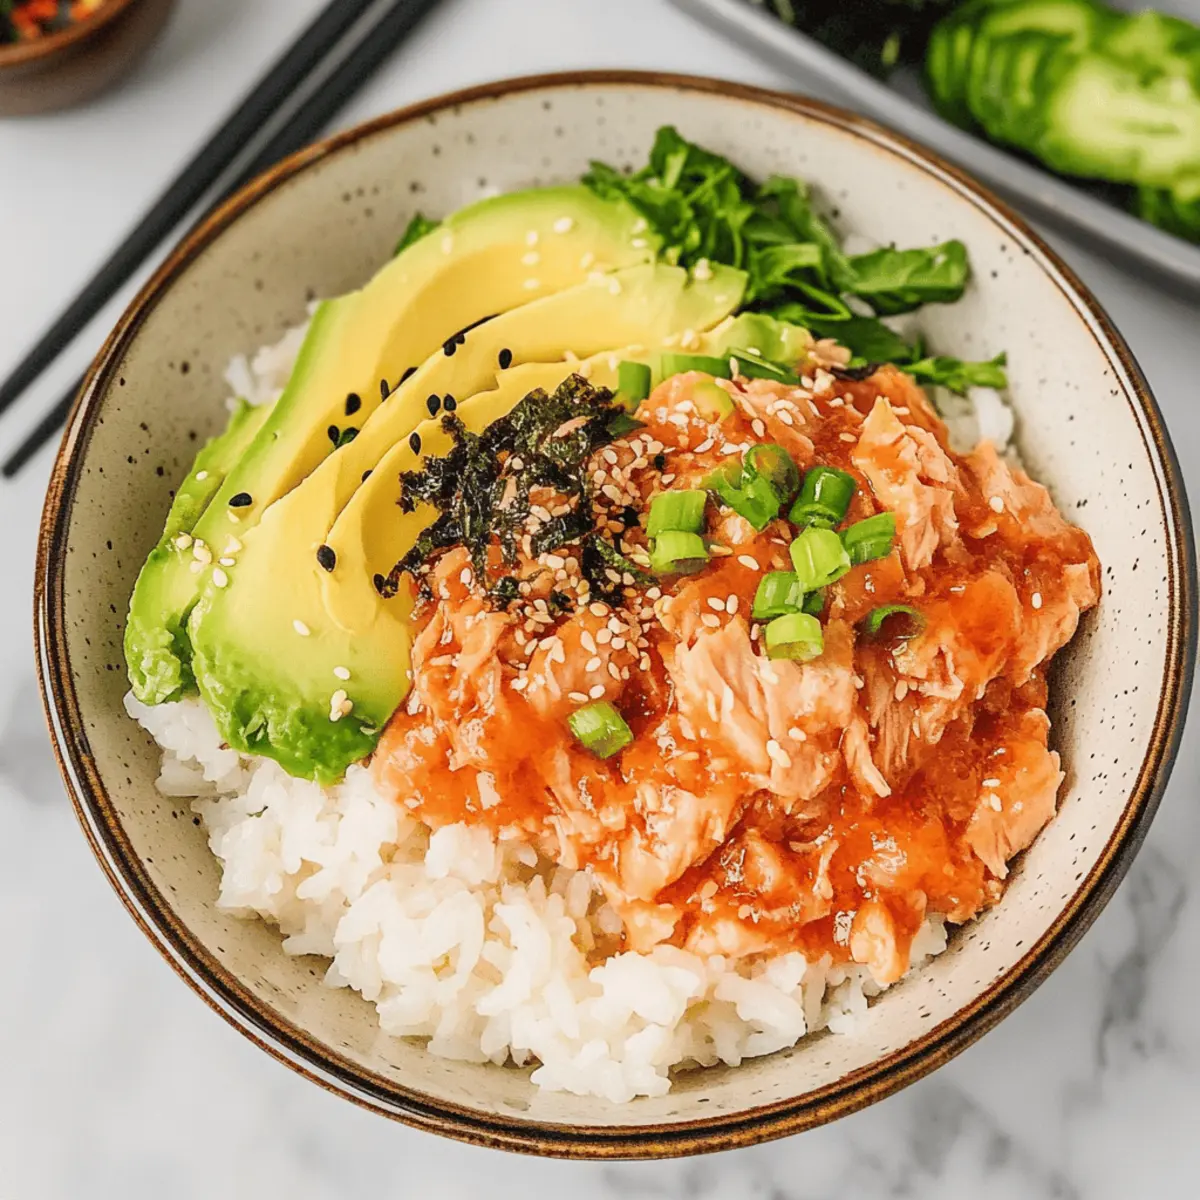
As I stood at the kitchen counter, gazing at a can of tuna, my thoughts drifted to the beachside sushi bars I frequented. Craving that delightful experience but short on time, I decided to get creative. Enter the Canned Tuna Sushi Bowl—a quick dinner solution that marries the fresh, vibrant flavors of sushi with the comforting ease of a homemade meal. Packed with protein and customizable to your heart's content, this dish is the perfect antidote for those fast food cravings. It takes just 18 minutes to whip up this colorful bowl, featuring crispy pan-fried rice, creamy avocado, and zesty bang bang tuna. Trust me, your taste buds are in for a treat! Curious about how to make this culinary delight? Let’s dive in!

Why is this Tuna Sushi Bowl a Must-Try?
Quick Dinner Solution: Ready in just 18 minutes, this bowl is perfect for busy weeknights.
Protein-Packed Goodness: With nutrient-dense canned tuna and healthy fats from avocado, it satisfies hunger while keeping you energized.
Endless Customization: Feel free to swap out toppings—add sliced radishes or carrots for extra crunch, or even try it with quinoa for a twist!
Flavor Explosion: The creamy bang bang sauce and savory furikake elevate your meal, making each bite a delicious journey.
Budget-Friendly: Using pantry essentials not only saves money but also minimizes waste, perfect for those looking to eat well without breaking the bank.
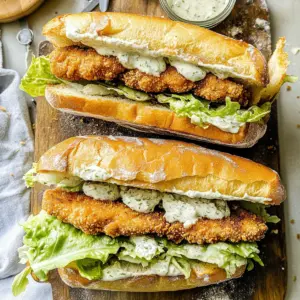
If you're ever in the mood for a refreshing meal, consider also our Fish Taco Bowls for a lovely twist!
Canned Tuna Sushi Bowl Ingredients
For the Base
- Cooked Sushi Rice – The foundation of the bowl; seasoned with rice wine vinegar, sesame oil, and sugar for extra flavor. Note: Leftover rice works perfectly!
For the Protein
- Canned Tuna – A flavorful and easy protein source for this dish. Substitution: Canned salmon offers a delicious alternative.
For the Sauce
-
Bang Bang Sauce – Adds creaminess and a spicy kick to your bowl. Preparation: You can buy this ready-made or whip it up at home.
-
Sriracha Sauce – Elevates the heat; drizzle it on for that extra spice! Note: Any favorite hot sauce can be used in its place.
For the Garnish
-
Furikake – This Japanese seasoning gives your meal a burst of flavor. Substitution: Crumbled nori can step in if needed.
-
Avocado – Creamy and full of healthy fats; slice or dice for best results.
-
Scallions (Green Onions) – Freshness is key; chop them to sprinkle on top for a vibrant pop.
For Cooking
- Olive Oil – Used for pan-frying the rice, contributing to its golden crispiness. Adjust the amount to suit your preference.
For Seasoning
- Salt and Black Pepper – Essential for enhancing the overall flavors of your dish.
Step‑by‑Step Instructions for Canned Tuna Sushi Bowl
Step 1: Cook the Rice
Start by preparing the sushi rice if you aren’t using leftovers. Rinse 1 cup of sushi rice under cold water until the water runs clear, then cook according to package instructions. Once cooked, while it’s still warm, mix in 2 tablespoons of rice wine vinegar, 1 teaspoon of sesame oil, and 1 teaspoon of sugar. Let this flavorful rice cool slightly as you prepare the toppings.
Step 2: Prepare Toppings
In a mixing bowl, drain the canned tuna and combine it with ¼ cup of bang bang sauce. Stir well to coat the tuna evenly. Meanwhile, slice 1 ripe avocado and chop 2 scallions (green onions) into small pieces. If you want to add more crunch, you can prepare any other fresh vegetables like radishes or carrots while waiting for the rice to cool.
Step 3: Pan-Fry Rice
Heat a non-stick skillet over medium-high heat and add 1 tablespoon of olive oil. When the oil is shimmering, add the sushi rice, pressing it down lightly with a spatula. Cook for 3 to 5 minutes until the bottom turns a golden brown, then gently flip the rice and cook for an additional minute. The rice should now be crispy on the outside while remaining fluffy inside; remove it from heat.
Step 4: Assemble Bowl
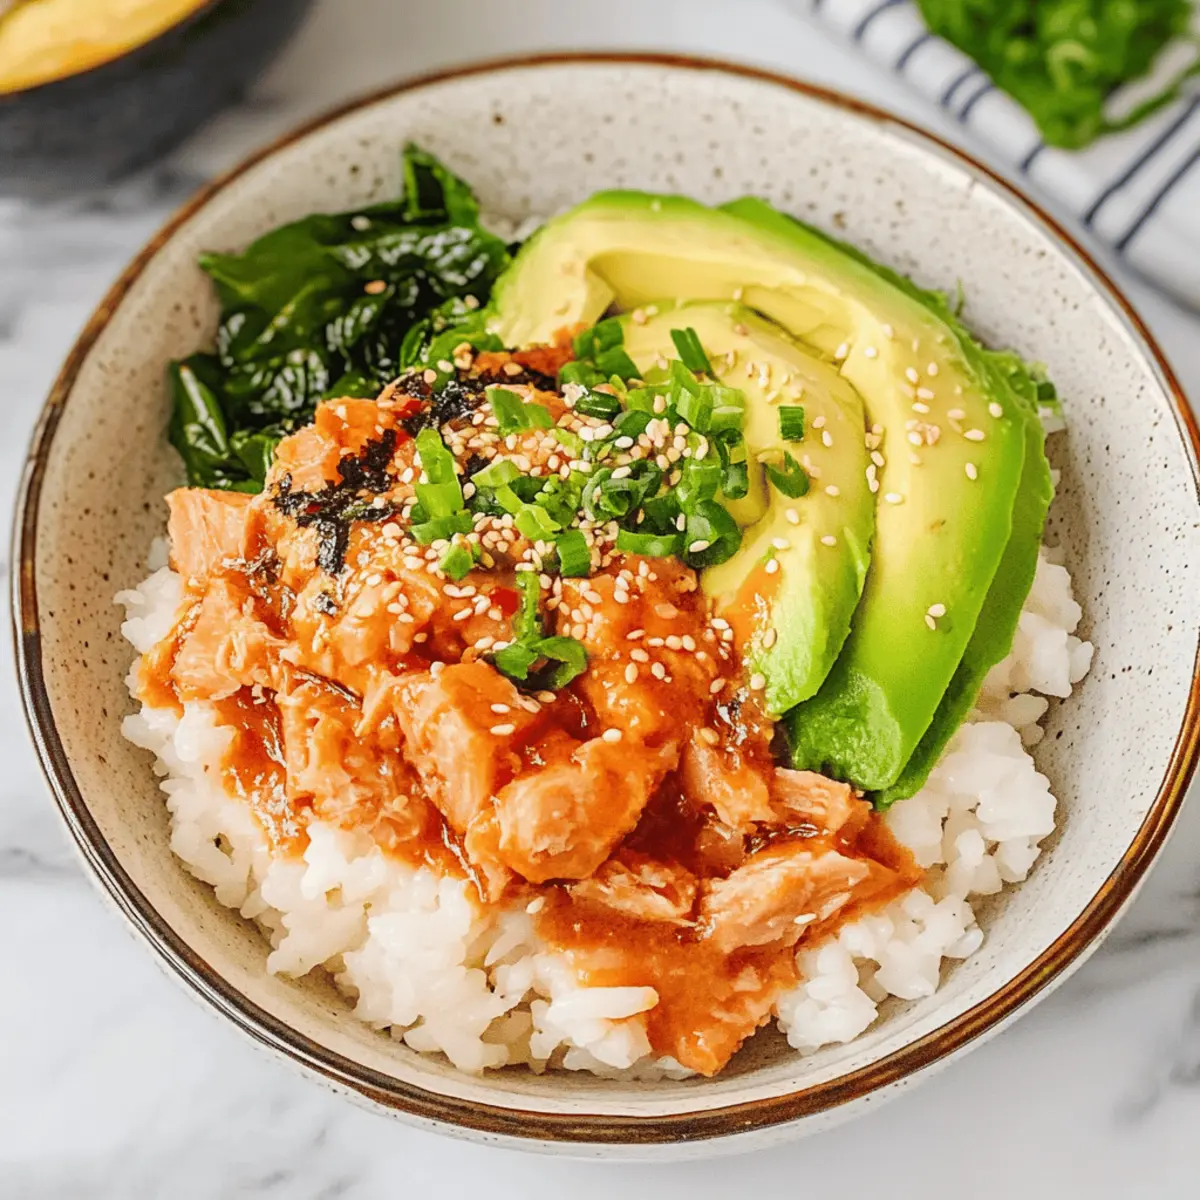
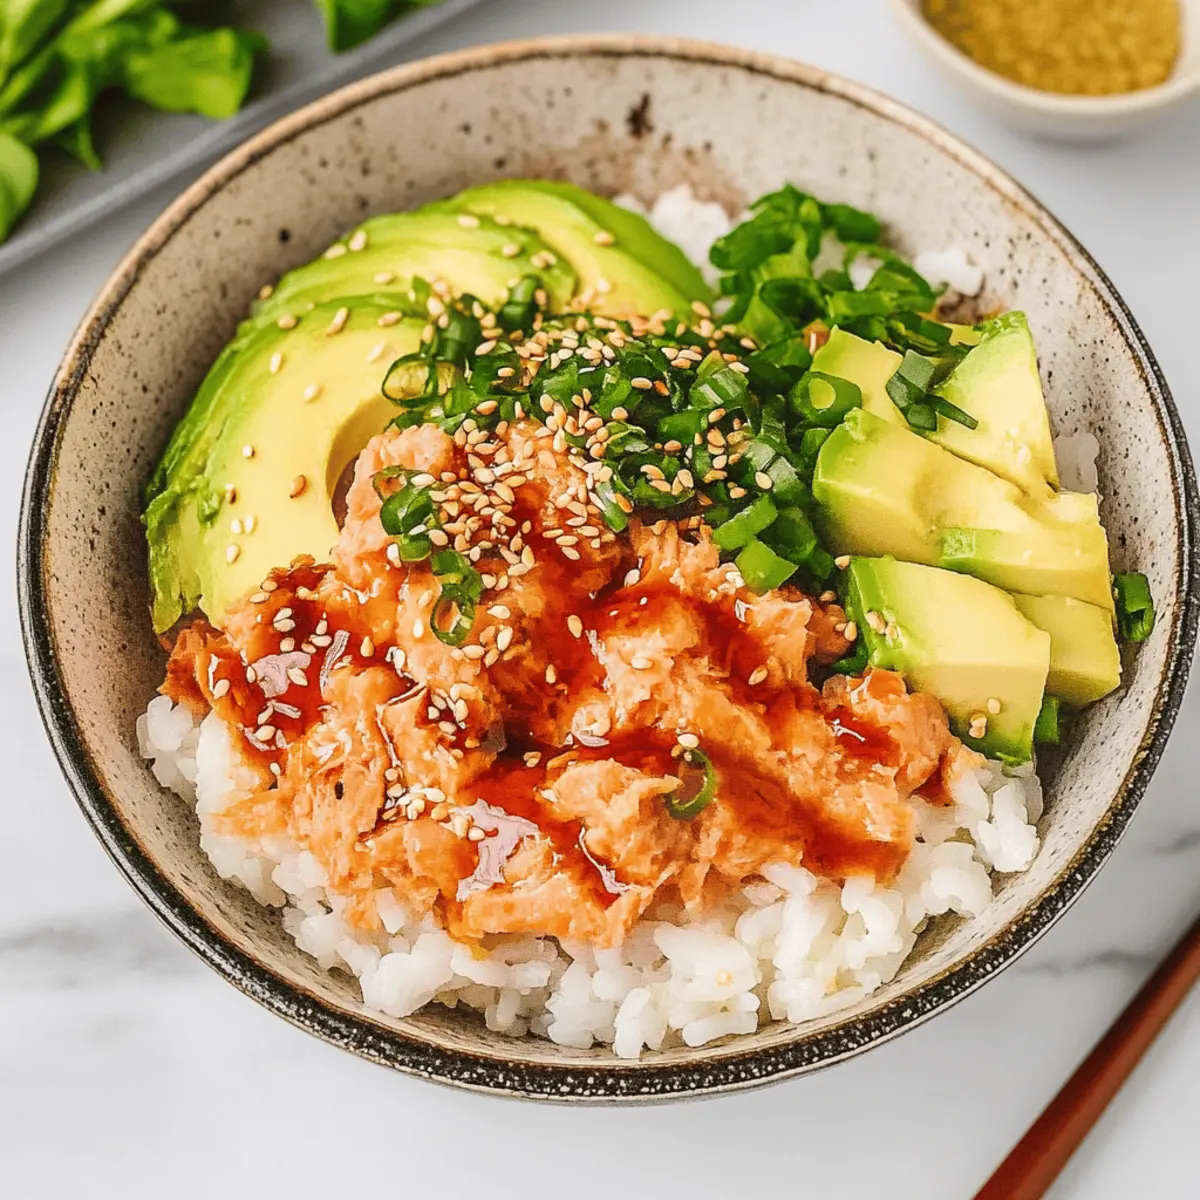
To create the Canned Tuna Sushi Bowl, begin by spooning the pan-fried rice evenly into serving bowls. Top each bowl with a generous scoop of the bang bang tuna, then arrange the sliced avocado and chopped scallions on top. For an extra flavor boost, sprinkle a teaspoon of furikake over each bowl and drizzle with Sriracha for added heat. Serve immediately to enjoy the warm, crispy textures!
Make Ahead Options
These Canned Tuna Sushi Bowls are perfect for busy home cooks looking to save time during the week! You can prepare the sushi rice and the bang bang sauce up to 24 hours in advance, storing them both in airtight containers in the refrigerator to maintain freshness. The rice should be reheated in the microwave before serving to revive its texture. Additionally, slice the avocado and chop the scallions, but do so right before you're ready to assemble for optimal flavor and to prevent browning. With everything ready to go, simply pan-fry the rice, assemble the bowls, and enjoy your delicious meal with minimal effort!
Expert Tips for the Best Canned Tuna Sushi Bowl
-
Crispy Rice Secret: Ensure the rice is pressed down firmly while pan-frying to achieve that perfect golden crust. Avoid overcrowding the pan.
-
Bang Bang Sauce Balance: Adjust the amount of bang bang sauce based on your heat preference. Start with less, as you can always add more later!
-
Freshness Factor: For the best flavor, use fresh toppings like avocado and scallions just before serving. This keeps their texture vibrant and appealing.
-
Ingredient Swaps: Feel free to switch out the canned tuna with canned salmon for a different flavor profile in your Canned Tuna Sushi Bowl—both are delicious!
-
Rice Texture Tips: Don’t over-stir the rice while frying; it helps maintain the crispiness. Let it sit undisturbed for that delightful crunch!
How to Store and Freeze Canned Tuna Sushi Bowl
Fridge: Store any leftover Canned Tuna Sushi Bowl in an airtight container for up to 2 days. Reheat the rice in a skillet to regain its crispy texture.
Freezer: If freezing, do so before adding fresh toppings. Cover the pan-fried rice and tuna tightly and store for up to 1 month. Thaw overnight in the fridge before reheating.
Reheating: For best results, reheat the pan-fried rice in a skillet with a splash of water to steam it slightly, ensuring it remains fluffy while warming through.
Separately Stored Ingredients: For meal prep, keep rice and toppings stored separately in airtight containers; this keeps the fresh ingredients crisp and flavorful until ready to serve.
What to Serve with Canned Tuna Sushi Bowl
Looking to elevate your Canned Tuna Sushi Bowl into a complete meal? Let’s explore some delightful pairings that will enhance your dining experience.
-
Crispy Edamame: These bite-sized green gems add a satisfying crunch, offering a pleasant contrast to the creamy tuna and avocado.
-
Refreshing Cucumber Salad: Cool, sliced cucumbers drizzled with rice vinegar provide a refreshing palate cleanser between bites, balancing the dish nicely.
-
Miso Soup: A warm bowl of savory miso soup complements the sushi bowl perfectly, adding depth and warmth to your meal.
-
Seaweed Salad: This umami-rich salad is light yet flavorful, echoing sushi bar favorites while contributing an interesting texture to your plate.
-
Spicy Pickled Ginger: A zesty burst of flavor, pickled ginger adds vibrancy and serves as an excellent contrast to the rich bang bang sauce.
-
Toasted Sesame Wontons: Light and crunchy, these wontons can serve as an appetizer, preparing your palate for the marvelous flavors of the sushi bowl.
-
Craft Beer: A light, refreshing beer like a pilsner or a pale ale pairs beautifully with the spiced flavors of the dish, enhancing your overall meal.
Ever thought of ending your meal with something sweet? A fresh mango sorbet can cleanse your palate after the tangy and savory flavors of this delightful bowl!
Canned Tuna Sushi Bowl Variations
Don’t be afraid to get creative with your Canned Tuna Sushi Bowl! Each variation packs its own delicious twist that will tantalize your taste buds.
-
Canned Salmon: Swap canned tuna for canned salmon for a rich, indulgent flavor. Just mix it with the bang bang sauce and enjoy a delightful twist.
-
Quinoa Base: For a lighter option, replace sushi rice with quinoa. This gluten-free alternative adds a nutritious spin while still providing that satisfying texture.
-
Spicy Kick: Enhance the heat by adding diced jalapeños or a sprinkle of chili flakes. It’s a great way to turn up the flavor without sacrificing ease!
-
Veggie Boost: Add shredded carrots, sliced radishes, or snappy snow peas for extra color and crunch. The freshness will elevate your bowl, making it even more vibrant.
-
Soy Sauce Drizzle: For an umami boost, drizzle some soy sauce over your assembled bowl. This adds a lovely depth that complements all the flavors beautifully.
-
Creamy Alternative: Swap the bang bang sauce for a creamy avocado dressing or tahini. This will create a different taste experience and is perfect for those who love rich flavors.
-
Pickled Veggies: Incorporate pickled ginger or cucumbers to add a zesty contrast. Their sharp acidity cuts through creamy and savory elements, creating a harmonic balance.
Don't forget, if you're looking for more creative ideas, you might enjoy these Vegan Sushi Indulge options for an exciting sushi experience!
Canned Tuna Sushi Bowl Recipe FAQs
How do I select the best canned tuna?
Absolutely! When choosing canned tuna, look for options packed in water or olive oil for the best flavor. Check the can for any signs of denting or bulging, and opt for brands that source sustainably to ensure quality and taste.
How should I store leftover Canned Tuna Sushi Bowl?
Store any leftover Canned Tuna Sushi Bowl in an airtight container in the fridge for up to 2 days. Just make sure to let the rice cool to room temperature before sealing it up. When you’re ready to enjoy the bowl again, reheat the rice in a skillet to bring back that crispy texture.
Can I freeze the Canned Tuna Sushi Bowl?
Definitely! If you want to freeze your Canned Tuna Sushi Bowl, it's best to do so before adding any fresh toppings like avocado or scallions. Cover the pan-fried rice and tuna tightly with plastic wrap or a freezer-safe container, and you can store it for up to 1 month. When ready to enjoy, thaw it in the fridge overnight and reheat in a skillet!
What should I do if my rice isn't crispy?
If your rice doesn’t turn out crispy, no worries! Next time, be sure to press the rice down firmly in the skillet and avoid stirring it too much while it's frying. This allows the bottom to develop that beautiful golden crust. Cooking it a bit longer over medium-high heat can also help achieve that desired crunchiness.
Are there any dietary considerations I should keep in mind?
Great question! If you have allergies, be cautious with ingredients like bang bang sauce and Sriracha, as they often contain allergens like eggs or gluten. For those with dietary restrictions, you can easily substitute canned tuna with canned salmon. Plus, feel free to swap out toppings based on your dietary preferences, making this bowl delightful for everyone!
Can I use cold rice instead of warm rice for frying?
While you can technically use cold rice, warm rice is ideal for achieving the best texture. Cold rice tends to break apart more easily and won't crisp up as nicely when frying. If you only have leftover rice, try reheating it slightly in the microwave before proceeding to fry it!
Canned Tuna Sushi Bowl: A Quick and Tasty Dinner Delight
Ingredients
Equipment
Method
- Cook the Rice: Rinse 1 cup of sushi rice under cold water until clear; cook according to package instructions. Mix in 2 tbsp rice wine vinegar, 1 tsp sesame oil, and 1 tsp sugar while warm. Let it cool slightly.
- Prepare Toppings: Drain canned tuna and mix with ¼ cup bang bang sauce. Slice 1 ripe avocado and chop 2 scallions. Prepare fresh veggies like radishes or carrots if desired.
- Pan-Fry Rice: Heat a non-stick skillet over medium-high heat, add 1 tbsp olive oil. Add sushi rice, pressing down lightly; cook for 3-5 min until golden brown. Flip and cook for 1 more minute.
- Assemble Bowl: Spoon pan-fried rice into bowls. Top with bang bang tuna, avocado, and scallions. Sprinkle furikake and drizzle with Sriracha. Serve immediately.

Leave a Reply