
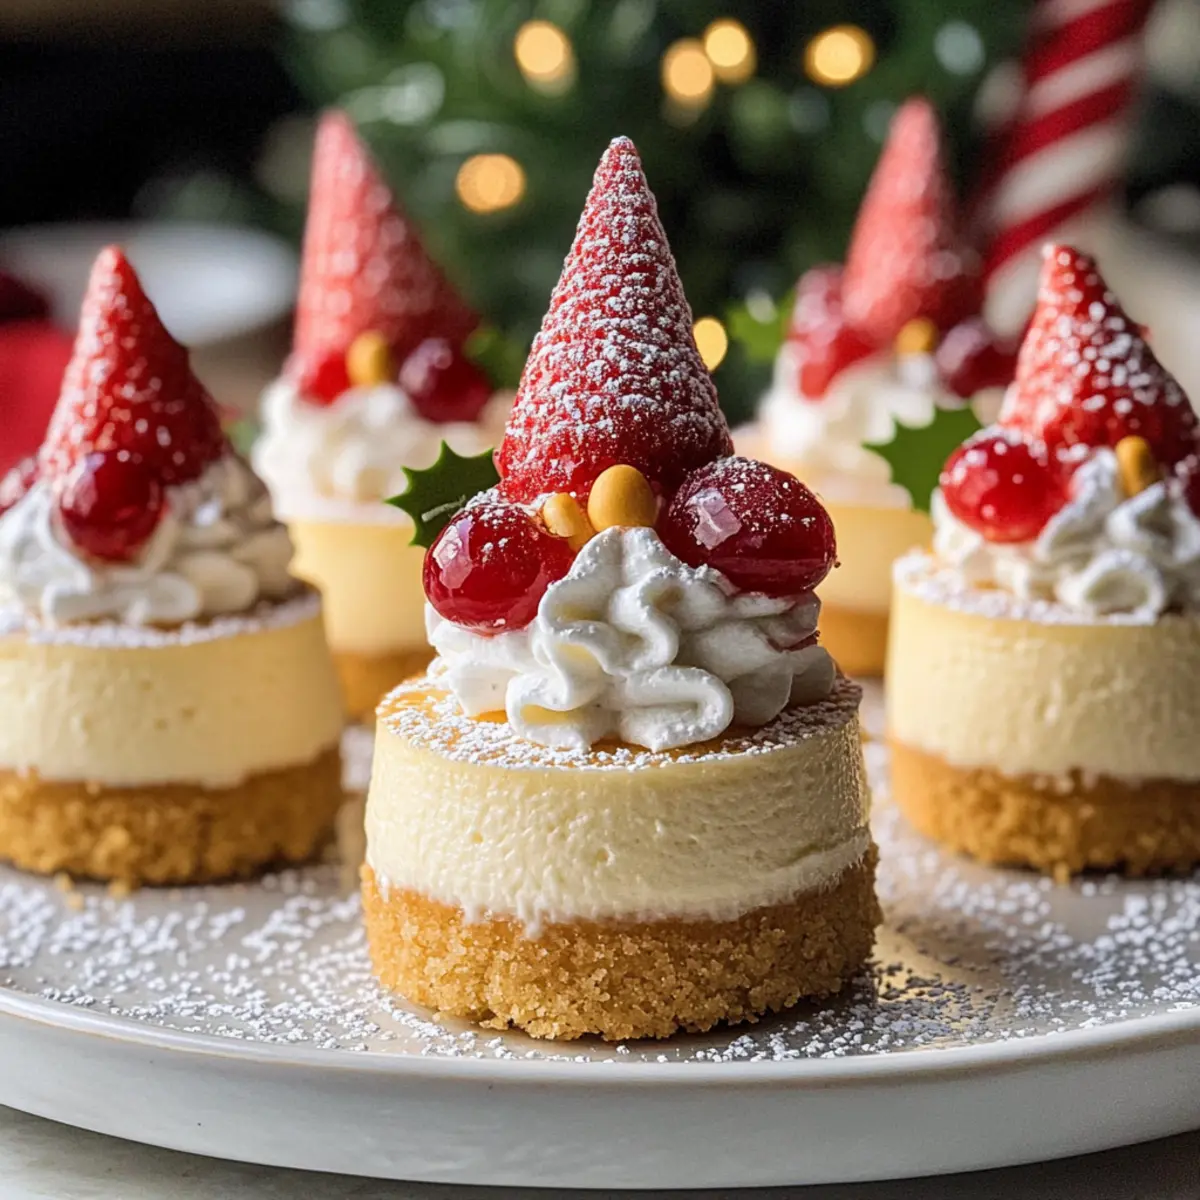
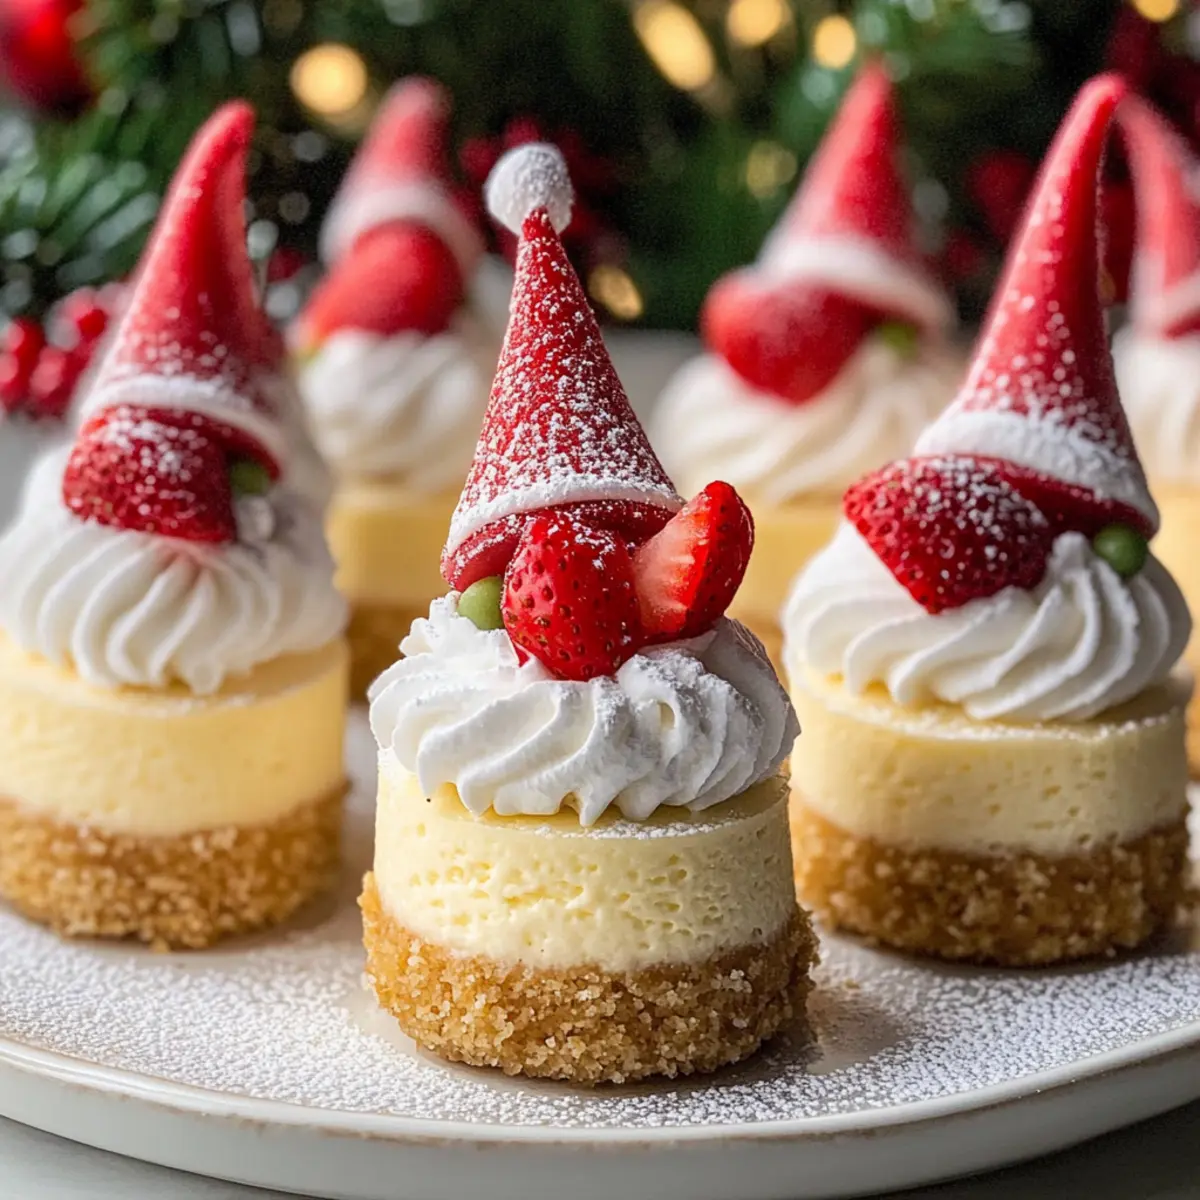
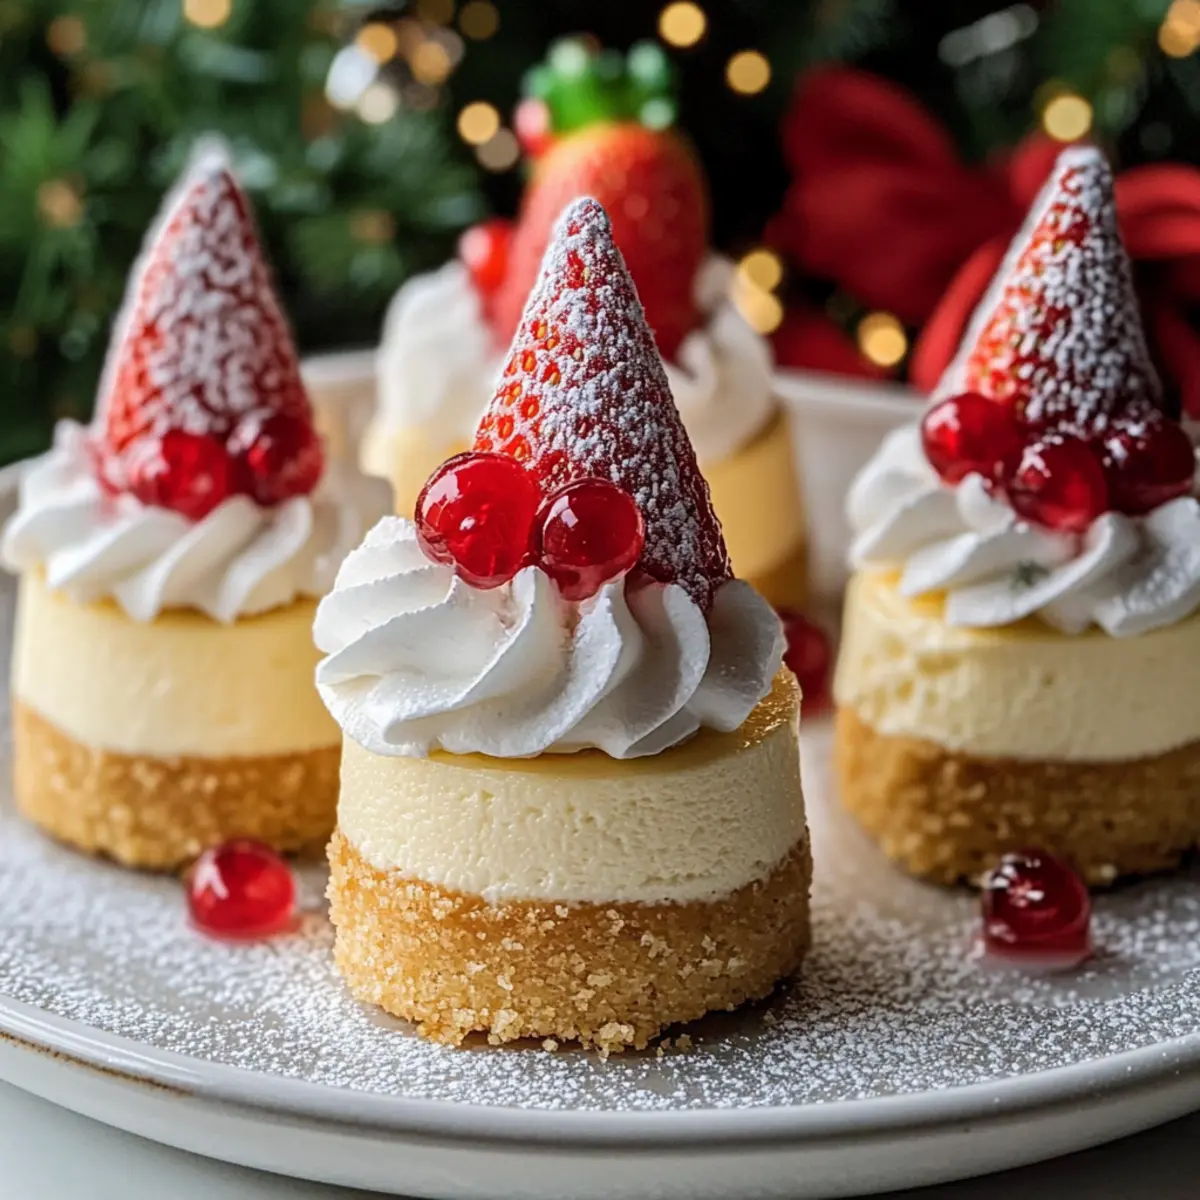
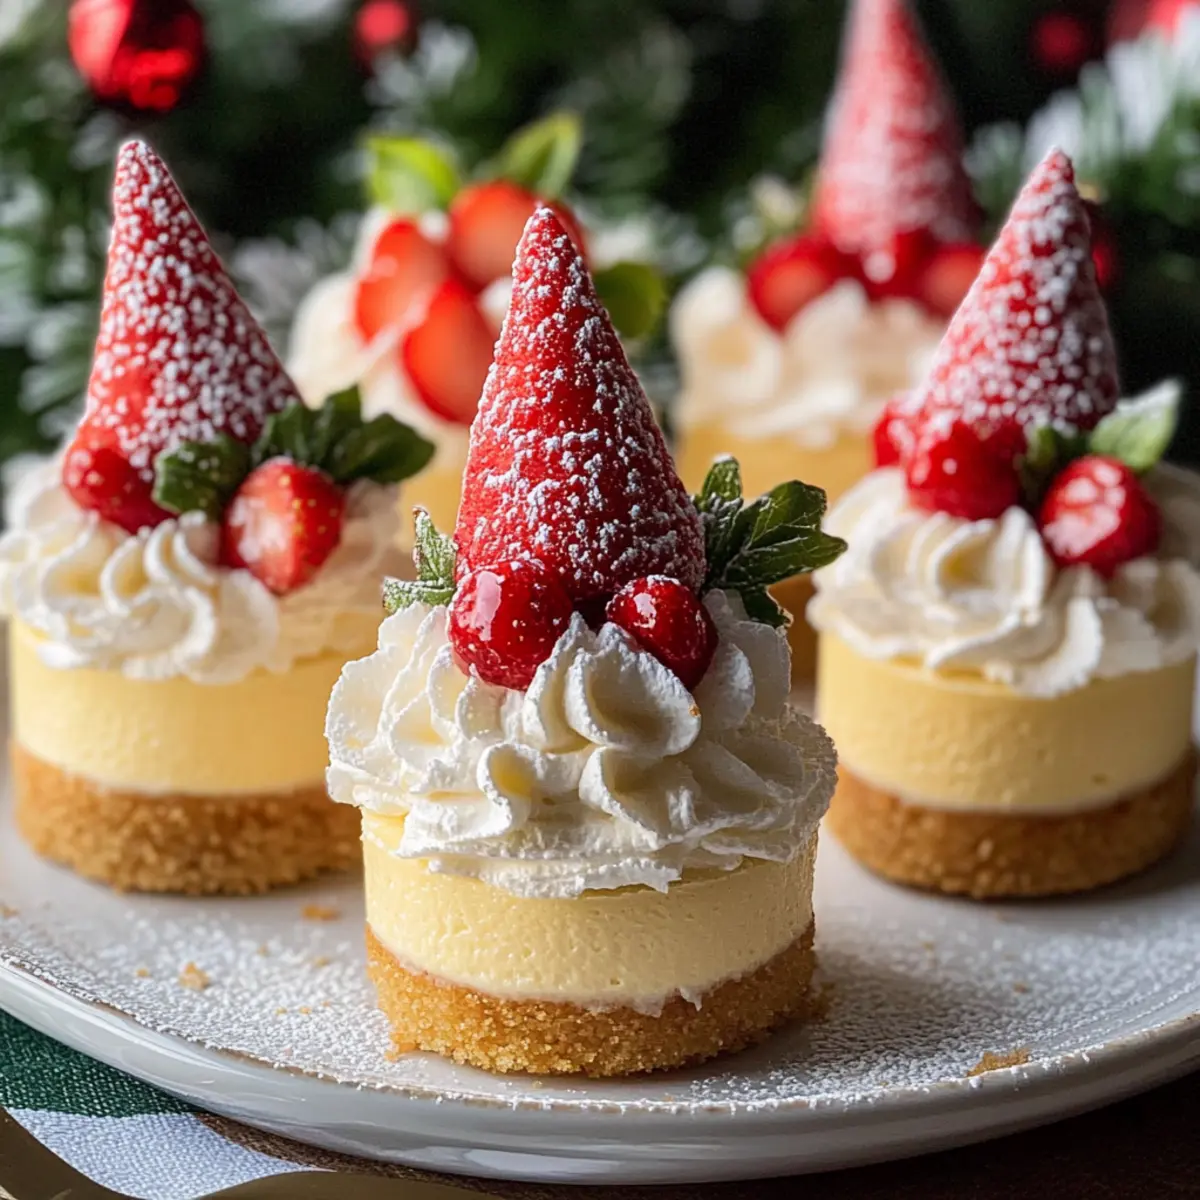
Picture a cozy holiday gathering, laughter filling the air as colorful decorations twinkle in the soft light. That’s the spirit I channel when making Gnome Mini Cheesecakes! These delightful, bite-sized treats not only brighten any festive table but also offer a smooth, creamy texture that charms everyone, from kids to adults. With quick prep and the ability to customize them as gluten-free or even no-bake, they make for an impressive yet accessible dessert. Imagine the joy on your loved ones’ faces as they bite into these adorable little gnomes topped with fresh strawberries and light whipped cream. Ready to whip up some holiday magic in your kitchen? Let’s dive into the fun!
Why Are These Cheesecakes So Special?
Whimsy in Every Bite: These Gnome Mini Cheesecakes are not just desserts; they are little pieces of joy that capture the festive spirit.
Endless Customization: With options for gluten-free and no-bake variations, you can cater to different dietary needs without compromising on taste.
Kid-Friendly Fun: Crafting these charming gnomes is an exciting activity for kids and adults alike, making them perfect for gatherings.
Time-Saving Delight: Ready in under 30 minutes plus chilling time, these cheesecakes are a quick solution to your holiday dessert needs.
Crowd-Pleasing Treat: Their adorable appearance and creamy flavors ensure they will be the star of any dessert table, just like these delightful Mini Tropical Pavlovas.
Gnome Mini Cheesecakes Ingredients
For the Crust
• Graham Cracker Crumbs – This is the base structure for the crust; feel free to use vanilla wafers or gluten-free graham crackers for a tasty alternative.
• Granulated Sugar – Adds just the right sweetness to the crust and cheesecake filling; no substitutions recommended.
• Butter (melted) – Binds the crust together and imparts richness; coconut oil can be used for a dairy-free option.
For the Cheesecake Filling
• Cream Cheese – This ingredient offers a creamy texture and rich flavor; Neufchâtel makes for a lighter version if desired.
• Granulated Sugar (for filling) – Sweetens the cheesecake filling; no substitutions suggested.
• Vanilla Extract – Enhances the overall flavor profile beautifully; stick with the classic version for the best results.
• Eggs – Provide structure and help set the filling; no substitutes recommended unless opting for a no-bake version.
• Sour Cream or Greek Yogurt – Adds tanginess and creaminess, balancing the sweetness; cream cheese can create a denser filling if preferred.
For the Toppings
• Whipped Cream – Adds lightness and a delightful finish; a piping bag can give you a professional-looking result.
• Fresh Strawberries – Perfect for hats on your gnomes; use extra berries for decoration as well.
• Candies – Use them for noses to enhance the whimsical look; let your creativity shine by mixing up the colors!
Create these magical Gnome Mini Cheesecakes and watch the smiles light up your holiday gatherings!
Step‑by‑Step Instructions for Gnome Mini Cheesecakes
Step 1: Preheat and Prepare
Begin your delicious journey by preheating your oven to 325°F (160°C). While the oven warms, line a muffin tin with cupcake liners, making it easy to lift out each adorable Gnome Mini Cheesecake later. This preparation sets the stage for a delightful assembly of flavors that will dazzle your family and friends.
Step 2: Make the Crust
In a medium bowl, combine graham cracker crumbs, granulated sugar, and melted butter until everything is well mixed. The mixture should resemble wet sand, easily moldable yet crumbly. Press this blend firmly into the bottom of each muffin cup, creating a lovely base that will hold your delightful cheesecakes together.
Step 3: Bake the Crust
Slide the muffin tin into your preheated oven and bake the crust for 5 minutes. Keep an eye on them as they should become slightly golden and firm. Once done, remove the tin from the oven and allow it to cool slightly, setting the stage for the creamy cheesecake filling to follow.
Step 4: Prepare the Cheesecake Filling
In a large mixing bowl, beat the cream cheese with an electric mixer on medium speed until smooth and creamy. Gradually mix in the granulated sugar and vanilla extract until fully incorporated, creating a luscious base. The mixture should be fluffy and free of any lumps, ready to hold all the sweet flavors of your Gnome Mini Cheesecakes.
Step 5: Add Eggs and Creaminess
Add the eggs one at a time to the cream cheese mixture, mixing on low speed after each addition until just blended. This is a crucial step, so be gentle to prevent cracks in your cheesecakes. Next, fold in the sour cream or Greek yogurt until combined, enhancing the creamy texture that makes these mini treats irresistible.
Step 6: Fill the Muffin Cups
Carefully spoon the cheesecake batter into each muffin cup, filling them about ¾ full. This allows them to rise slightly during baking. Once all the cups are filled, gently smooth the tops for an even finish. These Gnome Mini Cheesecakes are starting to take shape, waiting for the warmth of the oven.
Step 7: Bake the Cheesecakes
Place the filled muffin tin back into the oven and bake for 18-20 minutes. You’ll know they’re ready when the edges look set but the centers still have a slight jiggle. This contrast will yield the creamy texture we adore in cheesecakes, so resist the urge to overbake!
Step 8: Cool and Chill
Once baked, turn off the oven and leave the cheesecakes inside for 10 minutes, allowing them to cool gradually and prevent cracking. Afterward, move them to a wire rack to cool completely. For that delightful chill, refrigerate your Gnome Mini Cheesecakes for at least 2 hours, ensuring they are perfectly set before their grand appearance.
Step 9: Decorate with Whimsy
After the chilling time, it’s time for the fun! Use whipped cream to create fluffy hats atop each mini cheesecake. Top with fresh strawberries for a cheerful gnome effect, and place colorful candies for noses, bringing each one to life. This playful decorating step adds a special touch to your festive gathering.
Expert Tips for Gnome Mini Cheesecakes
-
Crust Consistency: Ensure that your graham cracker crumb mixture resembles wet sand. If too dry, the crust may crumble and not hold its shape.
-
Gentle Mixing: When adding eggs, mix on low speed and just until combined to prevent cracks in your cheesecakes, ensuring a smooth finish.
-
Chilling Time: For the best flavor and texture, refrigerate the Gnome Mini Cheesecakes for at least 2 hours before serving; they will set better and be easier to decorate.
-
Decorating Fun: Use a piping bag for the whipped cream for a professional touch; creativity in decoration makes these mini cheesecakes even more delightful!
-
Flavor Variations: Don’t hesitate to experiment with different toppings or fillings to personalize your Gnome Mini Cheesecakes and surprise your guests!
What to Serve with Gnome Mini Cheesecakes?
Picture a delightful holiday spread, where each bite of these whimsical treats pairs perfectly with a variety of sides to create an unforgettable feast.
-
Festive Fruit Salad: Fresh fruits like berries and oranges add brightness and a refreshing contrast to the creamy cheesecakes, perfect for breaking up the richness.
-
Creamy Vanilla Ice Cream: A scoop of smooth, velvety vanilla ice cream complements the mini cheesecakes' rich flavors and adds a delightful temperature contrast.
-
Chocolate Drizzle: A simple chocolate sauce poured over your Gnome Mini Cheesecakes offers a luxurious touch, enhancing the sweetness that everyone loves.
-
Hot Cocoa or Mulled Wine: A warm drink like hot cocoa or spiced mulled wine rounds out the festive ambiance, inviting guests to linger and indulge in the cozy flavors of the season.
-
Nutty Biscotti: Crunchy, nutty biscotti complements the smooth texture of the cheesecakes, creating a delightful textural contrast that enhances each bite.
-
Whipped Cream Topping: Extra whipped cream served on the side allows guests to customize the amount of lightness they desire atop their delightful cheesecakes.
Craft a full culinary experience by pairing these delightful sides with your adorable Gnome Mini Cheesecakes, and watch the smiles bloom around your table!
How to Store and Freeze Gnome Mini Cheesecakes
Fridge: Keep your Gnome Mini Cheesecakes in an airtight container, and they will stay fresh for up to 4 days.
Freezer: For longer storage, freeze unadorned cheesecakes for up to 2 months. Thaw overnight in the fridge before decorating.
Reheating: These treats are best served cold. If desired, let them sit at room temperature for 15-20 minutes before serving for a softer texture.
Make Ahead: Prepare the cheesecakes up to 1-2 days in advance; simply decorate before serving to keep them looking fresh and delightful!
Gnome Mini Cheesecakes Variations & Substitutions
Feel free to let your creativity shine and customize these delightful mini cheesecakes to suit your taste and dietary needs!
-
Gluten-Free: Use gluten-free graham crackers instead of regular for a completely gluten-free dessert. Your friends with dietary restrictions will appreciate this thoughtful touch!
-
No-Bake Option: Swap the classic cheesecake filling for a no-bake version by using cream cheese, whipped cream, and gelatin. This twist lets you skip the oven while still achieving a creamy finish.
-
Flavorful Fruit Swirl: Fold in a fruit puree like raspberry or mango into the filling before baking. This adds a burst of color and a fruity kick!
-
Chocolate Lover's Delight: Mix in cocoa powder for a rich chocolate cheesecake filling. Top with chocolate shavings or mini chocolate chips for an extra treat.
-
Nutty Variations: Blend crushed nuts like almonds or pecans into the crust for added texture and a nutty flavor. It’ll give your cheesecakes a delightful crunch.
-
Spiced Delight: Add a pinch of cinnamon or nutmeg to the cheesecake batter for a warm, cozy vibe. This is perfect for holiday gatherings when everyone loves a bit of spice!
-
Zesty Lemon Cheesecake: Incorporate fresh lemon zest into the filling for a refreshing twist, making a perfect spring flavor. The bright citrus adds vibrancy and freshness to each bite.
For more delightful dessert inspirations, don’t miss out on these lovely Mini Tropical Pavlovas that will surely add a colorful splash to your festive table!
Make Ahead Options
These Gnome Mini Cheesecakes are perfect for busy cooks looking to save time during the holiday rush! You can prepare the cheesecake batter up to 24 hours in advance; simply store it in an airtight container in the refrigerator to maintain that creamy texture. The crust can also be made and baked 1-2 days ahead; just keep it covered at room temperature. When you're ready to serve, fill the muffin cups with the chilled batter and bake as directed. After cooling, let them chill in the fridge for at least 2 hours before decorating. This way, you’ll have charming desserts that are just as delicious as if they were made fresh the day of serving!
Gnome Mini Cheesecakes Recipe FAQs
What should I look for when selecting ingredients?
For the best results, choose fresh cream cheese that is smooth and has no lumps. When picking strawberries for decoration, look for vibrant red berries that are firm and free of dark spots or blemishes. For graham crackers, choose a brand that doesn't have added sugars or preservatives for a cleaner taste in your crust.
How should I store leftover Gnome Mini Cheesecakes?
Store your cheesecakes in an airtight container in the refrigerator, where they will stay fresh for up to 4 days. Place a piece of parchment paper between layers if stacking them to prevent sticking. This way, you can enjoy them at your leisure throughout the week!
Can I freeze Gnome Mini Cheesecakes?
Absolutely! To freeze your cheesecakes, place the unadorned cheesecakes in a single layer on a baking sheet and freeze until solid. Then, transfer them to an airtight container or freezer-safe bag. They can be kept for up to 2 months. When you’re ready to serve, thaw them overnight in the refrigerator before adding your toppings.
What if my cheesecakes crack during baking?
If your cheesecakes crack, don’t fret! This happens when they’re overmixed or baked too long. To avoid this, mix the eggs on low speed and just until combined. If a crack does form, consider covering it with whipped cream or fresh strawberries for a charming look—nobody will notice!
Can I make Gnome Mini Cheesecakes gluten-free?
Yes! Simply swap the graham cracker crumbs for gluten-free alternatives. There are many options available, and they all provide delicious results without the gluten. This way, everyone can enjoy the whimsical delight of these mini cheesecakes at your festive gatherings!
Are there any dietary considerations for pets or allergies?
Please note that this recipe contains common allergens, such as dairy and eggs, which can be harmful to pets. Always keep desserts out of reach of your furry friends. If serving to guests with allergies, be sure to double-check ingredient labels and consider alternative ingredients that suit their dietary needs.
Gnome Mini Cheesecakes: Adorable Treats for Your Party
Ingredients
Equipment
Method
- Preheat oven to 325°F (160°C) and line a muffin tin with cupcake liners.
- In a bowl, mix graham cracker crumbs, sugar, and melted butter.
- Press mixture into muffin cups to form the crust.
- Bake for 5 minutes until golden, then cool slightly.
- Beat cream cheese until smooth, then mix in sugar and vanilla.
- Add eggs one at a time, mixing on low speed after each addition. Fold in sour cream or yogurt.
- Spoon cheesecake batter into muffin cups, filling ¾ full.
- Bake for 18-20 minutes until edges are set and centers jiggle slightly.
- Cool in the oven for 10 minutes, then transfer to a rack and refrigerate for at least 2 hours.
- Decorate with whipped cream, fresh strawberries, and candies.


Leave a Reply