
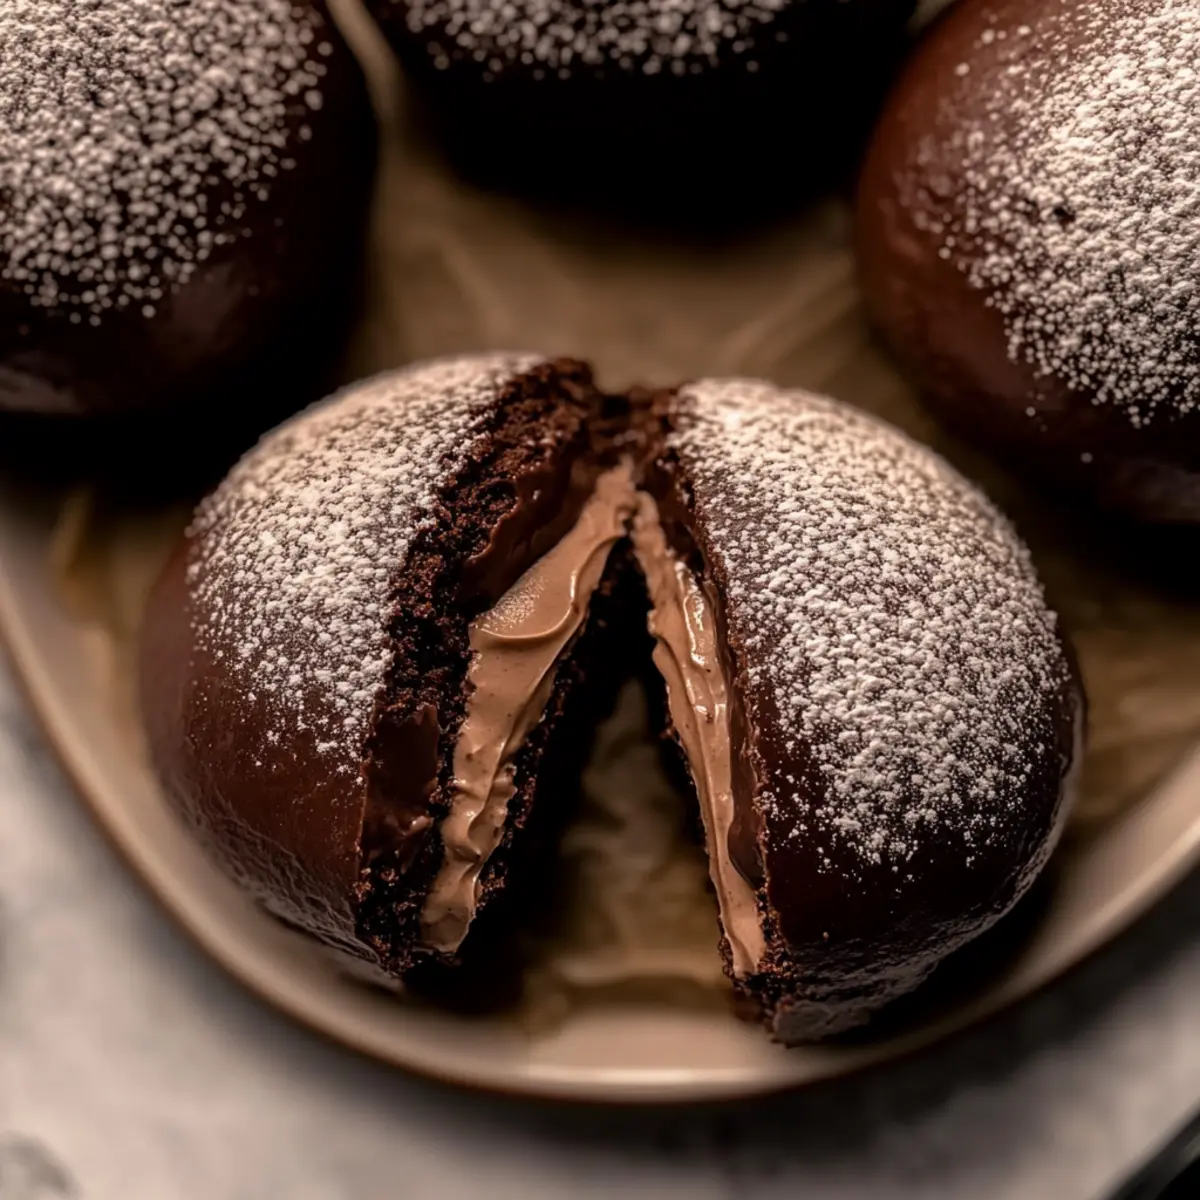
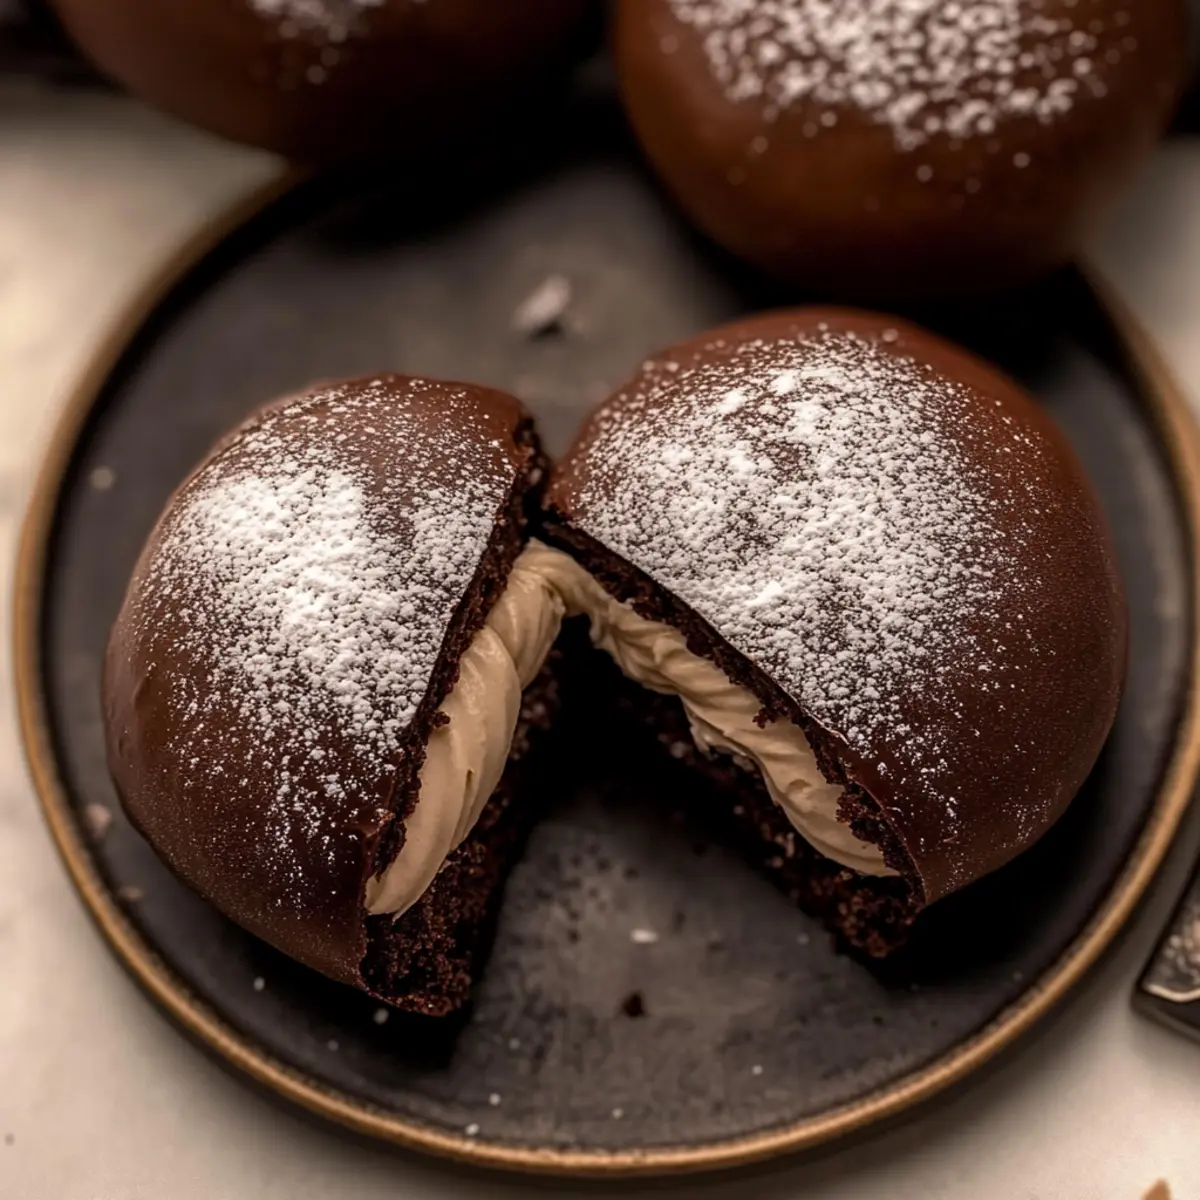
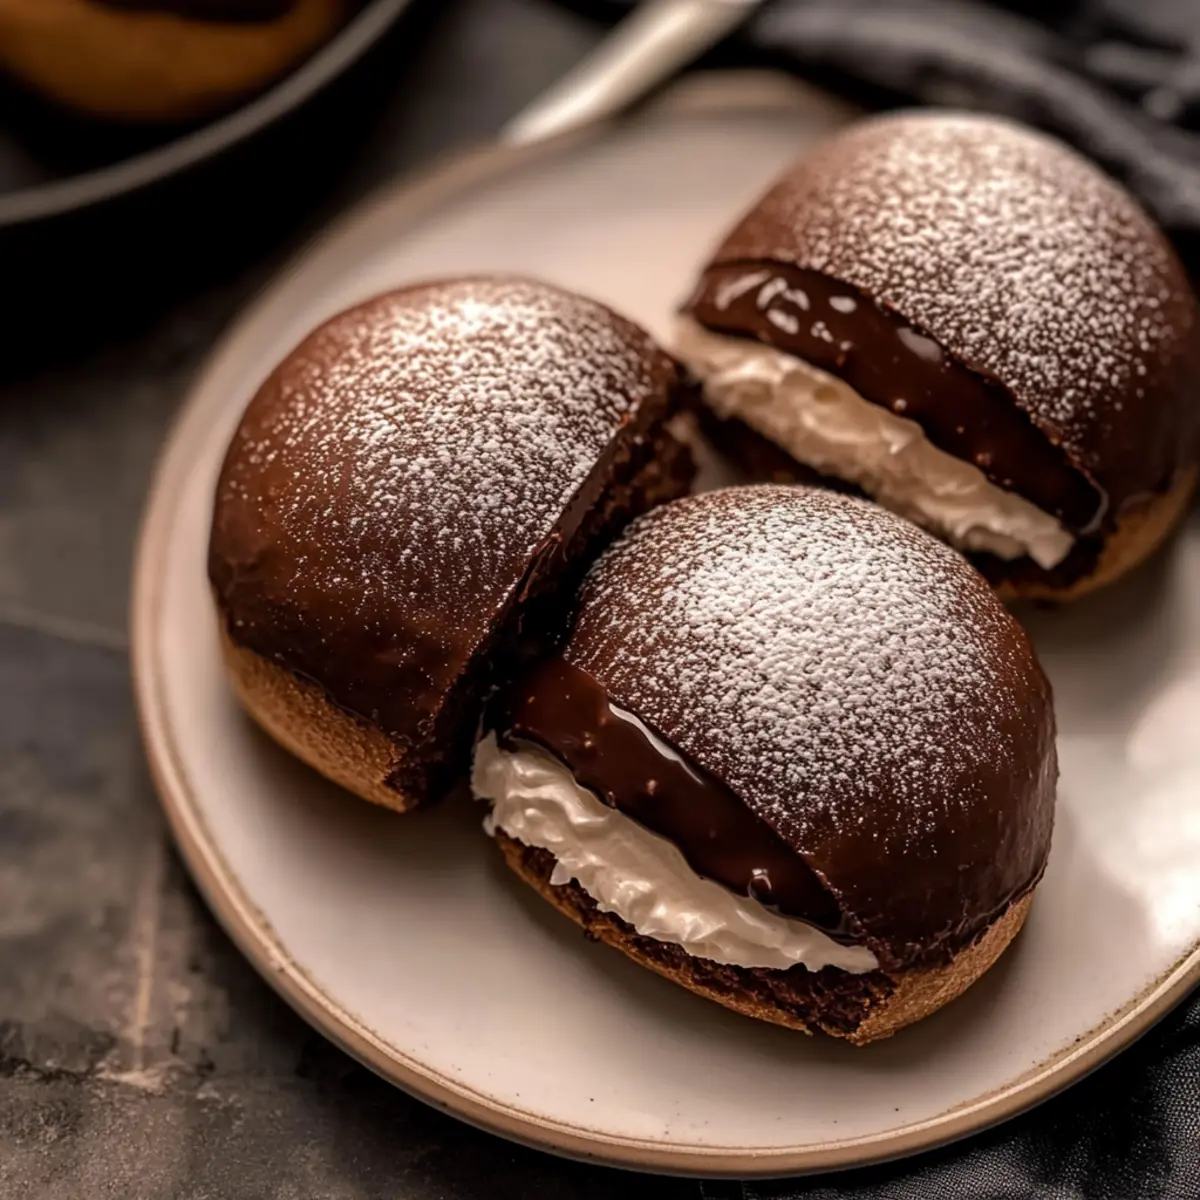
Walking through the charming streets of Rome, I stumbled upon a little café that promised an explosion of joy in every bite. What caught my eye? The warm glow of Chocolate Maritozzi nestled in a display window, their soft, chocolate-hued dough inviting me to indulge. These delightful Italian pastries are not only a feast for the eyes but also incredibly simple and quick to make at home. With their airy, whipped cream filling, you’ll experience a heavenly combination of textures that’s simply irresistible. Perfect for a special brunch or a sweet treat any day of the week, Chocolate Maritozzi bring an indulgent twist to your dessert repertoire without all the fuss. Curious about recreating this Italian masterpiece in your kitchen? Let's dive into the recipe!
Why are Chocolate Maritozzi so adored?
Irresistible Softness: Experience the tenderness of these delightful pastries, providing a melt-in-your-mouth sensation with every bite.
Decadent Filling: The luscious chocolate whipped cream adds a rich, sweet depth that makes these treats utterly satisfying.
Quick and Easy: With simple ingredients and straightforward steps, you can whip up a batch in no time, perfect for spontaneous cravings.
Versatile Treat: Serve them for brunch, dessert, or an afternoon snack—Chocolate Maritozzi adapt to any occasion.
Crowd-Pleasing Dessert: Impress friends and family with a taste of Italy; these pastries are sure to be a hit at any gathering. Pair them with a cozy cup of Homemade Hot Chocolate for an ultimate indulgence!
Chocolate Maritozzi Ingredients
For the Dough
- All-Purpose Flour – Primary structure; contributes to the dough texture. Substitute with bread flour for a chewier bite.
- Bread Flour – Adds additional protein for structure. No direct substitution recommended for desired texture.
- Instant Yeast – Leavening agent; provides fluffiness. Active dry yeast can be used if proofed first.
- Granulated Sugar – Sweetness and tenderizes the dough. Can substitute with coconut or brown sugar for different flavors.
- Salt – Enhances flavors; balances sweetness. Essential and should not be skipped.
- Vanilla – Flavor enhancer; use pure vanilla extract for best results.
- Eggs – Adds richness and moisture; helps with structure. Can substitute with flax eggs for a vegan option.
- Milk (Whole or 2%) – Hydrates the dough; aids in yeast activation. Any non-dairy milk can work as a substitute.
- Neutral Oil (Vegetable or Canola) – Moisture and softness; maintains tenderness. Any neutral oil can be used.
- Cocoa Powder (Dutch Process) – Provides chocolate flavor and color. Regular cocoa powder can be used but will alter the taste slightly.
- Egg (for Wash) – Glossy finish on baked buns. Can omit for a matte appearance.
For the Whipped Cream Filling
- Heavy Whipping Cream – Main component of the filling; creates a rich, creamy texture. Coconut cream can be substituted for a dairy-free option.
- Powdered Sugar – Sweetens and stabilizes the whipped cream. Can use less for a lower-sugar option.
- Salt (for Whipped Cream) – Balances the sweetness. Essential for flavor depth.
Indulge your senses with these delightful Chocolate Maritozzi—a captivating blend of flavors awaits!
Step‑by‑Step Instructions for Chocolate Maritozzi
Step 1: Mix the Dough
In a stand mixer, combine all the dough ingredients: all-purpose flour, bread flour, instant yeast, granulated sugar, salt, vanilla extract, eggs, milk, neutral oil, and cocoa powder. Use the dough hook attachment to knead on medium speed for about 8-10 minutes until the dough is smooth and slightly sticky. You may need to scrape down the sides periodically to ensure all ingredients are well combined.
Step 2: First Rise
Once your dough is ready, transfer it to a greased bowl, covering it with a clean kitchen towel or plastic wrap. Place it in a warm area and let it rise for 1-2 hours, or until it has doubled in size. You’ll know it’s risen when it feels light and airy—this is crucial for achieving perfectly soft Chocolate Maritozzi.
Step 3: Preheat and Prepare
With the dough finished rising, preheat your oven to 350°F (175°C) and line a baking sheet with parchment paper. This will prevent sticking and ensure even cooking. Measuring out your ingredients now will help streamline the process for the next steps as you prepare to form the pastries.
Step 4: Shape the Dough
After the dough has risen, gently punch it down to release excess air. Divide it into 8-12 equal pieces, shaping each into smooth balls. Place the shaped balls on the prepared baking sheet, leaving enough space between each for further rising. Cover them lightly with a towel and let rise again for 30-60 minutes until expanded and puffy.
Step 5: Egg Wash and Bake
Before baking, brush each bun with an egg wash made from a beaten egg, which helps achieve a golden, glossy finish. Bake the Chocolate Maritozzi in the preheated oven for 16-18 minutes, or until they sound hollow when tapped. They should look beautifully golden brown, perfect for cooling before the filling.
Step 6: Whip the Cream
While the buns cool, prepare the decadent chocolate whipped cream filling. In a mixing bowl, combine heavy whipping cream, cocoa powder, powdered sugar, and a pinch of salt. Use an electric mixer to whip on medium-high speed for about 3-5 minutes until stiff peaks form. The cream should be light and fluffy, ready to envelop your Chocolate Maritozzi.
Step 7: Fill and Serve
Once the buns have cooled completely, slice each one partially open, creating a pocket for the luscious whipped cream. Use a piping bag or a spoon to generously fill each bun with the whipped cream, smoothing it down flush with the surface. For an extra touch, dust with powdered sugar before serving to make these Chocolate Maritozzi a sight to behold!

What to Serve with Soft Chocolate Maritozzi
Indulge in a complete experience by pairing these heavenly treats with delightful accompaniments that enhance their rich flavors.
- Espresso: The bold, robust flavor of a shot of espresso harmonizes beautifully with the sweet creaminess of the Chocolate Maritozzi.
- Berry Compote: A fresh and tangy berry compote cuts through the richness, providing a refreshing contrast that elevates each bite.
- Vanilla Gelato: Creamy vanilla gelato adds a delightful creaminess, making every mouthful of Maritozzi feel even more indulgent.
- Hazelnut Croissant: Pair with a flaky hazelnut croissant for a delectable brunch spread, complementing the chocolate richness with nutty notes.
- Cheese Platter: A selection of soft cheeses, like mascarpone or ricotta, offers a savory balance, enhancing the overall dessert experience.
- Sweet Red Wine: A glass of sweet red wine brings a layer of depth to the flavors, making your dessert moment feel exquisite.
- Pistachio Butter: Spread a little pistachio butter on your Maritozzi for an extra layer of flavor and delightful crunch, elevating the sweet treat.
- Mini Fruit Tarts: Serve with mini fruit tarts for a colorful dessert table, presenting a beautiful contrast to the chocolate richness.
Storage Tips for Chocolate Maritozzi
Room Temperature: Unfilled Chocolate Maritozzi can be kept at room temperature for up to 3 days in an airtight container to maintain their softness.
Fridge: If you've filled the pastries with whipped cream, they should be refrigerated and enjoyed within 2 days to ensure freshness and optimal texture.
Freezer: For longer storage, you can freeze unfilled buns for up to 3 months. Just wrap them tightly in plastic wrap and then in aluminum foil before placing them in a freezer bag.
Reheating: To reheat, thaw at room temperature, then gently warm in a preheated oven at 350°F for about 5 minutes to restore softness before adding the filling.
Chocolate Maritozzi Variations & Substitutions
Feel free to explore the endless possibilities of flavor and texture with these fun tweaks!
- Dairy-Free: Replace heavy whipping cream with coconut cream to make a delicious vegan filling. It’s rich and creamy, without any dairy!
- Flavored Whipped Cream: Stir in a splash of almond or hazelnut extract to the whipped cream for a delightful twist. Each bite will carry a hint of nutty warmth.
- Chocolate Chips: Fold in mini chocolate chips into the whipped cream filling for an extra decadent surprise. The little bursts of sweetness will take your Chocolate Maritozzi to the next level.
- Fruit Jam: Add a layer of your favorite fruit jam, like raspberry or apricot, before filling with whipped cream. This adds a lovely fruity tartness that balances beautifully with the chocolate.
- Nutty Touch: Sprinkle crushed nuts, like hazelnuts or almonds, into the filling for added texture and crunch. The combination of flavors will bring a delightful contrast.
- Cocoa Dusting: Instead of powdered sugar, dust the tops with cocoa powder for an intensified chocolate experience. It’s a subtle change that enhances the chocolate goodness!
- Spicy Kick: For those who enjoy a bit of heat, sprinkle some cayenne pepper into the whipped cream filling to create a spicy chocolate flavor. It’s daring but delightful!
- Mini Maritozzi: Shape smaller buns for bite-sized treats perfect for a party platter. They’ll be irresistible and disappear quickly!
For an exquisite dessert pairing, serve your Chocolate Maritozzi alongside a cup of rich Homemade Hot Chocolate or even go Italian with a sumptuous German Chocolate Poke! Each variation is a new adventure waiting to unfold in your kitchen.
Make Ahead Options
These Chocolate Maritozzi are perfect for busy home cooks looking to save time without sacrificing flavor! You can prepare the dough up to 24 hours in advance by mixing it and letting it rise, then refrigerate it in a greased bowl. When you're ready to bake, simply let the dough come to room temperature for about 30 minutes before shaping and completing the second rise. Additionally, you can whip the chocolate filling and store it in the refrigerator for up to 3 days in an airtight container. This way, when your Chocolate Maritozzi are baked and cooled, you can fill them quickly before serving, ensuring they are just as delicious as if made fresh.
Expert Tips for Chocolate Maritozzi
- Dough Consistency: Ensure the dough is slightly sticky while kneading to achieve that soft texture in your Chocolate Maritozzi. Too dry, and they’ll be dense!
- Proper Rising: Find a warm spot for the dough to rise; a too-cool environment can slow fermentation and affect fluffiness.
- Perfect Egg Wash: For a glossy finish, brush on the egg wash thoroughly. Omit it if you prefer a more rustic look, but this adds visual appeal!
- Cool Completely: Allow the buns to cool completely before filling them with whipped cream to prevent the cream from melting.
- Stabilize Whipped Cream: If making ahead, stabilize your whipped cream with gelatin to keep it fluffy longer; otherwise, fill just before serving for the best texture.
Chocolate Maritozzi Recipe FAQs
What’s the best way to select ripe ingredients for the Chocolate Maritozzi?
Absolutely! For the freshest results, pick eggs that feel heavy and have smooth, uncracked shells. Choose all-purpose flour that's finely milled, and always check the expiration date on your baking powder and yeast. For the cream, look for heavy whipping cream with at least 36% milk fat for the best texture in your filling.
How should I store my Chocolate Maritozzi?
I recommend storing unfilled buns at room temperature in an airtight container for up to 3 days. If any buns are left filled with whipped cream, pop them in the fridge and enjoy them within 2 days to maintain that delicious softness. This way, they’ll stay fresh and ready to indulge at any time!
Can I freeze Chocolate Maritozzi and if so, how?
Yes, you can absolutely freeze the unfilled Chocolate Maritozzi! Wrap each bun tightly in plastic wrap, then in aluminum foil to prevent freezer burn. Place them in a freezer bag for extra protection. They can be stored for up to 3 months. To enjoy, just thaw at room temperature, and if desired, warm them briefly in the oven before filling them.
What common issues should I watch out for when making Chocolate Maritozzi?
Very good question! If your dough is dense and doesn’t rise, it could be due to expired yeast or an environment that’s too cool. Ensure your yeast is active by proofing it in warm water with a bit of sugar before adding it to your dry ingredients. If the whipped cream seems too runny, try whipping it longer and ensure your bowl and beaters are cold. Adding a stabilizer like gelatin can also help maintain its structure.
Can I make Chocolate Maritozzi vegan or allergen-friendly?
Absolutely! You can replace eggs with flax eggs (1 tablespoon ground flaxseed mixed with 3 tablespoons water for each egg). Use coconut cream instead of heavy cream for the filling which keeps it dairy-free. For flour, look for a gluten-free blend if needed, but keep in mind it may alter the texture. These adaptations ensure everyone can enjoy this delightful treat!
How can I enhance the flavor profile of my Chocolate Maritozzi?
Very! You can experiment with flavored extracts, like almond or hazelnut, added to the whipped cream. Also, consider folding in fruit preserves or chocolate chips into the filling for a delightful surprise. A light dusting of cocoa powder instead of powdered sugar can also enhance the chocolate experience beautifully!
Decadent Chocolate Maritozzi: Soft Italian Delights Await
Ingredients
Equipment
Method
- In a stand mixer, combine all the dough ingredients and knead on medium speed for about 8-10 minutes until smooth and slightly sticky.
- Transfer the dough to a greased bowl, cover with a towel, and let rise for 1-2 hours until doubled in size.
- Preheat the oven to 350°F (175°C) and line a baking sheet with parchment paper.
- Punch down the dough, divide into 8-12 pieces, shape them into balls, and let rise again for 30-60 minutes.
- Brush each bun with egg wash and bake for 16-18 minutes until golden brown.
- Prepare the chocolate whipped cream by whipping heavy cream with cocoa powder, powdered sugar, and salt until stiff peaks form.
- Slice each cooled bun partially open, fill with whipped cream, and dust with powdered sugar before serving.


Leave a Reply