
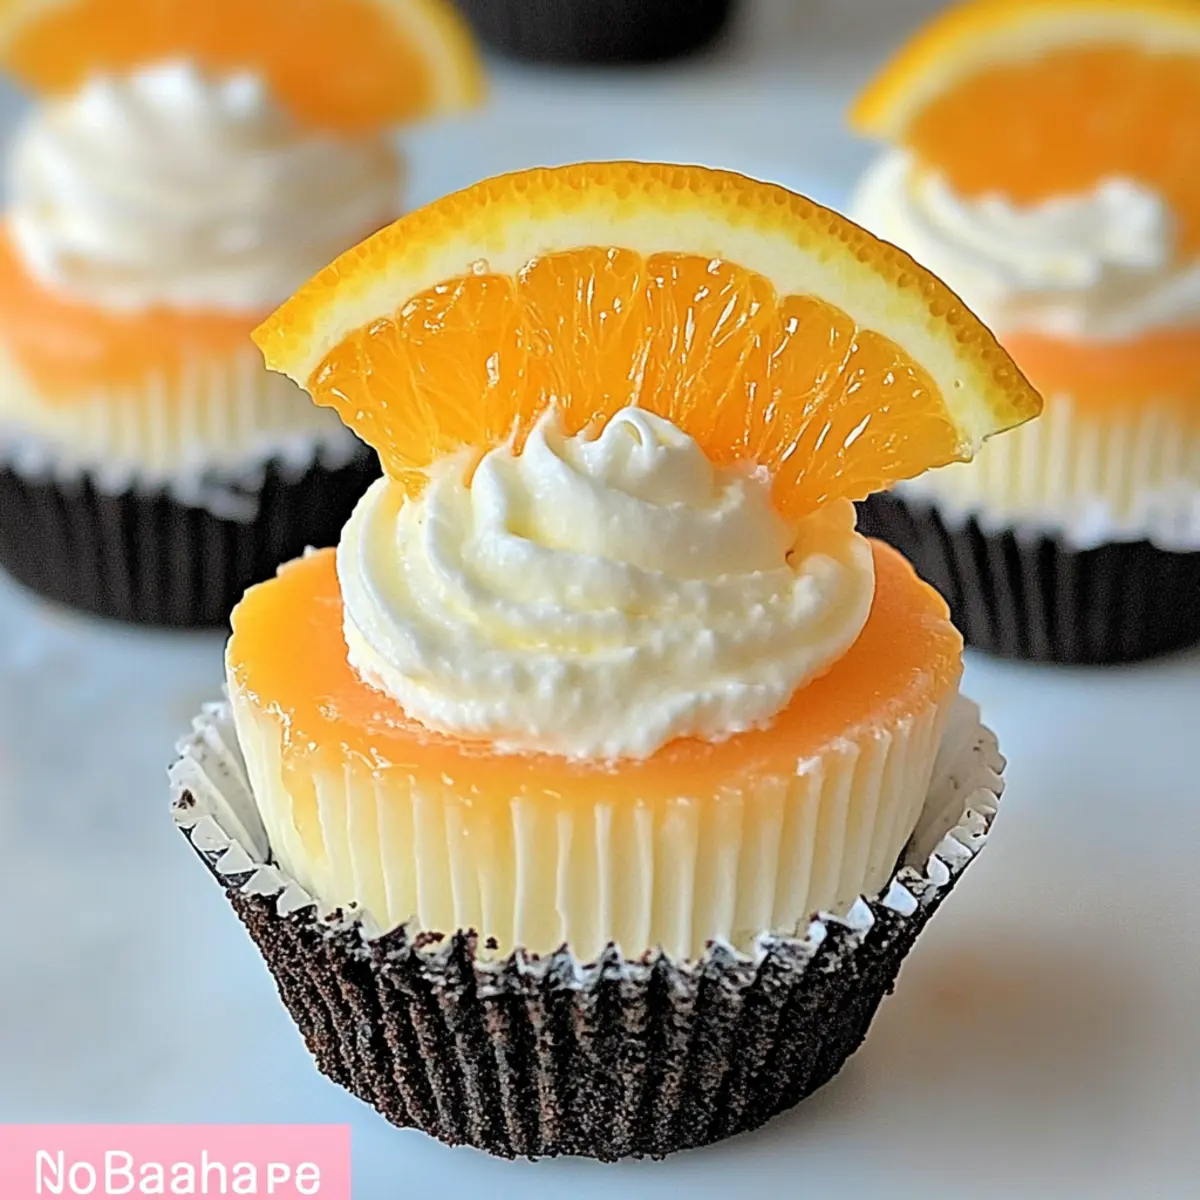
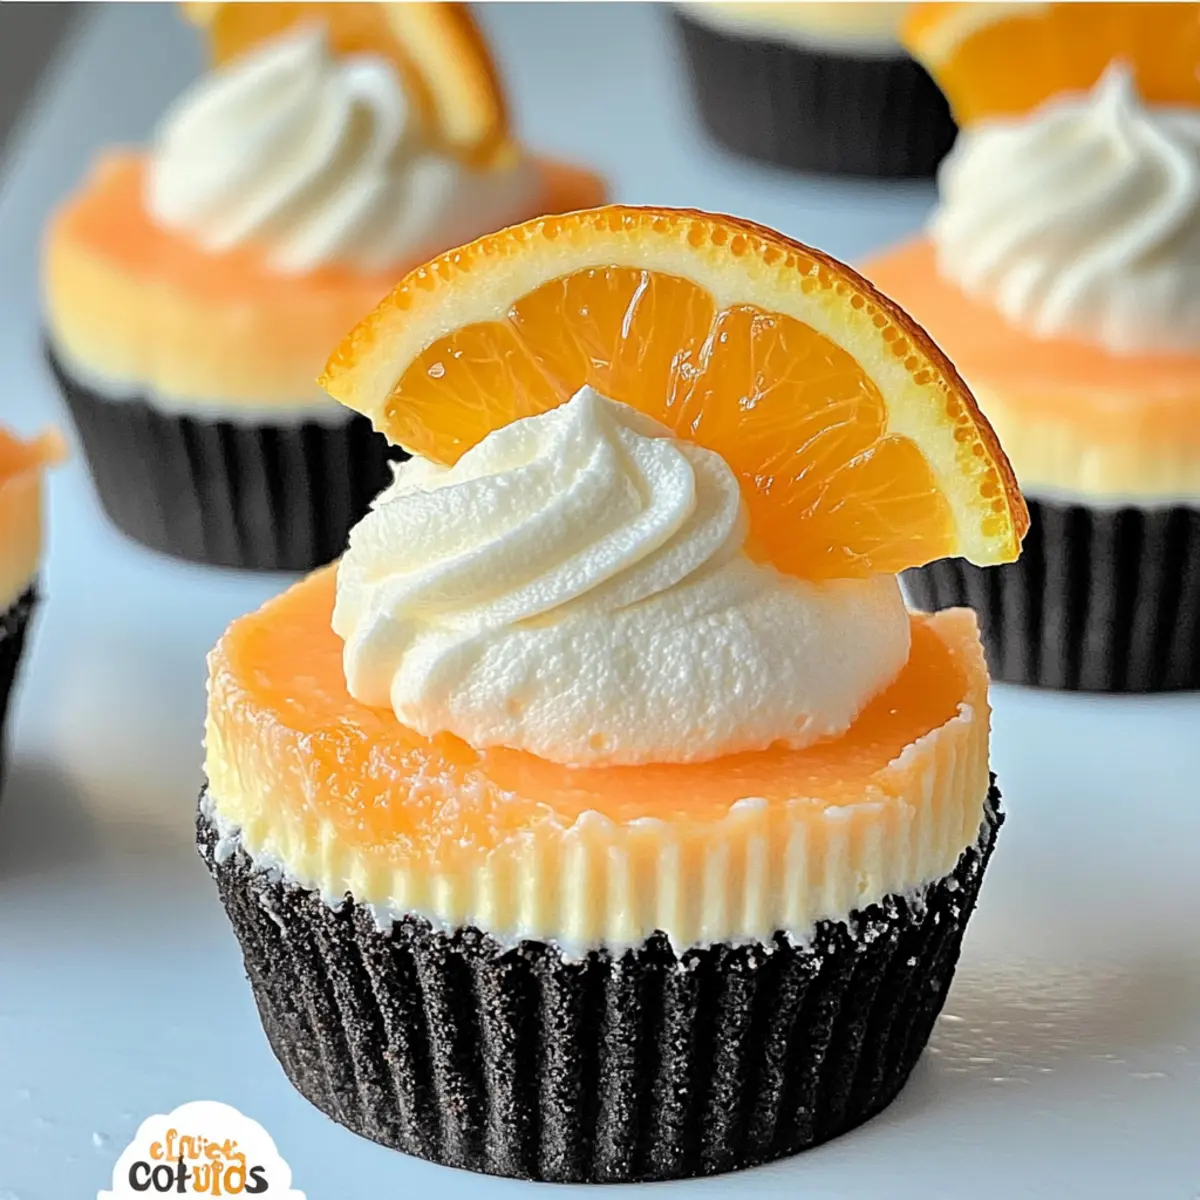
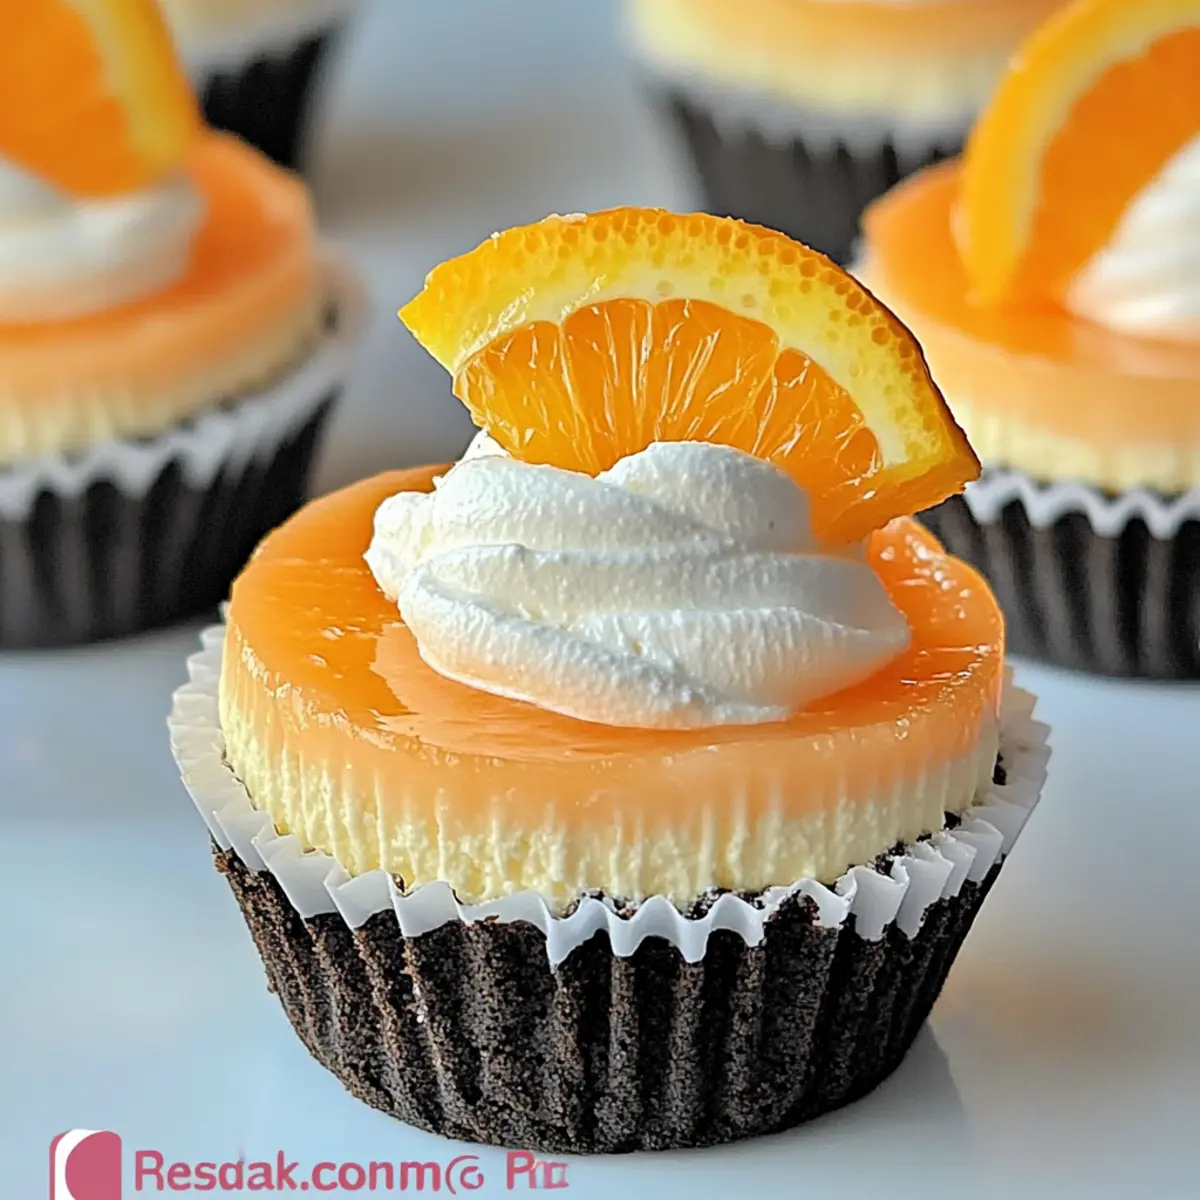
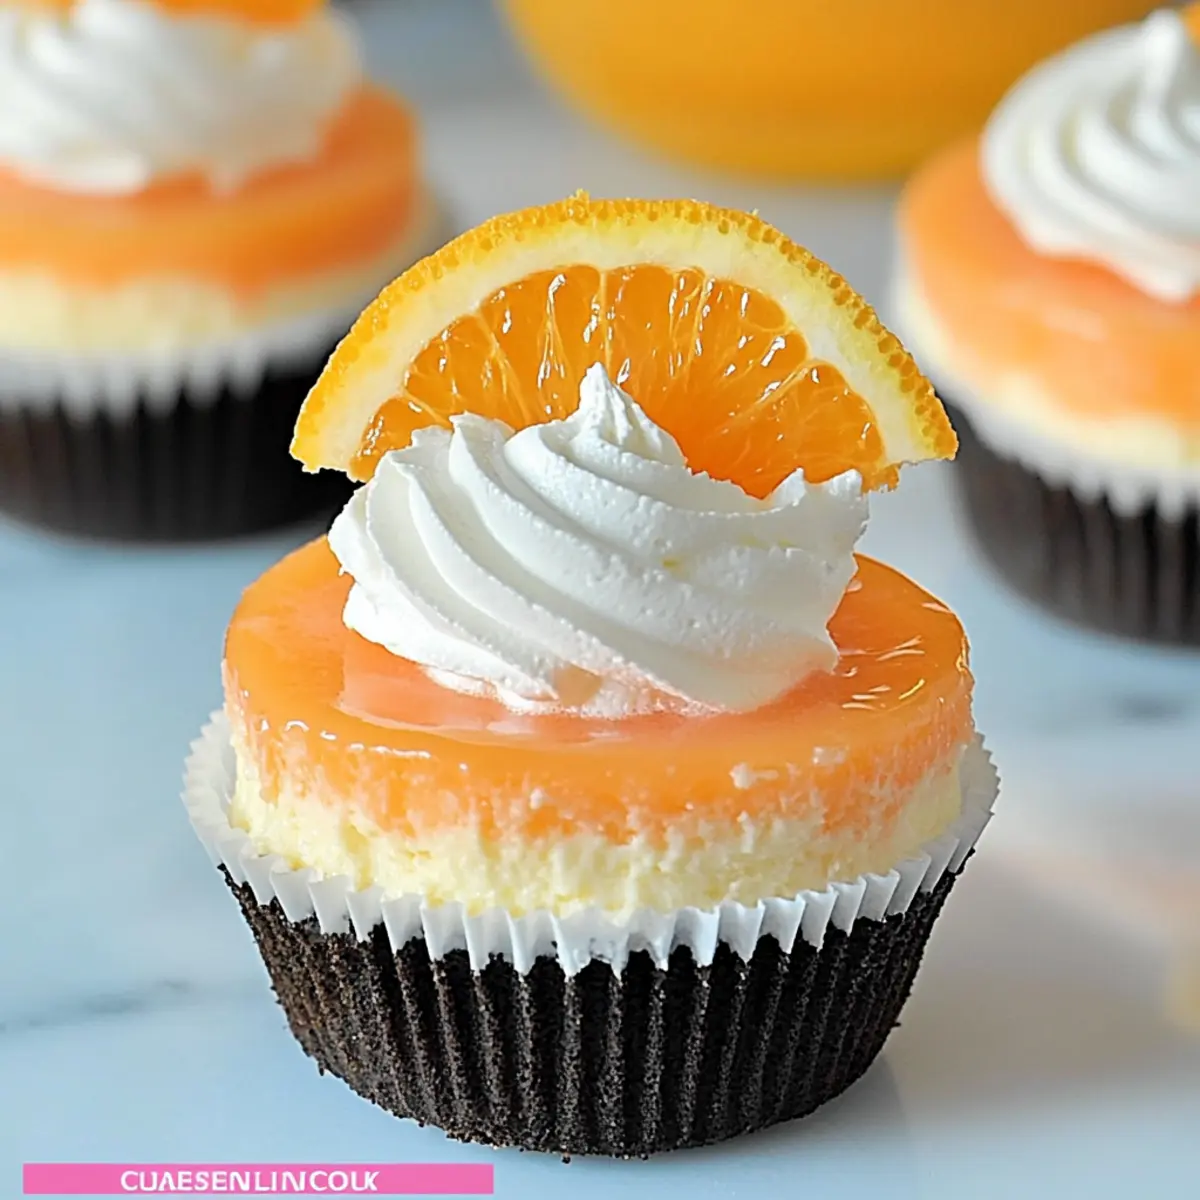
As I scooped out the last bits of the creamy filling from my childhood favorite, I realized I had the perfect inspiration for my next dessert adventure: No-Bake Orange Creamsicle Mini Cheesecakes. Combining the nostalgic flavors of a classic creamsicle with a rich cheesecake twist, this delightful summer treat can be whipped up without ever turning on the oven. The simple Oreo crust pairs wonderfully with the airy, orange-infused cheesecake, making these mini delights not just easy to prepare but also perfect for those hot days when you crave something refreshing. Whether you're hosting a summer barbecue or looking for a sweet snack option, these individually portioned treats are sure to impress. Curious to see just how simple it is to recreate a bit of that childhood joy? Let’s dive in!
Why Make Orange Creamsicle Mini Cheesecakes?
Nostalgic Flavor: These mini cheesecakes pack the classic, creamy essence of a frozen creamsicle, perfect for reminding you of carefree summer days.
No-Bake Wonder: Skip the oven! This easy recipe comes together in no time, allowing you to relish deliciousness without the heat of baking.
Creamy Textures: The combination of airy whipped cream and smooth cream cheese creates an irresistibly creamy delight, complemented by a crunchy Oreo base.
Versatile Variations: Feel free to switch up the flavors! Try different fruits or even a chocolate drizzle for an extra indulgent twist, as seen with Mini Tropical Pavlovas.
Perfect Portions: Individually sized, these cheesecakes are not only visually appealing but also make for easy serving at any gathering.
Make Ahead: Prepare ahead of time and store them for effortless hosting, ensuring you're ready to impress your guests without the last-minute rush.
Orange Creamsicle Mini Cheesecake Ingredients
For the Crust
• Oreo Cookies – A fantastic crust base; substituting gluten-free cookies maintains the same crunch for a gluten-free option.
For the Cheesecake Filling
• Cream Cheese (16 oz) – This creamy foundation requires room temperature for easy mixing and a smooth texture.
• Powdered Sugar (½ cup) – Adds just the right sweetness; feel free to use a sugar substitute for a lower-calorie version.
• Vanilla Extract (1 tsp) – Enhances the overall flavor profile of the cheesecake.
• Heavy Whipping Cream (1 cup) – Whipped to deliver that lovely, fluffy texture; can be replaced with coconut cream for a dairy-free treat.
• Orange (1, zest) – Freshens up the flavors; you can swap in 1-2 tbsp of orange juice if necessary.
• Orange Extract (½ tsp) – Intensifies the delightful orange essence of these Orange Creamsicle Mini Cheesecakes.
• Orange Gel Food Coloring (2-3 drops) – Optional but adds a beautiful pop of color to the cheesecakes.
For Garnishing
• Whipped Cream – Use as a delightful topping for added creaminess.
• Orange Slices – Fresh, vibrant garnish to enhance visual appeal and flavor.
Step‑by‑Step Instructions for Orange Creamsicle Mini Cheesecakes
Step 1: Prepare the Muffin Tin
Start by preparing a standard muffin tin with 12 cupcake liners, ensuring each liner is placed securely. Next, place one whole Oreo cookie at the bottom of each liner, creating a solid crust base for your Orange Creamsicle Mini Cheesecakes. This should be done right before mixing the cheesecake filling for efficiency.
Step 2: Mix the Cheesecake Base
In a medium mixing bowl, combine 16 ounces of room-temperature cream cheese with ½ cup of powdered sugar. Using an electric mixer, beat the mixture on medium speed for about 2-3 minutes until it transforms into a smooth and creamy consistency. This is essential to achieve the light texture that your mini cheesecakes will boast.
Step 3: Whip the Cream
In a separate bowl, pour in 1 cup of heavy whipping cream. Using a hand mixer, whip the cream on medium-high speed until soft peaks begin to form, which takes about 2-4 minutes. Once soft peaks are reached, gently add in ½ teaspoon of orange extract. Continue whipping until stiff peaks form, ensuring the cream is not over-whipped for a light finish.
Step 4: Combine Mixtures
Gently fold the smooth cream cheese mixture into the whipped cream using a spatula, being careful not to deflate the whipped cream. Stir the two mixtures just until fully blended, creating a cohesive filling. After this, divide the combined mixture into two bowls for the two distinct layers of your Orange Creamsicle Mini Cheesecakes.
Step 5: Assemble the First Layer
Take one portion of the blended mixture and spoon it evenly over each Oreo crust in the muffin tin. Spread the cheese layer smoothly with an offset spatula, making sure to fill each liner generously. This layer will provide the creamy foundation for your mini cheesecakes, setting the stage for the vibrant orange topping.
Step 6: Flavor the Second Layer
In the second bowl of the cream cheese mixture, incorporate the zest of one orange along with 2-3 drops of orange gel food coloring if desired. Gently mix this until the color is uniform and visually appealing. This playful, citrusy layer will enhance the delicious flavors of your Orange Creamsicle Mini Cheesecakes.
Step 7: Layer and Swirl
Carefully spread the orange-infused mixture over the first layer in each cupcake liner, giving it a beautiful bright hue. Use a toothpick or skewer to gently swirl the two layers together, creating a marbled effect. Aim for a nice blend without completely mixing them, showcasing the two flavors distinctively.
Step 8: Chill Until Set
Place the muffin tin in the refrigerator and allow the cheesecakes to set for at least 3-4 hours, though overnight is recommended for the best texture. This chilling period ensures that the layers firm up perfectly, making your Orange Creamsicle Mini Cheesecakes easy to serve and enjoy.
Step 9: Garnish Before Serving
Once set, carefully remove the mini cheesecakes from the muffin tin by peeling away the liners. Top each one with a dollop of whipped cream and a slice of fresh orange for a charming presentation. The vibrant colors and creamy textures make them an irresistible summer treat ready for sharing!
What to Serve with Orange Creamsicle Mini Cheesecakes?
Transform your dessert into a delightful experience by complementing these mini cheesecakes with tasty sides and beverages that enhance their refreshing flavors.
- Crispy Fruit Salad: A mix of fresh fruits like berries, melons, and citrus add a burst of flavor and color, balancing the creaminess of the cheesecakes.
- Chilled Lemonade: This summery beverage not only quenches your thirst but also provides a zesty contrast that brings out the orange notes beautifully.
- Grilled Pineapple Slices: The smokiness of grilled pineapple offers a warm, caramelized touch that contrasts wonderfully with the chilled, creamy desserts. Serve alongside for a tropical twist!
- Minty Greek Yogurt Dip: A cool, creamy dip with yogurt and fresh mint enhances the citrusy profile, providing a refreshing palate cleanser. Add crushed nuts for crunch!
- Decadent Chocolate Sauce: Drizzle a little chocolate sauce over the cheesecakes for a touch of indulgence and a rich taste that pairs beautifully with the orange flavor.
- Sparkling Water with Citrus: Spritz with a hint of lime or orange, making a fizzy drink that complements the mini cheesecakes's creamy texture while refreshing your palate.
- Vanilla Ice Cream: The creaminess of vanilla ice cream harmonizes with the cheesecakes, creating a luscious dessert duo, perfect for summer nights.
Helpful Tricks for Orange Creamsicle Mini Cheesecakes
• Soften the Cream Cheese: Always use room temperature cream cheese to ensure a smooth and easily blended filling. Cold cream cheese can lead to lumps.
• Whip Cream Correctly: Stop whipping the heavy cream once stiff peaks form. Over-whipping can make your cheesecake mixture grainy, losing that desired airy texture.
• Chill Thoroughly: Allow the mini cheesecakes to set overnight for the best flavor and texture. This ensures they hold their shape and flavors meld beautifully.
• Use Fresh Ingredients: Freshly zested orange adds a vibrant flavor. Packaged versions fall short in taste, affecting the overall quality of these Orange Creamsicle Mini Cheesecakes.
• Piping for Presentation: Consider using a piping bag for the whipped cream garnish. This will create a beautiful and professional finish that’s perfect for impressing guests at summer gatherings.
How to Store and Freeze Orange Creamsicle Mini Cheesecakes
Fridge: Store your Orange Creamsicle Mini Cheesecakes in an airtight container for up to 5 days to maintain their creamy texture and fresh flavors.
Freezer: For longer storage, freeze the mini cheesecakes for up to 3 months. Place them in an airtight container, separating layers with parchment paper to avoid sticking.
Thawing: When you're ready to enjoy your frozen treats, simply transfer the cheesecakes to the fridge overnight to thaw gently for the best texture.
Serving Tips: Garnish with fresh whipped cream and orange slices just before serving to revive their vibrant appearance and taste.
Make Ahead Options
These Orange Creamsicle Mini Cheesecakes are a fantastic choice for meal prep enthusiasts! You can prepare the cheesecake filling and layer it in the muffin tin up to 24 hours in advance, allowing those delicious flavors to meld beautifully. Simply cover the muffin tin with plastic wrap in the refrigerator to maintain freshness and prevent any unwanted odors from mingling. For the best texture, it's recommended to chill the mini cheesecakes overnight before serving. Just before serving, add the whipped cream topping and orange slices for a vibrant finish. With this prep strategy, you'll have a delightful dessert ready without the last-minute rush!
Orange Creamsicle Mini Cheesecakes Variations
Feel free to let your creativity shine and customize these mini cheesecakes with fun twists and substitutions!
-
Gluten-Free: Use gluten-free sandwich cookies for the crust while preserving that satisfying crunch. These adaptations cater to everyone without sacrificing flavor.
-
Dairy-Free: Swap out heavy cream for coconut cream and the cream cheese for a dairy-free alternative, such as cashew cream, to enjoy a rich, tropical twist. It's a delicious way to accommodate dietary preferences!
-
Flavor Boost: Explore other fruit flavors! Replace orange with lemon, lime, or even berry options for a refreshing change. Each will bring a unique zest that's perfect for summer.
-
Chocolate Drizzle: Elevate the indulgence by adding a luscious chocolate drizzle over the top. Melted dark chocolate complements the orange beautifully, making it a delightful pairing.
-
Mini Size Twist: Want bite-sized goodness? Use a mini muffin tin to create even smaller versions of these cheesecakes. Perfect for parties or when you just want a little sweet nibble!
-
Zesty Layering: Instead of just orange zest, combine it with other citrus, like lime zest, for a vibrant and complex flavor profile. Citrus lovers will simply adore this combo!
-
Frozen Treat: Freeze the prepared cheesecakes for a refreshing dessert on hot days. These popsicle-like treats will become a new favorite way to enjoy your childhood creamsicle memories.
-
Served with Style: Pair your cheesecakes with fresh berries or a dollop of fruit compote for an extra burst of flavor, enhancing both taste and visual appeal as seen with Mini Tropical Pavlovas.
Experimenting with these variations will surely keep your dessert table exciting and full of delightful surprises!
Orange Creamsicle Mini Cheesecakes Recipe FAQs
How do I choose the right oranges for my recipe?
Absolutely! When selecting oranges, opt for ones that feel firm and have a vibrant orange color. Avoid any that show dark spots or have a soft texture. The more fragrant the orange, the juicier and fresher it will likely be, enhancing the flavor of your Orange Creamsicle Mini Cheesecakes!
What’s the best way to store leftover mini cheesecakes?
Very! Store your Orange Creamsicle Mini Cheesecakes in an airtight container in the fridge for up to 5 days. Make sure they're well-covered to prevent any odors from other foods affecting their delightful flavor!
Can I freeze the mini cheesecakes?
Absolutely! You can freeze these mini cheesecakes for up to 3 months. To do this, individually wrap each cheesecake in plastic wrap, then place them in a labeled airtight container. This keeps them from sticking together and preserves their deliciousness. When you're ready to enjoy them, thaw in the fridge overnight.
What should I do if my whipped cream isn't thickening?
No worries! Ensure your heavy whipping cream is cold before starting to whip it. It’s also crucial that your mixing bowl and beaters are chilled as well, as this helps achieve those stiff peaks you’re aiming for. If it still doesn't whip correctly, consider starting with new cream—it could be that the cream was past its prime.
Are there any dietary considerations for this recipe?
Very! For those watching their sugar intake, you can substitute powdered sugar with a sugar alternative. If you're serving these to guests with dietary restrictions, feel free to use gluten-free Oreo cookies for the crust. Remember to check that your heavy cream or substitutes are safe for those with lactose intolerance if necessary.
What’s the best way to garnish my mini cheesecakes?
I often recommend using a piping bag to dollop whipped cream on top for a beautiful finish. You can also add fresh orange slices and a sprinkle of orange zest to enhance the look and tie in that zesty flavor. Displaying them on a decorative plate can take your presentation to the next level!
Creamy Orange Creamsicle Mini Cheesecakes That Refresh Summer
Ingredients
Equipment
Method
- Prepare a standard muffin tin with 12 cupcake liners and place one whole Oreo cookie at the bottom of each liner.
- In a mixing bowl, combine cream cheese and powdered sugar and beat until smooth.
- Whip the heavy cream until soft peaks form, then gently add orange extract and continue whipping until stiff peaks form.
- Fold the cream cheese mixture into the whipped cream carefully.
- Spoon one portion of the mixture over each Oreo crust.
- In a second bowl, mix in the zest of one orange and gel coloring, then combine with the cream cheese mixture.
- Spread the orange-infused mixture over the first layer and swirl gently with a toothpick.
- Refrigerate for at least 3-4 hours or overnight for best results.
- Garnish with whipped cream and orange slices before serving.

Leave a Reply