
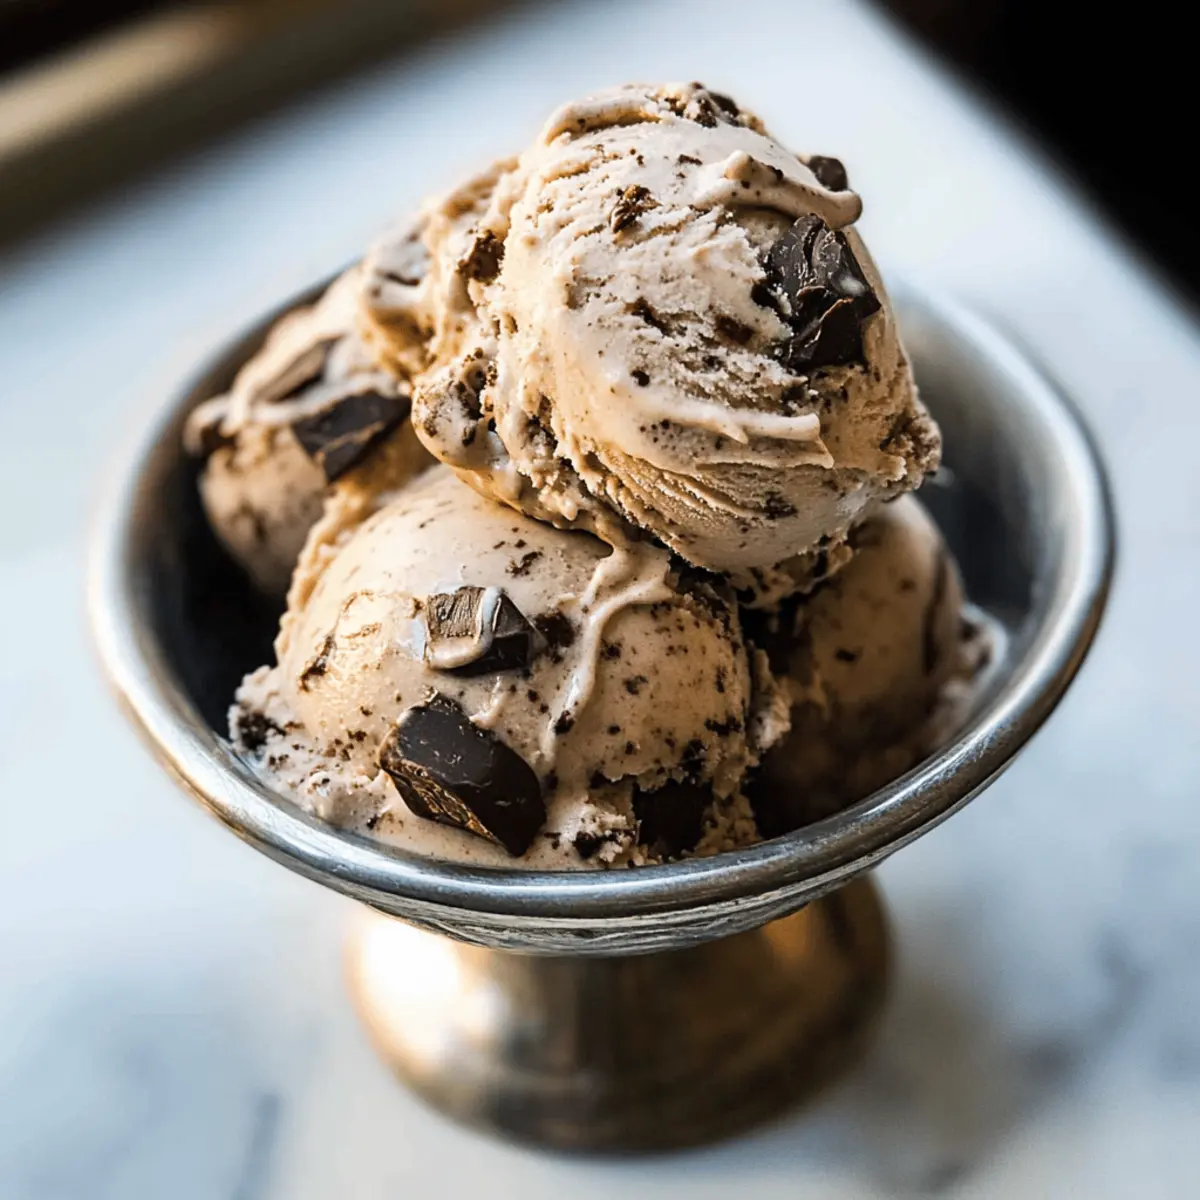
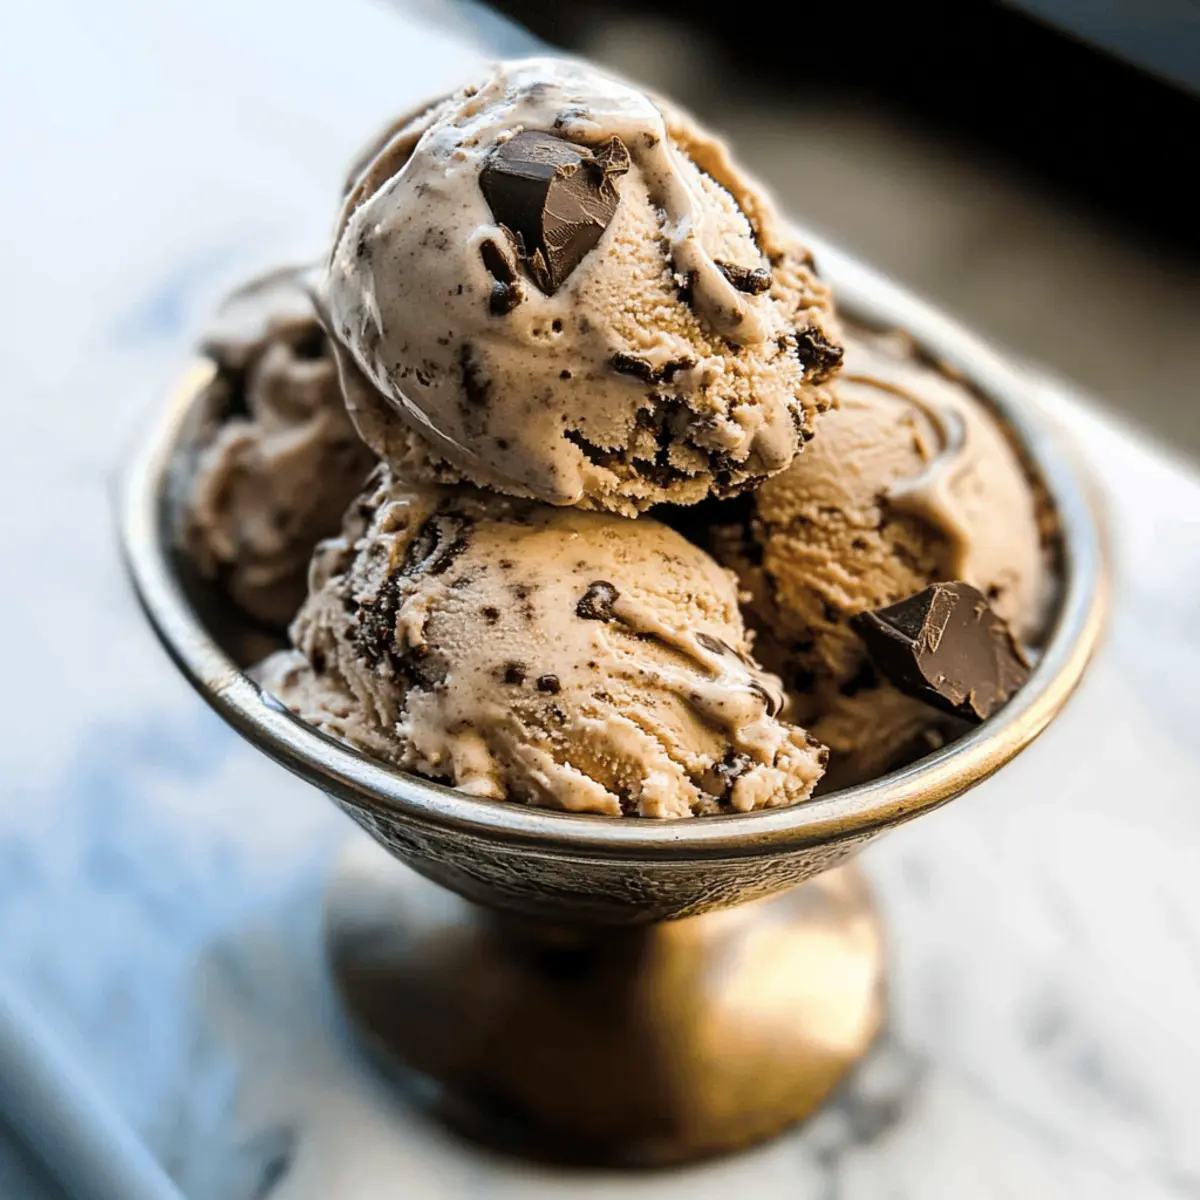
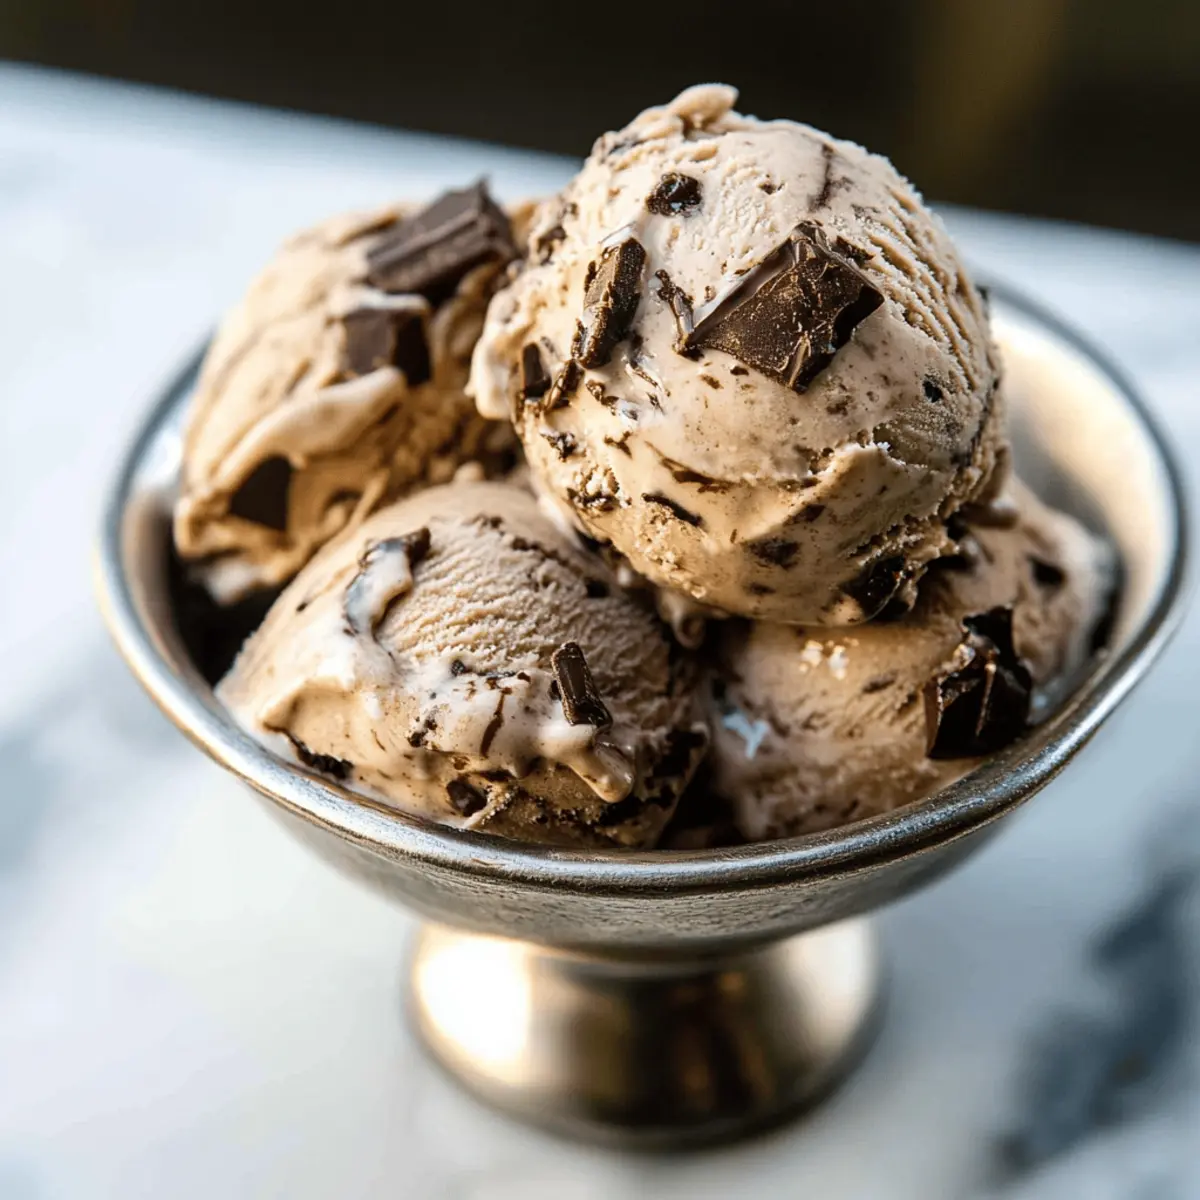
There I was, standing in my kitchen, savoring the enticing aroma of freshly brewed coffee. From that moment, I knew I wanted to create something special that would not only cool me down but also satisfy my coffee cravings. Enter my Creamy Coffee Cajeta Ice Cream—a delightful fusion of rich coffee and the sweet allure of cajeta, a traditional Mexican goat milk caramel. This homemade ice cream is the perfect remedy for hot summer days, inviting you to indulge without the guilt of fast food. Plus, it’s easily customizable based on your taste preferences! Whether you prefer it smooth or with unexpected texture from chocolate chunks, this treat promises a comforting escape. Curious about how to whip up this dreamy dessert at home? Let me guide you through the process!
Why is Coffee Cajeta Ice Cream irresistible?
Decadent Flavor: The luscious blend of rich coffee and sweet cajeta takes your taste buds on a delightful journey.
Customizable Delight: Whether you want to add chocolate chunks or switch to a vanilla-infused cajeta, the possibilities are endless!
Easy Steps: Crafted with simple ingredients and straightforward methods, you can have your own homemade ice cream in no time.
Ideal for Any Occasion: Serve as a special dessert after dinner or simply enjoy it during a warm afternoon.
Crowd-Pleaser: Friends and family will be wowed by this unique twist on traditional ice cream. If you love ice cream creations, also check out my Cacao Nib Ice and try out this Ice Cream Cake for your next gathering!
Coffee Cajeta Ice Cream Ingredients
For the Base
• Whole Milk or Half-and-Half – Provides a creamy base; use whole milk for a lighter texture or half-and-half for extra richness.
• Heavy Cream – Essential for that luxurious, smooth texture; don’t skip this ingredient!
• Sugar – Sweetens the mixture; feel free to reduce to 1/2 cup for a less sweet version.
• Medium-Ground Coffee – Infuses the ice cream with a robust flavor; substitute with a double shot of espresso for an extra kick.
• Kosher or Sea Salt – Enhances the overall flavor; a small but mighty addition that balances the sweetness.
• Egg Yolks – Richness and emulsification come from these; ensure proper tempering for a creamy texture.
For the Swirl
• Cajeta or Dulce de Leche – Adds a delightful caramel sweetness; if you can’t find cajeta, homemade dulce de leche is a fantastic substitute.
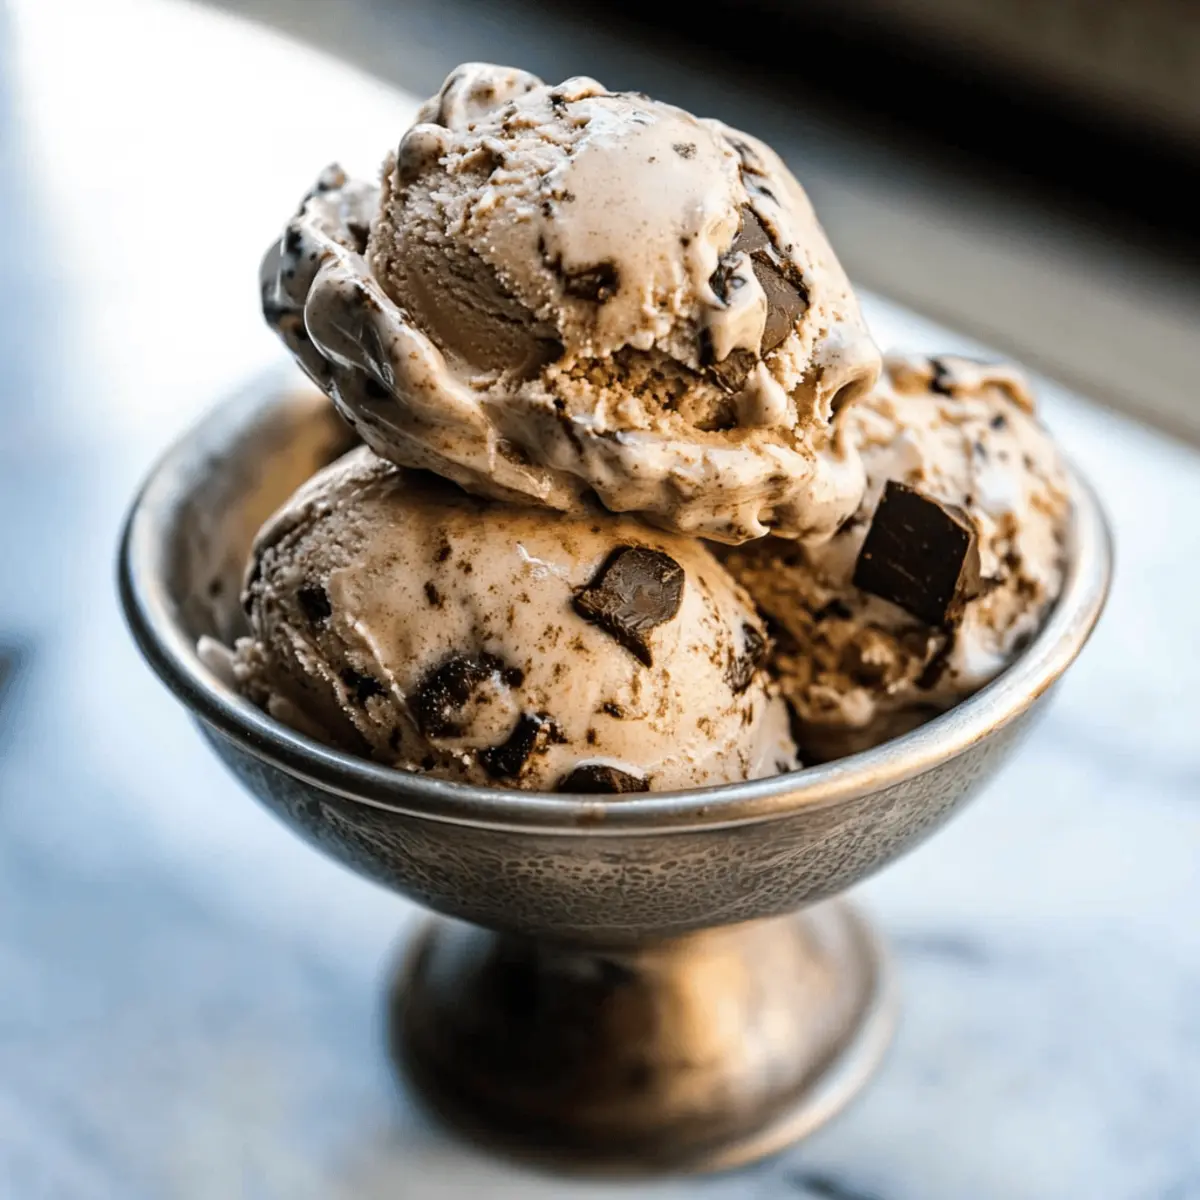
• Chopped Chocolate or Handmade Chocolate Chips – Introduces texture and deepens the flavor; opt for dark chocolate for a richer experience.
This Coffee Cajeta Ice Cream will surely delight your palate and elevate your homemade treat game!
Step‑by‑Step Instructions for Coffee Cajeta Ice Cream
Step 1: Warm the Base
In a medium saucepan, combine the whole milk or half-and-half, heavy cream, half of the sugar, medium-ground coffee, and kosher salt. Heat this mixture over medium heat, stirring occasionally until it’s hot but not boiling, about 5–7 minutes. You’ll notice a fragrant aroma from the coffee begin to fill the kitchen. Remove from heat and let it steep for 15 minutes to enhance the coffee flavor.
Step 2: Prepare the Egg Yolks
While the coffee mixture steeps, whisk together the egg yolks and the remaining sugar in a medium bowl until well combined and slightly thickened, about 2 minutes. This will create a rich and creamy custard base for your Coffee Cajeta Ice Cream. Make sure to whisk vigorously to avoid any lumps from forming in the egg yolks.
Step 3: Set Up the Ice Bath
Fill a large bowl with ice and cold water to create an ice bath, and set a fine mesh strainer over a medium-sized bowl. This setup is essential for cooling your ice cream mixture quickly and ensuring a smooth texture. Once the coffee mixture has steeped, you’re ready to combine it with the egg yolks.
Step 4: Temper the Egg Mixture
Gradually pour the warm coffee mixture into the bowl of egg yolks while whisking continuously. This step warms the egg yolks gently, preventing them from scrambling. After combining, return the whole mixture to the saucepan over medium heat. Stir constantly until it thickens and coats the back of a spoon, taking about 5–7 minutes.
Step 5: Strain and Cool the Custard
Remove the saucepan from heat, and strain the custard through the fine mesh strainer into the bowl set in the ice bath. This step helps eliminate coffee grounds, resulting in a silky smooth custard for your Coffee Cajeta Ice Cream. Stir the mixture occasionally until it cools down, then refrigerate it for at least 4 hours or overnight for the best flavor.
Step 6: Churn the Ice Cream
Once the custard has cooled, churn it in an ice cream maker according to the manufacturer’s instructions. As it churns, layer in the cajeta and chopped chocolate until evenly dispersed. This method creates a delightful swirl and ensures every bite is packed with the rich flavors of your Coffee Cajeta Ice Cream.
Step 7: Pack and Freeze
Transfer the churned ice cream into an airtight container, ensuring to avoid over-mixing to maintain those appealing layers of cajeta and chocolate. Smooth the top, cover with parchment paper, and seal the container. Freeze for at least 4 hours or until firm. This step will give you that perfect scoopable texture when you’re ready to serve your delicious homemade treat.
What to Serve with Creamy Coffee Cajeta Ice Cream
Dreaming of the perfect meal to accompany this refreshing treat? Let's create a delightful experience.
- Chocolate Cake: The rich and decadent layers of chocolate cake beautifully contrast the creamy coffee ice cream, creating a harmonious dessert duo.
- Espresso: A shot of espresso elevates your dessert experience, enhancing the coffee flavor without overwhelming the palate. Pairing espresso with ice cream? It's coffee lovers' heaven!
- Caramel Flan: This smooth, sweet flan pairs wonderfully with the homemade coffee ice cream, providing a pleasing contrast in textures and flavors.
- Ginger Cookies: Chewy ginger cookies introduce a spicy kick, balancing the sweetness of the cajeta and the creaminess of the ice cream. Their crunch adds an exciting texture!
- Fresh Berries: Juicy strawberries or raspberries bring a bright freshness that complements the rich flavors of the coffee and cajeta, offering a vibrant finish.
- Whipped Cream: A dollop of fresh whipped cream adds lightness and an extra layer of sweetness, making each bite of the coffee cajeta ice cream heavenly!
- Amaretto Liqueur: Drizzling Amaretto over your ice cream introduces almond flavors that subtly tie into the coffee notes, turning your dessert into a sophisticated creation.
- Shortbread Cookies: Buttery shortbread is an elegant choice, enhancing the overall experience with its crumbly texture and subtle sweetness against the creamy backdrop.
- Mint Iced Tea: A refreshing mint iced tea acts as a palate cleanser, keeping the experience light and invigorating, perfect for warm days.
How to Store and Freeze Coffee Cajeta Ice Cream
Fridge: Store homemade Coffee Cajeta Ice Cream in the fridge for up to 3 days, but for the best taste and texture, keep it frozen.
Freezer: Place the ice cream in an airtight container for optimal freshness, where it can be stored for up to 2 weeks without losing quality.
Covering: To prevent ice crystals from forming, press a piece of parchment paper directly against the surface of the ice cream before sealing the container.
Reheating: Allow the ice cream to soften at room temperature for 5-10 minutes before scooping, ensuring a smooth and creamy serving experience.
Coffee Cajeta Ice Cream Variations
Feel free to unleash your creativity and tailor this delightful ice cream to your taste buds!
-
Espresso Boost: Substitute medium-ground coffee with a double shot of espresso for a stronger coffee punch. The bold flavor will truly elevate your treat.
-
Nutty Cravings: Mix in chopped nuts like pecans or walnuts for added texture and a delightful crunch. These little nuggets add a delicious, wholesome element to every scoop!
-
Flavorful Swirls: Experiment with flavored cajeta such as vanilla or chocolate-infused varieties for a fun twist. Each scoop will have its own unique flavor surprise!
-
Dairy-Free Option: Swap heavy cream and milk with coconut milk or cashew cream to create a creamy dairy-free version. This not only caters to dietary needs but introduces a hint of tropical flavor.
-
Sweet Alternative: Use agave syrup or honey in place of sugar for a natural sweetness. This can add depth and an interesting flavor profile to your coffee ice cream.
-
Chocolate Lovers: Add a swirl of chocolate sauce or a few tablespoons of cocoa powder for a mocha twist. This rich flavor complements coffee beautifully, creating layers of indulgence.
-
Fire Up the Flavor: For a spicy kick, incorporate a pinch of cinnamon or a dash of cayenne pepper. This surprising twist can awaken your palate and add warmth to each silky bite.
-
Fruity Delight: Fold in some finely chopped strawberries or raspberries for a fruity surprise that contrasts wonderfully with the sweet cajeta. The vibrant flavors will make your ice cream stand out.
Delve into this array of variations and enjoy the encouragement to adjust and personalize your Coffee Cajeta Ice Cream! If you're looking for more inspiration, explore other sweet creations like Cacao Nib Ice or a delightful Ice Cream Cake.
Expert Tips for Coffee Cajeta Ice Cream
- Strain Again: Straining the custard after thickening helps remove any lingering coffee grounds, ensuring a silky texture in your Coffee Cajeta Ice Cream.
- Egg Tempering: Be gentle when combining warm coffee with egg yolks; whisk continuously to avoid scrambling. Proper technique is key for a creamy base.
- Chill Everything: Make sure both the custard and cajeta are fully cooled before mixing; this helps maintain the ideal texture of the ice cream.
- Flavor Boost: For a stronger coffee flavor, steep whole coffee beans in the warm mixture for a longer time before straining.
- Prevent Ice Crystals: Place parchment paper directly on the surface of the ice cream before sealing the container; this minimizes ice crystal formation during freezing.
Make Ahead Options
These Creamy Coffee Cajeta Ice Cream treats are perfect for busy home cooks looking to save time! You can prepare the custard base up to 24 hours in advance and refrigerate it, allowing the flavors to meld beautifully. Simply follow the initial steps of warming the milk mixture and tempering the egg yolks; then, refrigerate the custard overnight. When you’re ready to enjoy, just churn the prepared custard in your ice cream maker, layer in the cajeta and chocolate, and freeze for another 4 hours. To maintain quality, ensure you store the ice cream in an airtight container with parchment paper on top to prevent ice crystal formation—guaranteeing your Coffee Cajeta Ice Cream remains creamy and indulgent!
Coffee Cajeta Ice Cream Recipe FAQs
What is the best way to select coffee for this recipe?
Absolutely! When choosing coffee, opt for medium-ground coffee made from high-quality beans for a rich flavor. If you prefer a bolder taste, don't hesitate to use a double shot of espresso instead—it will intensify the delightful coffee essence in your ice cream.
How should I store my Coffee Cajeta Ice Cream?
To keep your homemade ice cream fresh, store it in an airtight container in the freezer for up to 2 weeks. Ensure that the container is tightly sealed, and for an extra layer of protection against ice crystals, place a piece of parchment paper directly on top of the ice cream before sealing. This little trick makes a big difference!
Can I freeze Coffee Cajeta Ice Cream? How do I do it?
Yes, you can! Once your ice cream is churned, pack it into an airtight container, smoothing the surface. Cover with parchment paper and seal the container, then freeze for at least 4 hours, or until fully firm. For the best texture, allow it to soften for about 5-10 minutes at room temperature before scooping.
What if my ice cream turns out too icy?
The most common culprits for icy ice cream are inadequate mixing or insufficient chilling. Ensure your custard is entirely cooled before churning; otherwise, it can form ice crystals. If this happens, make sure to churn thoroughly and store in an airtight container. If using whole coffee beans, steeping them longer can also contribute to a creamier consistency.
Are there any dietary considerations for this recipe?
Very! This Coffee Cajeta Ice Cream is gluten-free, as none of the ingredients contain gluten. However, be sure to check the labels for any allergens if you need to accommodate dietary restrictions, as cajeta contains goat’s milk, which may be unsuitable for some lactose-intolerant individuals.
How long can I keep the ice cream in the fridge after making it?
For best quality, it's recommended to store your homemade Coffee Cajeta Ice Cream in the freezer rather than the fridge. If you do need to store it in the fridge, consume within 3 days for optimal texture and taste. Remember, it may start to lose its creamy goodness after that!
Creamy Coffee Cajeta Ice Cream You Can Make at Home
Ingredients
Equipment
Method
- In a medium saucepan, combine the whole milk or half-and-half, heavy cream, half of the sugar, medium-ground coffee, and kosher salt. Heat over medium heat until hot but not boiling, about 5–7 minutes.
- Remove from heat and let steep for 15 minutes.
- In a medium bowl, whisk egg yolks and remaining sugar until well combined and slightly thickened, about 2 minutes.
- Fill a large bowl with ice and cold water to create an ice bath. Set a fine mesh strainer over a medium-sized bowl.
- Gradually pour the warm coffee mixture into the bowl of egg yolks while whisking continuously. Return to saucepan over medium heat, stirring constantly until thickened, about 5–7 minutes.
- Strain the custard through the fine mesh strainer into the bowl set in the ice bath. Stir occasionally until cool, then refrigerate for at least 4 hours or overnight.
- Churn the cooled custard in an ice cream maker according to the manufacturer's instructions, layering in cajeta and chopped chocolate.
- Transfer churned ice cream into an airtight container, smoothing the top, covering with parchment paper, and sealing. Freeze for at least 4 hours.


Leave a Reply