
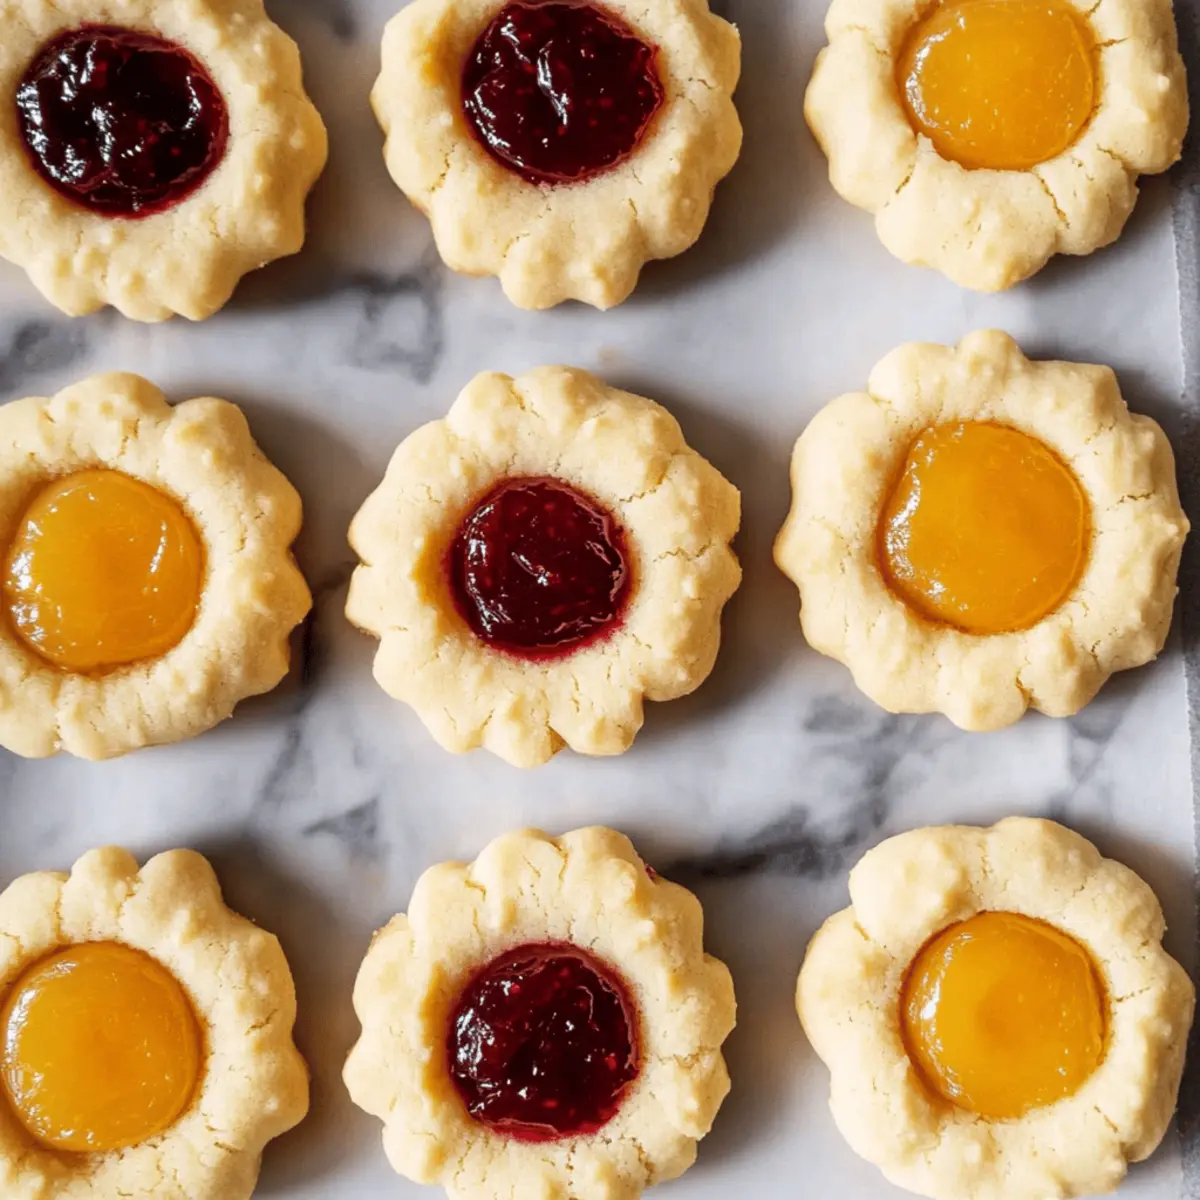
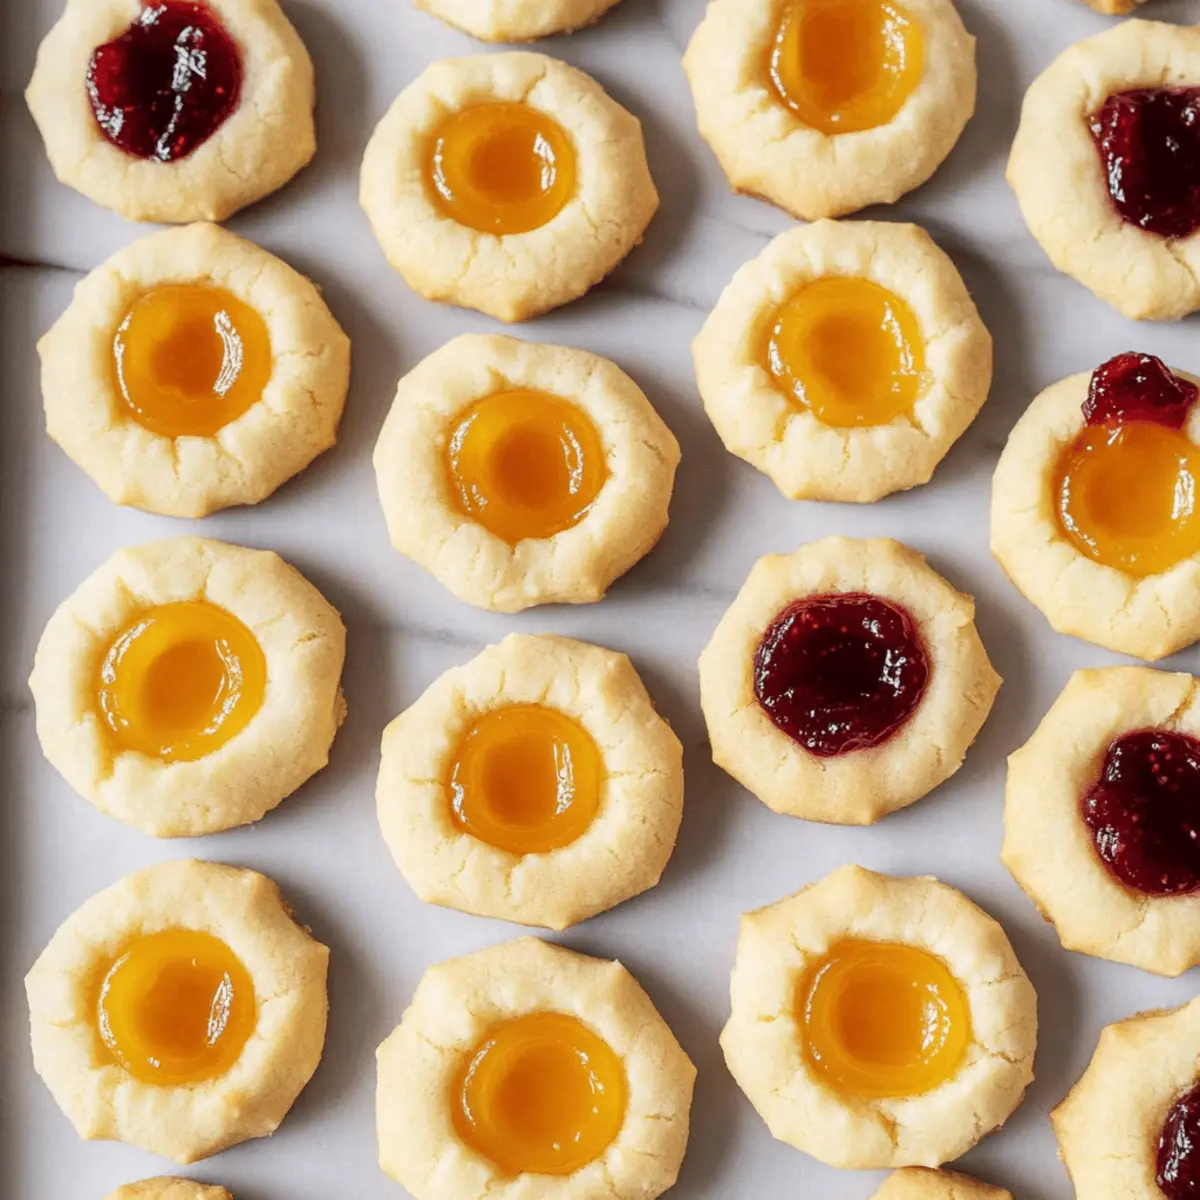
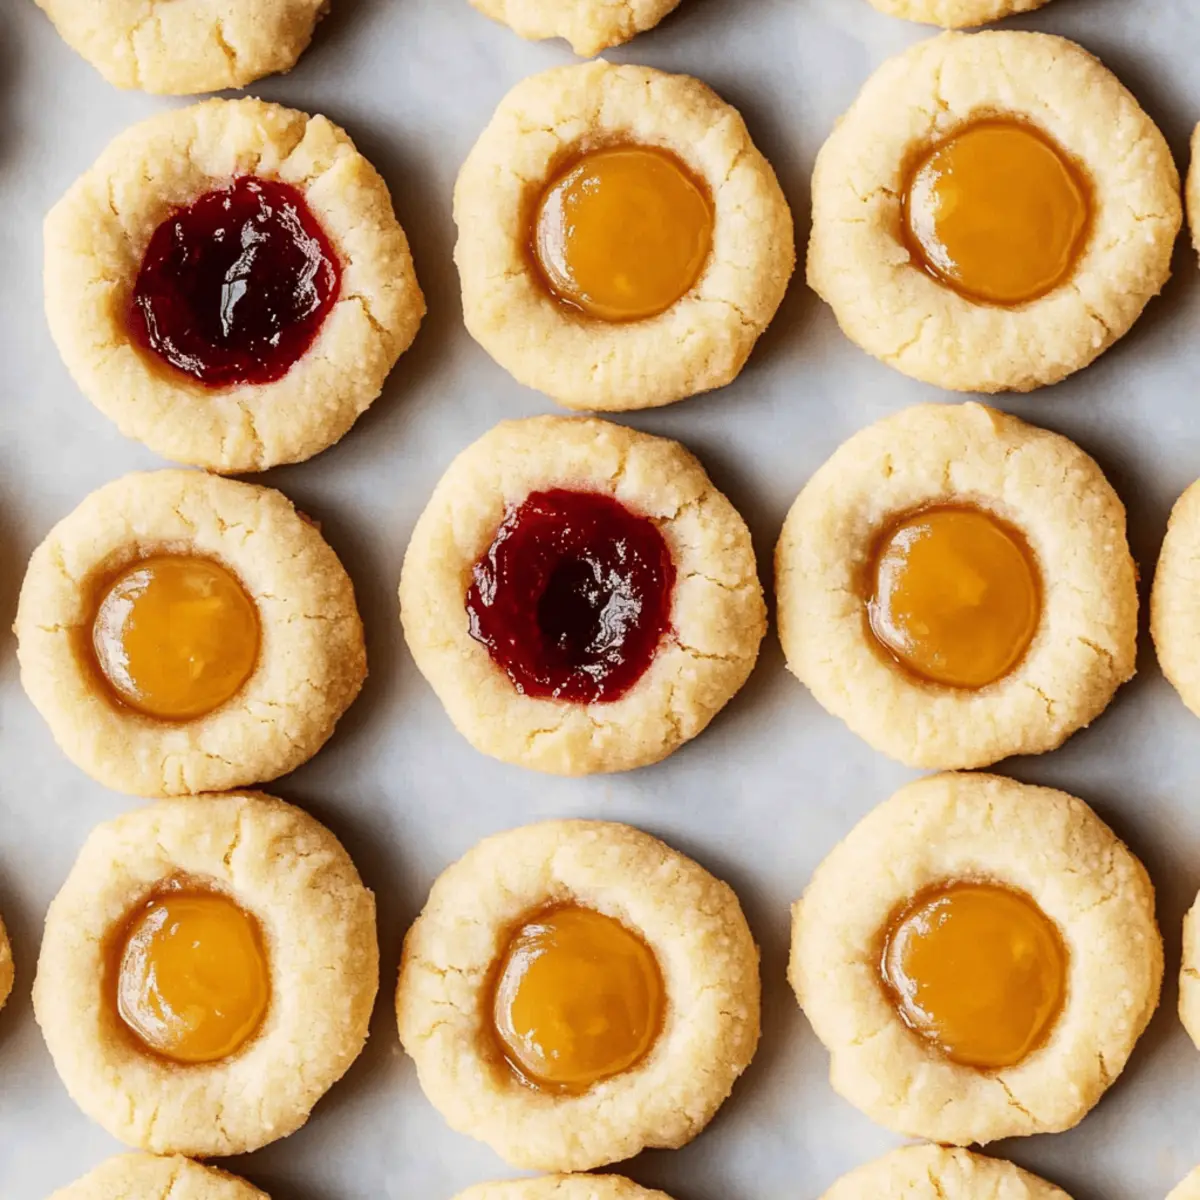
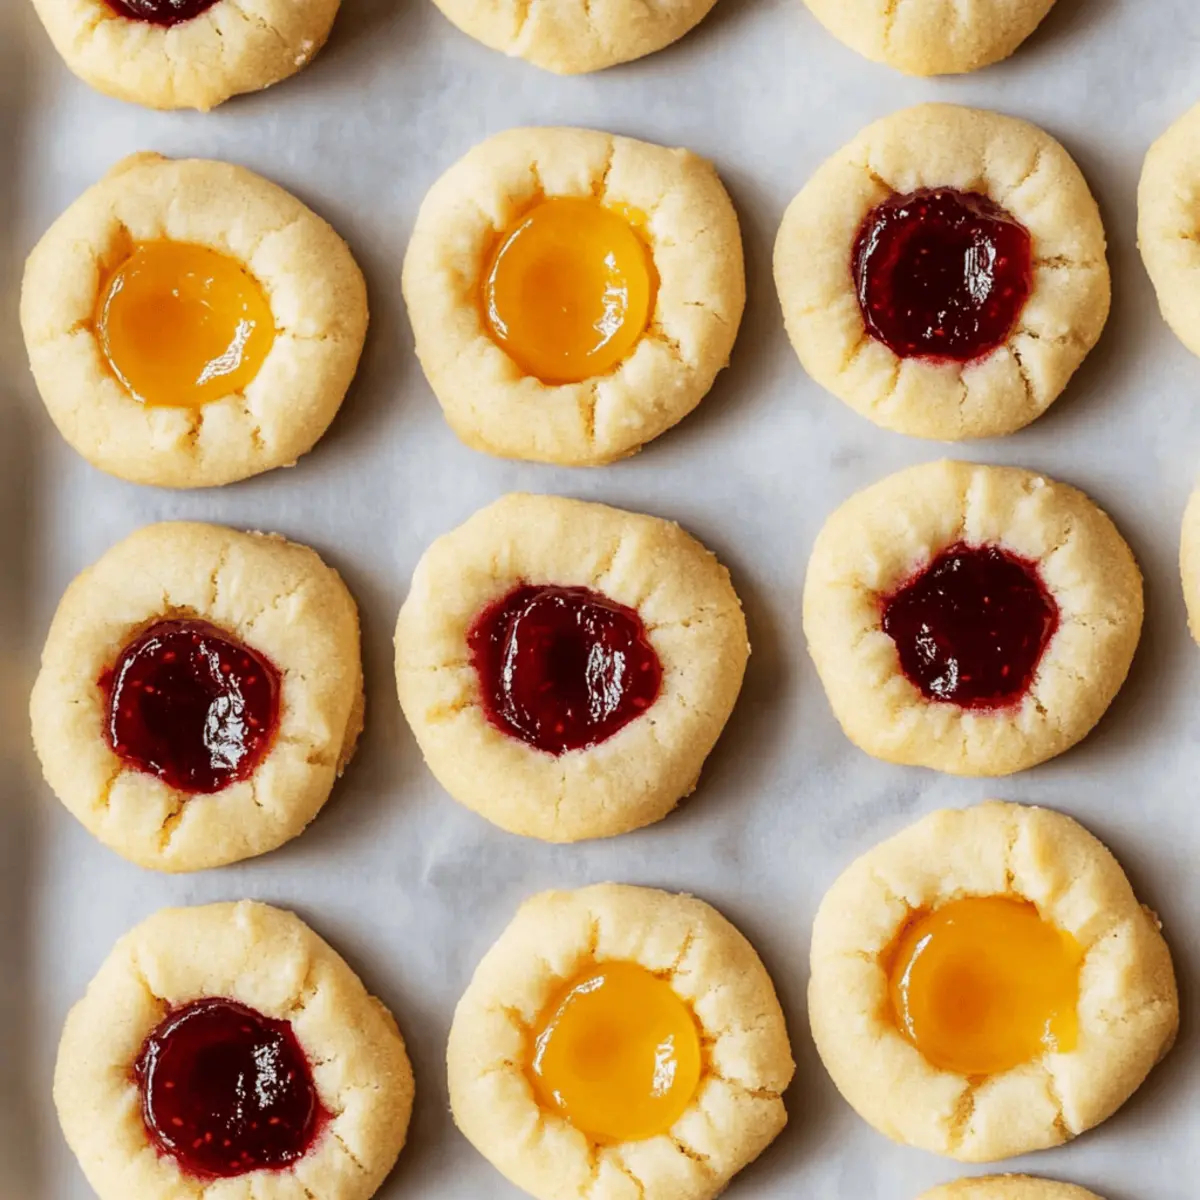
As I pulled the warm batch of Easy Jam-Filled Thumbprint Cookies from the oven, the delicious aroma of buttery goodness filled my kitchen. These delightful cookies, with their bright pools of raspberry and apricot jam, have become my go-to holiday treat for sharing with friends and family. They’re incredibly simple to whip up using just eight everyday ingredients, making them a perfect solution for busy schedules. With a melt-in-your-mouth texture and a sweet jam center, these cookies are not only a crowd-pleaser but also bring a touch of nostalgia that reminds us of cozy family gatherings. Plus, they’re versatile enough to adapt with whatever jam you have on hand! Ready to create these charming treats that will bring smiles to everyone’s faces? Let’s dive into the recipe!
Why are Thumbprint Cookies a must-try?
Crowd-Pleasing Treat: These delicious thumbprint cookies will be the star of your holiday gatherings, loved by both kids and adults.
Quick and Easy: With just 8 ingredients, the recipe is simple and perfect for busy schedules.
Versatile Options: Experiment with various jam flavors—from classic raspberry to exotic mango—it’s a fun way to personalize your cookies.
Melt-in-Your-Mouth Texture: The unique combination of almond flour and butter creates a tender, delightful bite that melts in your mouth.
Perfect for Gifting: Presenting a batch of these cookies in a pretty tin makes a thoughtful homemade gift that friends and family will cherish.
Nostalgic Vibes: Baking these cookies brings back memories of cherished family moments, making them a timeless holiday tradition to share with loved ones.
Thumbprint Cookies Ingredients
Get ready to create these sweet treasures!
For the Cookie Dough
- All-purpose flour – Provides structure; be sure to spoon and level for accuracy.
- Almond flour – Adds richness and that melt-in-your-mouth texture; substitute with more all-purpose flour if necessary.
- Sea salt – Enhances flavor; kosher salt works great as an alternative.
- Unsalted butter – Creates a tender cookie; ensure it is at room temperature for easy creaming.
- Granulated sugar – Sweetens the dough and adds to the cookie's delicate texture.
- Pure vanilla extract – Offers a warm, aromatic flavor that beautifully complements the jam.
- Almond extract – Provides an optional nutty essence for enhanced flavor.
For the Filling
- Jam (raspberry and/or apricot) – The delightful filling that adds sweetness and moisture; feel free to use your favorite jam flavor!
Step‑by‑Step Instructions for Easy Jam-Filled Thumbprint Cookies
Step 1: Preheat the Oven
Begin by preheating your oven to 350°F (175°C). This ensures the temperature is just right for baking your thumbprint cookies. As the oven warms up, it's the perfect time to gather all your ingredients and equipment, including mixing bowls, a stand mixer with a paddle attachment, and baking sheets lined with parchment paper.
Step 2: Whisk the Dry Ingredients
In a medium bowl, whisk together the all-purpose flour and sea salt. This step helps distribute the salt evenly throughout the flour, enhancing the flavor of your thumbprint cookies. Set this mixture aside, and take a moment to admire the light, fluffy texture of the flour blend you've just created.
Step 3: Cream the Butter and Sugar
Using your stand mixer fitted with the paddle attachment, cream the softened unsalted butter and granulated sugar together on medium speed until the mixture becomes fluffy and pale in color, about 2-3 minutes. This is a crucial step to incorporate air into the dough, resulting in tender cookies; the texture should be light and creamy.
Step 4: Add the Flavors
Next, mix in the pure vanilla extract and almond extract into the butter-sugar mixture, blending on low speed until fully combined. The warm and nutty scents will fill the kitchen, creating a festive atmosphere. Take a moment to enjoy this aroma; it’s a sign that your thumbprint cookies are on the way!
Step 5: Combine Dry and Wet Ingredients
Gradually add the flour mixture to the creamed butter mixture, mixing on low speed until just combined. Be careful not to overmix, as this could result in tough cookies. The dough should start to form a cohesive ball, with a soft and slightly crumbly texture—just right for your thumbprint cookies!
Step 6: Shape the Dough
Using a 1-tablespoon cookie scoop, portion out rounded tablespoons of dough and roll them into balls with your hands. These will be the base of your thumbprint cookies! Arrange them on the parchment-lined baking sheets, leaving space between each ball as they will slightly spread while baking.
Step 7: Create the Indentations
Gently press down on each dough ball to flatten it slightly, then use your thumb or a measuring spoon to create an indentation in the center of each cookie. This is where your luscious jam filling will go, so make sure the wells are deep enough to hold the sweetness that awaits.
Step 8: Fill with Jam
Carefully spoon about ½ teaspoon of your desired jam—be it raspberry or apricot—into each indentation. Make sure not to overfill, as the jam can bubble over while baking. The vibrant colors of the jam should be an inviting sight, hinting at the delicious flavors within each thumbprint cookie.
Step 9: Bake to Perfection
Place the baking sheets in the preheated oven and bake for 12-15 minutes, or until the bottoms of the cookies are lightly browned. Keep a close eye on them; the cookies should remain soft and slightly puffy, ready to emerge with delightful jam-filled centers.
Step 10: Cool and Enjoy
After baking, let the thumbprint cookies cool on the baking sheets for 5 minutes. This brief resting period allows them to firm up slightly. Then, gently transfer the cookies to a wire rack to cool completely. Enjoy the sweet aroma wafting through your kitchen as your thumbprint cookies turn from warm, delicate delights to cool, jam-filled treats ready for sharing!
How to Store and Freeze Thumbprint Cookies
Room Temperature: Store finished thumbprint cookies in an airtight container at room temperature for up to 1 week to maintain their softness and flavor.
Fridge: If you prefer, you can store the cookies in the fridge for up to 2 weeks; just make sure they're in an airtight container to prevent them from drying out.
Freezer: For longer storage, freeze the cookies in a single layer on a baking sheet, then transfer them to a freezer-safe container for up to 3 months.
Reheating: To enjoy frozen cookies, simply thaw them at room temperature for 30 minutes, or reheat in the microwave for 10-15 seconds until just warm.
Make Ahead Options
These Easy Jam-Filled Thumbprint Cookies are perfect for meal prep enthusiasts looking to save time during the busy holidays! You can prepare the cookie dough up to 3 days in advance; simply cover it tightly in plastic wrap and refrigerate. For the best results and to maintain quality, ensure your dough is well-chilled before shaping it into balls. Alternatively, you can shape and fill the cookies with jam up to 24 hours ahead of baking—just store them covered in the refrigerator to prevent drying out. When you’re ready to enjoy, simply pop the cookies into a preheated oven and bake as directed, yielding the same melt-in-your-mouth texture and jam-filled delight with minimal effort!
Expert Tips for Perfect Thumbprint Cookies
- Butter Temperature: Make sure your unsalted butter is softened, not melted. This helps create the ideal texture for your dough, ensuring your thumbprint cookies are tender and delicious.
- Mixing Speed Matters: When combining the flour mixture with the butter, mix on low speed until just combined. Overmixing can lead to tough cookies, so be careful!
- Indentation Depth: Create a deep enough indentation for the jam without reaching the bottom of the cookie. This helps prevent overflow and keeps your thumbprint cookies looking beautiful.
- Jam Variety: Feel free to experiment with different flavors of jam! Strawberry, apricot, or even chocolate hazelnut spread can add fun twists to your classic thumbprint cookies.
- Cooling Time: Allow the cookies to cool completely on the wire rack. They are delicate when warm, and cooling them properly will ensure they hold their shape and texture.
What to Serve with Easy Jam-Filled Thumbprint Cookies
These delightful cookies pair beautifully with a selection of complementary treats and beverages that will elevate your holiday gathering.
- Creamy Hot Chocolate: Its rich, chocolatey flavor contrasts wonderfully with the sweet jam and buttery cookie, making each bite even more enjoyable.
- Freshly Brewed Coffee: The robust notes of coffee balance the sweetness of the thumbprint cookies, creating a cozy pairing for afternoon treats.
- Crisp Apple Slices: Their refreshing crunch offers a light contrast to the melt-in-your-mouth cookies, adding a fruity freshness to your snack table.
- Cheese Platter: A selection of mild cheeses like brie or mascarpone complements the sweet jam, introducing creamy textures that enhance the experience.
- Vanilla Ice Cream: The cold, creamy ice cream melts slightly against the warm cookies, creating a delightful contrast that is hard to resist.
- Spiced Chai Tea: The warm spices in chai beautifully enhance the flavors of the jam, offering an aromatic boost that adds comfort to any gathering.
- Peanut Butter Dip: A subtle touch of saltiness and creaminess from peanut butter dip brings a fun twist to the traditional sweet experience.
- Chocolate-Dipped Strawberries: Their juicy sweetness adds a spectacular flair and pairs beautifully with the almond notes in the cookies.
Thumbprint Cookies Variations & Substitutions
Feel free to get creative and personalize these delightful cookies with some scrumptious twists!
- Nut-Free: Replace almond flour with more all-purpose flour for a nut-free delight.
- Jam Flavor Twist: Swap raspberry or apricot jam with strawberry, peach, or even a rich chocolate hazelnut spread.
- Sugar-Free: Use a sugar substitute such as erythritol to keep the sweetness without the calories.
- Vegan Alternative: Substitute butter with coconut oil and use a flax egg for a plant-based treat everyone can enjoy.
- Spiced Up: Add a dash of cinnamon or nutmeg to the dough for a warm, holiday-inspired flavor.
- Citrus Zing: Incorporate a bit of lemon or orange zest into the dough for a fresh, zesty twist.
- Whole Wheat: Use whole wheat flour for a heartier cookie that still retains all the delightful flavors.
- Choco-Chip Delight: Fold in mini chocolate chips for a chocolaty twist that pairs wonderfully with the jam filling.
Whether you're in the mood for something classic or adventurous, these variations and substitutions will ensure your thumbprint cookies are uniquely yours. If you're looking for ways to enhance your baking experience, don't forget to check out my tips on how to store and freeze thumbprint cookies for delightful treats that last!
Thumbprint Cookies Recipe FAQs
How do I select the right jam for my thumbprint cookies?
Choosing the right jam can elevate your thumbprint cookies to the next level! For a classic taste, opt for raspberry or apricot jams, as they have a lovely balance of sweetness and tartness. Always check that the jam is fresh and free from dark spots or extra sugar; this ensures your cookies will have that bright, fruity flavor. Feel free to experiment with other flavors like strawberry or peach to suit your palate!
What is the best way to store thumbprint cookies?
Absolutely! Store your finished thumbprint cookies in an airtight container at room temperature for up to 1 week. If you want them to last longer, place them in the fridge, where they can stay fresh for up to 2 weeks—just ensure the container is airtight to keep them from drying out.
Can I freeze thumbprint cookies?
Yes, you can freeze your thumbprint cookies! First, allow them to cool completely. Then, arrange them in a single layer on a baking sheet and freeze them for about 1-2 hours. Once frozen, transfer the cookies to a freezer-safe container or ziplock bag, separating layers with parchment paper, and they’ll last for up to 3 months. When you’re ready to enjoy them, thaw at room temperature for about 30 minutes or microwave for a brief 10-15 seconds.
Why are my thumbprint cookies spreading too much while baking?
If your thumbprint cookies are spreading too much, it could be due to a couple of reasons. One common issue is using melted butter instead of softened butter, as this can lead to excess spreading. Alternatively, if the dough hasn't chilled, you can try refrigerating it for about 30 minutes before baking. Lastly, ensure you’re measuring your flour accurately—scooping directly from the bag can lead to too much flour, resulting in a runny dough.
Are thumbprint cookies safe for my pets (dogs/cats)?
When it comes to sharing your delicious thumbprint cookies with pets, it's best to keep them away! The cookies contain ingredients like sugar and butter that aren't suited for dogs and cats. Additionally, if you’re using almond extract, almonds can be harmful to dogs in large quantities. If you're in the mood to treat your furry friends, consider making them a special pet-friendly treat instead!
Can I make these thumbprint cookies nut-free?
Certainly! To create nut-free thumbprint cookies, simply replace the almond flour with an equal amount of all-purpose flour. This substitution will maintain a similar texture and allow everyone to enjoy this classic holiday treat without worries about nut allergies. Plus, they’ll still be delicious!
Melt-in-Your-Mouth Thumbprint Cookies with Jam Delight
Ingredients
Equipment
Method
- Preheat your oven to 350°F (175°C).
- In a medium bowl, whisk together the all-purpose flour and sea salt.
- Cream the softened unsalted butter and granulated sugar together on medium speed until fluffy and pale.
- Mix in the pure vanilla extract and almond extract into the butter-sugar mixture.
- Gradually add the flour mixture to the creamed butter mixture until just combined.
- Using a cookie scoop, portion out and roll rounded tablespoons of dough into balls.
- Gently press down on each dough ball to flatten and create an indentation.
- Spoon about ½ teaspoon of jam into each indentation.
- Bake for 12-15 minutes, or until the bottoms are lightly browned.
- Let the cookies cool on the baking sheets for 5 minutes before transferring to a wire rack.


Leave a Reply