
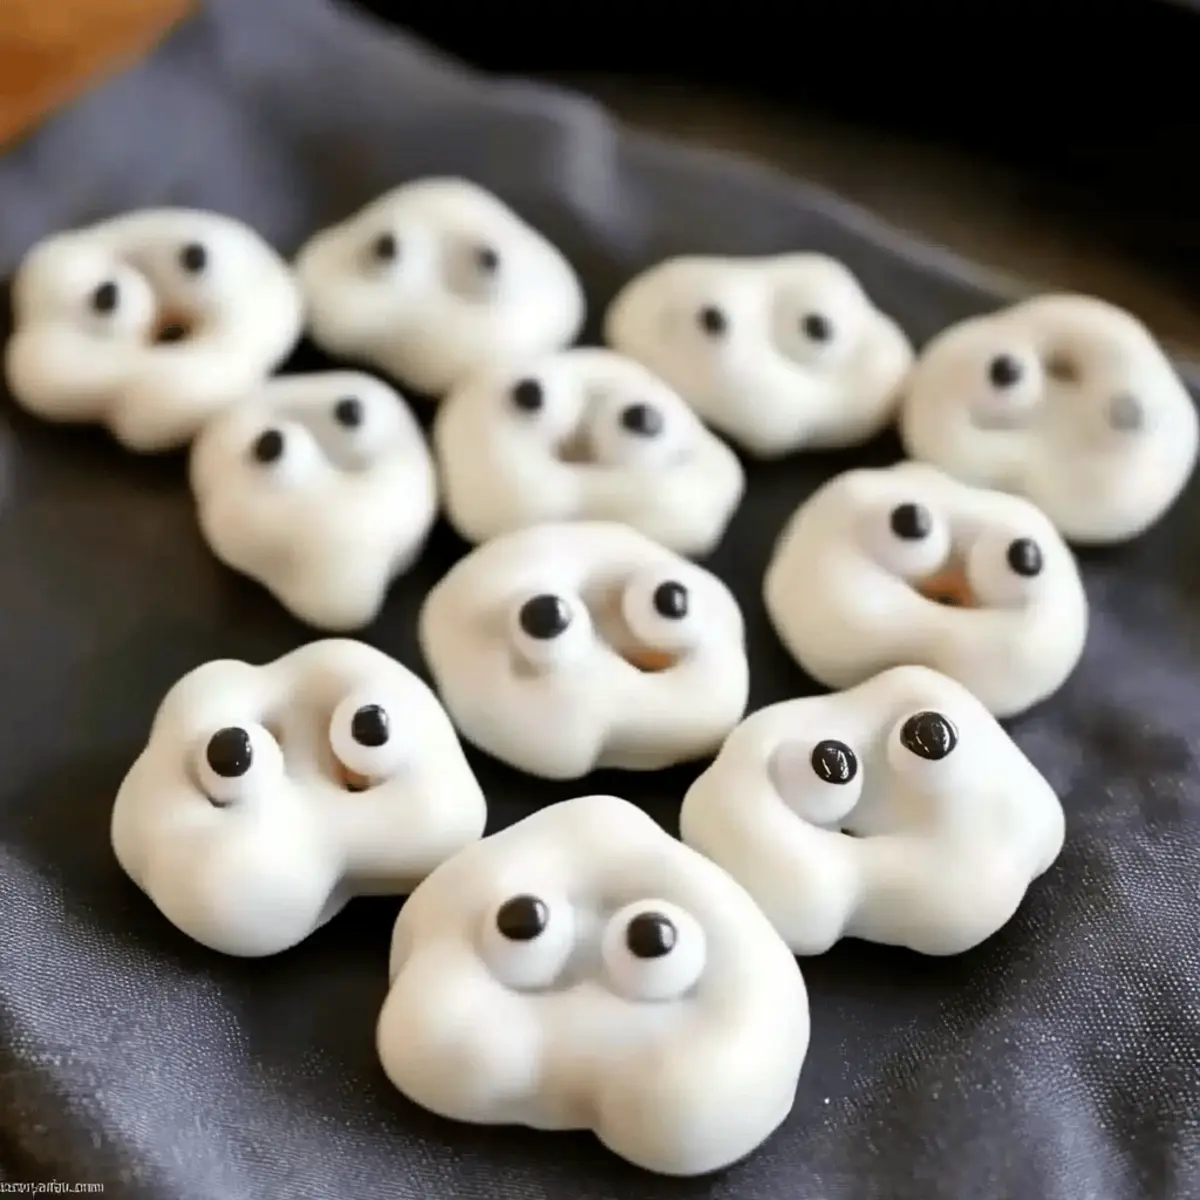
As Halloween approaches, the excitement of crafting unique treats fills the air. This year, I wanted to create something both fun and effortless, and that’s when I conjured up these delightful Ghost Pretzels. These whimsical no-bake goodies turn ordinary mini pretzels into spooky little figures coated in creamy white chocolate, all topped with playful candy eyeballs. Not only are they a quick and easy treat to whip up, making them perfect for unexpected guests or festive gatherings, but they also provide a delightful mix of salty and sweet. Kids (and adults!) will love seeing these little ghosts come to life, transforming any Halloween snack table into a festive spectacle. Ready to add some spirit to your seasonal celebrations? Let's dive into this simple recipe!
Why Are Ghost Pretzels So Fun?
Easy and Quick: Preparing these Ghost Pretzels takes just minutes, making them perfect for last-minute Halloween gatherings.
Kid-Friendly Fun: Kids will love the hands-on process, from dipping to decorating—creating spooky snacks has never been this entertaining!
Endless Customization: Feel free to experiment with toppings, sprinkles, or even different chocolate varieties, allowing everyone to personalize their ghostly creations.
Crunchy Meets Creamy: Enjoy the delightful contrast of crunchy pretzels with a rich, sweet chocolate coating, creating a festive flavor combination that’s simply irresistible.
Party Pleaser: These delightful treats are guaranteed to be a hit at any Halloween party or school event, capturing smiles and cheers from partygoers of all ages.
If you enjoy easy, creative recipes, check out more of our no-bake treats perfect for festive celebrations!
Ghost Pretzel Ingredients
For the Pretzels
- Mini Pretzels – The crunchy base that gives your ghostly treats structure; substitute with gluten-free pretzels if needed.
For the Chocolate Coating
- Guittard Vanilla Milk Chips (6 oz) – Perfect for dipping, adding a sweet, creamy layer; can be swapped with white candy melts for a different taste.
- Coconut Oil (½ tsp) – Helps to thin the chocolate for smooth dipping; use shortening as an alternative if needed for allergies.
For the Decoration
- Wilton Candy Eyeballs (0.88 oz) – These cute little eyes add character to your ghostly pretzels; any edible candy eyes available will work wonderfully as well.
Step‑by‑Step Instructions for Ghost Pretzels
Step 1: Prepare the Baking Sheet
Begin your fun Ghost Pretzels by lining a baking sheet with wax paper, parchment paper, or a silicone mat. This will prevent the pretzels from sticking and provide a clean surface for decoration. Make sure to smooth out any wrinkles to create an even workspace, so your delightful ghosts come out looking perfect.
Step 2: Melt the Chocolate
In a microwave-safe bowl, combine the Guittard vanilla milk chips and coconut oil. Heat in the microwave in short bursts of 10-20 seconds, stirring after each interval until the mixture becomes smooth and melted. The chocolate should be shiny and fluid, making it perfect for dipping. Take care not to overheat!
Step 3: Dip the Pretzels
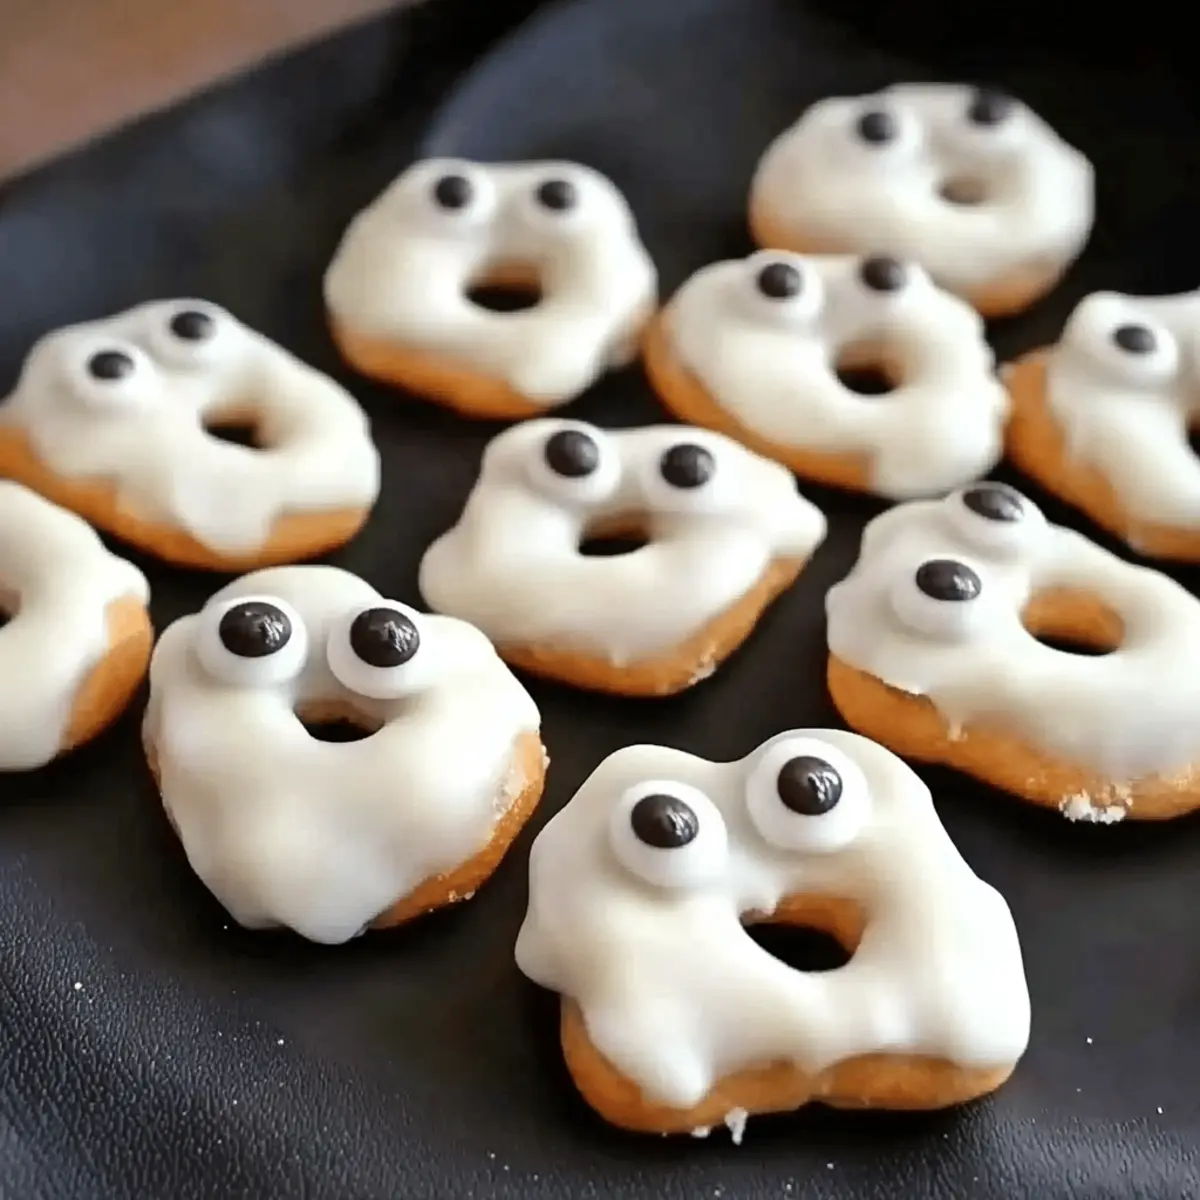
Once your chocolate is ready, take a mini pretzel and dip it into the melted chocolate, ensuring to coat it evenly. Aim especially to cover the bottom hole of the pretzel, which creates an adorable open-mouthed ghost effect. Shake off any excess chocolate gently as you lift it out, maintaining the structural integrity of your Ghost Pretzels.
Step 4: Decorate with Eyeballs
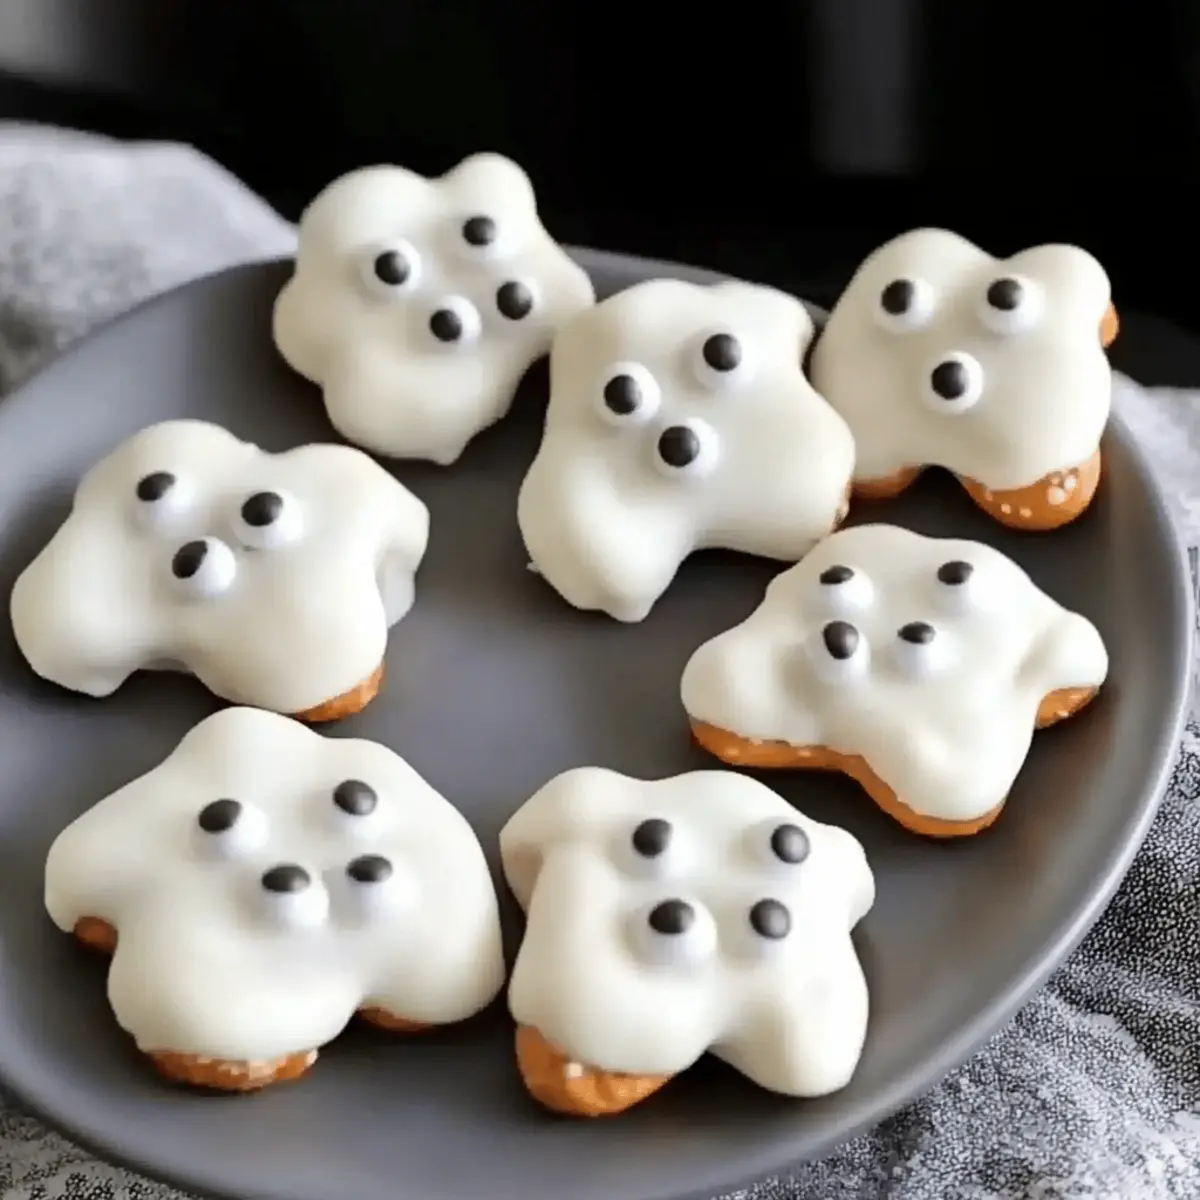
Now, place the dipped pretzel on your lined baking sheet. Immediately press two candy eyeballs onto each chocolate-coated pretzel, positioning them while the chocolate is still wet to ensure they adhere well. This step adds a playful touch and finishes off your spooky ghost design, making them even more inviting for Halloween treats.
Step 5: Let Them Set
Allow your Ghost Pretzels to harden at room temperature for about 20 minutes, or speed up the process by placing them in the freezer for just 10 minutes. You’ll know they’re ready when the chocolate has set, appearing firm and glossy, ensuring your little ghosts will hold their shape beautifully.
Step 6: Serve and Enjoy
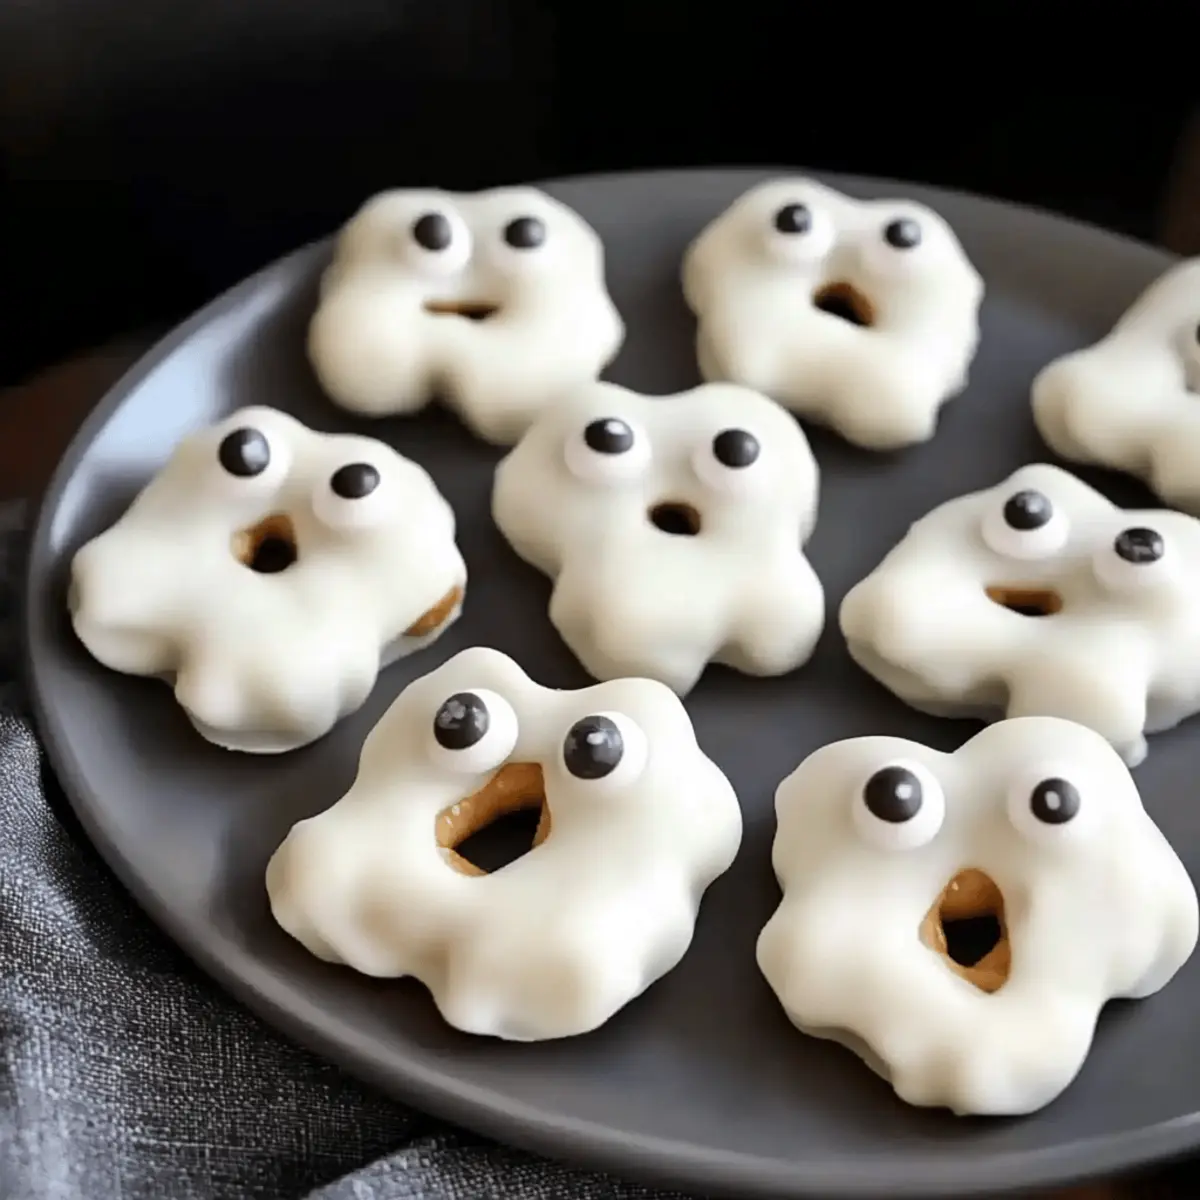
Once your chocolate has fully set, carefully peel each Ghost Pretzel from the baking sheet. The removal should be smooth and easy thanks to your lined surface. Serve them up on a festive platter or in colorful bowls, and watch as they become the star of your Halloween party—each bite a perfect mix of salty and sweet!
Storage Tips for Ghost Pretzels
Room Temperature: Store your Ghost Pretzels in an airtight container at room temperature for up to a week, ensuring they stay fresh and delightful for your Halloween celebrations.
Fridge: If you prefer a cooler treat, you can also refrigerate them for a firmer texture. Just make sure to keep them in a sealed container to prevent them from absorbing moisture and odors.
Freezer: Freezing is not recommended as it may alter the chocolate's creamy texture, causing it to become grainy. For the best experience, enjoy them fresh!
Reheating: If you need to soften any stored pretzels, let them sit at room temperature for a few minutes before serving, allowing the chocolate to regain its lovely consistency.
Tips for the Best Ghost Pretzels
-
Coating Consistency: Ensure the chocolate is smooth and not too thick, which can lead to uneven coating and a clumpy appearance on your Ghost Pretzels.
-
Quick Eyeball Placement: Work swiftly when placing candy eyeballs on the pretzels before the chocolate sets; it secures them perfectly and keeps your ghosts playful.
-
Use Quality Ingredients: Opt for quality chocolate and pretzels for the best flavor and texture, enhancing the taste of your Ghost Pretzels and making them irresistible.
-
Experiment with Toppings: Feel free to add sprinkles or pumpkin-shaped candies for added flair. Customizing your ghosts makes the fun endless and visually appealing!
-
Avoid Overheating Chocolate: Heat the chocolate in short intervals to avoid scorching. A smooth melting process is key to achieving the perfect coating for your Ghost Pretzels.
What to Serve with Ghost Pretzels?
Add some festive flair to your Halloween gatherings with delightful sides that complement these whimsical treats.
-
Pumpkin Spice Dip: This creamy and spiced dip adds a seasonal touch, enhancing the sweet and salty flavors of the pretzels. Serve alongside for a delightful scoop!
-
Caramel Apple Slices: The crispness of fresh apple slices paired with rich caramel is a perfect contrast to the crunchy pretzels, creating a balanced mix of flavors.
-
Chocolate-Covered Strawberries: These juicy, sweet strawberries add a touch of elegance while harmonizing with the sweetness of the white chocolate ghosts. Dispose of any leftover chocolate by dipping strawberries next!
-
Halloween Fruit Salad: A colorful mix of seasonal fruits like oranges, grapes, and kiwi can bring a refreshing brightness to your snack table, refreshing palate between the hearty treats.
-
Spooky Punch: Create a festive beverage with a mixture of fruit juices and sparkling soda, garnished with gummy worms—this playful drink will be a hit with the kids!
-
Boo-tiful Cupcakes: Decorate cupcakes as mini ghosts, using white frosting and candy eyes for a fun dessert that ties in seamlessly with your Ghost Pretzels, making your treat table enchanting!
-
Monster Cheese Platter: A variety of cheeses shaped into monsters or ghosts, paired with crackers, can serve as a savory contrast while still keeping the spooky theme alive.
Make Ahead Options
These delightful Ghost Pretzels are perfect for meal prep and can save you time during the festive season! You can prepare the pretzels up to 24 hours in advance by dipping them in chocolate and setting them on the baking sheet. Just store the pretzels in an airtight container at room temperature to maintain their crunchiness. It’s essential to wait until just before serving to add the candy eyeballs, as this will ensure they stick and keep the ghosts looking lively. When you’re ready to impress your guests, simply place the pretzels on a beautiful platter, and they’ll taste as fresh and fun as the day you made them!
Ghost Pretzels: Fun Variations Await
If you're in the mood for a little creativity, these ghostly delights are ready for your personal touch!
- Gluten-Free: Substitute mini pretzels with gluten-free varieties to make these treats friendly for everyone!
- Choco-Mint: For a refreshing change, use mint-flavored chocolate to dip your pretzels. The blend of mint and chocolate provides a delightful twist on traditional flavors.
- Nutty Ghosts: Add crushed nuts on top of the chocolate before it sets. This nutty crunch perfectly complements the sweet coating and enhances texture.
- Spooktacular Sprinkles: Customize your ghosts with Halloween-themed sprinkles! Colorful or themed sprinkles can really bring your pretzels to life, adding both vibrancy and fun.
- Caramel Drizzle: Drizzle melted caramel on top of your ghost pretzels for extra indulgence. This layer of sweetness can take the treat to a whole new level.
- Dark Chocolate Dip: Swap out the white chocolate for dark chocolate. The deep, rich flavor adds a more sophisticated touch that adult palettes will appreciate.
- Pumpkin Spice: Incorporate pumpkin spice into the melted chocolate for a fall-inspired twist, making each bite a warm embrace of autumn flavors.
- Spicy Ghosts: For those who love a kick, sprinkle a tiny bit of cayenne pepper or chili powder into the chocolate before dipping. The heat adds an unexpected but delightful contrast!
Feel free to dive deeper into more exciting creations, like our delicious no-bake treats that bring joy to any festive occasion!
Ghost Pretzels Recipe FAQs
What type of pretzels work best for Ghost Pretzels?
Absolutely! Mini pretzels are ideal for this recipe as they provide the perfect base for your ghostly treats. If you're looking for gluten-free options, feel free to swap the mini pretzels with gluten-free pretzels, which work just as wonderfully!
How do I store my Ghost Pretzels?
You can keep your Ghost Pretzels in an airtight container at room temperature for up to a week. This helps maintain their delightful crunchiness and flavor, making them a tasty treat for last-minute guests or Halloween parties.
Can I freeze Ghost Pretzels?
It’s best to avoid freezing Ghost Pretzels, as doing so might alter the smooth and creamy texture of the chocolate coating. Instead, enjoy them fresh! If you do happen to have leftovers, keep them stored in an airtight container at room temperature.
What should I do if my chocolate coating is too thick?
If your chocolate is becoming too thick during the melting process, you can reheat it in the microwave in short increments of 10-15 seconds, adding a little more coconut oil if necessary to thin it out. The ideal consistency should be smooth and glossy, making for easy dipping and a nice finish.
Are there any allergy considerations with the ingredients?
Yes! Be sure to check labels for any potential allergens in coconut oil and the chocolate chips you choose. If coconut oil isn’t suitable, you can substitute it with shortening to keep the coating nice and smooth. Always consider your guests' dietary needs when creating your treats!
Delightful Ghost Pretzels: No-Bake Halloween Fun for Everyone
Ingredients
Equipment
Method
- Prepare the baking sheet by lining it with wax paper, parchment paper, or a silicone mat to prevent sticking.
- Melt the chocolate by combining the Guittard vanilla milk chips and coconut oil in a microwave-safe bowl. Heat in short intervals of 10-20 seconds, stirring until smooth.
- Dip each mini pretzel into the melted chocolate, ensuring even coverage, especially the bottom hole to create a ghost effect. Shake off excess chocolate.
- Place the dipped pretzel on the lined baking sheet and immediately press two candy eyeballs onto each one while the chocolate is still wet.
- Let the pretzels harden at room temperature for about 20 minutes or in the freezer for 10 minutes until the chocolate is firm.
- Peel the Ghost Pretzels from the baking sheet and serve on a festive platter or in colorful bowls.


Leave a Reply