
The aroma of sizzling chicken fills the air, instantly transporting me to vibrant Korean street markets. It’s no wonder that Korean Fried Chicken has garnered a cult following worldwide—with its shatteringly crispy crust and succulent meat, this is a dish that’s hard to forget. What makes it truly special is the double-fried technique that creates a glassy coating, whether you choose the spicy-sweet yangnyeom sauce or the savory soy-garlic variation. Perfect for impressing dinner guests or just treating yourself to a comforting weeknight meal, this recipe is crowd-pleaser that’s also gluten-free thanks to the use of potato starch. Are you ready to dive into the delicious world of homemade Korean fried chicken and see how easily you can replicate it? Let’s get cooking!
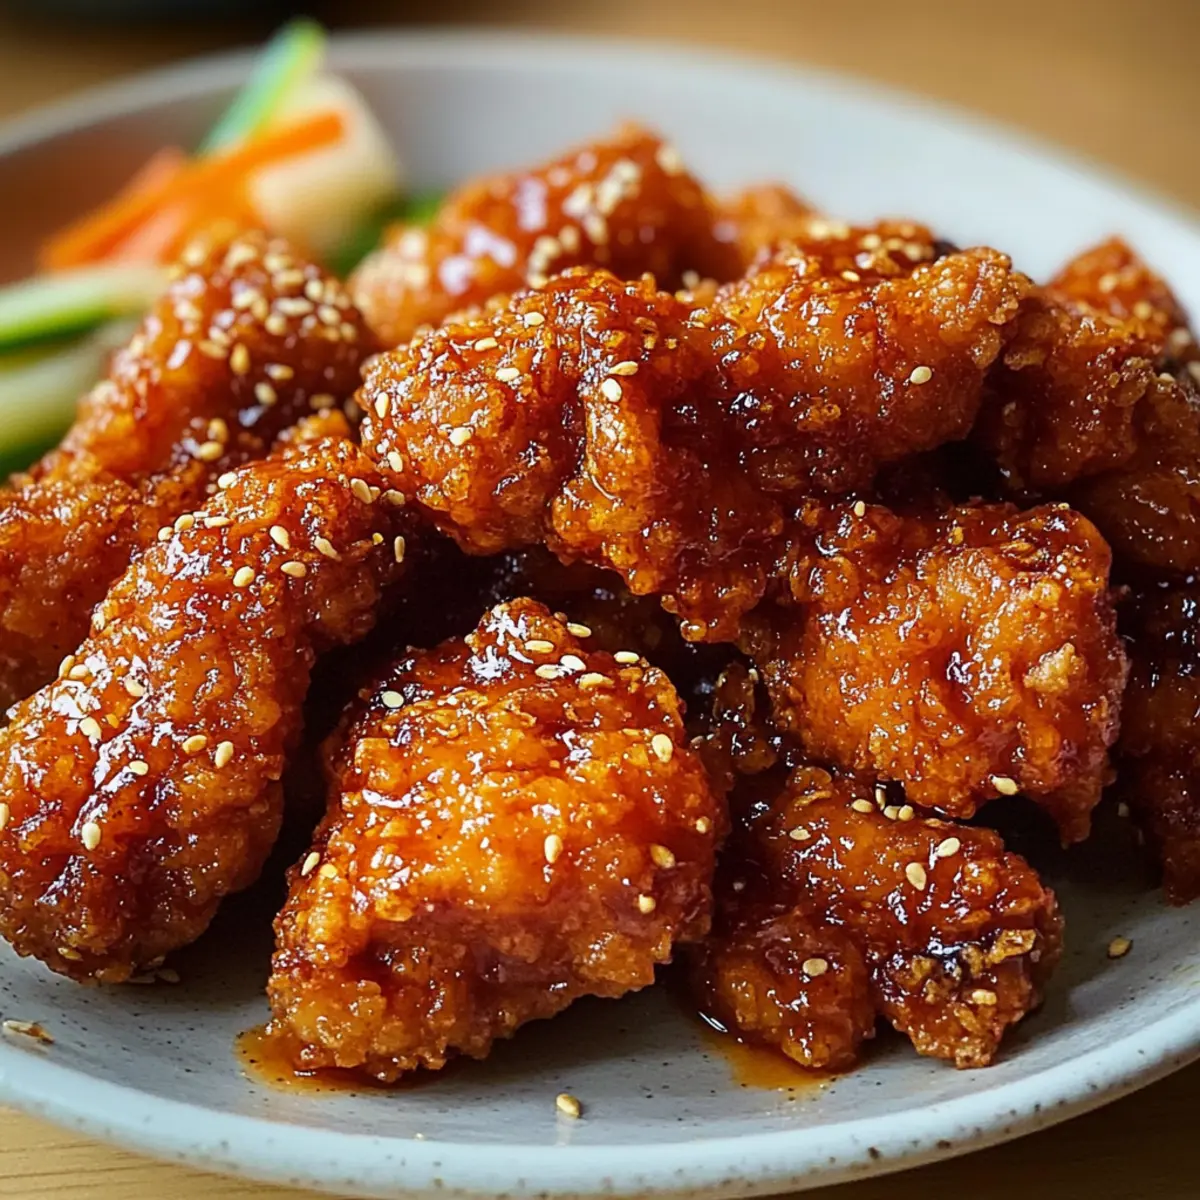
Why is Korean Fried Chicken Irresistible?
Crispiness, the hallmark of this dish, comes from the unique double-fry technique that locks in juiciness while providing a shatteringly crunchy experience. Versatile sauces like yangnyeom and soy-garlic allow you to tailor flavors to suit any palate, ensuring no two meals are ever the same. Quick prep means you can whip this up for a weeknight dinner or impress guests at your next gathering. Crowd-pleaser status is all but guaranteed with this recipe, making it a favorite for any group setting. Want a twist on this concept? Pair it with options like Chipotle Lime Chicken or consider serving alongside Roasted Corn Fried for a complete meal!
Korean Fried Chicken Ingredients
Unlock the secrets to crispy perfection!
For the Chicken
- Chicken – Choose bone-in pieces for maximum flavor during frying.
- Salt – Enhances natural flavors and helps tenderize the meat.
- Pepper – Adds a touch of warmth and enhances overall seasoning.
- Garlic Powder – Infuses the chicken with savory depth.
- Ginger Powder – Provides a subtle zing that complements the garlic.
- Soy Sauce – Boosts flavor and aids in keeping the batter adhered.
- Rice Wine – Enhances the marinade with a subtle sweetness.
For the Batter
- Potato Starch – Creates an ultra-crispy coating; substitute with cornstarch if needed, but results may be less crispy.
- Flour – When mixed with potato starch, it helps achieve the ideal texture.
- Baking Powder – Essential for lightness, making the batter airy.
- Cold Water – Critical for achieving the right batter consistency and ultimate crispiness.
For Frying and Serving
- Neutral Oil – Ideal for frying, as it can withstand high heat without imparting flavor.
- Yangnyeom Sauce – A spicy-sweet glaze made with gochujang that gives signature Korean flavor to the chicken.
- Soy-Garlic Sauce – A savory alternative that’s perfect for those who prefer milder flavors.
- Pickled Daikon (chicken-mu) – Acts as a refreshing palate cleanser to balance the dish’s richness.
Now you're all set to create the ultimate Korean fried chicken experience from your own kitchen!
Step‑by‑Step Instructions for The Crispiest Korean Fried Chicken with Spicy-Sweet Glaze
Step 1: Marinate the Chicken
In a large bowl, combine the chicken pieces with salt, pepper, garlic powder, ginger powder, soy sauce, and rice wine. Mix thoroughly to ensure all pieces are well-coated. Cover the bowl with plastic wrap and refrigerate for at least 30 minutes, or up to overnight for deeper flavor penetration. This marination step is vital for infusing the chicken with delicious flavors before frying.
Step 2: Prepare Your Sauce
While the chicken marinates, prepare your chosen sauce. In a medium saucepan set over medium heat, whisk together the sauce ingredients. Allow the mixture to simmer for about 3-4 minutes, stirring frequently, until it thickens to a glossy consistency. Once ready, remove from heat and set aside, keeping it warm if possible, as it will glaze your crispy Korean fried chicken.
Step 3: Make the Batter
Next, create the batter that will give your chicken its signature crispiness. In a mixing bowl, whisk together the potato starch, flour, baking powder, and a pinch of salt. Gradually add cold water, stirring until you achieve a thin pancake batter consistency. The temperature of the water is crucial; colder water helps create that light, shattery coating. Prepare for frying, ensuring everything is within reach.
Step 4: First Fry of the Chicken
Heat neutral oil in a deep pot or frying pan to a temperature of 160°C / 320°F. Carefully dip each marinated chicken piece into the batter, shaking off any excess. Fry in batches to avoid overcrowding, and cook for 8-10 minutes, or until the chicken turns pale golden. Use a slotted spoon to transfer the chicken to a wire rack to drain, allowing it to cool slightly as you prepare for the second fry.
Step 5: Rest the Chicken
Give your chicken a brief respite by letting it rest for at least 5 minutes on the wire rack. This step is crucial for achieving maximum crispiness during the second fry, as it allows the moisture to dissipate. It’s tempting to skip this, but trust the process—your patience will be rewarded with an even crunchier texture to your Korean fried chicken.
Step 6: Second Fry for Crispiness
Increase the oil temperature to 190°C / 375°F for the final fry. Carefully return the chicken to the hot oil in batches, frying for an additional 3-4 minutes until each piece is deep golden and achieves that shatteringly crispy exterior. Keep an eye on the color; the perfect finish should glisten invitingly. Use a slotted spoon to remove the chicken and place it on a fresh wire rack.
Step 7: Toss and Serve
Finally, while the chicken is still hot, toss it gently in your prepared sauce until well coated. Serve immediately alongside pickled daikon for a refreshing contrast. This step enhances the dish's flavors and adds to the overall presentation. Enjoy your masterpiece of Korean fried chicken, a dish sure to leave everyone craving more!
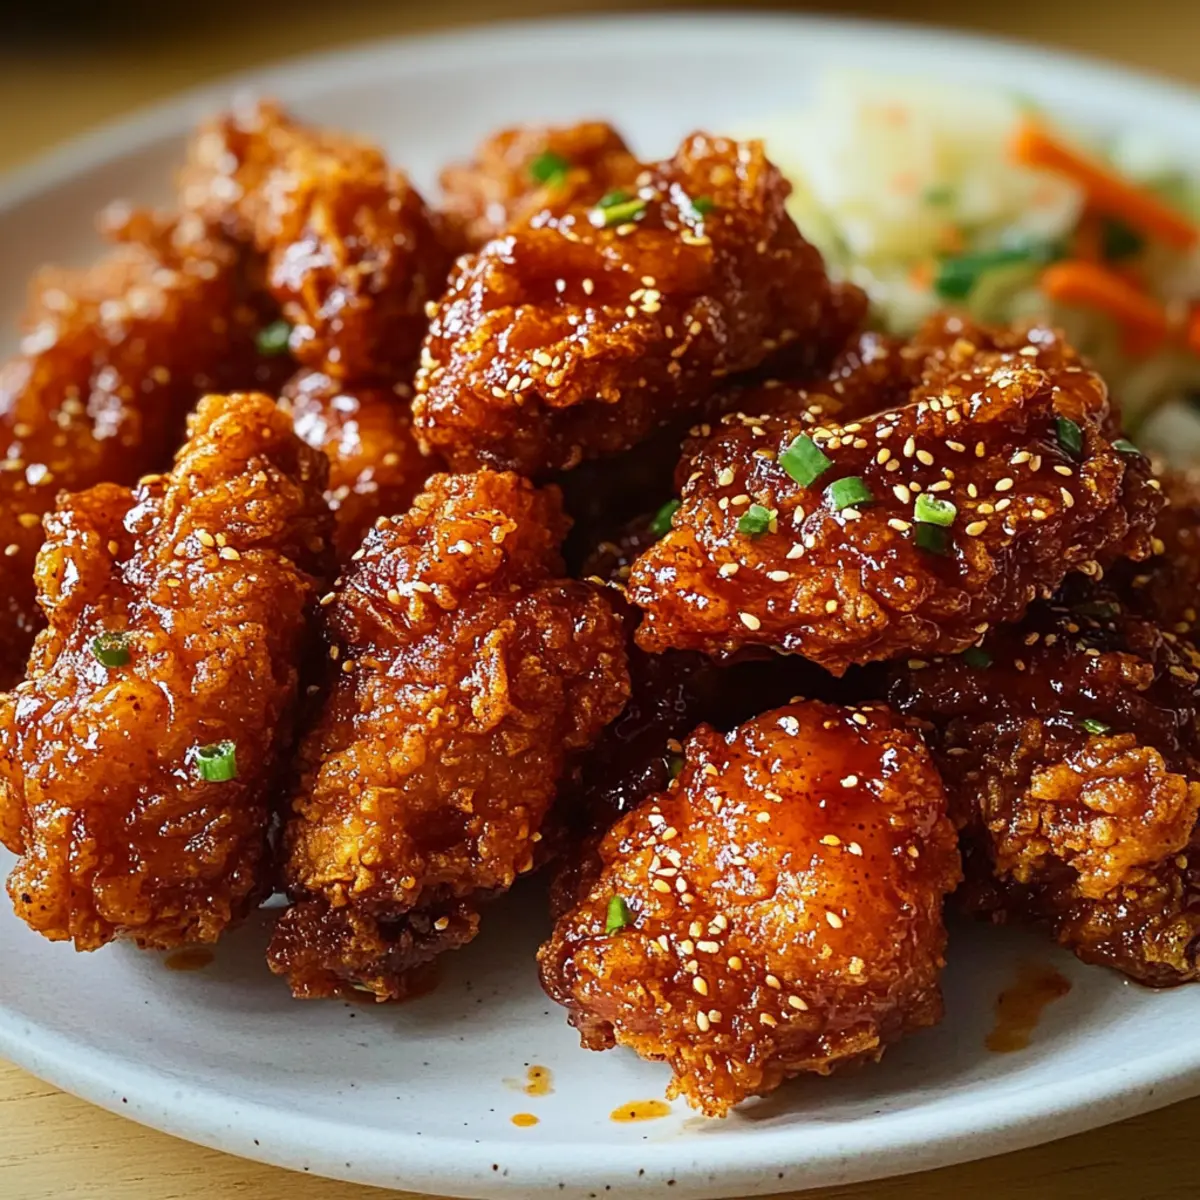
What to Serve with The Crispiest Korean Fried Chicken?
The perfect side dishes elevate your homemade chicken experience, creating a delightful symphony of flavors.
-
Creamy Coleslaw: A crunchy, tangy slaw adds a refreshing contrast that cuts through the richness of the fried chicken.
-
Garlic Fried Rice: Infused with aromatic garlic, this dish complements the savory notes of the soy-garlic sauce while holding up to the crunchiness.
-
Spicy Pickled Vegetables: Tangy, spicy pickled radish balances the heat of the yangnyeom sauce, cleansing the palate between bites.
-
Kimchi: This traditional Korean side adds a zesty kick and probiotic goodness, enhancing the overall meal with its bold flavors.
-
Savory Corn on the Cob: Grilled or boiled, corn brings a sweet, juicy element that contrasts well with the crispy texture of the chicken.
-
Crispy Potato Wedges: Baked or fried, seasoned wedges offer a hearty companion with that satisfying crunch, complementing the meal perfectly.
-
Chilled Beer: A classic pairing, refreshing cold beer enhances the flavors and adds a fun, casual vibe to your Korean fried chicken feast.
-
Fruit Salad: A light, sweet fruit medley brightens the meal and satisfies the appetite while providing a touch of natural sweetness.
Make Ahead Options
These Korean Fried Chicken preparations are perfect for busy weeknights and can save you valuable time! You can marinate the chicken with seasonings up to 24 hours in advance, allowing flavors to deeply infuse for a more delicious result. Additionally, the sauces can be prepared 3 days ahead and stored in the refrigerator; just give them a quick reheat before tossing with the fried chicken. When you're ready to serve, simply fry the marinated chicken fresh for that signature crispy texture—patience is key! Allow the chicken to rest for at least 5 minutes post-fry to maintain that unbeatable crunch. Enjoy the convenience of homemade Korean Fried Chicken without sacrificing quality!
Korean Fried Chicken Variations
Feel free to get creative and customize your Korean fried chicken experience with these delicious variations!
-
Boneless Thighs: Substitute with boneless chicken thighs for even quicker cooking times while maintaining juiciness. Adjust your fryer strategy to ensure they cook evenly.
-
Spice Level Alteration: Adjust the amount of gochujang in the yangnyeom sauce for a milder flavor. You can take baby steps by adding a little at a time until your desired spiciness is achieved.
-
Air Fryer Method: For a lighter approach, try using the air fryer. Coat your chicken with dry potato starch, light oil spray, and air fry at 200°C / 390°F for about 20-25 minutes. You’ll enjoy the same gorgeous crunch, guilt-free!
-
Gluten-Free Batter: If you need a gluten-free option, use only potato starch instead of flour for the batter. While it may slightly alter the texture, it will still yield a remarkable crunch.
-
Tangy Twist: Add a splash of rice vinegar to the soy-garlic sauce for a delightful tang. This adds complexity and sharpness that balances the savory sweetness beautifully.
-
Flavor Boosts: Toss the finished chicken in a sprinkle of sesame seeds or finely chopped scallions for a crunchy, aromatic finish. These little additions make a big difference in both flavor and presentation.
-
Extra Crispy Tip: For an even crispier texture, double coat the chicken by dipping it back into the batter after the first fry before the second fry. It’s a game-changer!
-
Mix Sauces: For the adventurous, why not mix both sauces? A blend of yangnyeom and soy-garlic will tantalize your taste buds, offering the best of both worlds. Perfect for sharing with guests who might have varying preferences.
Ready to explore more flavors? You might enjoy pairing this with Pan Fried Shrimp for a complete meal experience, or consider serving the chicken alongside Roasted Corn Fried to add a wonderful contrast to the crispy chicken. Happy cooking!
How to Store and Freeze Korean Fried Chicken
Room Temperature: Keep any leftover Korean fried chicken at room temperature for up to 2 hours; after that, refrigerate to ensure freshness.
Fridge: Store in an airtight container in the fridge for up to 3 days. To maintain crispiness, avoid stacking the chicken pieces.
Freezer: For longer storage, freeze the chicken in a single layer on a baking sheet until solid, then transfer to a freezer bag. It can be stored for up to 2 months.
Reheating: Reheat in the oven at 180°C / 350°F for 10-15 minutes to restore its crispy texture before serving.
Expert Tips for Korean Fried Chicken
-
Oil Temperature Matters: Monitor the oil temperature using a thermometer; frying below the optimal range can lead to greasy, soggy chicken.
-
Dry and Ready: Always pat the chicken dry before battering to ensure a crispy finish. Moisture leads to a soggy crust.
-
Batch Frying: Avoid overcrowding the frying pan. Fry in small batches to maintain oil temperature, ensuring even cooking and perfect crunchiness.
-
Rest for Crispiness: Let the fried chicken rest for at least 5 minutes between the first and second fry. This step is crucial for achieving that delightful crispiness.
-
Serve Fresh: Korean fried chicken is best enjoyed immediately. It doesn’t reheat well, as the crust can become soft.
-
Sauce Exploration: Don’t hesitate to try both sauce options! Yangnyeom offers spice, while soy-garlic gives a savory touch, appealing to different tastes.
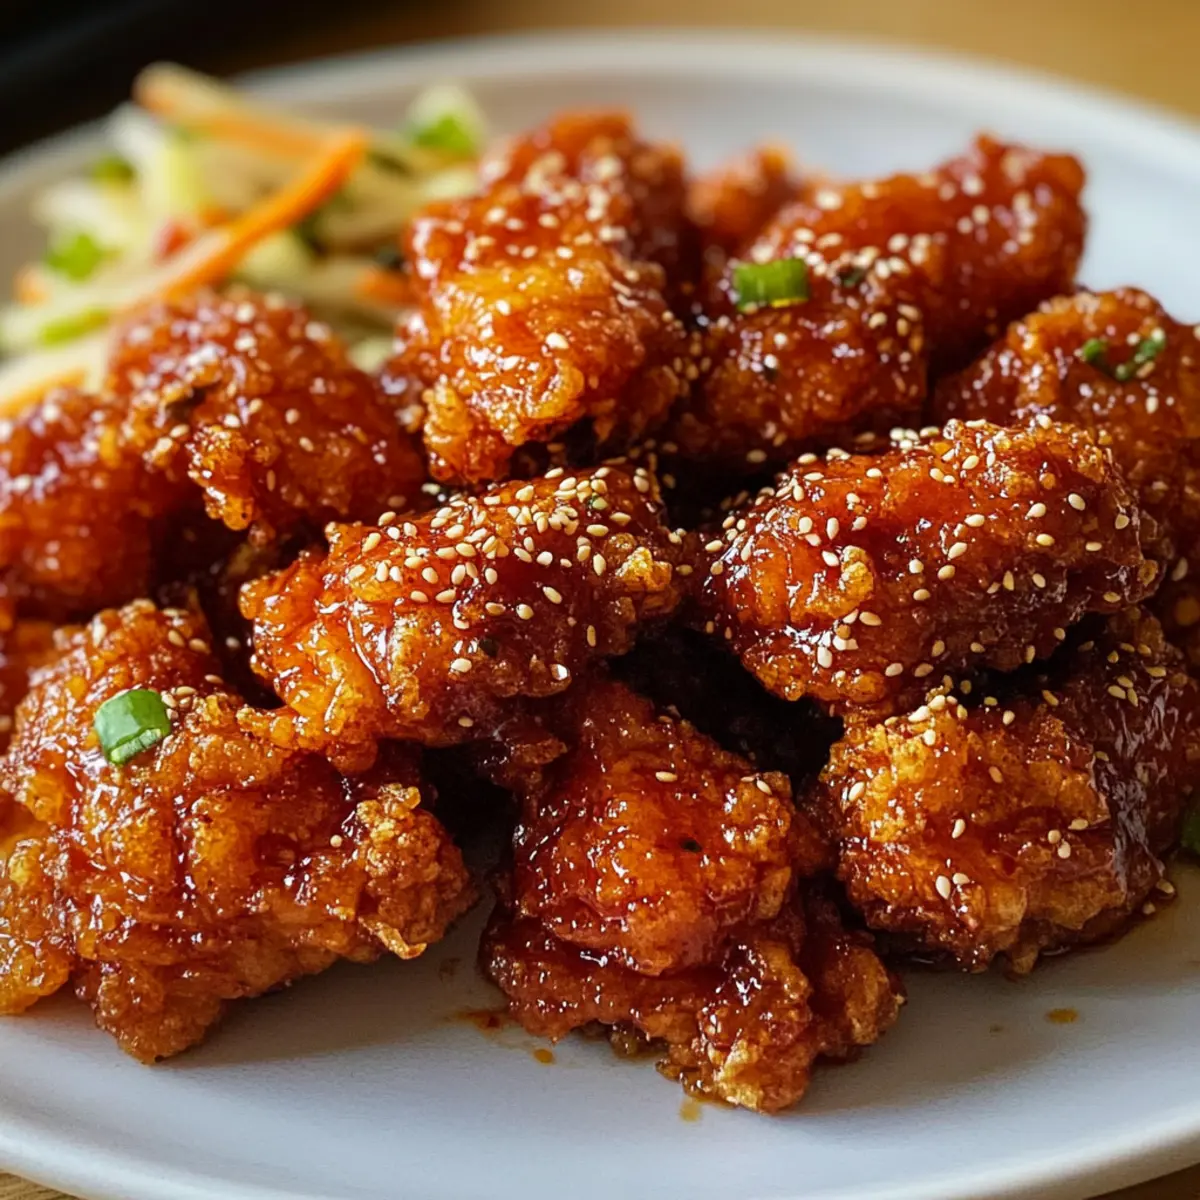
Korean Fried Chicken Recipe FAQs
What type of chicken is best for Korean fried chicken?
For the ultimate flavor, I recommend using bone-in chicken pieces, like thighs or drumsticks. They retain moisture during frying, leading to tender, juicy meat. If you're in a hurry, boneless thighs can be used, but adjust frying times for quicker cooking.
How should I store leftover Korean fried chicken?
To keep your chicken fresh, place it in an airtight container in the refrigerator for up to 3 days. Make sure not to stack the pieces, as this can compromise the beloved crispy texture.
Can I freeze Korean fried chicken?
Absolutely! For optimal freezing, lay the fried chicken out in a single layer on a baking sheet until solid, then transfer it to a freezer bag. This method prevents pieces from sticking together, allowing you to enjoy leftovers for up to 2 months. When you're ready to enjoy, simply reheat in the oven at 180°C / 350°F for about 10-15 minutes to restore the crispiness.
What are some troubleshooting tips for crispy fried chicken?
If your chicken isn’t crispy, check your oil temperature with a thermometer—it should be around 160°C (320°F) for the first fry and 190°C (375°F) for the second. If the temperature drops too low, the chicken will absorb excess oil, becoming greasy. Additionally, ensure the chicken pieces are well-dried before battering, as moisture can lead to a soggy crust.
Is Korean fried chicken suitable for gluten-free diets?
Yes, it can be! Using potato starch instead of regular flour makes this dish gluten-free, which is perfect for those with gluten sensitivities. Just check your soy sauce for gluten-free options, as some brands do contain gluten.
What should I do if the batter is too thick?
If your batter isn't flowing smoothly, simply whisk in a little more cold water until it reaches the consistency of a thin pancake batter. The colder the water, the better the crispy coating will turn out. Remember, achieving the proper batter thickness is key to that shatteringly crispy texture you're aiming for!
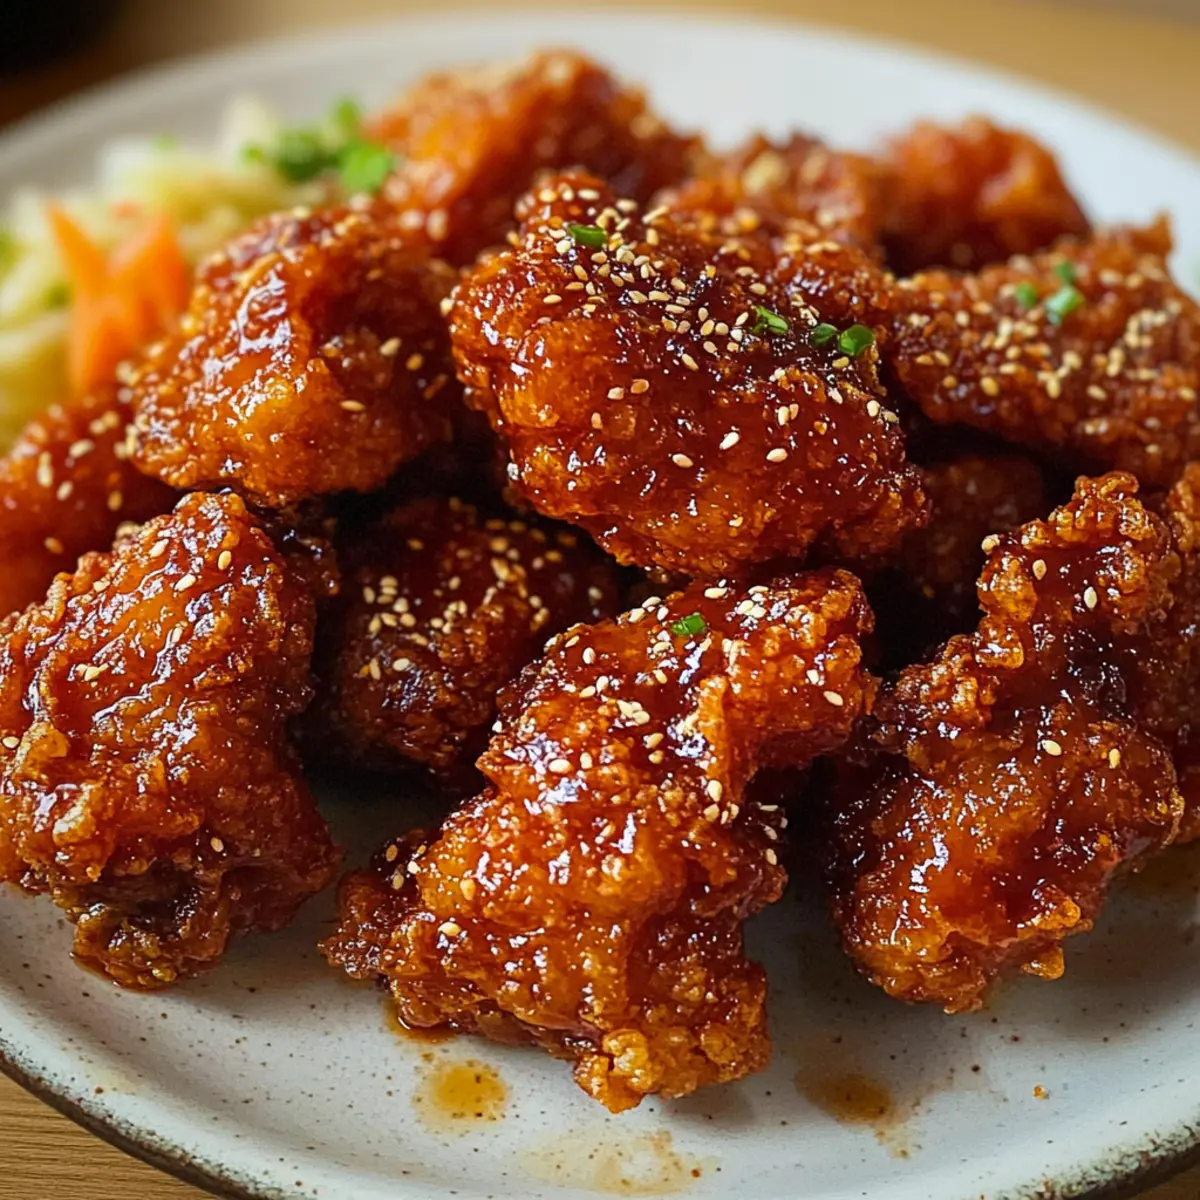
Crispy Korean Fried Chicken with Irresistible Sauces
Ingredients
Equipment
Method
- In a large bowl, combine the chicken pieces with salt, pepper, garlic powder, ginger powder, soy sauce, and rice wine. Mix thoroughly to ensure all pieces are well-coated. Cover the bowl with plastic wrap and refrigerate for at least 30 minutes, or up to overnight.
- While the chicken marinates, prepare your chosen sauce by whisking together the sauce ingredients in a medium saucepan set over medium heat until it thickens.
- In a mixing bowl, whisk together potato starch, flour, baking powder, and a pinch of salt. Gradually add cold water to achieve a thin pancake batter consistency.
- Heat neutral oil in a deep pot or frying pan to 160°C / 320°F. Dip each marinated chicken piece in the batter and fry in batches for 8-10 minutes until pale golden.
- Let the fried chicken rest for at least 5 minutes on a wire rack to maximize crispiness.
- Increase the oil temperature to 190°C / 375°F and fry the chicken in batches for an additional 3-4 minutes until deep golden.
- Toss the hot fried chicken in your prepared sauce until well coated and serve immediately with pickled daikon.
Leave a Reply