
The tantalizing aroma of garlic wafts through the kitchen, instantly transporting me to a cozy Italian trattoria. This Quick & Easy Garlic Sheet Pan Breadsticks recipe has become a staple in my home, transforming everyday meals into something special. With just under ten ingredients and minimal effort, you can whip up these tender yet chewy breadsticks that are perfect for any occasion. Whether you're hosting guests or looking for a comforting side to complement lasagna, these irresistible snacks are not only quick to prepare but also freezer-friendly, making them ideal for spontaneous cravings. Picture pulling a warm batch from the oven, golden brown and ready for dipping! Curious how to make your own? Let's get baking!
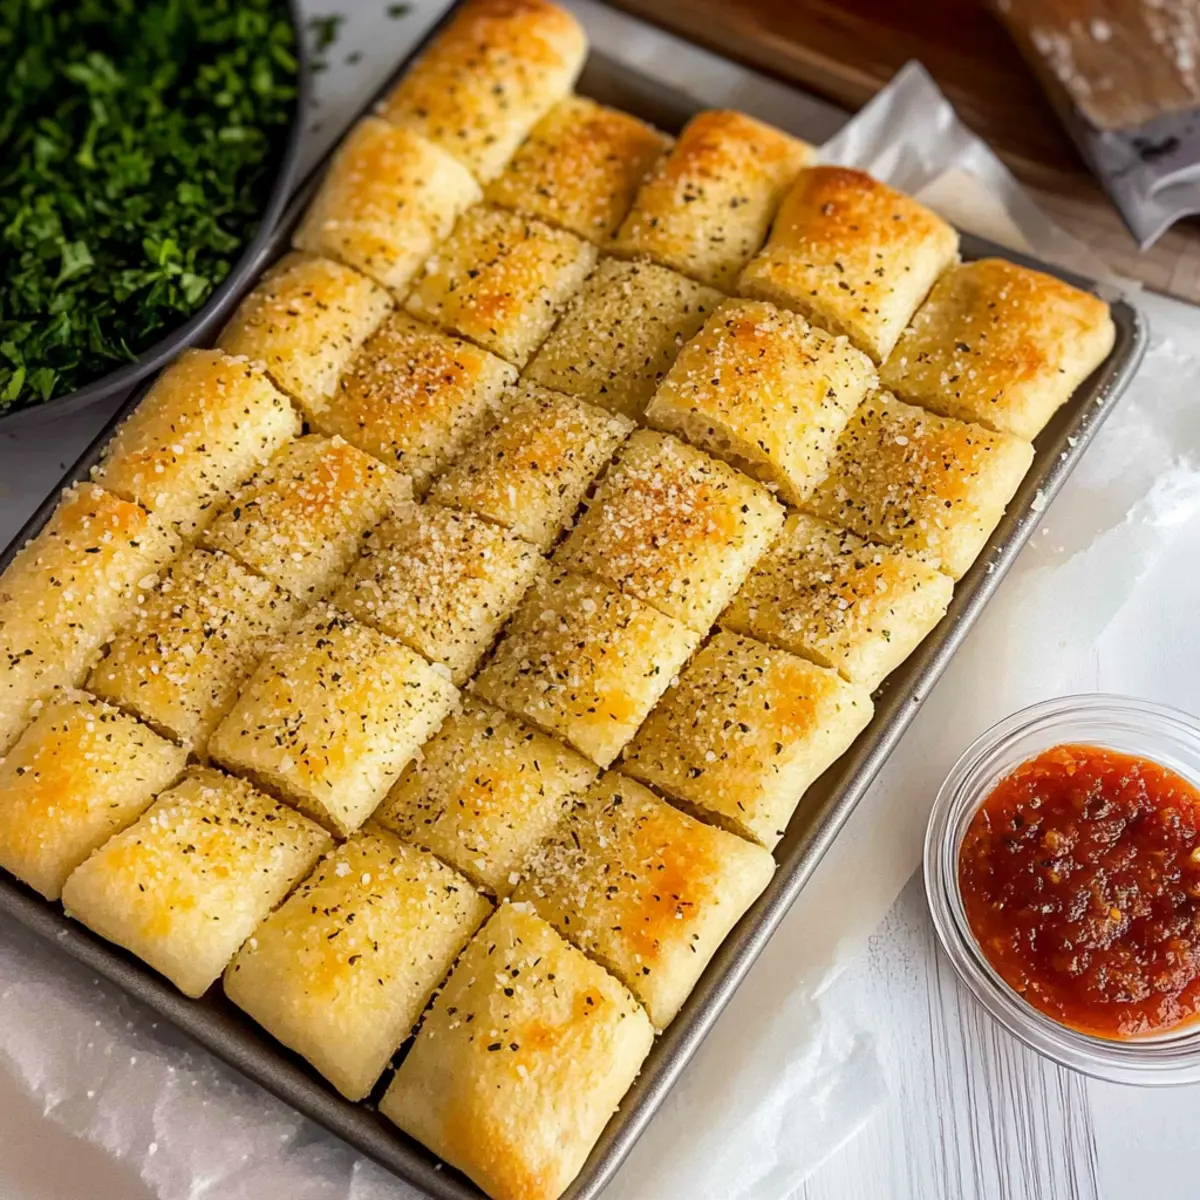
Why are these breadsticks a must-try?
Simplicity at Its Best: This recipe requires minimal ingredients and effort, making it perfect for home cooks at any skill level.
Irresistible Aroma: The smell of freshly baked garlic breadsticks will draw everyone in, creating an inviting atmosphere for your mealtime.
Versatility: Serve them alongside your favorite pasta dishes or warm marinara sauce for a delightful appetizer that pleases any crowd.
Freezer-Friendly: Make a double batch and freeze the extras for times when you crave that homemade comfort without the wait.
Flavorful Finish: The combination of melted butter, parmesan, and Italian seasoning not only enhances the flavor but also creates a golden, crispy topping that everyone will love.
Ready to elevate your meals with these delicious breadsticks? Don’t forget to check out my Panna Cotta Sweet for a perfect dessert to follow!
Sheet Pan Breadstick Ingredients
For the Dough
- Warm Water – Activates the yeast; ensure it's between 105°-115°F for optimal results.
- Granulated Sugar – Feeds the yeast for rising; can substitute with honey for a natural sweetener.
- Salt – Enhances flavor and regulates yeast action; kosher salt works nicely if preferred.
- Yeast – Essential for texture and rise; rapid-rise yeast can speed things up.
- All-Purpose Flour – Provides structure; swap for bread flour for a chewier texture.
- Melted Butter – Adds richness; half goes on the pan and half on the dough; olive oil is a suitable substitute.
For Topping
- Parmesan Cheese – Adds a delicious flavor and a crispy topping; any hard cheese can be used as a substitute.
- Garlic Salt – Provides seasoning; fresh minced garlic can be added for a bolder flavor.
- Italian Seasoning – Offers herby notes; mix oregano, basil, and thyme as an alternative.
These Sheet Pan Breadsticks are sure to be a hit at your next family dinner or gathering!
Step‑by‑Step Instructions for Quick & Easy Garlic Sheet Pan Breadsticks
Step 1: Activate Yeast
In a large mixing bowl, combine 1 cup of warm water (between 105°-115°F), 2 teaspoons of granulated sugar, 1 packet of yeast, and 1 teaspoon of salt. Stir gently to combine and let it rest for 5-10 minutes until it becomes bubbly and frothy. This step is crucial for your Sheet Pan Breadsticks to rise beautifully.
Step 2: Mix Dough
Using a stand mixer with a dough hook, gradually add 3 cups of all-purpose flour to the yeast mixture. Mix on low speed until a loose, shaggy dough forms. Once combined, knead the dough for about 5 minutes, then cover it with a clean kitchen towel. Let it proof in a warm area for 30-45 minutes or until it doubles in size.
Step 3: Prepare Baking Sheet
Preheat your oven to 350°F (175°C). While the oven heats, prepare a sheet pan by lining it with parchment paper. Pour half of the melted butter (about 4 tablespoons) evenly onto the parchment paper, allowing it to coat the bottom of the pan. This step ensures your Sheet Pan Breadsticks bake perfectly golden.
Step 4: Shape Dough
Once the dough has risen, gently punch it down to release air. Transfer it to the prepared sheet pan, pressing it from the center outward to cover the entire bottom. Ensure an even layer so the breadsticks bake uniformly. Drizzle the remaining melted butter over the top of the stretched dough.
Step 5: Season
Sprinkle a generous amount of ½ cup of grated Parmesan cheese, 1 teaspoon of garlic salt, and 1 teaspoon of Italian seasoning evenly across the dough surface. This adds incredible flavor to your Sheet Pan Breadsticks. Allow the dough to sit for 15-20 minutes to rise slightly before baking, which will help achieve a fluffier texture.
Step 6: Cut & Bake
Using a pizza cutter, gently cut the dough into your desired shapes, making sure not to cut all the way through. This will allow the breadsticks to separate easily after baking. Place the sheet pan in the preheated oven and bake for 18-20 minutes or until the breadsticks are golden brown and slightly crispy on the edges. Once done, cool slightly before serving.
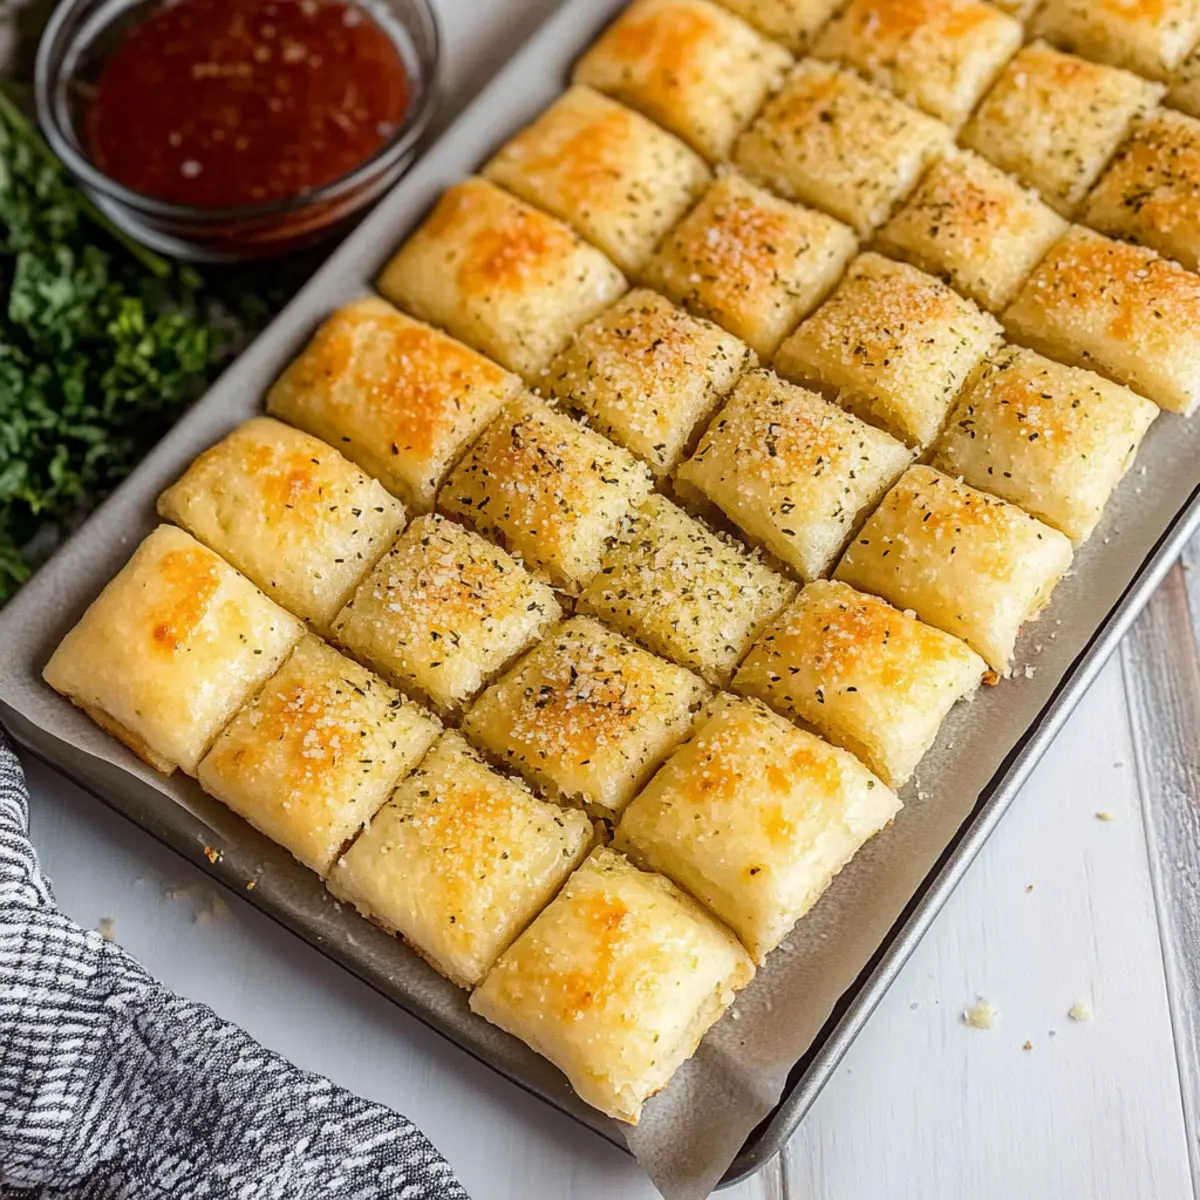
What to Serve with Quick & Easy Garlic Sheet Pan Breadsticks
Imagine a table adorned with delightful dishes, all ready to complement your freshly baked breadsticks!
-
Creamy Tomato Soup: A classic pairing that enhances the breadsticks' flavors and provides a comforting, heartwarming meal experience.
-
Zesty Salad: A mix of crisp greens, grape tomatoes, and a tangy vinaigrette adds refreshing contrast to the chewy texture of the breadsticks.
-
Savory Pasta Dish: Elevate your meal by serving these breadsticks alongside any rich pasta, like creamy Alfredo or marinara, for heartiness that’s irresistible.
-
Herb-Infused Olive Oil: Offer a bowl of olive oil infused with herbs for dipping, enhancing each bite of breadstick with aromatic flavors.
-
Cheesy Garlic Dip: Create a decadent dip that echoes the garlic in the breadsticks, making it a warm and indulgent choice for any occasion.
-
Sparkling Lemonade: For a bubbly, refreshing drink, serve sparkling lemonade to cleanse the palate between bites while complementing the herbal notes of the breadsticks.
How to Store and Freeze Sheet Pan Breadsticks
Room Temperature: Store completely cooled breadsticks in an airtight container at room temperature for up to 3 days to maintain their softness and flavor.
Fridge: For longer freshness, keep them in the fridge for up to 1 week; just ensure they're in a well-sealed container to prevent drying out.
Freezer: Freeze leftover sheet pan breadsticks for up to 3 months. Wrap them tightly in plastic wrap followed by aluminum foil to avoid freezer burn.
Reheating: To reheat frozen breadsticks, place them directly on a baking sheet in a preheated oven at 350°F (175°C) for about 10-12 minutes, or until warmed through.
Make Ahead Options
These Quick & Easy Garlic Sheet Pan Breadsticks are perfect for meal prep, allowing you to savor homemade flavors even on the busiest nights! You can prepare the dough up to 24 hours in advance; simply follow the initial steps, then cover the bowl tightly and refrigerate it to prevent it from browning. If time is short, you can also shape the dough and place it in the prepared sheet pan, covering it lightly with plastic wrap; let it rise in the fridge overnight. When you’re ready to enjoy, remove from the fridge, let it sit at room temperature for about 30 minutes, then season and bake as directed. These make-ahead options ensure that your breadsticks maintain their delightful texture and flavor, delivering restaurant-quality results with minimal effort!
Expert Tips for Sheet Pan Breadsticks
-
Garlic Boost: Add fresh minced garlic directly into the dough for an intensified garlic flavor that will elevate your Sheet Pan Breadsticks.
-
Proofing Essentials: Always keep the dough covered while proofing to prevent it from drying out, ensuring a nice, soft texture in your breadsticks.
-
Clean Cuts: Use a pizza cutter for smooth, effortless cuts when shaping your breadsticks—this will help maintain their easy-to-separate design after baking.
-
Resting Time Matters: Don’t rush the resting period after cutting; it aids in achieving a better rise and fluffy texture while baking.
-
Experiment with Cheese: Feel free to swap out Parmesan for cheeses like mozzarella or cheddar to add different flavors to your breadsticks.
Sheet Pan Breadsticks Variations
Feel free to get creative and transform your breadsticks with these fun and delicious twists!
-
Cheesy Twist: Swap the Parmesan for cheddar or mozzarella for a gooey, cheesy delight that will impress any cheese lover in the family. Just imagine pulling apart the warm, stringy goodness.
-
Spicy Kick: Add crushed red pepper flakes into the dough for a delightful heat that lingers on the palate. This twist is perfect for those who love a little spice in their life!
-
Garlic Lovers: Enhance the garlic flavor by mixing fresh minced garlic right into your dough. The aroma will be irresistible while baking and will create a robust garlic profile throughout.
-
Herb Infusion: Incorporate chopped fresh herbs like rosemary or thyme into the dough for added depth and fragrance. Each bite will release lovely earthy flavors, giving your breadsticks a garden-fresh taste.
-
Sweet Surprise: Add a touch of honey to the dough for a hint of sweetness that pairs beautifully with savory dishes. It’s a delicious contrast that will leave your taste buds dancing.
-
Whole Wheat Alternative: Substitute half of the all-purpose flour with whole wheat flour for a heartier texture and boost in nutrition. This slight change offers a nutty flavor, perfect for those seeking a wholesome option.
-
Garlic Butter Dip: Mix softened butter with minced garlic and parsley to create a rich dipping sauce. This elevates your breadsticks even further, creating a heavenly combination with every dip!
-
Warm Parmesan Crust: After baking, sprinkle additional Parmesan on top while the breadsticks are still hot for a delightful, crispy finish that adds a burst of flavor. You can never have too much cheese!
Don’t forget to pair these breadsticks with easy dips like marinara or check out my Ricotta Protein Pancakes for a delightful breakfast option afterwards! Enjoy experimenting with these variations to find your family’s favorite!
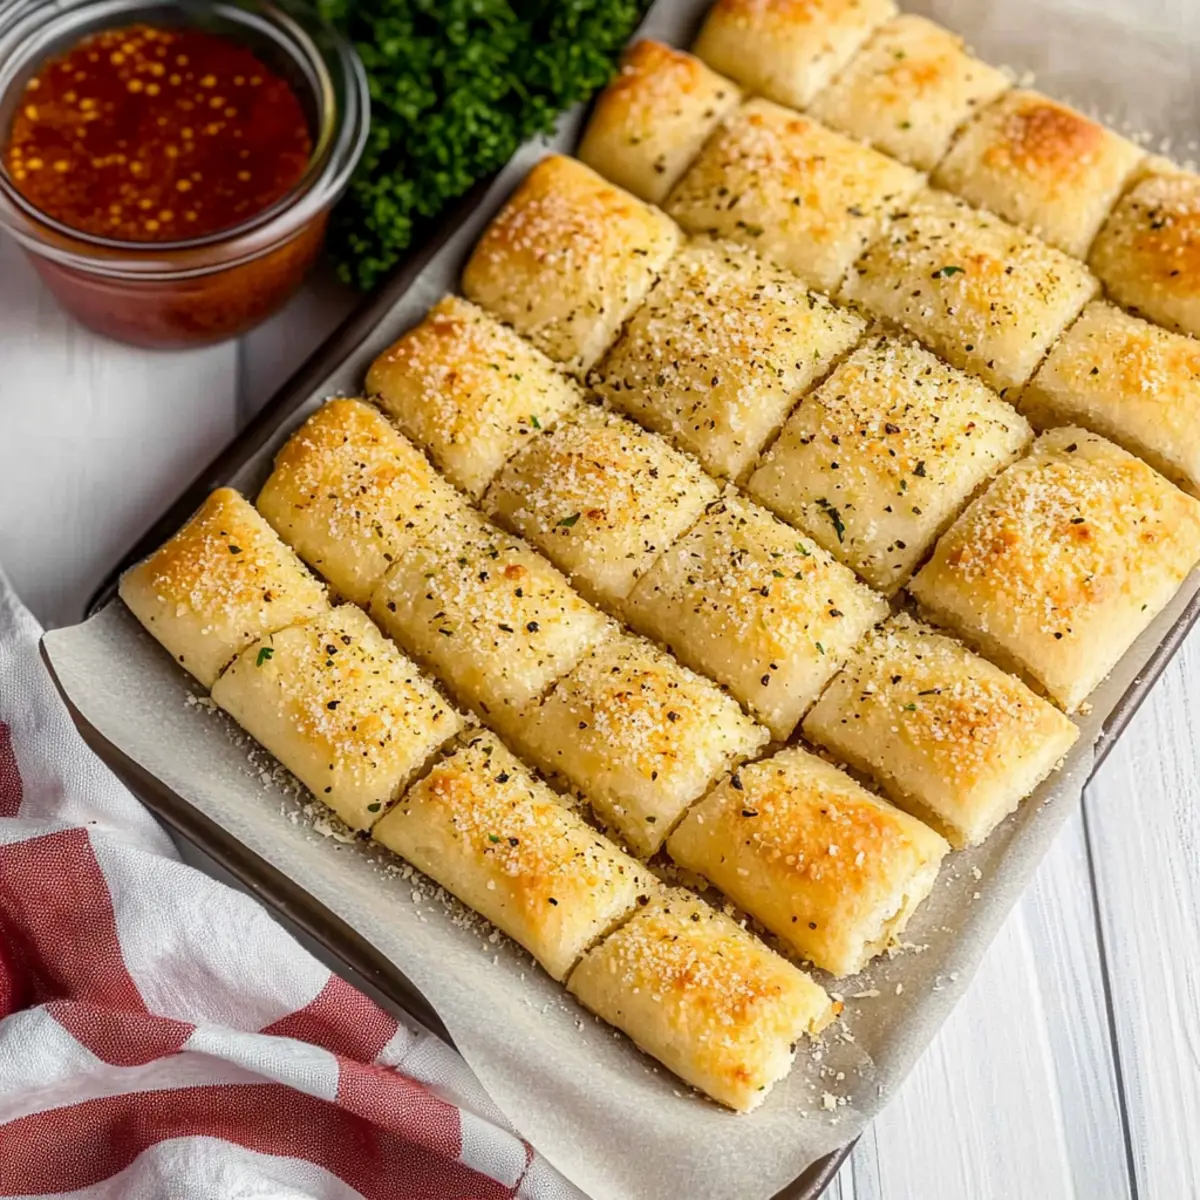
Quick & Easy Garlic Sheet Pan Breadsticks Recipe FAQs
How do I know if my yeast is active?
Absolutely! To check if your yeast is active, combine warm water (between 105°-115°F), sugar, and yeast in a bowl. Let it sit for 5-10 minutes. If it becomes bubbly and frothy, your yeast is ready to use. If not, your yeast may be expired, and it's best to start over!
How should I store leftover breadsticks?
Very easy! Store completely cooled sheet pan breadsticks in an airtight container at room temperature for up to 3 days. If you prefer longer storage, refrigerate them for up to 1 week, ensuring they’re well-sealed to prevent drying out.
Can I freeze my breadsticks? If so, how?
Absolutely! To freeze your sheet pan breadsticks, wrap them tightly in plastic wrap followed by aluminum foil to protect against freezer burn. They can be frozen for up to 3 months. When you're ready to enjoy them, reheat directly from the freezer in a preheated oven at 350°F (175°C) for about 10-12 minutes.
What should I do if my dough doesn’t rise?
Very common! If your dough doesn't rise, it might be due to using inactive yeast or not keeping it warm enough during the proofing stage. Ensure your yeast is fresh and that the proofing area is warm (ideal temperature is around 75-80°F). If your dough hasn't doubled in size after 45 minutes, it may be best to start over with new ingredients.
Are these breadsticks suitable for people with dietary restrictions?
While the recipe includes gluten-containing ingredients, it can be modified! You can use a gluten-free flour blend to accommodate those who are gluten-sensitive. Always be sure to double-check all ingredient labels to ensure they fit dietary restrictions, especially for guests with allergies.
Can I use fresh garlic instead of garlic salt?
Absolutely, you can! For a bolder garlic flavor, feel free to add 1-2 cloves of fresh minced garlic into the dough while mixing. This will intensify the aroma and taste of your breadsticks. Just keep in mind that it may alter the cooking time slightly, so watch them closely as they bake!
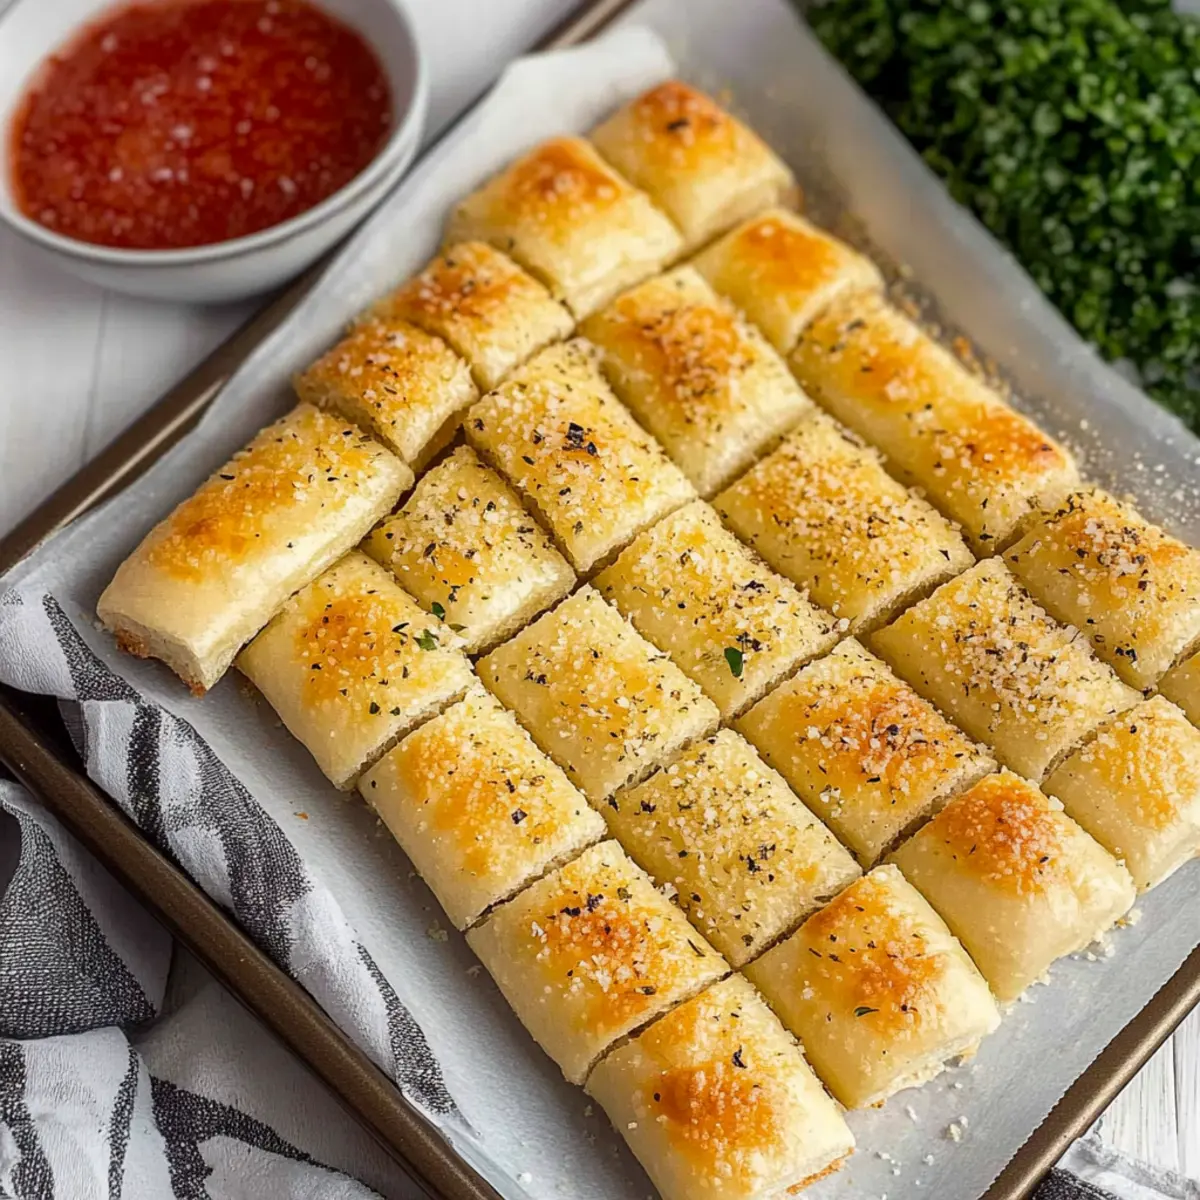
Irresistible Sheet Pan Breadsticks Ready in Just One Hour
Ingredients
Equipment
Method
- In a large mixing bowl, combine warm water, granulated sugar, yeast, and salt. Let it rest for 5-10 minutes until bubbly and frothy.
- Gradually add the all-purpose flour to the yeast mixture and mix on low speed until a shaggy dough forms. Knead for about 5 minutes and let it proof covered for 30-45 minutes.
- Preheat your oven to 350°F (175°C) and line a sheet pan with parchment paper. Pour half of the melted butter on the parchment.
- Once the dough has risen, punch it down and transfer it to the sheet pan, pressing to cover the bottom evenly. Drizzle remaining melted butter over the top.
- Sprinkle the Parmesan cheese, garlic salt, and Italian seasoning evenly across the dough. Let it sit for 15-20 minutes to rise.
- Cut the dough into desired shapes with a pizza cutter. Bake for 18-20 minutes or until golden brown.



Leave a Reply