
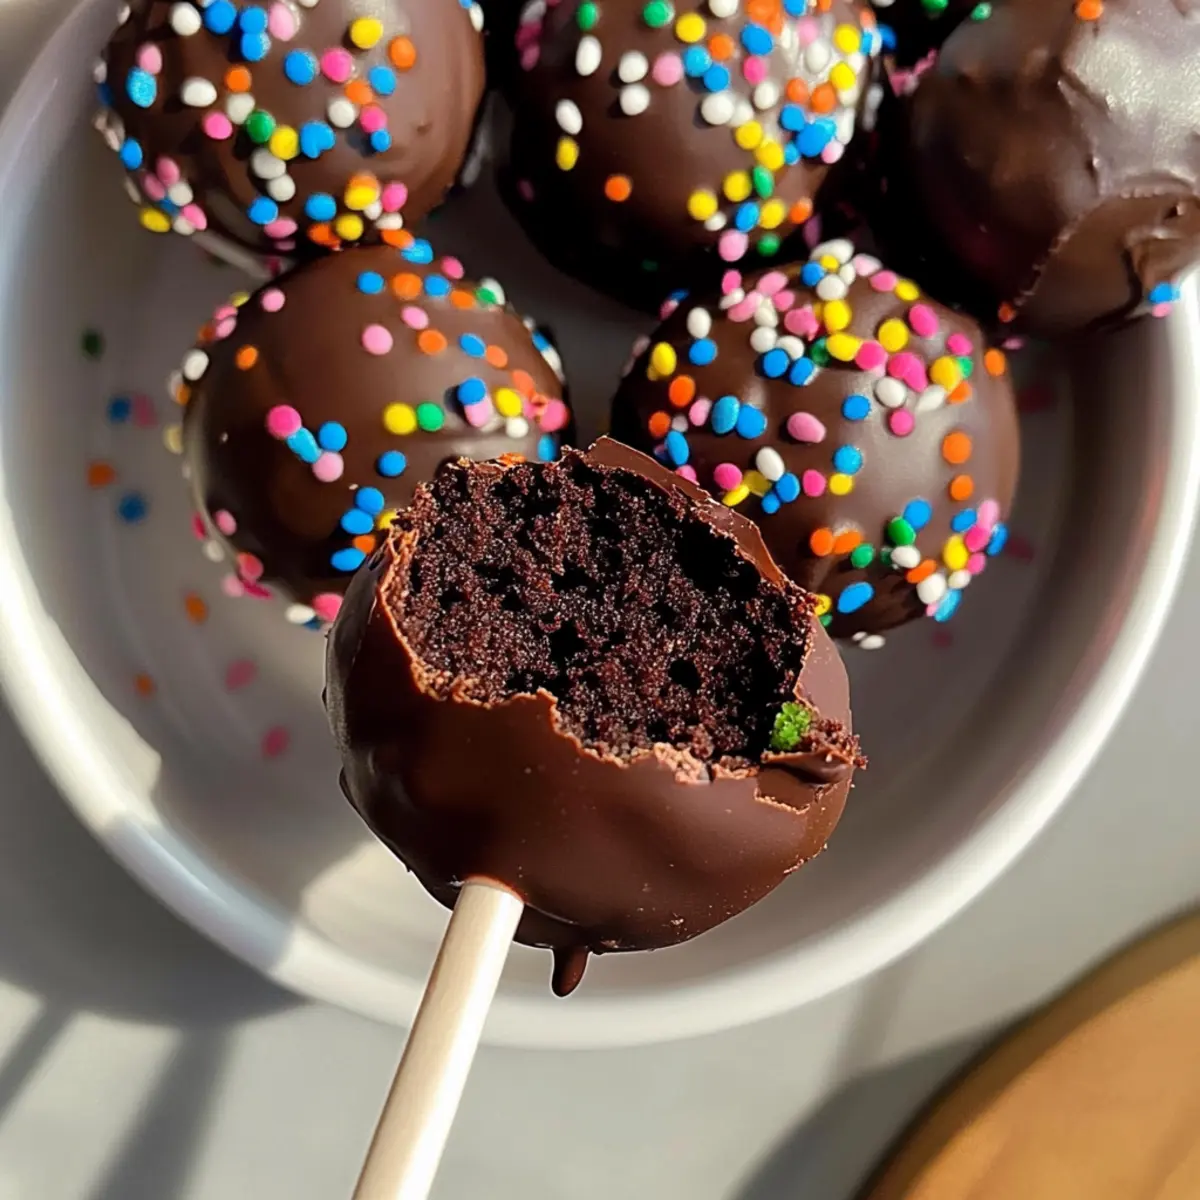
As I stood in my kitchen, the scent of chocolate wafting through the air, I couldn’t help but smile at the thought of these fudgy Chocolate Cake Pops waiting to be enjoyed. They’re the perfect blend of rich, moist cake and a delightful creamy frosting, all wrapped in a crunchy chocolate shell. What’s even better is that they're easy to make, making them a go-to option for both celebrations and cozy evenings at home. Whether you're a seasoned baker or just looking to delight your loved ones, these cake pops promise to impress without overwhelming you in the kitchen. Curious about how to whip up this sweet treat that’s sure to satisfy your cravings? Let’s dive into the recipe!
Why Are These Cake Pops So Irresistible?
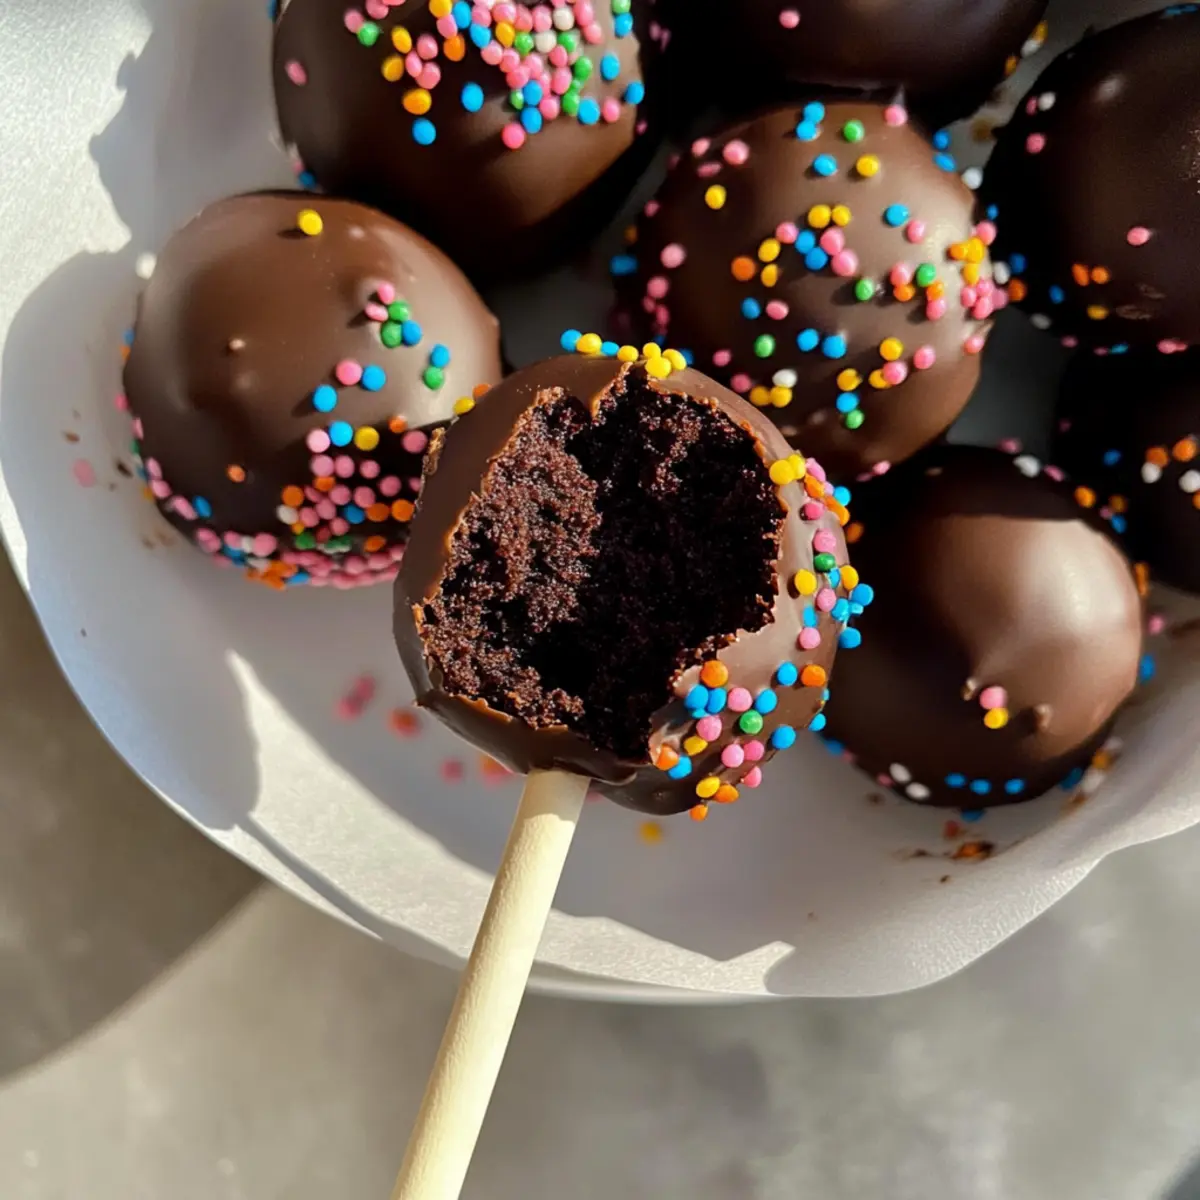
Deliciously Fudgy: The rich, moist cake center is perfectly combined with creamy frosting, creating a melt-in-your-mouth experience that tantalizes the taste buds.
Effortless Preparation: Using chocolate cake mix, you can whip up these pops in no time, making them a wonderful choice for busy bakers or unexpected guests.
Customizable Joy: Personalize your pops by swapping out sprinkles or using chocolate frosting for an even richer flavor. Check out our Chocolate Pudding Cake for more creative ideas!
Crowd-Pleasing Treat: Whether served at a birthday party or just a cozy movie night, these cake pops are sure to be a star attraction, captivating both kids and adults alike.
Perfect for Any Occasion: From holidays to casual get-togethers, they fit seamlessly into every celebration, bringing joy to every table.
Chocolate Cake Pops Ingredients
• You'll be surprised how simple these are!
For the Cake
- Chocolate Cake Mix – This forms the delicious base; substitute water with milk for extra richness.
- Eggs – Follow the package instructions for the perfect texture.
- Water – Essential for preparing the cake mix as directed.
For the Frosting
- Salted Butter – Use softened butter for easy mixing into the frosting.
- Plain Cream Cheese – For a creamy, rich texture—ensure it’s softened beforehand.
- Vanilla Extract – Deepens the flavor profile of your frosting.
- Powdered Sugar – Sweetens the frosting while helping it achieve that smooth consistency.
For Coating
- Chocolate Melting Wafers – Ideal for a smooth coating; melt them at low intervals to avoid burning.
- Sprinkles – Use your favorite colors to add a personal touch and extra crunch.
Step‑by‑Step Instructions for Chocolate Cake Pops
Step 1: Bake the Cake
Preheat your oven to the temperature specified on the chocolate cake mix box. Prepare the cake batter according to the instructions, substituting water with milk for added richness. Pour the batter into a greased baking pan and bake until a toothpick inserted in the center comes out clean, typically around 30-35 minutes. Once baked, allow the cake to cool completely on a wire rack.
Step 2: Make Frosting
While the cake cools, prepare the creamy frosting. In a mixing bowl, beat together the softened salted butter, plain cream cheese, vanilla extract, and powdered sugar until you achieve a smooth and creamy texture. This rich frosting will elevate your Chocolate Cake Pops and create a delightful surprise within each bite. Set aside the frosting to let the flavors meld.
Step 3: Combine Cake and Frosting
Once the cake is completely cooled, crumble it into a large bowl using your hands or a fork. Mix in about one cup of the prepared frosting, blending until the mixture is fully combined and can hold its shape when rolled into a ball. Adjust the frosting amount if needed to achieve a fudgy consistency, perfect for your chocolate cake pop center.
Step 4: Chill Cake Mixture
Cover the bowl with plastic wrap and refrigerate the cake and frosting mixture for 30-45 minutes. Chilling firms up the mixture, making it easier to shape into balls. This step is essential for ensuring your Chocolate Cake Pops maintain their shape once they’re on the sticks.
Step 5: Shape Cake Balls
Remove the chilled mixture from the refrigerator and scoop out about 1.5 tablespoons of the cake mixture. Roll each portion into a smooth ball, aiming for a uniform size for even baking. Place each ball onto a parchment-lined baking sheet for easy coating later. This step is where your fudgy chocolate cake pops begin to take shape!
Step 6: Melt Chocolate
In a microwave-safe bowl, melt the chocolate wafers in 30-second intervals, stirring between each interval until smooth. Be careful not to overheat the chocolate, as this can cause it to seize. The melted chocolate will serve as the delicious outer layer of your cake pops, giving them that irresistible crunchy coating.
Step 7: Insert Sticks
Dip the tip of each cake pop stick into the melted chocolate, then gently insert it into the center of each cake ball. This will help secure the stick in place, ensuring a perfect finish once coated. After inserting the sticks, return the cake balls to the parchment-lined baking sheet for the next step.
Step 8: Chill Again
Place the baking sheet with the inserted cake pop sticks back in the fridge for another 30-45 minutes. Alternatively, you can freeze them for 20-30 minutes. This chilling step allows the chocolate to harden slightly, creating a better coating experience during the next step of dipping.
Step 9: Coat Cake Pops
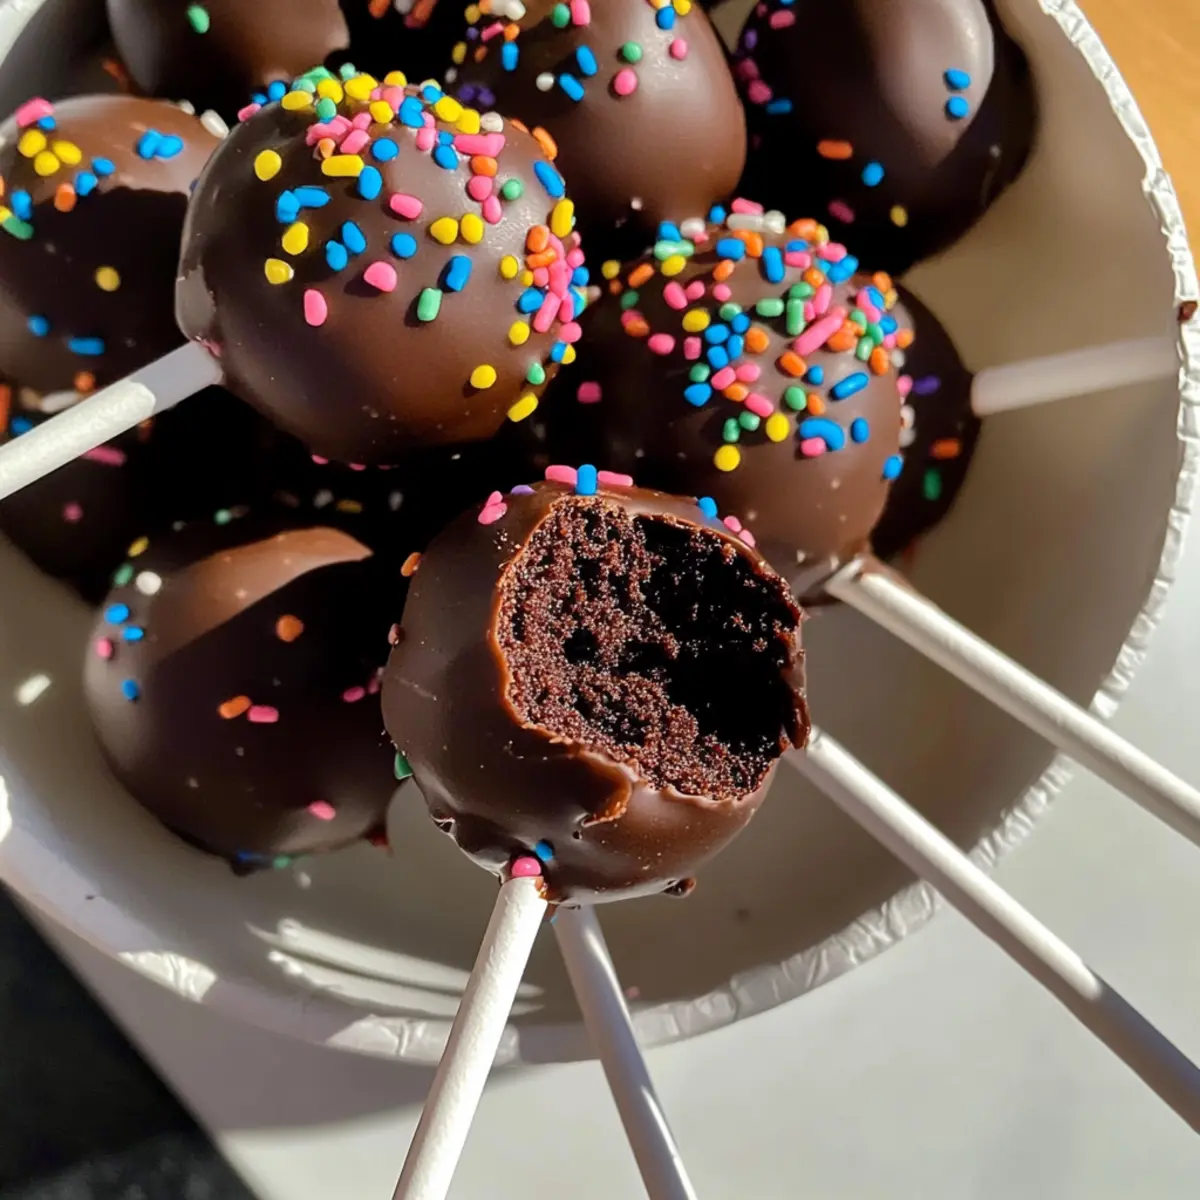
Once chilled, dip each cake ball in the melted chocolate, ensuring it's fully covered. Allow any excess chocolate to drip off back into the bowl. If desired, sprinkle your favorite decorations or sprinkles on top while the chocolate is still wet, adding a pop of color to your Chocolate Cake Pops.
Step 10: Set and Enjoy
Finally, let the coated cake pops sit at room temperature until the chocolate sets completely, which usually takes about 30 minutes. For quicker results, you can place them back in the refrigerator to firm up. Once set, your delicious chocolate cake pops are ready to be enjoyed at any gathering or as a sweet treat for yourself!
Expert Tips for Chocolate Cake Pops
-
Chill Thoroughly: Make sure to chill the cake and frosting mixture adequately to prevent the cake pops from falling apart when inserted with sticks.
-
Smooth Coating: For a flawless finish, melt the chocolate wafers slowly and stir frequently to maintain a smooth consistency, avoiding any clumps.
-
Choose the Right Stick: Opt for sturdy cake pop sticks to ensure they can hold the weight of the fudgy cake pops without bending or breaking.
-
Use Fresh Ingredients: Always use fresh cream cheese and other ingredients for the best flavor and creaminess in your frosting.
-
Experiment with Flavors: Don’t hesitate to mix things up! Add flavor extracts like almond or peppermint to the frosting for unique Chocolate Cake Pops that stand out.
What to Serve with Fudgy Chocolate Cake Pops
Indulging in these delightful treats creates an atmosphere of sweetness and joy, perfect for any occasion.
- Milkshakes: Creamy, thick milkshakes make a nostalgic pairing, enhancing the rich chocolate flavors of the cake pops.
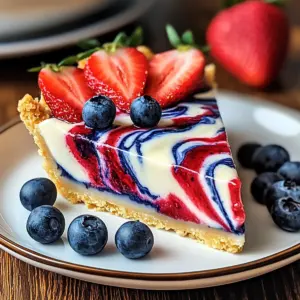
- Fresh Berries: Bright, tart berries cut through the sweetness, providing a refreshing contrast that balances the richness of the chocolate.
- Vanilla Ice Cream: The classic pairing of warm cake pops with cold, creamy vanilla ice cream creates a delightful flavor harmony with every bite.
- Coffee: A cup of freshly brewed coffee complements the sweetness and richness, adding an adult touch to your dessert experience.
- Chocolate Dipped Fruit: For a fun twist, serve alongside chocolate-dipped strawberries or bananas to reinforce that delicious chocolate theme.
- Sparkling Water: The light fizz of sparkling water refreshes the palate, making each cake pop even more enjoyable.
- Caramel Sauce: Drizzling warm caramel over the cake pops adds another layer of sweetness and flavor, perfect for those with a sweet tooth.
- Nutty Brownies: If you're feeling adventurous, pair them alongside nutty brownies for a dessert platter that will wow your guests.
- Whipped Cream: A dollop of whipped cream on the side gives a lovely textural contrast and an extra touch of creaminess.
Chocolate Cake Pops Variations & Substitutions
Feel free to get creative and make these chocolate cake pops your own with these delightful twists!
-
Dairy-Free: Substitute plain cream cheese with vegan cream cheese and use plant-based butter for a dairy-free version.
You won't miss the creaminess at all. Coconut or almond milk would work beautifully in the cake mix, too! -
Gluten-Free: Use a gluten-free chocolate cake mix instead. It’s easy and delicious, ensuring everyone can enjoy these treats!
By making this simple swap, you'll create a dessert that welcomes all your loved ones, no matter their dietary needs. -
Flavor Infusion: Add flavored extracts like raspberry or orange to your frosting for an unexpected burst of flavor.
Watch as your cake pops transform into an explosion of delightful taste, bringing new life to this classic dessert! -
Texture Twist: Instead of sprinkles, roll the cake pops in crushed nuts or cookie crumbs for an extra crunch.
This adds a delightful textural contrast that will have everyone asking how you made them so special! -
Chocolate Variations: Replace standard chocolate wafers with white chocolate or colored melting wafers for a fun twist.
This brings a playful touch and makes them perfect for themed occasions like weddings, birthdays, or holidays. -
Peanut Butter Joy: Mix in peanut butter or Nutella into the frosting for a deliciously nutty layer of flavor.
This indulgence takes these chocolate cake pops to new heights of yumminess, satisfying both chocolate and nut lovers alike! -
Elevation of Sweetness: Drizzle caramel or chocolate sauce over set cake pops for an overloaded, decadent experience.
This delightful step elevates your dessert to irresistible heights, making each pop even more drool-worthy! -
Dessert Platter Idea: Serve these pops alongside other sweet treats like our Chocolate Pudding Cake for a dessert spread that impresses.
A little mix and match can delight your guests, transforming any gathering into a memorable feast!
Make Ahead Options
These Chocolate Cake Pops are perfect for meal prep, allowing you to enjoy their deliciousness even on hectic days! You can prepare the cake and make the frosting up to 24 hours in advance. Just bake the cake, cool it completely, and crumble it before mixing in the frosting; then, shape the cake balls and refrigerate them to maintain their firmness. For optimal quality, make sure to cover them tightly to prevent drying out. When you’re ready to serve, simply melt your chocolate coating, dip the chilled cake balls, and let them set. With these steps, you’ll have delightful Chocolate Cake Pops ready in no time, freeing you up to savor their sweetness without the stress!
How to Store and Freeze Chocolate Cake Pops
Fridge: Store Chocolate Cake Pops in an airtight container in the refrigerator for up to 7 days. This keeps them fresh while allowing the flavors to meld beautifully.
Freezer: For longer storage, place the cake pops in a freezer-safe container, separating layers with parchment paper. They can be frozen for up to 3 months, preserving their fudgy goodness.
Thawing: When ready to enjoy, simply transfer the pops from the freezer to the fridge and allow them to thaw overnight. This helps maintain their texture and flavor.
Reheating: If you prefer a warm treat, microwave each pop for just 10-15 seconds to slightly soften the chocolate shell before indulging.

Chocolate Cake Pops Recipe FAQs
What type of chocolate cake mix should I use?
Absolutely! You can use any brand of chocolate cake mix that you prefer. The key is to substitute water with milk to achieve a richer flavor and a moist texture, which enhances the fudgy center of your Chocolate Cake Pops.
How long do Chocolate Cake Pops last once made?
These delightful treats can be stored in an airtight container in the refrigerator for up to 7 days. Storing them properly will keep their moist texture intact while allowing the flavors to develop beautifully.
Can I freeze Chocolate Cake Pops for later?
Yes, you can! To freeze your cake pops, place them in a freezer-safe container, separating layers with parchment paper to prevent sticking. They can be kept in the freezer for up to 3 months. When you're ready to enjoy, simply transfer them to the fridge to thaw overnight.
What should I do if my cake pops are falling apart?
It sounds like your cake mixture may not be chilled enough or could use more frosting. Make sure to refrigerate the cake and frosting mixture for at least 30-45 minutes before shaping. If they still feel too crumbly, mix in an additional tablespoon of frosting until they hold together better.
Are there any dietary considerations for Chocolate Cake Pops?
Certainly! If you have dietary restrictions, you can use gluten-free chocolate cake mix and dairy-free cream cheese for a vegan version. Just double-check all ingredients for allergens if serving to others. And remember, these pops are not suitable for pets due to chocolate content, so keep them safely out of reach!
What’s the best way to achieve a smooth coating on the cake pops?
For a perfect coating, melt your chocolate wafers slowly in a microwave-safe bowl at 30-second intervals, stirring in between. This helps avoid burning the chocolate. When coating the cake pops, dip quickly to achieve an even layer, allowing any excess to drip off before the chocolate hardens.
Delicious Chocolate Cake Pops That Wow Every Dessert Lover
Ingredients
Equipment
Method
- Preheat your oven to the temperature specified on the chocolate cake mix box. Prepare the cake batter according to the instructions, substituting water with milk for added richness. Pour the batter into a greased baking pan and bake until a toothpick inserted in the center comes out clean, typically around 30-35 minutes. Allow the cake to cool completely on a wire rack.
- While the cake cools, prepare the creamy frosting. In a mixing bowl, beat together the softened salted butter, plain cream cheese, vanilla extract, and powdered sugar until smooth and creamy. Set aside.
- Once the cake is completely cooled, crumble it into a large bowl. Mix in about one cup of the prepared frosting, blending until fully combined.
- Cover the bowl with plastic wrap and refrigerate the mixture for 30-45 minutes.
- Remove the chilled mixture and scoop out about 1.5 tablespoons. Roll into smooth balls and place them on a parchment-lined baking sheet.
- Melt the chocolate wafers in a microwave-safe bowl in 30-second intervals until smooth.
- Dip the tip of each cake pop stick into the melted chocolate, then insert it into the center of each cake ball.
- Chill the cake pops in the fridge for another 30-45 minutes.
- Once chilled, dip each ball in the melted chocolate, coating fully and letting any excess drip off.
- Let the coated cake pops sit at room temperature until the chocolate sets completely.


Leave a Reply