
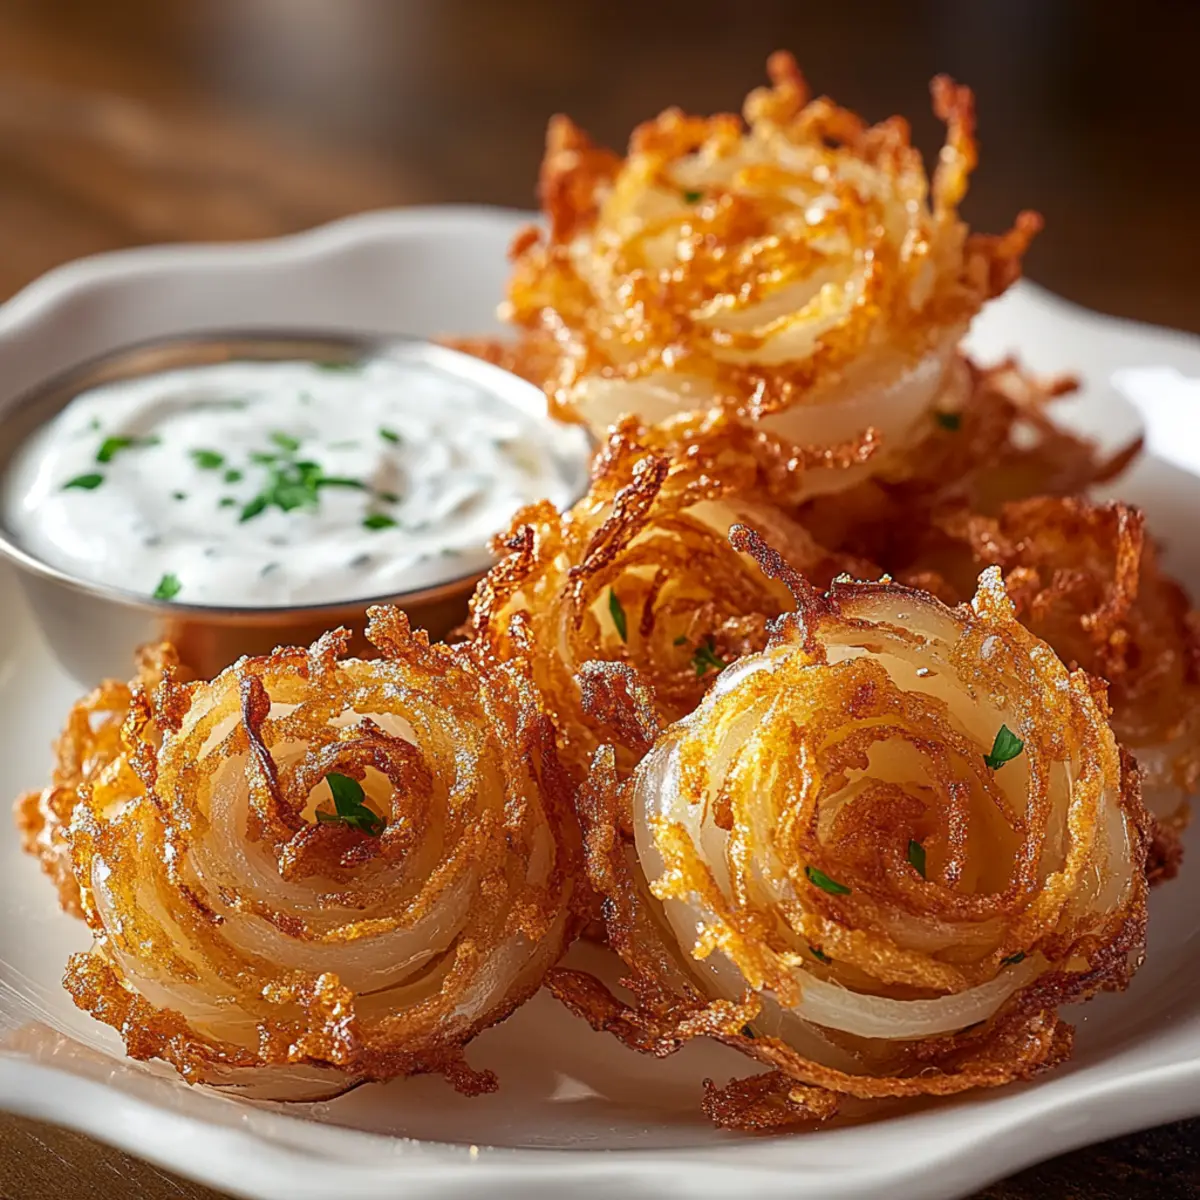
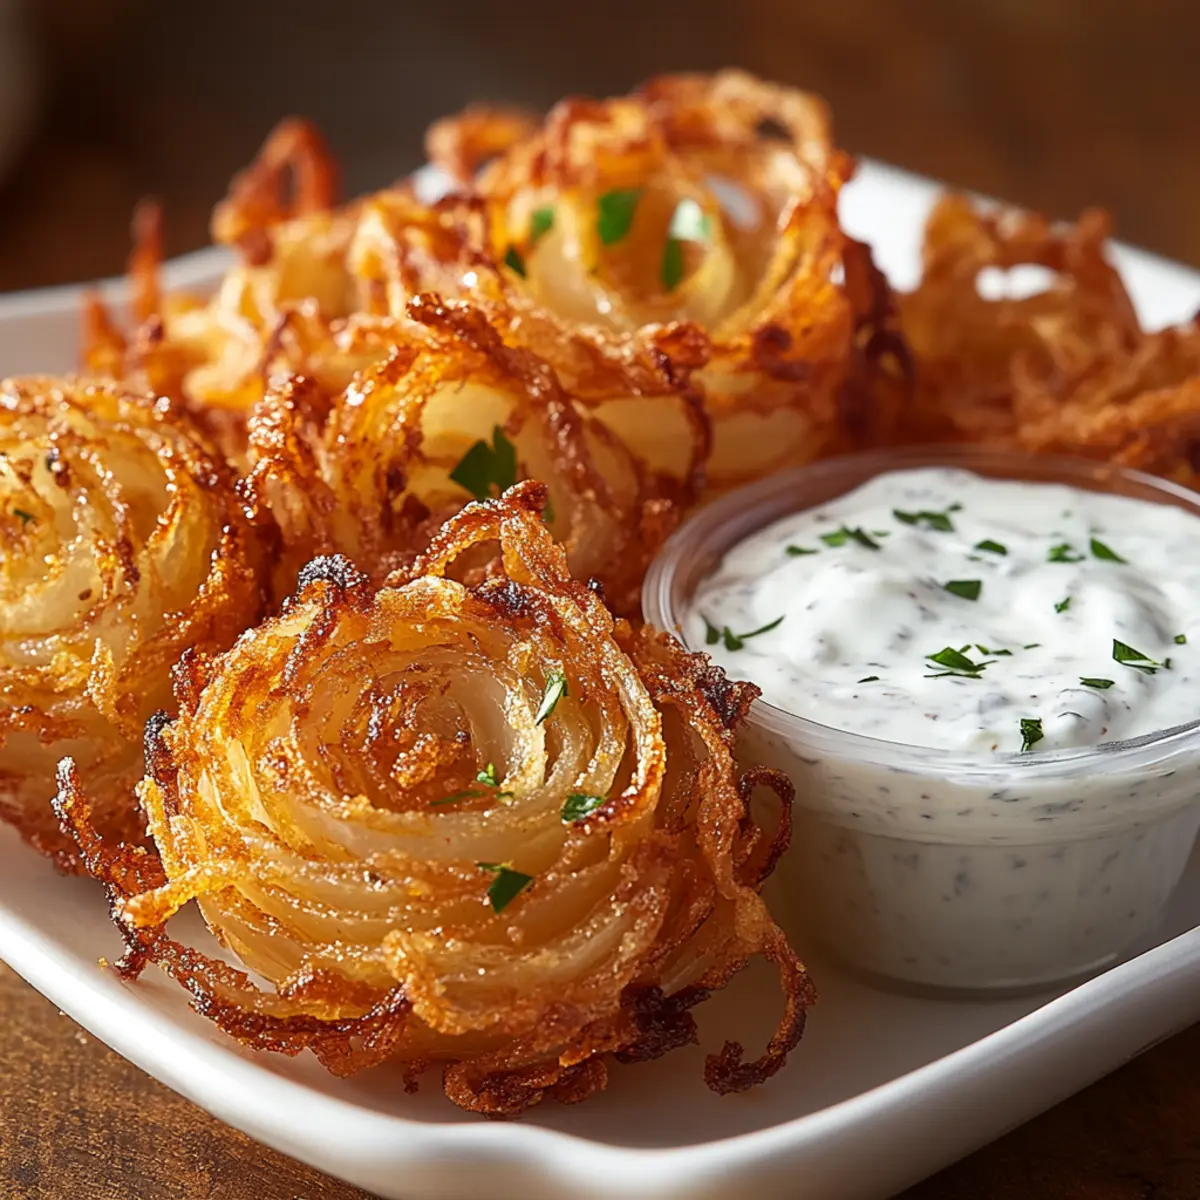
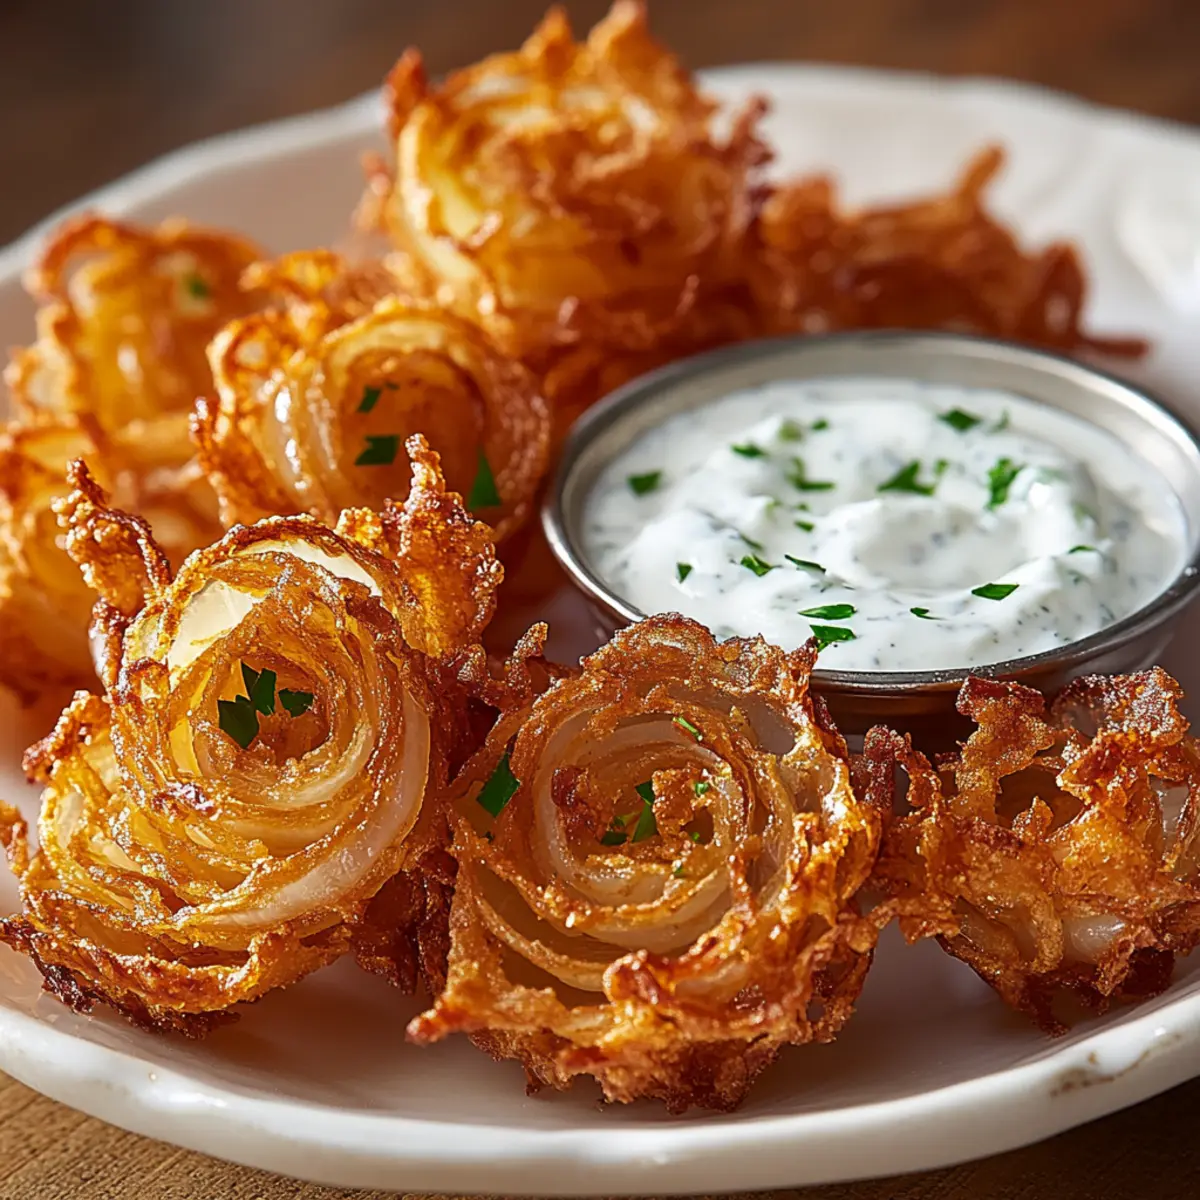
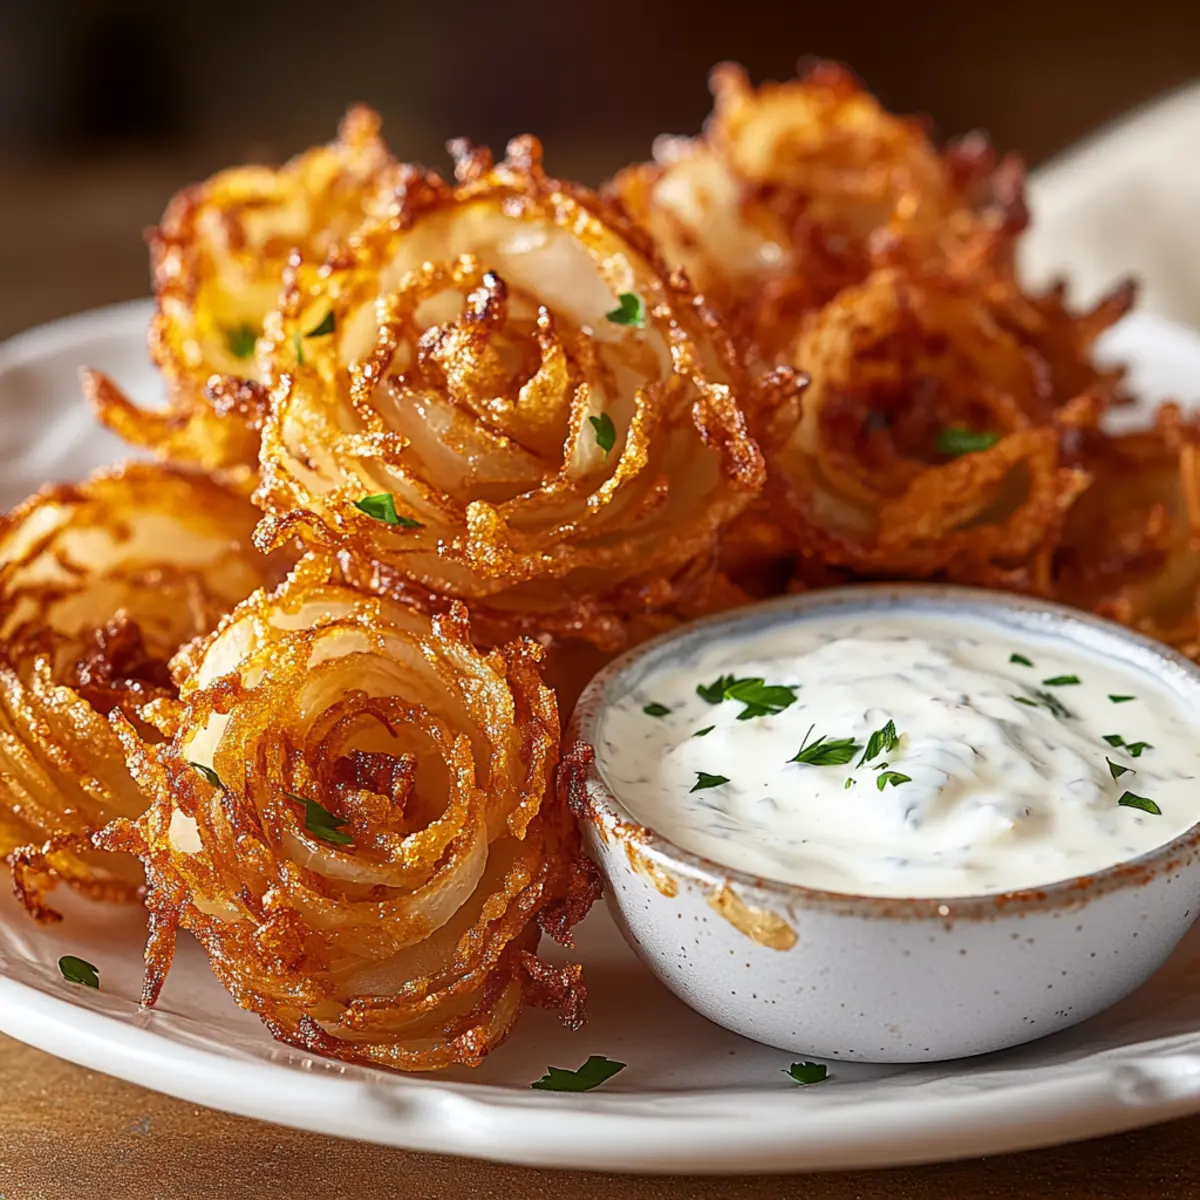
As I rummaged through my pantry, I stumbled upon an idea that sparked pure joy—Crispy Mini Bloomin' Onions with Creamy Buttermilk Ranch Dip. This delightful appetizer not only brings a playful twist to a beloved classic but is also incredibly quick to whip up. Perfect for game days or family gatherings, these golden-brown bites will have everyone reaching for more. Each petal offers a satisfying crunch, and with a dip that’s rich and creamy, you’ll impress guests (and yourself) while enjoying a homemade snack that tastes like it came straight from your favorite restaurant. Ready to become the go-to entertainer in your circle? Dive into this recipe that’s both fun and full of flavor! What’s your favorite way to enjoy onions?
Why Love These Mini Bloomin' Onions?
Crispy Perfection: Each bite features delightful crispy petals that crackle and melt in your mouth, leaving a soft, tender onion interior to experience.
Quick & Easy: This recipe is not only easy to replicate, but also perfect for those busy days before gatherings.
Versatile Flavors: Feel free to customize the coating with your favorite spices or cheeses for an extra flavor punch!
Perfect for Sharing: These mini blooms are designed for fun, making them the ideal appetizer for parties or game days, as they encourage everyone to dig in together.
Gluten-Free Options: Enjoy this recipe without worries; swap in gluten-free flour and breadcrumbs for a delicious alternative. And if you're looking for other easy appetizers, check out these Parmesan Artichoke Hearts to elevate your spread!
Crispy Mini Bloomin’ Onions Ingredients
For the Onions
- Sweet Onions – Choose for a mild flavor; Vidalia or Walla Walla onions work beautifully too.
- Buttermilk – This helps the coating stick during frying; you can make a quick substitute with milk and vinegar.
- All-Purpose Flour – Provides structure and crunch; gluten-free flour is a great alternative for those needing it.
- Seasoned Breadcrumbs – Adds flavor and an extra layer of crunch; ensure they’re gluten-free if necessary.
For the Coating
- Paprika – Offers color and a hint of sweetness; feel free to adjust for taste.
- Garlic Powder – A fantastic flavor booster that complements the onions perfectly.
- Cayenne Pepper – For those who enjoy a bit of heat; optional to suit spice preference.
- Salt and Pepper – Essential for seasoning; don’t skip these!
For Frying and Dipping
- Vegetable Oil – Enough for frying the onions to a delightful golden brown.
- Mayonnaise – Used in the dip for creamy richness that's hard to resist.
- Dried Dill – A lovely herbal note to elevate the flavor of your ranch dip.
These Crispy Mini Bloomin' Onions promise to be a hit at your next gathering, so gather your ingredients and let’s get cooking!
Step‑by‑Step Instructions for Crispy Mini Bloomin’ Onions
Step 1: Prep Onions
Begin by peeling your sweet onions and trimming off the top 1/4 inch. Carefully make 8-12 vertical cuts downwards, ensuring you don't slice all the way through the base. You'll create a beautiful flower effect as the petals open. Set the prepared onions aside, ready for their tasty transformation into Crispy Mini Bloomin’ Onions.
Step 2: Soak in Buttermilk
Place the cut onions into a large bowl and immerse them completely in buttermilk. Let them soak for 10-15 minutes; this step is crucial as it ensures the coating adheres beautifully during frying. The soaking time will also help soften the onions, enhancing their flavor and texture.
Step 3: Mix Coating
In a separate bowl, whisk together the all-purpose flour, seasoned breadcrumbs, paprika, garlic powder, cayenne pepper (if desired), salt, and pepper. This flavorful coating will add the perfect crunch to your Crispy Mini Bloomin’ Onions. Ensure the mixture is well combined to evenly distribute the spices for a delightful taste in every bite.
Step 4: Coat Onions
Carefully remove each onion from the buttermilk, allowing excess liquid to drip off. Gently coat each onion in the flour mixture, making sure to cover all the petals and the base. Press the mixture into the crevices for maximum coverage, ensuring that each petal is nicely coated, which will result in a wonderfully crispy texture when fried.
Step 5: Heat Oil
In a deep skillet or fryer, pour enough vegetable oil to fully submerge the onions. Heat the oil to 350°F (175°C) over medium heat. Use a thermometer for accuracy to guarantee the oil is hot enough; this ensures that your Crispy Mini Bloomin’ Onions fry evenly and develop that lovely golden-brown color.
Step 6: Fry Onions
Once the oil reaches the desired temperature, carefully lower each coated onion into the hot oil using a slotted spoon. Fry them in batches for 3-4 minutes until they turn crispy and golden brown. Watch for the petals to separate and puff up, indicating that they’re perfectly cooked. Remove them from the oil and place them on a plate lined with paper towels to drain excess oil.
Step 7: Prepare Dip
While the onions are frying, whisk together mayonnaise, buttermilk, garlic powder, dried dill, and salt and pepper to taste in a bowl. This creamy buttermilk ranch dip will enhance the flavors of your Crispy Mini Bloomin’ Onions. Adjust the seasoning to fit your palate, creating a delightful dip that complements your crispy creation perfectly.
Step 8: Serve
Arrange the beautifully fried Crispy Mini Bloomin’ Onions on a serving platter and place the creamy buttermilk ranch dip in the center. This eye-catching presentation is perfect for sharing at parties or family gatherings. Optionally, garnish with fresh parsley or chives to add a pop of color and freshness to your dish, making it even more inviting and delicious.
Expert Tips for Crispy Mini Bloomin' Onions
-
Oil Temperature Check: Keep the oil at 350°F (175°C) for perfect frying; use a thermometer to avoid soggy or burned onions.
-
Mind the Soak Time: Soaking in buttermilk is crucial; too short a time may yield a coating that can't stick well. Aim for 10-15 minutes.
-
Coat Well: Ensure your mixture clings to the petals by pressing the flour and breadcrumb blend into the onion; this helps achieve that satisfying crunch.
-
Fry Fresh: For the best texture, fry your onions just before serving; they taste best when they're hot and crispy.
-
Storing Leftovers: If you have extras, store them in an airtight container. Reheat in the oven to retain that delightful crispness.
-
Gluten-Free Substitutions: For a gluten-free version, swap regular flour and breadcrumbs with gluten-free alternatives without sacrificing flavor in these Crispy Mini Bloomin’ Onions.
What to Serve with Crispy Mini Bloomin' Onions?
Get ready to elevate your entertaining game with delicious pairings that will make your mini bloomin' onions truly shine.
-
Creamy Mashed Potatoes: The buttery richness complements the crispy texture, providing a comforting contrast that everyone loves.
-
Spicy Buffalo Wings: For those who crave heat, these vibrant wings pack a punch and are easily shared alongside your onions.
-
Garden Salad: A fresh, crunchy garden salad with a tangy vinaigrette balances the richness of fried onions, refreshing your palate.
-
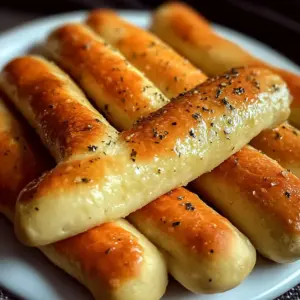
Cheesy Garlic Bread: This indulgent favorite brings a warm, savory addition that guests will adore as they enjoy their bites.
-
Coleslaw: This crunchy, tangy side dish provides a nice balance to the richness of the mini bloomin' onions while adding a refreshing crunch.
-
Refreshing Lemonade: A cool, zesty drink that cuts through the savory flavors of the fried treats, leaving everyone feeling refreshed and satisfied.
-
Chocolate Chip Cookies: For a sweet ending, classic cookies bring nostalgia and warmth after indulging in savory flavors. A perfect way to transition from appetizer to dessert.
Crispy Mini Bloomin' Onions Variations
Feel free to get creative with these Crispy Mini Bloomin' Onions and make them your own with these delightful twists! With just a few adjustments, you can cater to different tastes and dietary needs.
-
Gluten-Free:
Swap all-purpose flour and breadcrumbs with gluten-free options to make this appetizer suitable for everyone. You'll still enjoy that crispy crunch! -
Spicy Kick:
Add extra cayenne pepper or crushed red pepper flakes to the coating for a delightful heat. Feel free to adjust to your spice preference for a taste that truly pops! -
Cheesy Flavor:
Incorporate grated Parmesan or cheddar cheese into the coating mixture. The melted cheese will add an irresistible savory twist to every crunchy petal. -
Herbed Bliss:
Mix chopped fresh herbs like parsley, chives, or thyme into the dip for an added layer of flavor. This vibrant touch enhances the overall experience of your mini blooms. -
Sweet and Savory:
Drizzle honey or balsamic glaze over the finished bloomin' onions for a touch of sweetness. It beautifully complements the crunchy, savory base and will surprise your guests! -
Alternative Dips:
Explore different dipping options such as spicy aioli or a zesty avocado crema! These complement the onions perfectly and offer a new flavor experience. -
Crispy Oven Bake:
If you wish to skip frying, sprinkle the coated onions with cooking spray and bake at 425°F (220°C) for 20-25 minutes for a healthier twist. They may not have the same fry, but they'll be crispy and delicious!
For more ideas on what to serve your mini bloomin' onions with, check out these crowd-pleasers like Fish Taco Bowls and Mini Tropical Pavlovas that elevate your gatherings! Enjoy customizing your crispy bites!
Make Ahead Options
These Crispy Mini Bloomin' Onions are perfect for meal prep, allowing you to entertain effortlessly. You can prepare the onions up to 24 hours in advance by completing the soaking and coating steps, then refrigerate them until you’re ready to fry. To maintain their crispy texture, ensure they're well-coated and store them in an airtight container. When it’s time to serve, simply heat your oil and fry them for about 3-4 minutes until golden brown. This way, you enjoy all the deliciousness with minimal effort, ensuring your gatherings run smoothly and delightfully!
How to Store and Freeze Crispy Mini Bloomin' Onions
- Fridge: Store leftover crispy mini bloomin' onions in an airtight container for up to 2 days. Reheat in the oven at 350°F (175°C) for about 10 minutes to regain their delightful crunch.
- Freezer: For longer storage, freeze uncooked coated onions individually on a baking sheet, then transfer to a freezer bag for up to 3 months. Fry directly from frozen, adding a couple of extra minutes to the cooking time.
- Reheating: To reheat fried onions, place them on a baking sheet in a preheated oven at 350°F (175°C) for 10-15 minutes—perfect for maintaining their crispy texture!
- Make-Ahead: Prepare the onions up to the coating stage, cover them, and refrigerate for a few hours before frying, making your cooking process easier on the day of your gathering!
Crispy Mini Bloomin' Onions Recipe FAQs
How do I select the right onions for this recipe?
Absolutely! Choose sweet onions like Vidalia or Walla Walla for the best flavor and tenderness. Avoid onions that have dark spots all over, as this indicates overripeness. For a milder taste, stick with sweet varieties. Yellow onions can work as a substitute if sweet ones are unavailable.
How should I store leftover crispy mini bloomin' onions?
To keep them fresh, store any leftover fried onions in an airtight container in the fridge for up to 2 days. When you're ready to enjoy them again, reheat in the oven at 350°F (175°C) for approximately 10 minutes to restore that delightful crunch.
Can I freeze uncooked mini bloomin' onions?
Yes! You can freeze your coated onions for longer storage. Lay them out on a baking sheet, making sure they aren’t touching, and freeze until solid. Once frozen, transfer them to a freezer bag. They'll keep well for up to 3 months. When you're ready to fry, cook them directly from frozen, adding a couple of extra minutes to the frying time.
What can I do if my coating isn’t sticking to the onions?
If you find that your coating isn't adhering well, try soaking the onions in buttermilk for a longer period, around 15 minutes if possible. This helps soften them and allows for better adherence of the flour mixture. Additionally, make sure you’re pressing the coating into the crevices of the onion petals to ensure it sticks!
Are there any dietary considerations for this recipe?
Very much so! This recipe can easily accommodate gluten-free needs by swapping regular flour and breadcrumbs with their gluten-free alternatives. However, make sure to check that your mayonnaise and any additional seasonings are also gluten-free. Always double-check labels if cooking for someone with allergies, and enjoy these crispy mini bloomin' onions worry-free!
What’s the best way to reheat fried mini bloomin' onions?
To retain their crispy texture, place your fried mini bloomin' onions on a baking sheet and reheat them in a preheated oven at 350°F (175°C) for about 10-15 minutes. This method helps restore their crunchiness better than microwaving, which can make them soggy. Enjoy!
Crispy Mini Bloomin’ Onions: A Fun Game Day Delight
Ingredients
Equipment
Method
- Begin by peeling your sweet onions and trimming off the top 1/4 inch. Carefully make 8-12 vertical cuts downwards, ensuring you don't slice all the way through the base. Set the prepared onions aside.
- Place the cut onions into a large bowl and immerse them completely in buttermilk. Let them soak for 10-15 minutes.
- In a separate bowl, whisk together the flour, seasoned breadcrumbs, paprika, garlic powder, cayenne pepper (if desired), salt, and pepper.
- Carefully remove each onion from the buttermilk, allowing excess liquid to drip off. Coat each onion in the flour mixture.
- In a deep skillet or fryer, pour enough vegetable oil to fully submerge the onions. Heat oil to 350°F (175°C).
- Once the oil is ready, lower each coated onion into the hot oil and fry for 3-4 minutes until crispy and golden brown.
- While frying, whisk together mayonnaise, buttermilk, garlic powder, dried dill, and season with salt and pepper to taste.
- Arrange the fried onions on a platter and serve with the ranch dip in the center.


Leave a Reply