
The aroma of a warm, coconut-infused dessert wafts through the air, whisking me away to the sun-kissed shores of Hawaii. This is the essence of Hawaiian Butter Mochi, a delightfully chewy coconut dessert that has captured the hearts of many. Using just a handful of simple ingredients, this recipe brings together the rich creaminess of coconut milk and the unique bouncy texture of sweet rice flour to create a treat that is not only gluten-free but also a guaranteed crowd-pleaser. Perfect for those cozy afternoons with a cup of tea or as a standout dessert at your next gathering, this delightful confection offers an easy way to elevate your homemade dessert game. Are you ready to dive into this tropical delight and impress your friends and family?
Why is Hawaiian Butter Mochi a must-try?
Chewy Delight: The texture is unlike any other dessert, offering a unique combination of bounciness and chewiness that keeps you reaching for more.
Tropical Flavor: Rich coconut milk elevates each bite, delivering a taste of the islands right in your kitchen.
Versatile Options: Whether you stick with classic coconut or experiment with variations like ube extract or matcha powder, this recipe easily adapts to your preferences.
Quick & Simple: With just a few basic ingredients, you can whip this up in no time, making it an excellent choice for last-minute gatherings or cozy nights in.
Crowd-Pleasing Treat: Perfect for parties, this Hawaiian Butter Mochi is sure to impress guests, enchanting them with its flavorful and appealing presentation. For an easy family dinner, consider pairing it with some Crockpot Butter Chicken for a comfort food feast!
Hawaiian Butter Mochi Ingredients
• Elevate your dessert with this list of essential ingredients for Hawaiian Butter Mochi!
For the Batter
- Sweet Rice Flour – Essential for that signature chewy texture of mochi; don't substitute it with regular rice flour!
- Coconut Milk – Adds a rich, tropical flavor; you can replace it with whole milk if desired.
- Salted Butter – Enhances creaminess; unsalted butter works too, but remember to add a pinch of salt.
- Granulated Sugar – Sweetens the mochi perfectly, balancing the rich flavors.
- Eggs – Binds everything together, providing the necessary structure for your dessert.
- Vanilla Extract – Optional but recommended for a deeper flavor profile.
- Baking Powder – Important for a slight rise in the texture.
- Shredded Coconut (optional) – For extra coconut goodness, either mix it in or use as a topping.
Step‑by‑Step Instructions for Hawaiian Butter Mochi
Step 1: Preheat the Oven
Begin by preheating your oven to 350°F (175°C). While the oven warms up, prepare an 8x8-inch baking pan by lining it with parchment paper and greasing it with butter to prevent sticking. This step is crucial to ensure your Hawaiian Butter Mochi bakes evenly and releases easily once done.
Step 2: Mix Wet Ingredients
In a large mixing bowl, crack in the eggs and combine them with the granulated sugar. Whisk these together until frothy, then add in the creamy coconut milk, melted salted butter, and a splash of vanilla extract. Continue mixing until the mixture is smooth and well-blended, showcasing a luscious, shiny texture that hints at the tropical flavors to come.
Step 3: Combine Dry Ingredients
Next, gradually sift in the sweet rice flour and baking powder into the wet mixture. Using a spatula, gently fold the ingredients together until just combined—be careful not to overmix. The batter will be thick and slightly lumpy, which is perfect for achieving that signature chewy texture when you bake your Hawaiian Butter Mochi.
Step 4: Bake
Pour the batter into the prepared baking pan, spreading it evenly with a spatula. Bake in your preheated oven for 1 hour and 25 minutes, or until the top is golden brown and a toothpick inserted into the center comes out clean. Keep an eye on it towards the end to ensure it doesn’t overbake; the aroma will fill your kitchen as it cooks!
Step 5: Cool and Serve
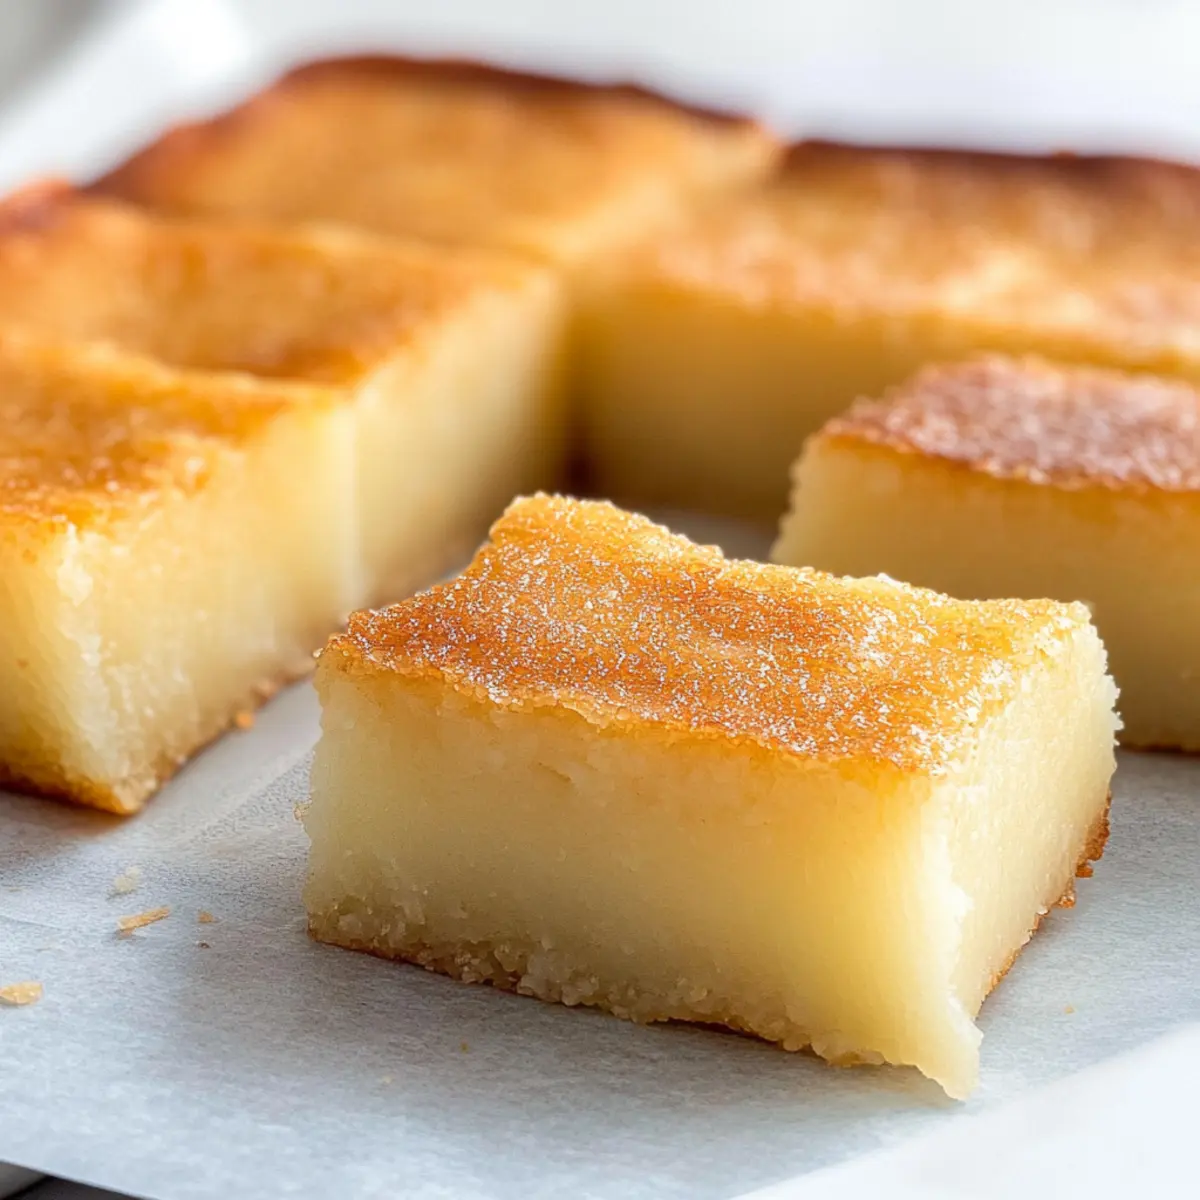
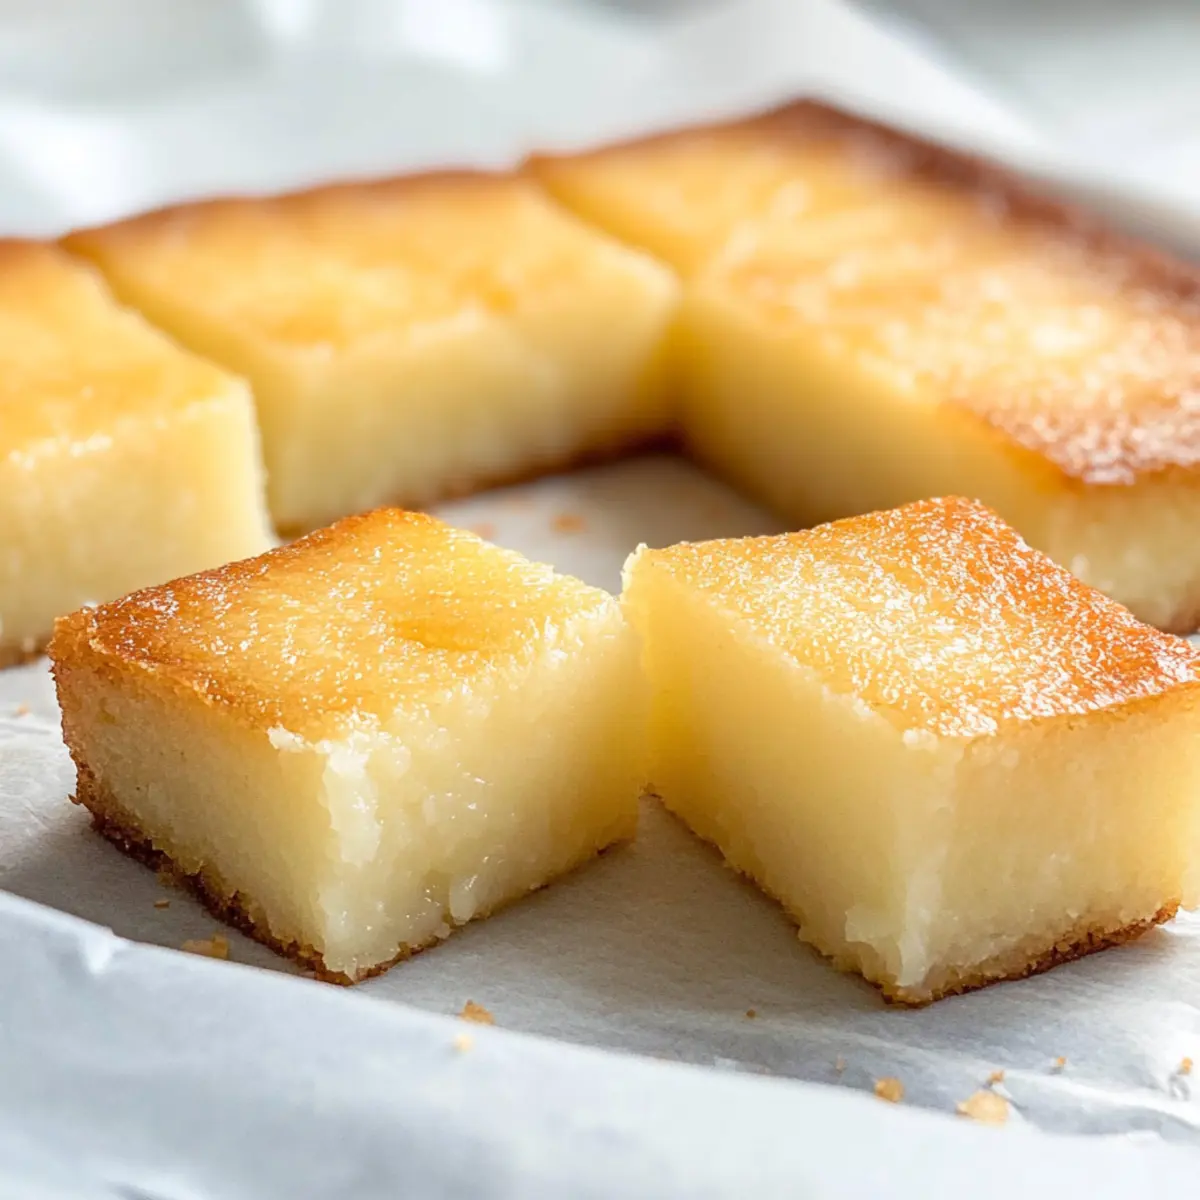
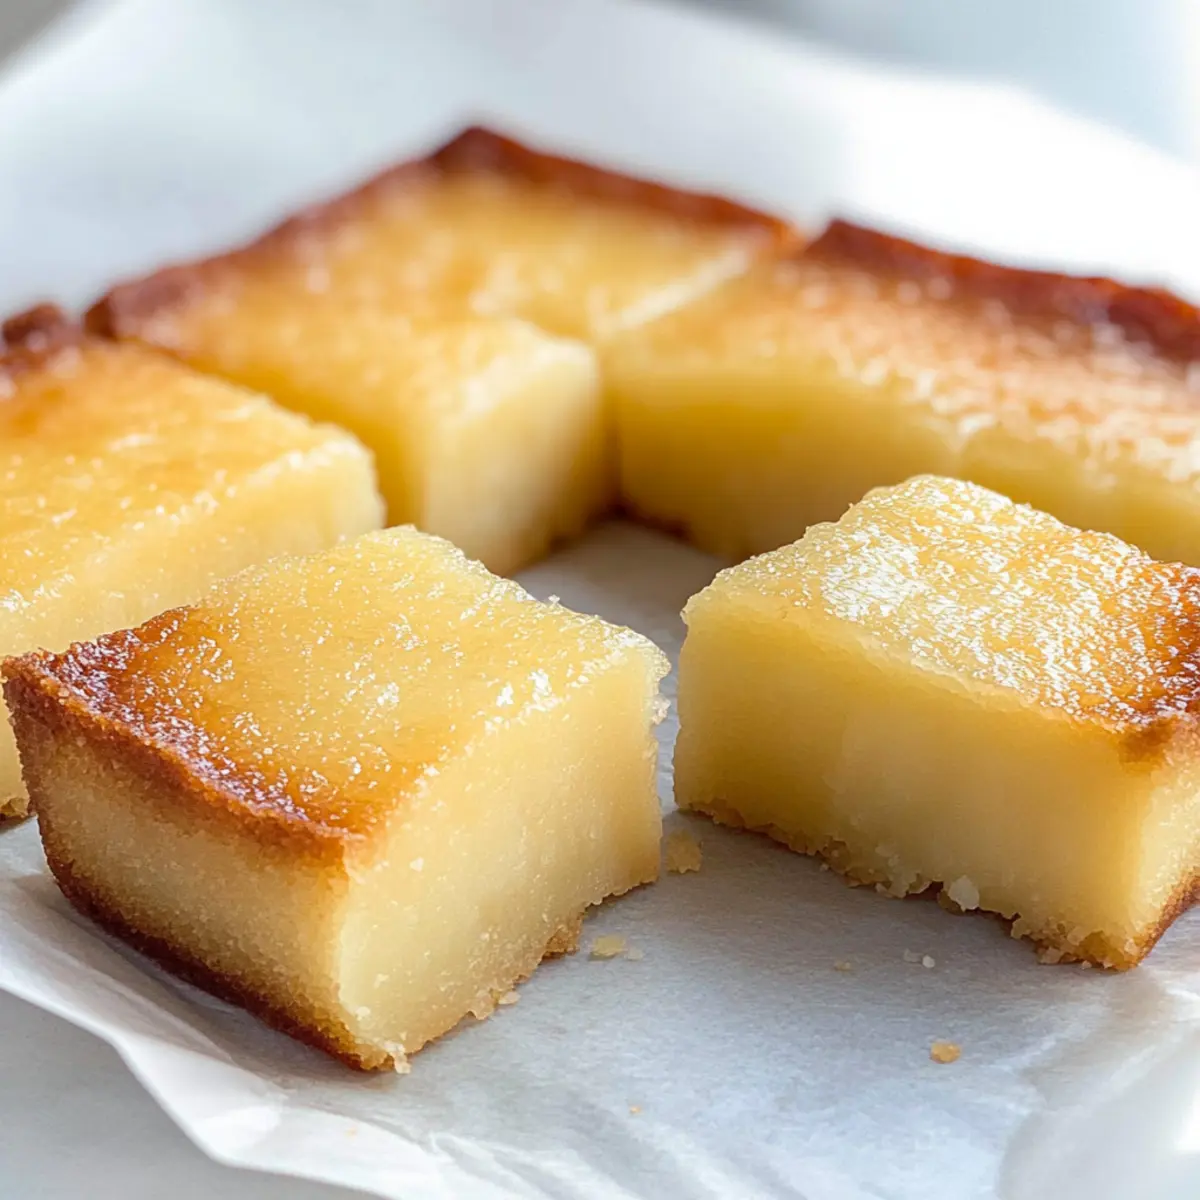
Once baked, remove the pan from the oven and let it cool at room temperature. After about 20-30 minutes, cut the Hawaiian Butter Mochi into squares or rectangles. Serving it warm is delightful, but you can also enjoy it chilled. This chewy, coconut-infused treat is now ready to be shared and savored!
How to Store and Freeze Hawaiian Butter Mochi
Room Temperature: Keep your Hawaiian Butter Mochi in an airtight container at room temperature for up to 3 days for optimal freshness.
Fridge: For extended storage, refrigerate in an airtight container for up to 1 week. This option is great for maintaining its delightful chewy texture.
Freezer: Freeze cut squares in an airtight container or freezer bag for up to 3 months. When ready to enjoy, simply thaw at room temperature or reheat in the microwave for a few seconds.
Reheating: Gently reheat in the microwave for 10-15 seconds to restore that tender, chewy goodness, or enjoy it chilled for a refreshing treat.
Make Ahead Options
Hawaiian Butter Mochi is an excellent recipe for meal prep, making it a breeze to enjoy this delicious dessert later! You can prepare the batter and refrigerate it for up to 24 hours in advance, sealing it tightly to prevent drying. Alternatively, bake the mochi, allow it to cool fully, and store it in an airtight container at room temperature for up to 3 days or refrigerate for up to a week. When ready to serve, simply cut into squares and enjoy—it's just as chewy and delightful as when it was freshly made! This way, you can have a fabulous homemade dessert at your fingertips without the last-minute rush!
Hawaiian Butter Mochi Variations
Feel free to personalize your Hawaiian Butter Mochi experience with these exciting twists and substitutions! Your creativity will shine through in every chewy bite.
- Dairy-Free: Substitute coconut milk with an equal amount of almond or soy milk for a creamy, dairy-free dessert.
- Nutty Addition: Incorporate chopped macadamia nuts for an extra crunch that pairs beautifully with the soft mochi.
- Ube Twist: Add a splash of ube extract to the batter for a vibrant lavender hue and a subtly sweet flavor twist.
- Matcha Infusion: Mix in a teaspoon of matcha powder for a delightful green tea flavor that brings a refreshing dimension to your mochi.
- Coconut Flake Topping: Sprinkle shredded coconut on top before baking for an extra crunchy texture and a burst of coconut goodness.
- Seasonal Fruits: Fold in fresh diced mango or pineapple for a tropical fruit explosion that enhances the mochi experience.
- Spicy Kick: For those who enjoy a little heat, add a pinch of cayenne pepper or chili powder for a surprising and delicious contrast to the sweetness.
- Chocolate Drizzle: Once cooled, drizzle melted dark chocolate over the top for a decadent chocolatey twist that will satisfy your sweet tooth.
No matter how you choose to adapt this Hawaiian Butter Mochi, it’s bound to be a treat that will have everyone asking for seconds. For a delightful pairing, consider serving it alongside a comforting dish like Crockpot Butter Chicken. Enjoy the journey of flavors!
What to Serve with Hawaiian Butter Mochi?
Indulge in a delightful culinary experience by pairing your Hawaiian Butter Mochi with complementary sides and drinks that enhance its tropical charm.
-
Fresh Fruit Salad: A medley of tropical fruits like mango, pineapple, and kiwi adds brightness and freshness that perfectly balances the richness of the mochi.
-
Coconut Whipped Cream: The light and airy texture of whipped cream infused with coconut reflects the mochi's flavors, bringing an airy sweetness to every bite.
-
Matcha Green Tea: This earthy tea serves as a nice contrast to the dessert’s sweetness while its warm notes complement the coconut flavor beautifully.
-
Ice Cream Float: A scoop of vanilla ice cream topped with a splash of soda creates a refreshing dessert experience. The coldness contrasts beautifully with the chewy mochi.
-
Chocolate Drizzle: A warm drizzle of dark chocolate elevates the dish, creating a delightful mix of flavors that cater to chocolate lovers while enhancing the mochi’s sweetness.
-
Pineapple Sorbet: Serve alongside a cool pineapple sorbet for a refreshing and light palate cleanser that carries on the tropical theme, making it a perfect dessert duo.
-
Sweetened Tea: A nice glass of sweetened iced tea, either plain or with hints of hibiscus, is a great drink to sip alongside the decadent mochi, enhancing its tropical essence.
-
Coffee Brew: For a cozy pairing, a warm cup of coffee balances the sweetness of the mochi, creating a comforting experience perfect for afternoon enjoyment.
Expert Tips for Hawaiian Butter Mochi
-
Ingredient Integrity: Use sweet rice flour: This is essential for achieving the trademark chewy texture of Hawaiian Butter Mochi. Regular rice flour won’t work.
-
Texture Control: Adjust baking time: For a custard-like finish, reduce baking time. For a firmer bite, bake it a bit longer until golden brown.
-
Mixing Method: Avoid overmixing: Combine ingredients until just blended to maintain the perfect texture. Overmixing can make the mochi dense.
-
Visual Cues: Check for doneness: Look for a golden top and a firm center when the toothpick comes out clean, ensuring a delightful final product.
-
Cooling Time: Let it cool completely: Cooling the mochi before cutting is key. Cutting it warm may lead to a messy, uneven texture.
Hawaiian Butter Mochi Recipe FAQs
What type of rice flour should I use for Hawaiian Butter Mochi?
You must use sweet rice flour, also known as glutinous rice flour, to achieve the signature chewy texture of Hawaiian Butter Mochi. Regular rice flour will not give you that delightful bouncy quality, so be sure to find the right one to ensure a successful outcome!
How should I store leftover Hawaiian Butter Mochi?
Store your leftover Hawaiian Butter Mochi in an airtight container at room temperature for up to 3 days. If you'd like to keep it fresh longer, refrigerate it for up to one week. Just make sure it’s securely sealed to prevent drying out, and this will help maintain that sumptuous chewiness.
Can I freeze Hawaiian Butter Mochi?
Absolutely! To freeze Hawaiian Butter Mochi, cut it into squares and place them in an airtight container or a resealable freezer bag. You can freeze it for up to 3 months. When you’re ready to enjoy, let it thaw at room temperature or warm it up in the microwave for 10-15 seconds for that warm, chewy delight!
How can I adjust the texture of the Hawaiian Butter Mochi?
If you prefer a custard-like texture, reduce the baking time slightly—start checking for doneness a bit before 1 hour and 25 minutes. If you're looking for a firmer texture, extend the baking time until the top is a beautiful golden brown and firm to the touch. The visual cue of a golden top with clean toothpick results will guide you!
Is Hawaiian Butter Mochi safe for gluten-sensitive individuals?
Yes, Hawaiian Butter Mochi can be gluten-free if you use gluten-free sweet rice flour. Just make sure your ingredients, especially the baking powder, are gluten-free as well. It's always a good idea to double-check the labels to make sure it meets your dietary needs.
Can I use other types of milk instead of coconut milk?
Certainly! You can substitute coconut milk with whole milk or a combination of whole milk and coconut milk if you're looking for a different flavor profile. Other plant-based milk options may work, but the richness of coconut milk is what truly elevates this tropical treat!
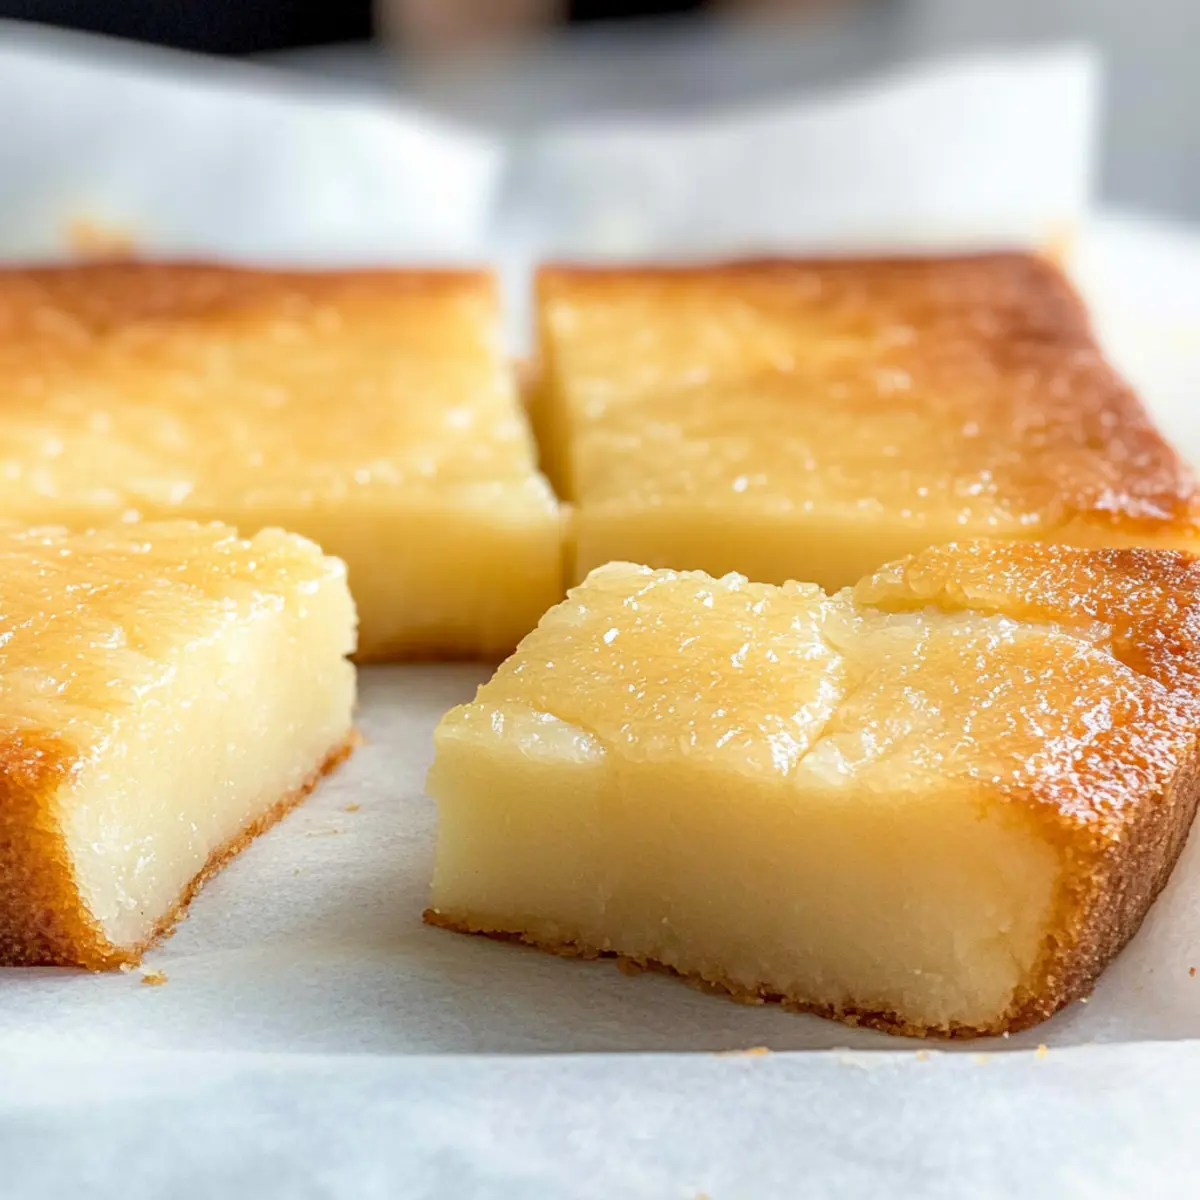
Hawaiian Butter Mochi: Delightfully Chewy Coconut Bliss
Ingredients
Equipment
Method
- Preheat your oven to 350°F (175°C) and prepare an 8x8-inch baking pan by lining it with parchment paper and greasing it with butter.
- In a large mixing bowl, crack in the eggs and combine with granulated sugar. Whisk until frothy, then add coconut milk, melted salted butter, and vanilla extract. Mix until smooth.
- Gradually sift in sweet rice flour and baking powder into the wet mixture. Gently fold together until just combined to avoid overmixing.
- Pour the batter into the prepared baking pan and bake for 1 hour and 25 minutes, or until golden brown and a toothpick comes out clean.
- Let the mochi cool at room temperature for about 20-30 minutes before cutting into squares or rectangles.


Leave a Reply